Hi !
I’m working on the rigging of a character that has a lot of attached parts to him (belt, elements on belt, boots, armors elements, spikes…). I think the rig i created is well adaptated to his form but when i do it in automatic weights the result is really messed up, see in the video… https://drive.google.com/file/d/1rCKD0CWVQiZk-SU6DtXjpNoK0MwybpPD/view
Am i doing something wrong, or is it impossible for the software to setup properly the weights when there are different parts not attached ?
I also tried to make it one big mesh with ctrl + J (and remove doubles) but the result is the same.
When i go in weight paint, the weight is setup unlogically by the software, it seems really distrubed by the amount of separated parts. Is there a way to make him think it’s just only one mesh, and so avoiding these totally different automatic weightings on belt, body, boots, boots parts etc ?
I could also fix all in weight paint mode but would be really long in this case, and i have the feeling that easier ways can exist. If you know one or have ideas, don’t hesitate to let me know, i’m still beginner in rigging and don’t understand all. Thanks by advance!!
Hi, you probably have to hand paint the weights the way you want them. you could also go to the vertex groups and delete the bone groups that don’t need to be there.
Not with autoweights alone. You need to do other things to your weights.
Usually, the first thing to do is to do a data transfer to copy weights on nearest face interpolated from your “main” body mesh.
But looking at your mesh, you have a low poly model, with a lot of things that shouldn’t deform, a lot of things that should deform, and probably differences in topology that will make it hard for various surfaces to match each other.
You can try hand editing the weights to get what you need. You can also try making a single, manifold mesh (no separate parts) out of what you have and then baking images to acquire normals, colors, etc from your original, multi-part model.
bandages you talk about “making a single, manifold mesh (no separate parts)”.
How can we do this? I think obtaining a single big body mesh with the different parts assembled together (not only ctrl+j but really merged) to make the automatic weights calcul better is precisly what i’m searching for.
One thing worth noting as well, is that automatic weighting doesn’t handle things like those individual boots well. If you joined both your boots into one object for instance, and everything that is symmetrical like that, it should work much better. Blenders automatic weighting doesn’t handle separate elements very well ever though, Mixamo can be a good solution if you’re strapped for time, and there’s a blender addon (paid) that I saw somewhere that does the same kind of thing mixamo does, though I can’t speak for its quality personally.
So far as I can tell, when you have two separate boots like that, (or again, any number of things that are mirrored on your object but are separate objects) Blender auto weights tries to get all the bones it can to affect an object, so usually the other foots bones will make it move, as demonstrated in your video.
Personally, these days, I just retopo everything, bake my details, and rig my new lower poly model, because trying to weight paint separate elements by hand is always a huge huge huge pain in the ass.
It’s called “retopo”, short for retopology. That should get you started on looking for tutorials and such. Warning, it’s a little daunting for a beginner, but it’s something that you’ll want to know eventually.
Hi again, thanks you both for the infos! Niklas, I didn’t knew this, I just joined the boots together and it worked really better in automatic weight, same for other minor elements, it made me gain time.
(Here is review of the rig now if you’re curious : https://drive.google.com/file/d/1WnpxydSo-eKkY3NNPVhB9x31-zrLAptm/view )
The belt was still conflicting with the body so i created independ controllers on it to fix it during animation.
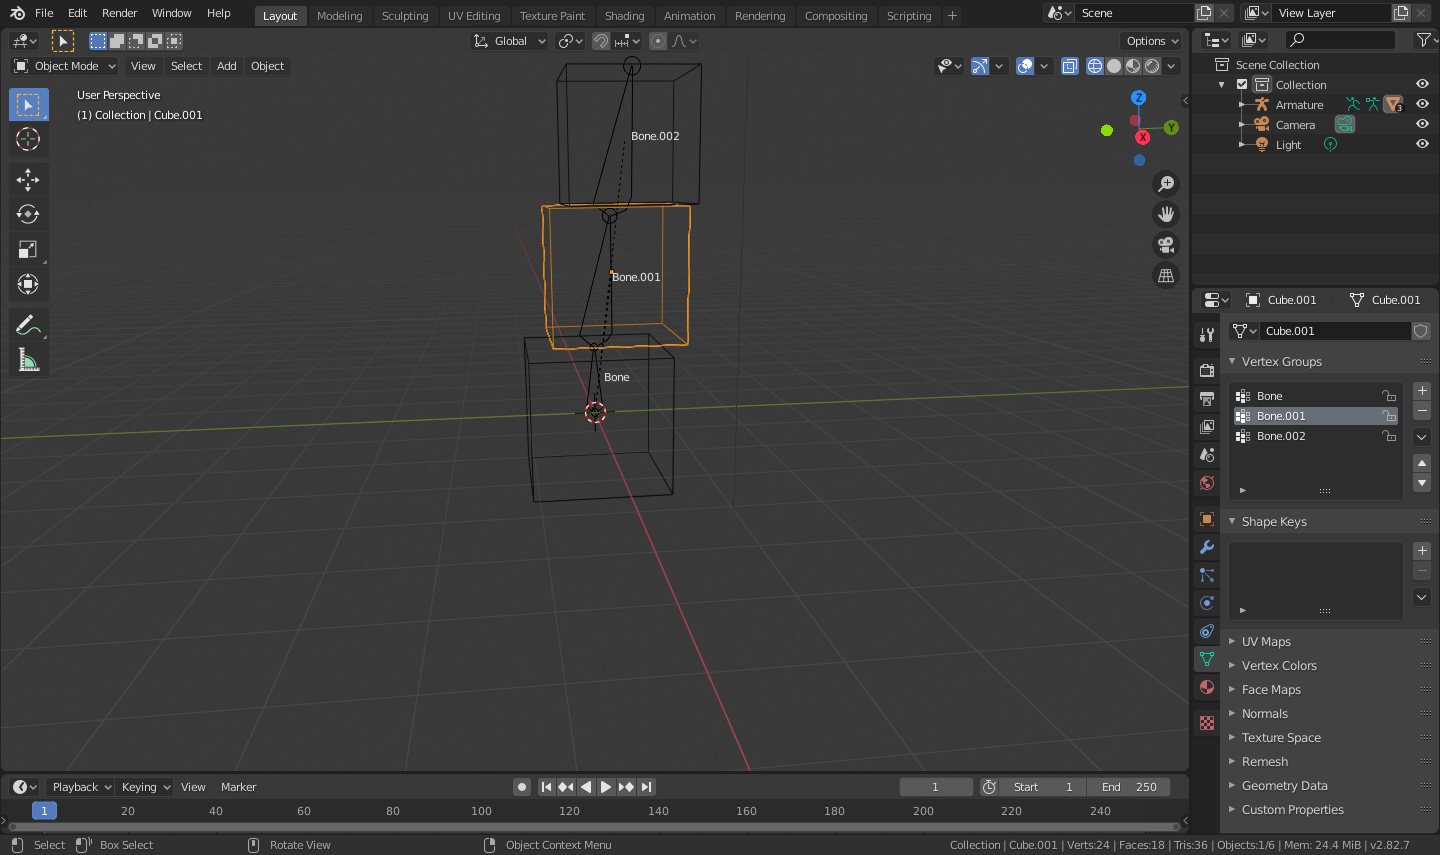
I also merged vertices of the lower and upper parts of the body, so it reacted really better to automatic weight.
For the rest, still some minor weight errors to correct and some vertex groups to delete on the cape (to avoid it moving with fingers etc), but i have globally what i wanted !
You’re talking both about retopology, i didn’t knew this and will get informed on it with some tutos, i’m tired too of infinite weight paintings on some rigs. Thanks again!