Hi,
As a jewel Designer, I am modeling on RhinoGold and Rendering to Keynote. I 'd like to do all of this on Blender 2.8 (and convert french designer too
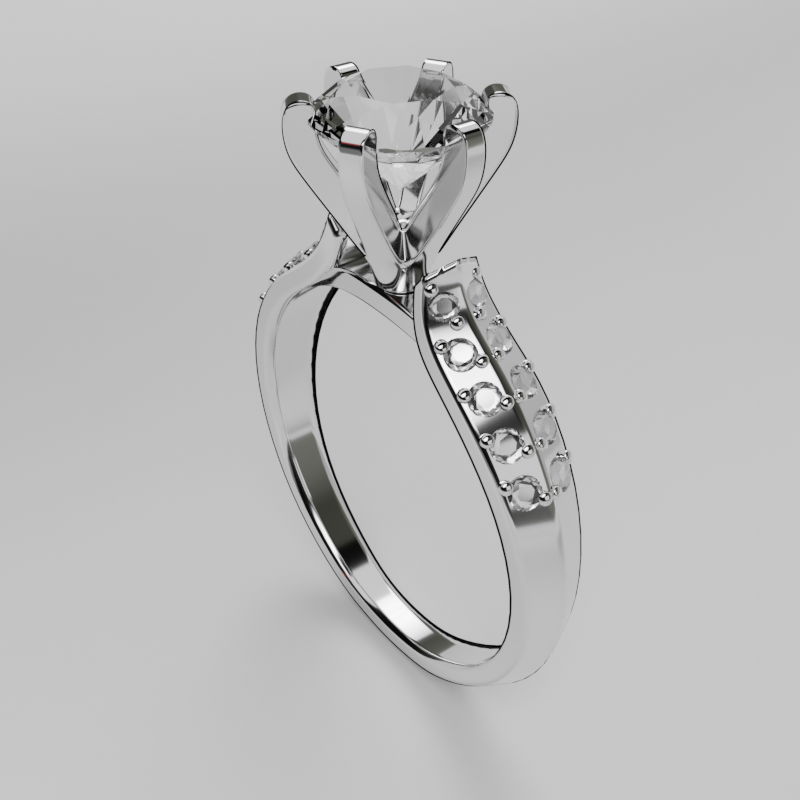
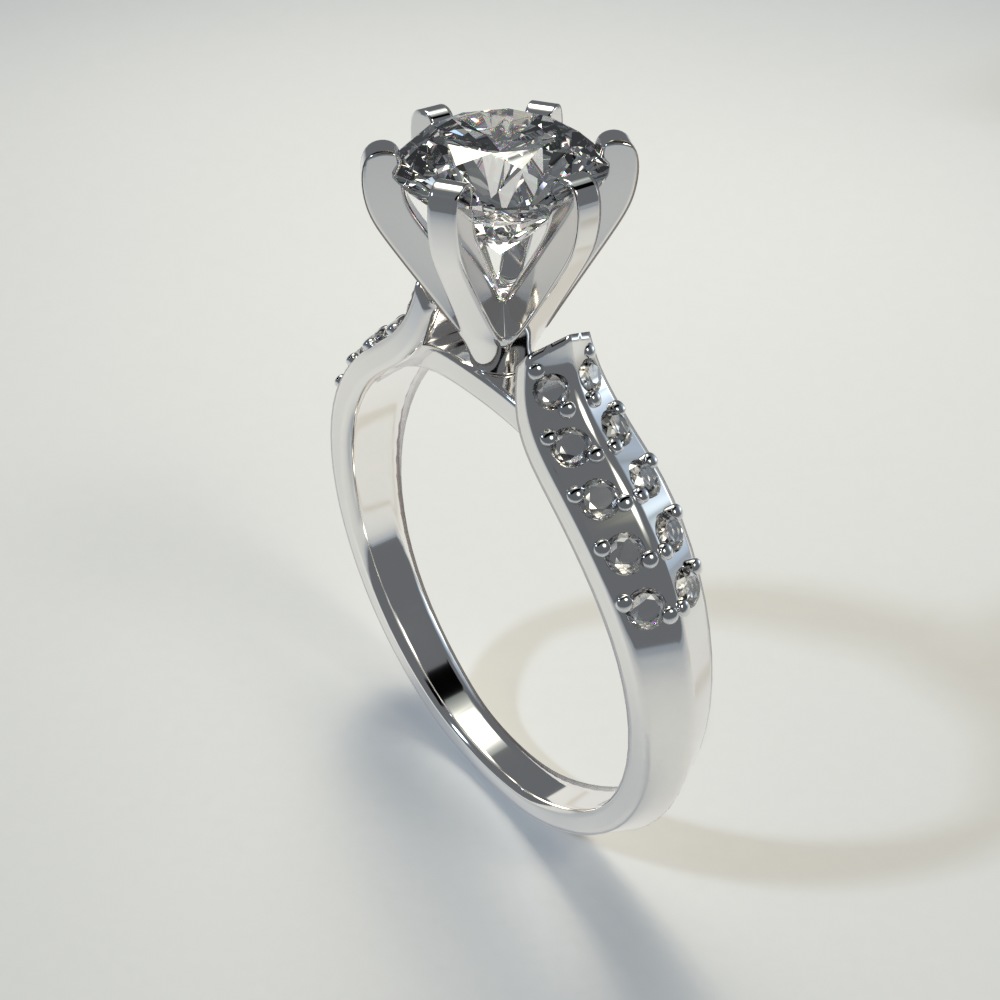
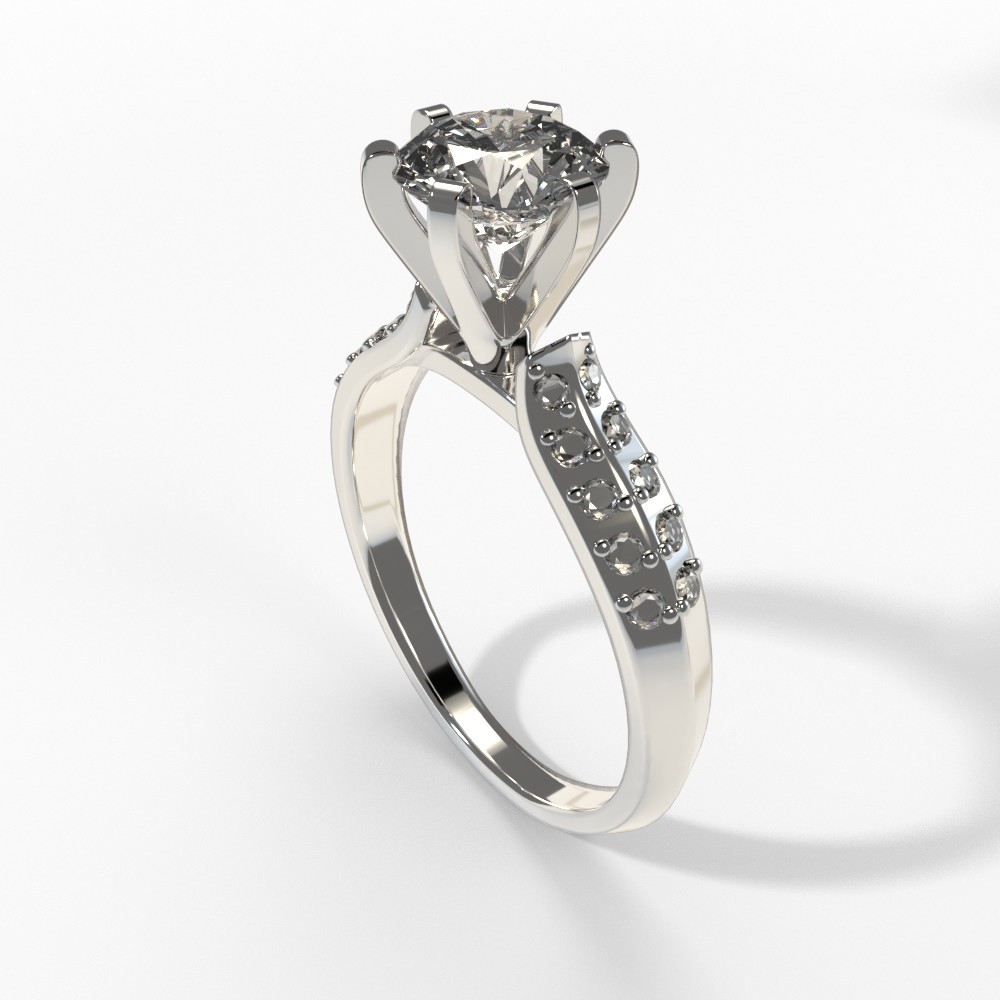
The modeling is just awesome (thanks to Mikhail Rachinskiy for his powerful Jewel Add-on : JewelCraft), but my renders are ugly in cycles.
Is it better to get a black environnement color or use “environement texture” ?
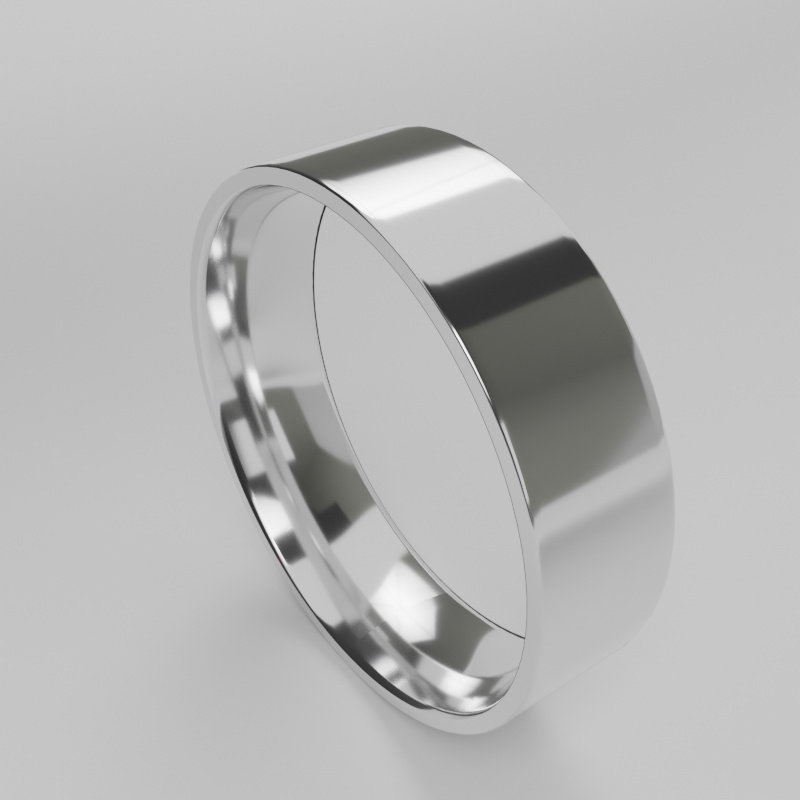
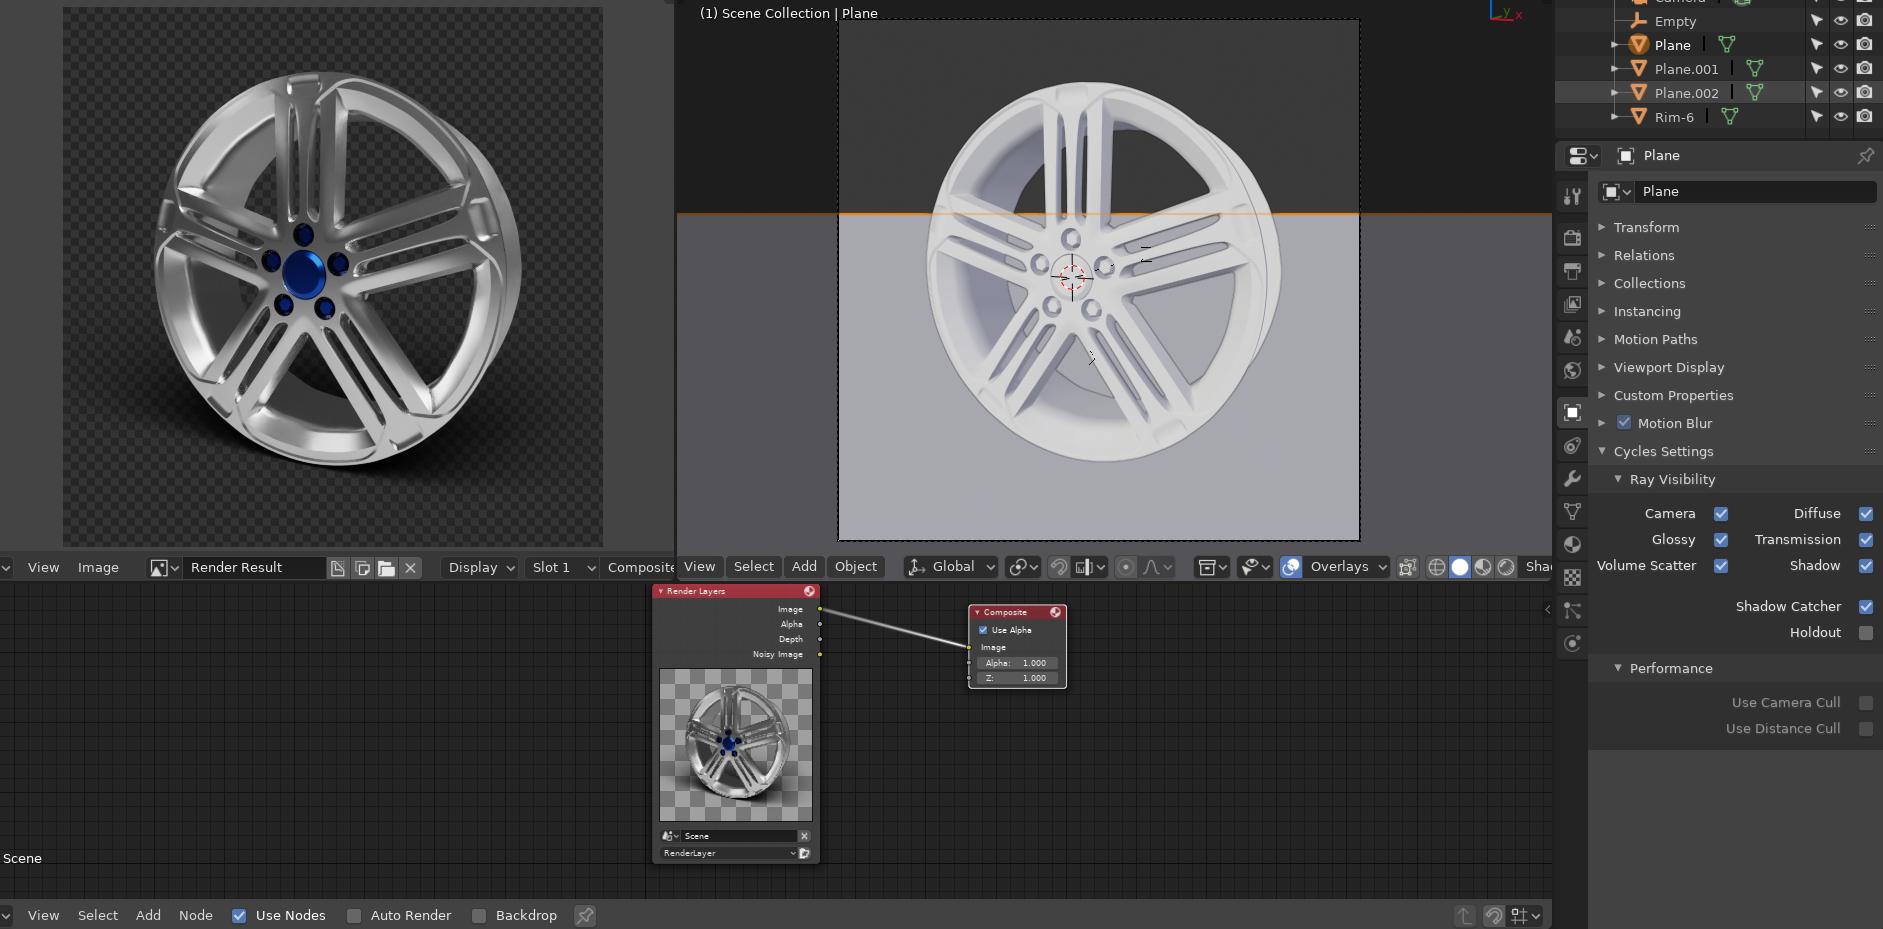
This is my scene : http://pasteall.org/blend/index.php?id=51351 with 2 simple rings. I’d like to have the same angle product for all my renders, that why the rings are at the same place (in different collections"
Could you help me to modify my ‘studio’ scene to get a better result ?
Make sure the color is set to 100% white, I think the default is around 90%.
A bright studio environment map will be a good idea, you can then increase the strength of this to make the scene brighter from the world panel.
You will also want to increase the focal length to flatten the image and stop warping the center. Maybe 80mm? Also in the scene settings mess around with the color management / exposure until you get something you are happy with.
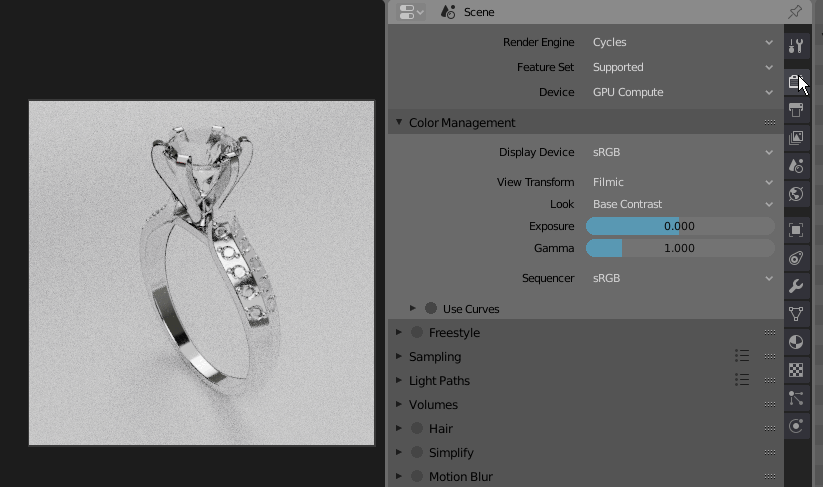
The thing with 2.80 is: Filmic is the new Default for “View Transform”! Set it to Default and you’re back on your track.
Oh, and “Color Management” is now stacked under “Render” properties, but still applies to whole scene and not just the Render output.
Whoever thought it’s a smart move, is just adding to confusion…
e.g.
This is a bad solution. The reason it looks more contrasted is because you are destroying the dynamic range which means more risk of blown out features or too dark areas.
The correct solution is to change the “look” field to “Very high contrast” also playing with exposure and gamma will help.
You can also use compositing to further tweak the image if you need to, but this becomes less of an option if you restrict your dynamic range.
The reason color management is in the render panel, is because it defines how pixel color is treated in the produced image / render. It has nothing to do with the scene. The scene is just a bunch of objects and world data, it has nothing to do with render processing.
Everyone should know machine’s limits, not blindly trust it!
And it’s a setting affecting the whole scene not just the render output. Don’t be so closed, look elsewhere, everywhere… even under the rock. But if we wanna get more - REC2020, ACES, LUTs… are jokes, i guess. Even this “Filmic” implementation is so-so… & Off topic.
This is software, there is no need for trust if you know how it works.
Here is a great article for anyone that doesn’t understand dynamic range or what filmic does behind the scenes:
I understand why you would think that the whole scene is affected by color management (the compositor labelling makes this confusing too), but actually the scene and all its objects remain unchanged. Only the pixels you render that are affected by color management. If you don’t render anything you won’t see any color management effects.
Oh, boy. Be wary of that video. & The character is self proclaimed “guru”.
Either consult with Troy Sobotka or better go travel the rabbit hole yourself.
And for the last time: THIS IS NOT THE PLACE TO GET ENLIGHTENED!!!
Thank you for your detailed replies. I have a look to your link, It is very instructive but i little bit too complex for me for the moment.
In my opinion ‘filmic’ will be a final good solution, but only when the scene is well configured. I have too much to do before this… type and number of lights, good silver material, render parameters…
Using an environnement texture (like in keynote) should be a good way to give ‘volume’ to silver reflexion, but i have to add more emission lights to be more precise with the colorbalance between black and white. Am I right ?
I used the add-on ‘light studio’ on 2.79, but it isnt develop in 2.8 ;( https://www.youtube.com/watch?v=NWPeuJ6I5kc
It was very useful to add lamps and rotate them around the pivot point. I didn’t find how to do this manualy in 2.8. I used the ‘track to’ modifier, but i didn’t suceed in fixing the distance 'lamp/pivot point. How could I do this ?
Thanks again
Oups sorry, sure it is keyshot (i am using keynote too
Do you mean that I cant have a keyshot render “style” in cycles ? not a good news. What is your suggestion ?
Eh eh , sure KeyShot ! (see my previous post. I was using Keynote at the same time, that’s why ;(
Oups, I logged with my ‘spam’ log… ‘Benjamin Hausbrandt’ doesnt exist… Here am I “Ben” as Bendicott.
Sorry for this. I just upload my picture to clean my Profile.
I mean “render in Keyshot if that is an option”. I don’t “do” gems myself, nor have I worked with Keyshot. But it appears to have features more suitable for gemstone and jewelry rendering. I’m sure Cycles has a bunch of tricks up its sleeve that Keyshot can’t do as well, but caustics, dispersion, and special optical effects found in some minerals and crystals, are not among them.
Otherwise, I use Maxwell~Render or classic Lux Renderer for these kind of renderings - takes quite less time to setup while processing power is in abundance nowadays.
Yeah, Cycles is great for almost everything, except caustics/dispersion/fire in things like gemstones, so it’s one application where a 3rd party renderer may be worthwhile.
I definetely support what burnin said there. You are dealing with specialized products that require physically correct interactions of light rays, although you can get some nice looks with Cycles, it is not meant to be a light path simulator.
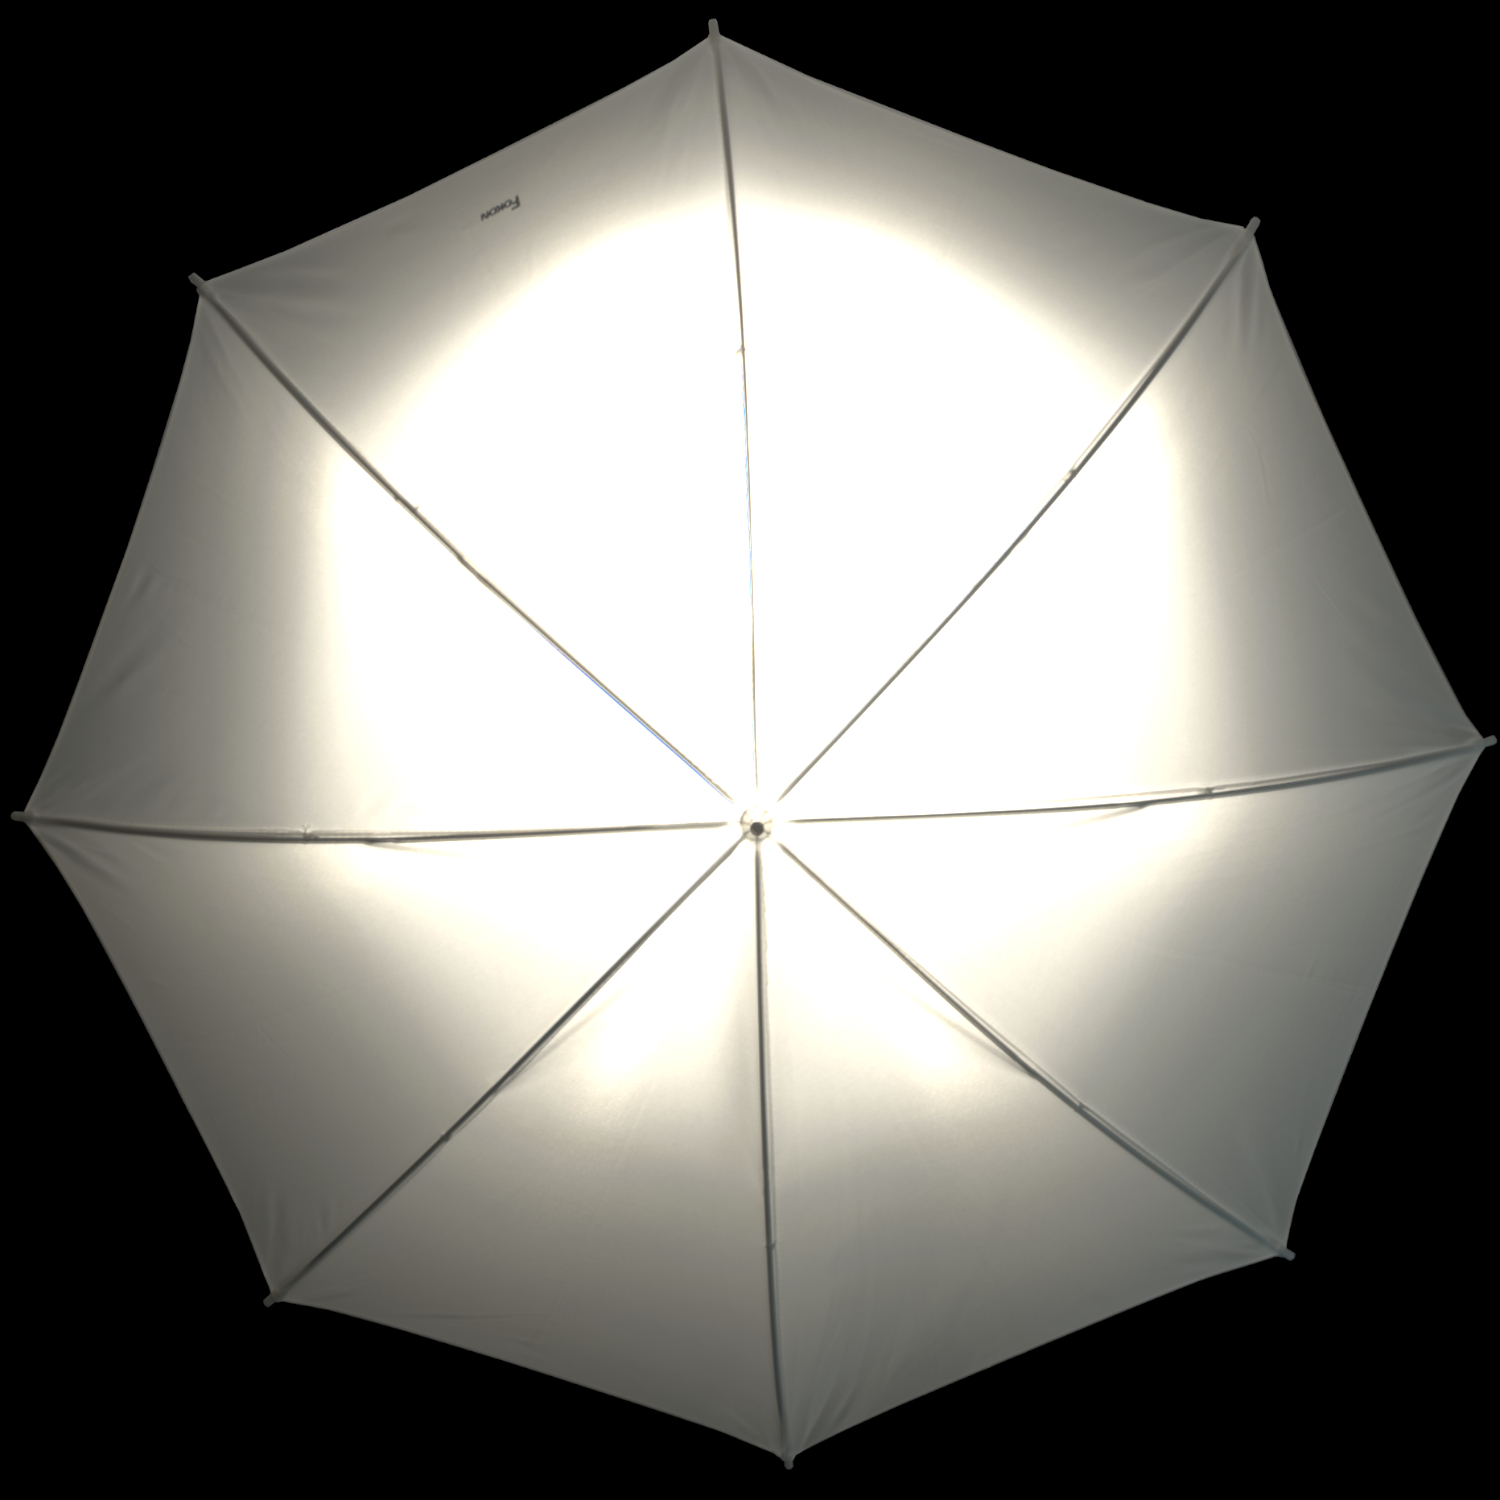
Whaouh ! BIG UP for your detailed reply. Thanks a lot ! I spent too much time on this ‘umbrella’ light and you explained me how to do (and with the source link). I really appreciate your help. I will do some tests a post my results.


 (and with the source link). I really appreciate your help. I will do some tests a post my results.