Hi folks,
I’ve been working on various furniture pieces lately with the hope of producing some portfolio work that might help me find work in advertising.
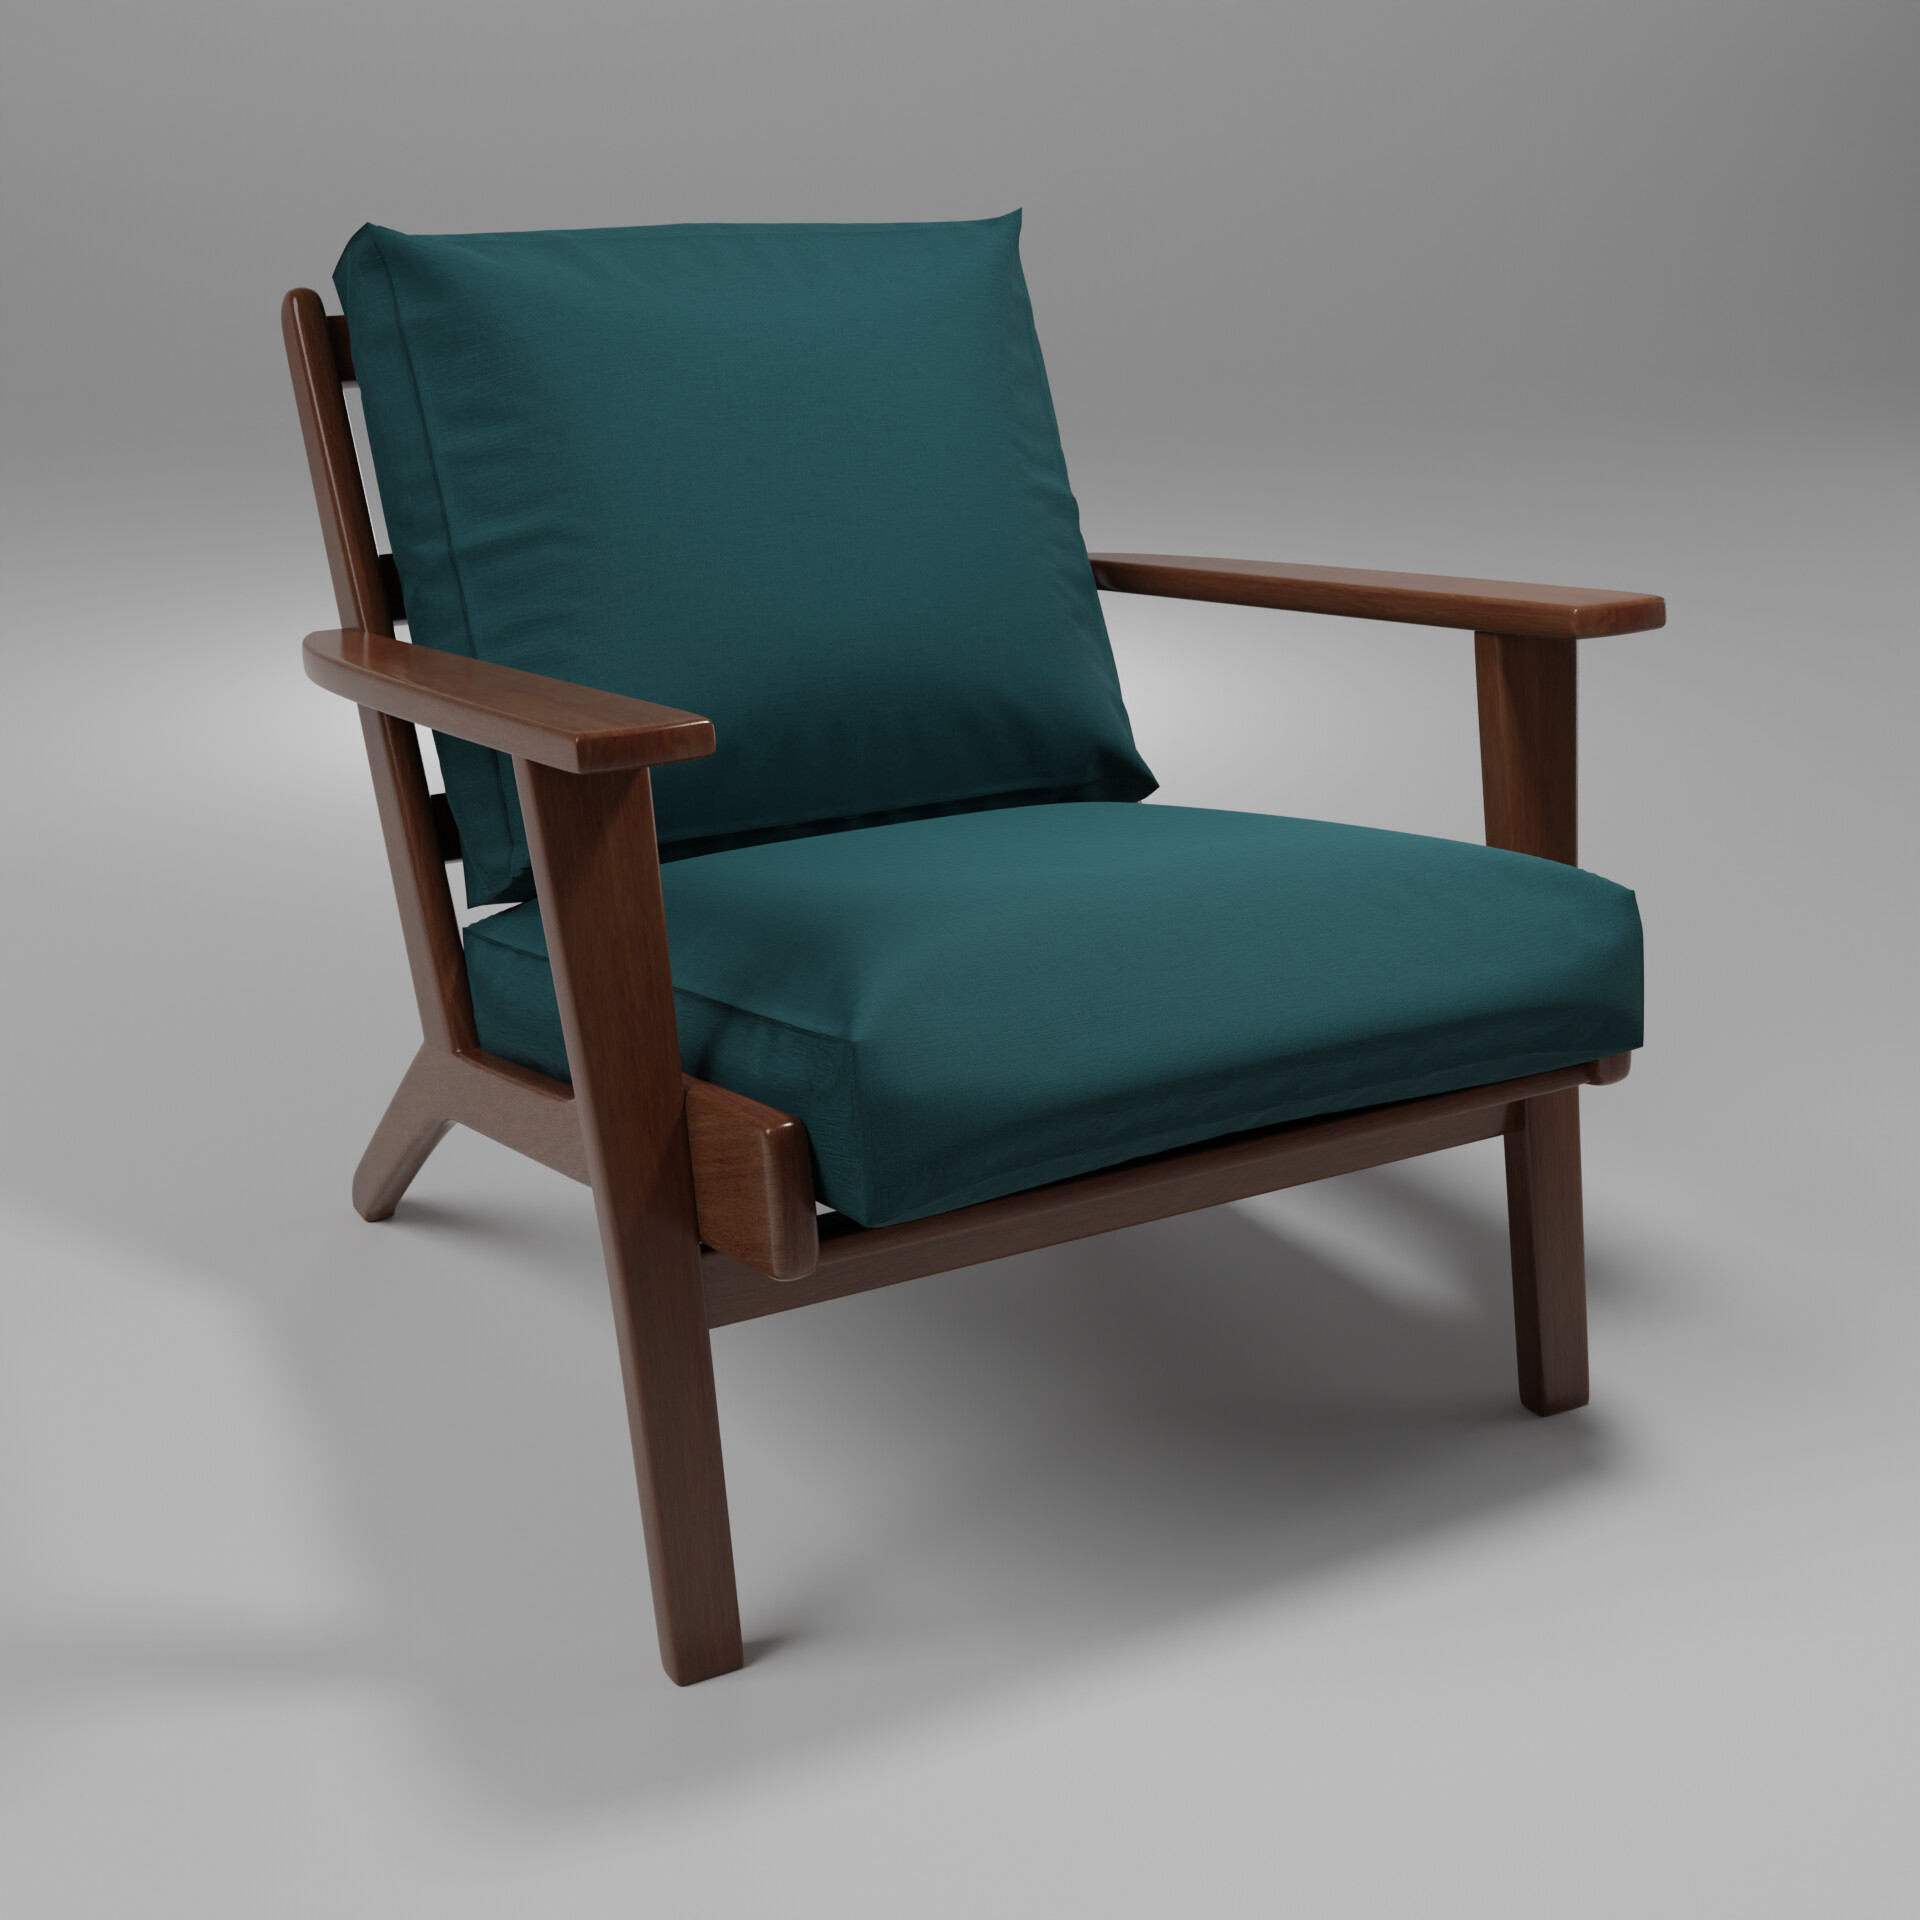
But I’m not sure I really understand lighting. Not being a photographer, I’m not really sure what I’m actually aiming for. I’ve tried emulating (the lighting style of) various photos I have seen online, e.g. this chair.
For example:
I guess what I am asking is - is it actually OK? Or am I missing something/doing things wrong?
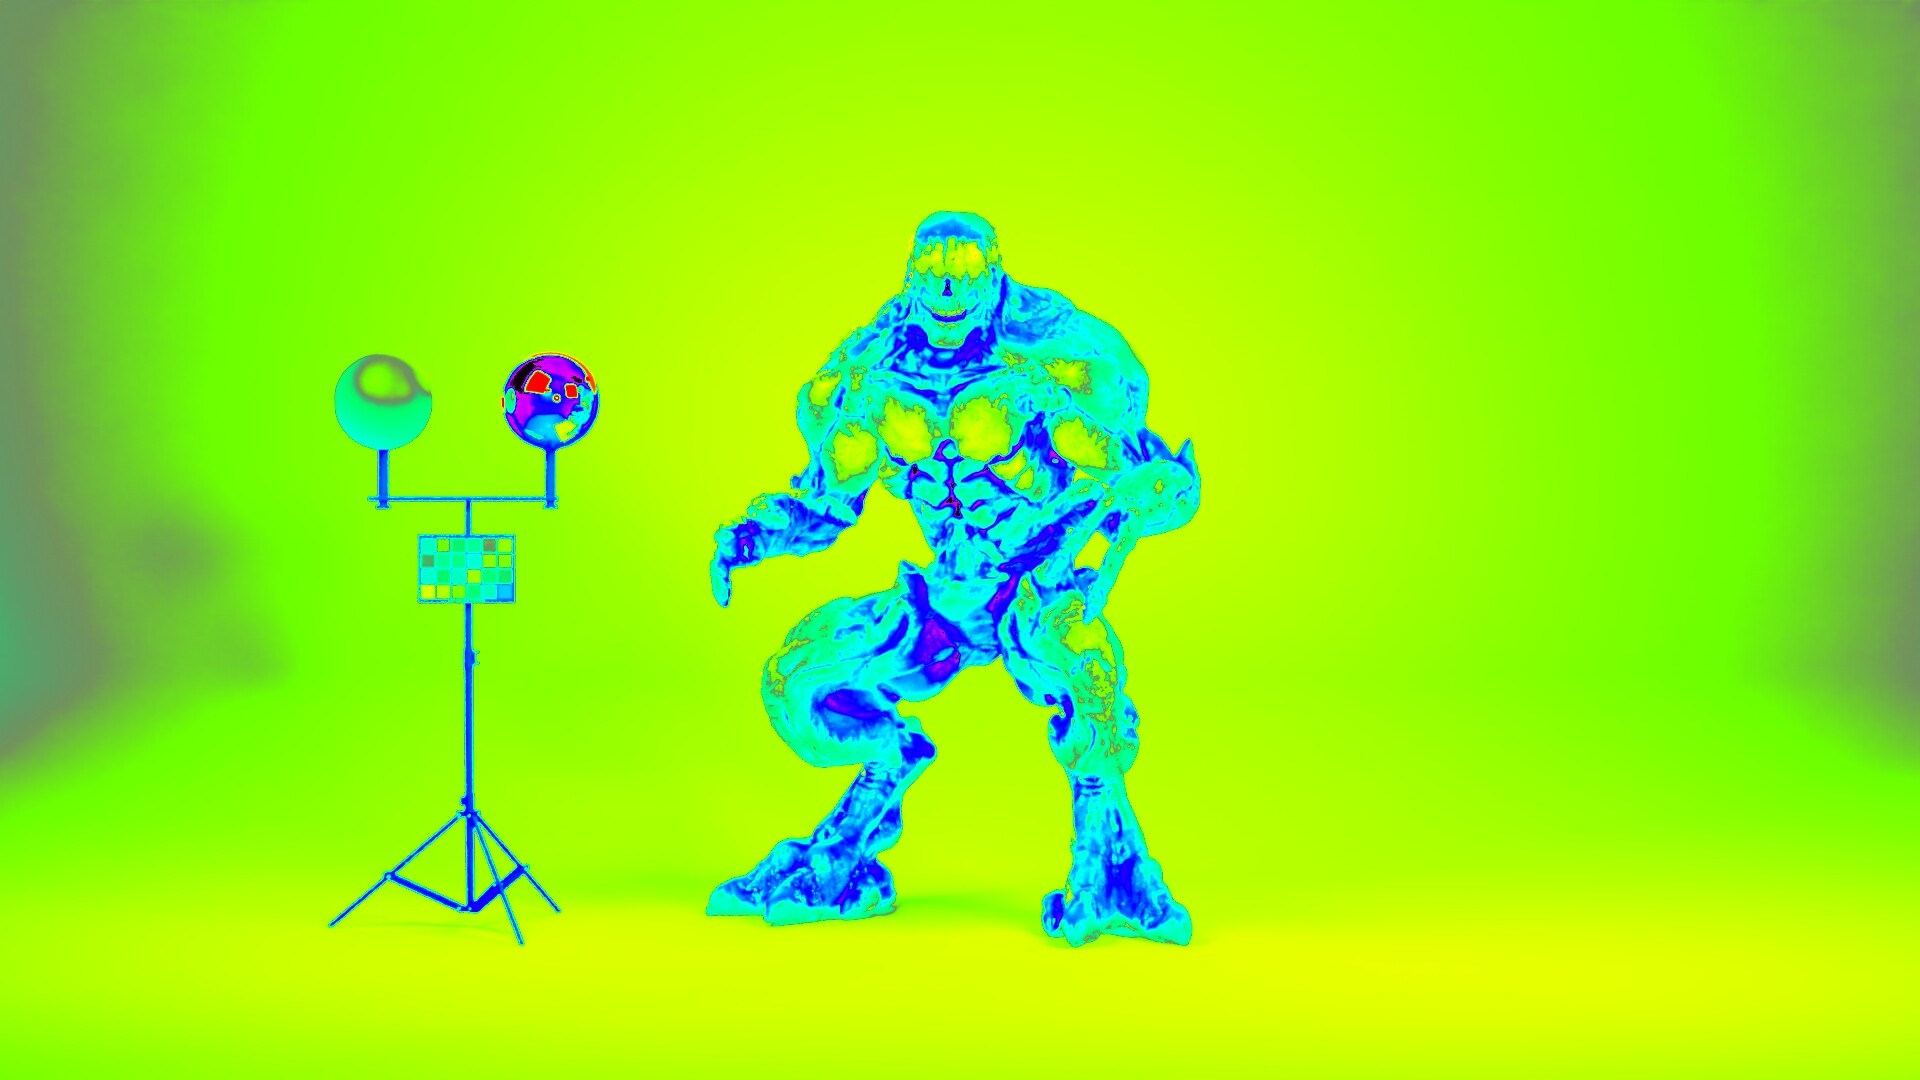
I’ve tried using the false colour filter etc., but I often find this hinders rather than helps. For what it is worth, this is how the image looks with false colour, which should be “wrong” according to what I have been reading. And against images on websites, it seems my image is still not bright enough…
2 Likes
Replicate a photography studio with correct scale. Render engines works better with real world parameters. Some people say that doesn’t matter and crank up light power to insane values, but all renderers try to replicate photons with physics accuracy. There’s several light rigs to accomplish a image and most common is a 3-point. Key, fill and rim. Once you start using real parameters render engines will all fell the same. Also use Blender camera presets, and focal lenghts that actualy exists. Start with 35 or 50mm.
False color is good to detect where is over or under exposed. You can’t have red (overexposed) or black/magenta (underexposed). In photography, those might generate pixel data that can’t be retrieved, for render is ok because is o EXR-32bit image, but is a very good practice to maintain a good exposure.
Videos for real photography: https://www.youtube.com/c/TheSlantedLens/videos
Color Temperatures: https://en.wikipedia.org/wiki/Standard_illuminant
Free book for CG lightning: https://chrisbrejon.com/
For more realism, cameras have some flaws that need to be replicated. Renders are too perfect. Here’s a file that can help with some of them: 10_integration_techniques.pdf (2.6 MB)
Lightning takes practice and knowledge, a lot. I’m still learning and there’s always something else to enhance your scenes. Keep pushing. Create a lightning test file.
1 Like
@lucas.coutin
Thanks for the advice, and those links. I’ll have a read through those and see if I can glean any tricks etc.
At least I am doing some things sensibly it seems. I model everything to scale, and usually use 50mm lens for this sort of scene. I did try having a go at 3 point lighting here, but I just find the image gets very dark if “proper” lighting is set up. Saying that, I do think this looks better than the first.
1 Like
I forgot to mention that studios always applies post production, normally done in Photoshop to still images. And it’s a lot of it, specially for cars. It’s like 40% CG and 60% post. Think the render as a raw photography, them you make some adjustments, grading. In time you will have your own style, just like photographers. I’m positive that you’re in the right path.
1 Like
Looking just at the original image and not any of the follow-through prior to this post, I think that it’s a satisfactory render of a chair. Probably the only thing that I would suggest is that right now the lighting is monochromatic – it’s “just white.” Whereas, if you watched a real-world photographer shooting that same “Almighty Product,™” you’d notice that there were slightly-tented "gels" on most if not all of the strobes. It is a thing that is not meant to be explicitly noticed, but if you look very carefully at most advertising images you will see that it is present. The gels are selected to use complementary colors, and the actual tint which each one conveys is very slight.
1 Like
@sundialsvc4 Thanks, I’ll look into use of gels too. All a bit new to me, I was never much of a photographer.
As for post-processing, seems like an art unto itself. It’s weird that when I see images posted here people often spend a while discussing the blender stuff, but then hand wave over what they did in PP.
The legendary (film …) photographer, Ansel Adams, perhaps said it best when he said:
“A photograph is captured in the camera, but it is made in the darkroom.”
And, in fact, you can take a journey to Tucson, Arizona, to the “Center for Creative Photography,” to understand exactly what he meant. There, you can actually go into a darkroom, with an exact copy of Ansel’s original negative, and Ansel’s original discussion of what to do with it. Yes, he teaches you exactly how he made Moonrise Over Hernandez, and challenges you posthumously to do it again.
Even though folks like Ansel were necessarily constrained to film, and were dealing with printed, vs. video, media, many of the principles are the same.
Thank you for the links lucas.coutin. And the Post Grant - A nice way to learn new things here.


