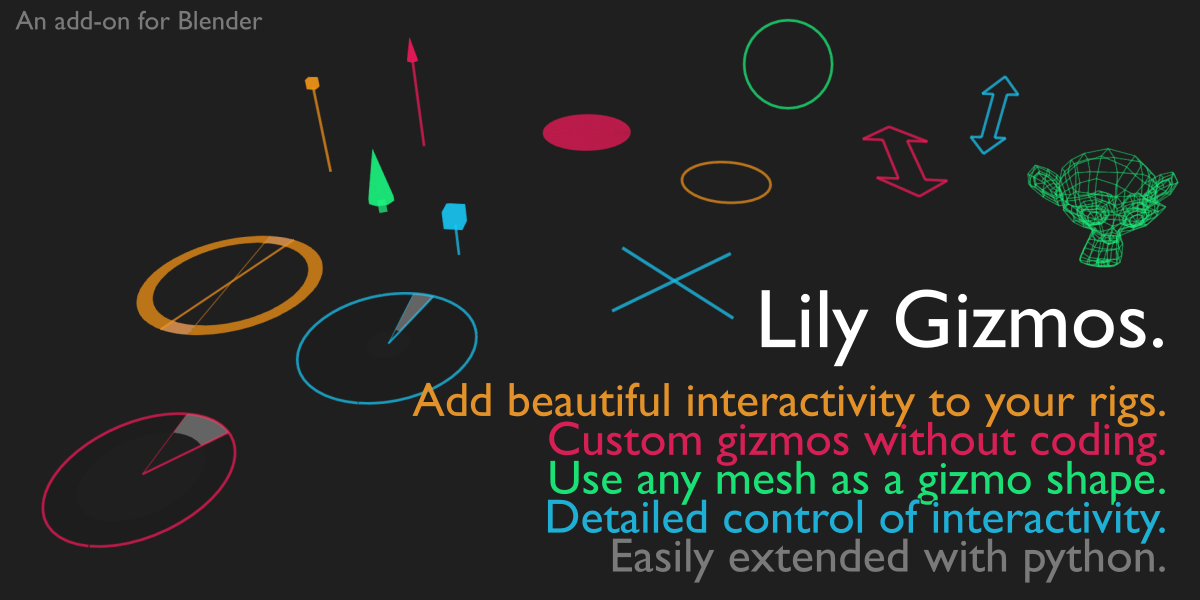
This is the official support thread for LilyGizmos, an add-on that helps creating custom gizmos without any coding and save them into scenes. Feel free to ask any question, give feedback and suggest new features!
In the Empty properties, enable LilyGizmo. This shows extra settings.
Chose the gizmo type: Angle or Move 1D/2D/3D. This defines how the user’s moves are translated into changes of the target parameter(s).
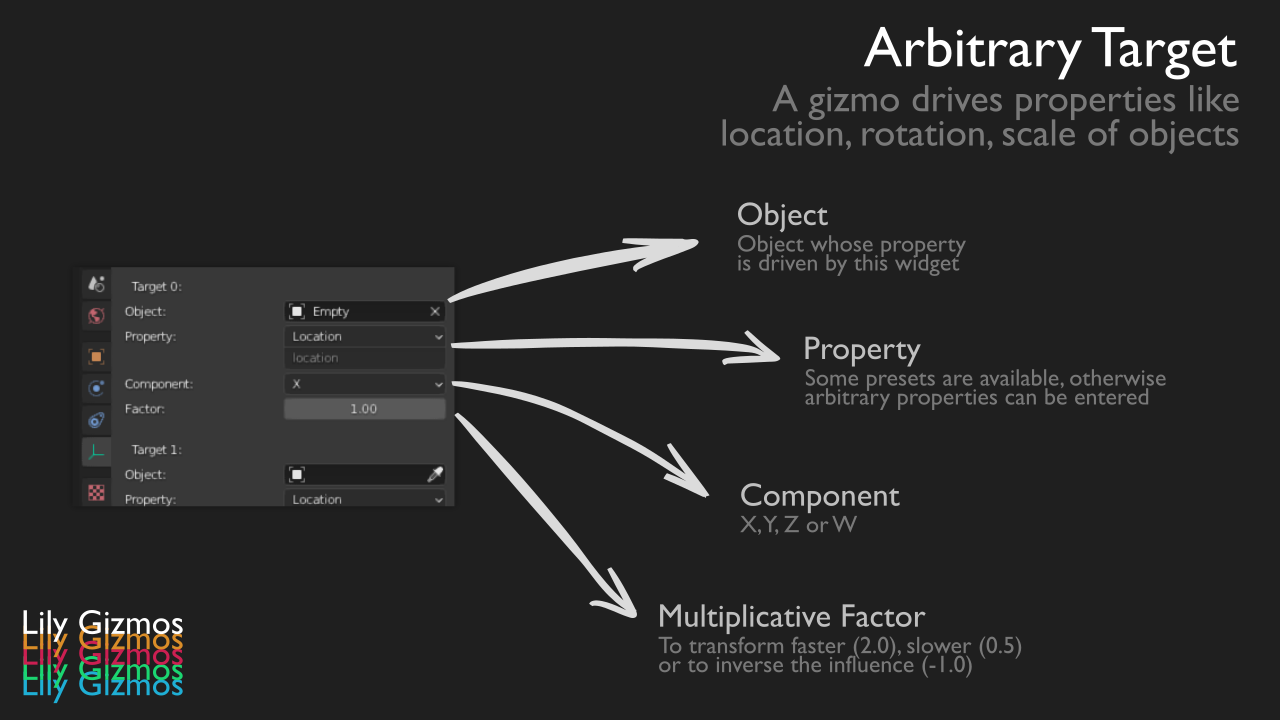
Setup the target(s), namely what in the scene will be affected by the gizmo. A target is a component (X,Y,Z,W) of a property (location, rotation, scale, etc.) of an object.
The location and orientation of the gizmo is set by moving/rotating the empty around. If it feels wrong, try resetting it to the origin.
If the display of the gizmo is not updated correctly after changes, use the Update Gizmo button, or turn gizmos off and on again in the Gizmo Display menu.
Menu Instead of steps 1. and 2. above, you can use the Add object > Lily Gizmo menu
Custom target property You can use dev tootltips to know what to use as a custom property if loc/rot/scale is not enough for you.
Angle widgets One usually wants angle gizmos to follow the object they target. To do so, use a Copy Location constraint rather than parenting the gizmo to the object.
Hide Empty Disabling the empty in the viewport will eventually hide the gizmo too. If you want to hide it while keeping the gizmo on, set its Empty Size (not the scale) to 0.
“Move” gizmos will usually be at the origin , at least for their coordinate corresponding to the one they drive.
“Angle” gizmos must usually be parented to the parent of the object they drive, not directly the object itself (actualy it works, but it’s weird to drive the rotation of the object from a gizmo that also rotates with it). Alternatively they can have a Copy Location constraint to follow the target object without being parented to it.
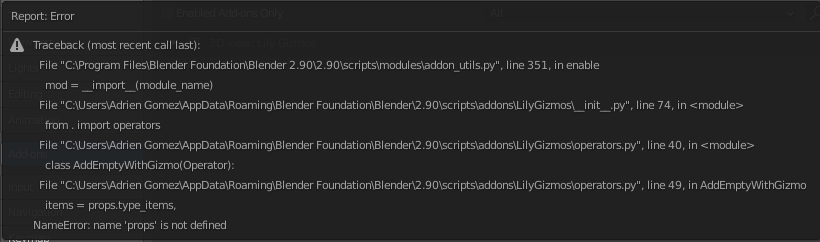
It seems full of potential but the biggest problem as of now is that if any movement occurs, and I try to Ctrl+Z, it loops and kills my ram and my computer with it. Like this :
-Target the gizmo to a cube
-Click and drag the arrow in the Z-axis
-Ctrl+Z right after
-Ram usage skyrockets and crash blender and the computer
And also if we want to animate motion, we have to click on the object first. And we don’t have control over its value properties. Also, when I move the object I can see with the “Scripting: info” window that the gizmos don’t update like it would when moving an object with the shortcut g. So that might be why it works in a bit of a strange way. (And why it might crash too,idk.)
But I have close to no coding knowledge so I’m just hypothesizing. But I do hope that the Ctrl+Z problem have a fix, even if it’s a local fix. Because I really like the idea of those gizmos. They make the interface more interactive which I like.
Thanks for the addon! Just purchased it and found it nice
I also have a feature request (or two):
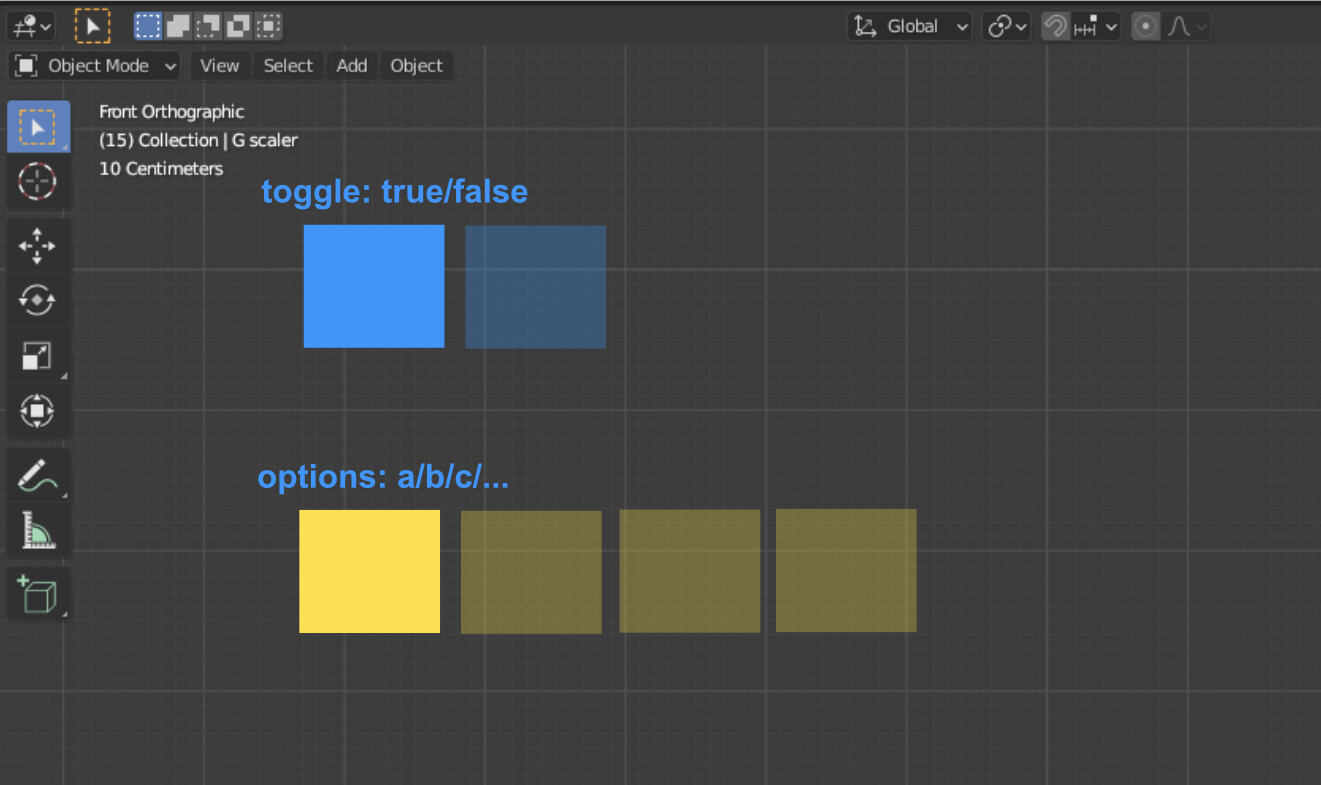
Toggle gizmo: Allow setting true/false value to custom property. Sometimes these could be as simple as setting the value, but it should be also possible to call custom python code with the value when clicked
Option gizmo: Group gizmos and make them selectable. What I’d like to do is to call a custom python script/callback with a selected value. Perhaps that callback code could be set right in the Blender user interface.
To me, these should not be impossible to implement. I can do Python coding myself, but always found the Blender Python API and Addon structures intimidating