Working on a new model, a Lily. I’ve started this project several times in the past and was never happy with the results. This time it’s coming along a little better. I’m thankful the the members in this group who helped me understand how to apply different textures to each side of a plane primitive. My next step is to add leaves to this model.
Is this rendered in cycles? If it is look into adding a touch more translucent to the flower. Also…at this close of a shot you’d almost see the small “hairs” that would be on the stem. You can add these via the particle system. Other than that I think it looks pretty good. Look into putting a background in though. That will help with the realism also…the yellow part…forget the real name…is made up of very small balls. Either use the particle system to acheive that or physically model it. That will set it off some more…
Thanks for the feedback. This was rendered with the Blender Internal engine. I like all your suggestions. For the pistil I used a texture from a photo of a lily and I thought if I used a bump/specular map that I would get the proper effect. Didn’t work that well. I’ll give the particle system a try. Appreciate your input!!
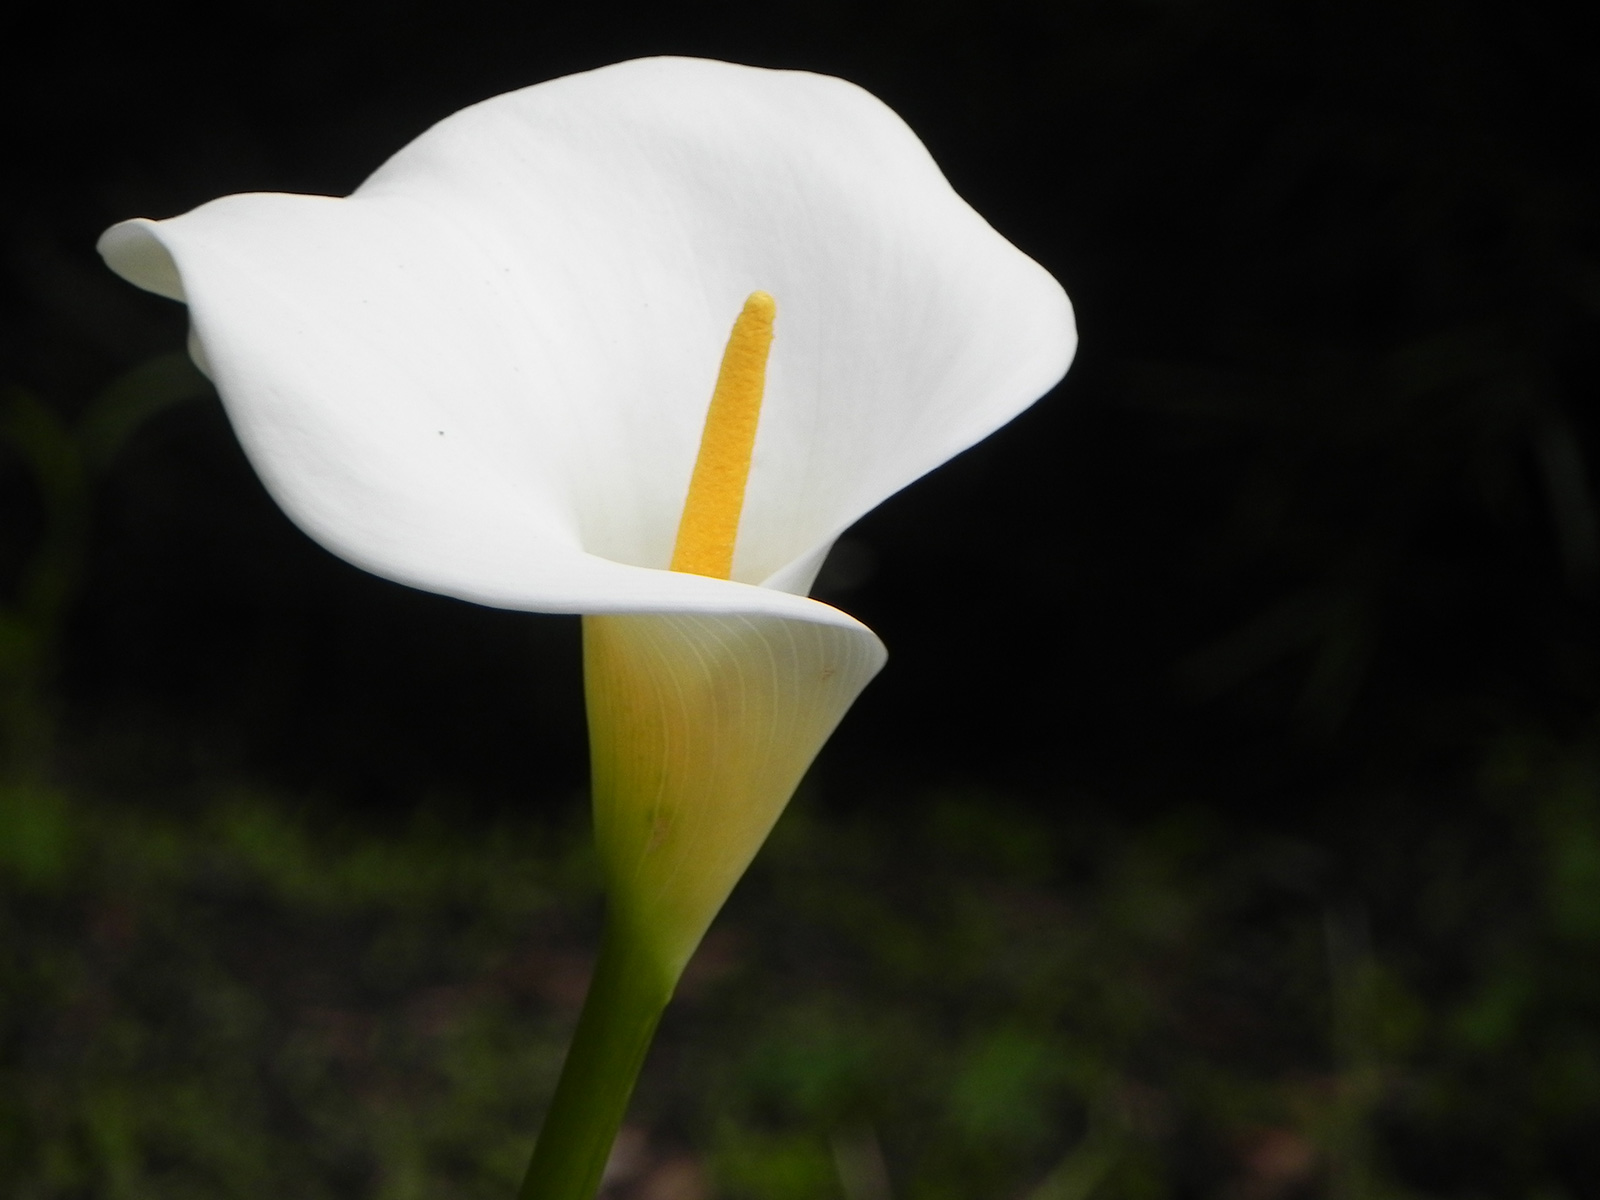
I think there are several varieties of lilies. Here is the pic I am using a reference. I’m not trying to recreate the picture but I am using this to determine how textures should be applied to my model.
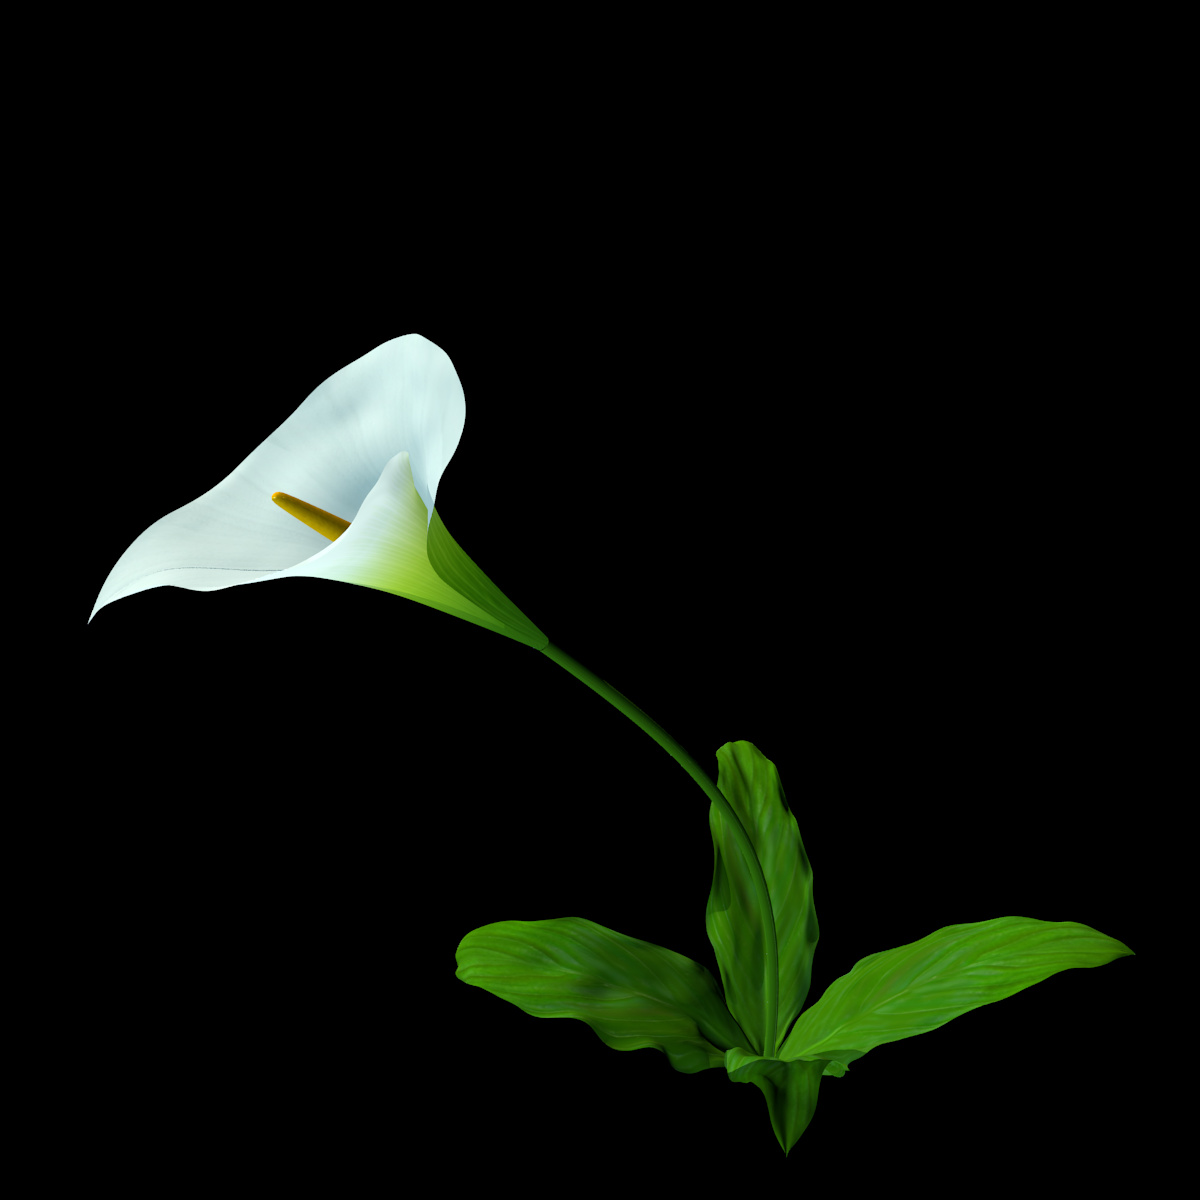
I adjusted the Translucency properties on the material settings for the flower portion of the lily. I set the value to 0.500 and like the effect. I’ve also added some leaves. My next step is to work on the fuzz that was recommended for the stem. Here’s where I’m at so far…
I’m having problems with the particle/strand settings. I’ve tried several settings but cannot get the strands to start out the way I would like them too. When I create hair particle system using a sphere, all the strands emit from the sphere nice and evenly and I’m able to manipulate them (length, thickness, children, direction, etc) the way I want too.
I am not having much success when applying the hair particle system to a cylinder shape. The strands all seem to emit (mostly) in the same direction as the original cylinder shape. Here is a sample of what I am referring too:
What I really want is for the strands to emit directly outward from the cylinder faces. Then I could adjust the lengths to get where I want to with the fuzz for the stem.
I’ve set up a vertex group for the stem and tried many other settings, but so far I’m just stuck. Any pointers would be appreciated.
Make sure your normals are facing out. In edit mode hit ctrl+n. Also a way to see what direction they are faceing is to bring up the right side me u with n and under one of those tabs there is a check box that says normals. Clicking that will show a bunch of blue lines coming from the center of each face. Make sure these aren’t pointed inside of the stem and point out away from the stem. Check your rotation tab in the particles settings…these could be off and may cause that also. Also click the advanced button under the emiitter/hair selection menu, gives you finer control over hair. Hopefully one of my suggestions for fixing the this will help.
The normals looked good. Strands facing outward. The Rotation tab seems to be the key. I’ve done a little experimenting with it and I’m seeing some better results. I’ll try the displacement modifier on the pistil too. Thanks for these tips! Much appreciated!!
I’m really frustrated with the task I am trying to complete. I’ve worked on this now with the limited time I have for the past 3 evenings and I’m still not figuring this out. Could use some help. My task is to create the fuzz that you see on some flower stems when you get close up to them. I can achieve the effect but only if the stem I am working with is straight. Anytime I try bending the stem, I have not been able to get the results I am looking for and I have tried numerous settings. I’ve worked with all the settings that seem reasonable in the Particle properties (such as those on the Rotation tab.) My stem is a cylinder, but I’ve also tried switching that out and using a cube with a subdivision modifier. I’ve tried recalculating normals, selecting to use faces and vertices for the normal calculations. Nothing I try seems to overcome the problems I’ll show below:
I’m posting 2 versions of what I am seeing. In the first version I have the particle children set to 0.500 so that it is clear what happens to the particles when you bend the stem. I the second version, I set my children lengths to 0.100. This seems to give a an effect that I like on the stem. (Note… I’ve come up with some particle (parent/child) counts that produce some really good results (better than the ones shown here) but only on a straight stem. (cylinder) So… I know I can achieve the look I’m trying to achieve but not when the stem gets bent… no matter what I do… please help!!
Here is the first version that magnifies what I see… the 3dview and a render of it:
I was only able to attach 3 files to the previous post. Here is the rendered view that shows that the particle system if used properly will give me what I am looking for. I just need help understanding what settings will give me a display on a curved cylinder, like those that are shown on the straight cylinder.
Any assistance with this issue would be greatly appreciated. I’ll be happy to capture and share the settings in my particle tab and/or on my materials (strand) tab if needed. If you’ve seen this type of behavior before and know exactly what I need to adjust, that would be very helpful.
How are you bending the stem? Are you physically bending it in edit mode? Are you using a modifier? If you are using a modifer apply it before you add the particle system or move it below the particle system. I have not had this issue. These are the only things I can think of that might cause this.
I am bending the stem in edit mode, no modifiers, but using the smooth smooth option. I’m going to re-visit vertex groups and see if that might make a difference. I’ll also reach out in one of the other forums here too. Thanks for the reply!
Seems like the curve modifier improves the results. I may be able to go with approach for the stem. Here is the difference I’m seeing when using the curve modifier with the particle (hair). I think it’s starting to look like I want it too.