What material should I use for FLAT (1 polygon depth) curtains? Curtain completely covers window, transmits light, and SHOULD NOT be over-brighten by sky light (only sky, no sun light in the scene).
Am I need to do light tricks? For example, to simulate powerful flashlight of a photographer or create invisible lamps on ceiling/walls…
How can I increase rendering efficiency?
How much samples/pixel I need to get nice production image? 2000 will be enough?
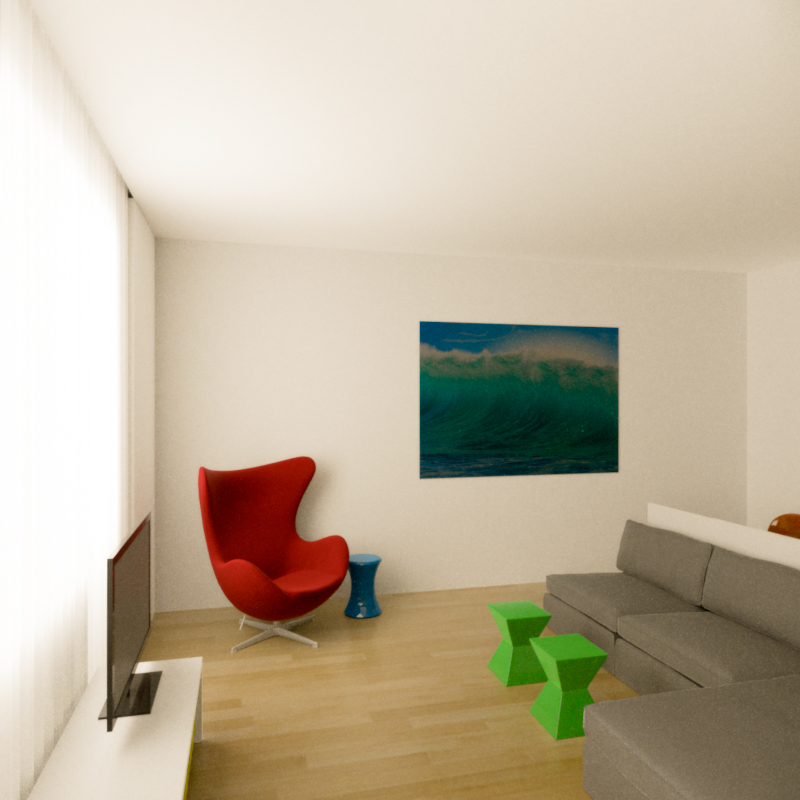
Try lowering the angle of the sun to get a bit more dynamic lighting. It often works wonders. Bright sun areas on the floor are natural, you shouldn’t be too worried about them. A lot of making them look nice is in tonemapping and post pro. Also, see #2:
The new cloth material will work great, and switch on the “alpha transparency” option in the materials tab. (this will mix it with a null material). Set transparency to “constant” and play with the opacity a little. This will make the curtains more sheer, which will prevent the room lighting from being so dark and flat. Don’t attatch a volume if the curtains are only 1-polygon thick. It won’t do much anyway for curtains. Note that if you are using the cloth material, you will need to be using the new 1.2rc1 release of Lux, and have UVs for your curtains. (just select all the faces and hit unwrap, since curtains are a solid sheet of material)
Shouldn’t be necessary. If you want a photography style softbox for whatever reason, just stick a big area light behind the camera.
Add a portal to the window if you haven’t already. Just make a big plane, slightly larger than the window, and place it just outside the window (it should be intersecting the wall). In the mesh panel, click the “exit portal” checkbox.
2000 ( ) is usually enough to make things look pretty clean. If you are using 1.2rc1, you can use the new refine-area brush to help Lux focus on the trouble spots if there are any left.
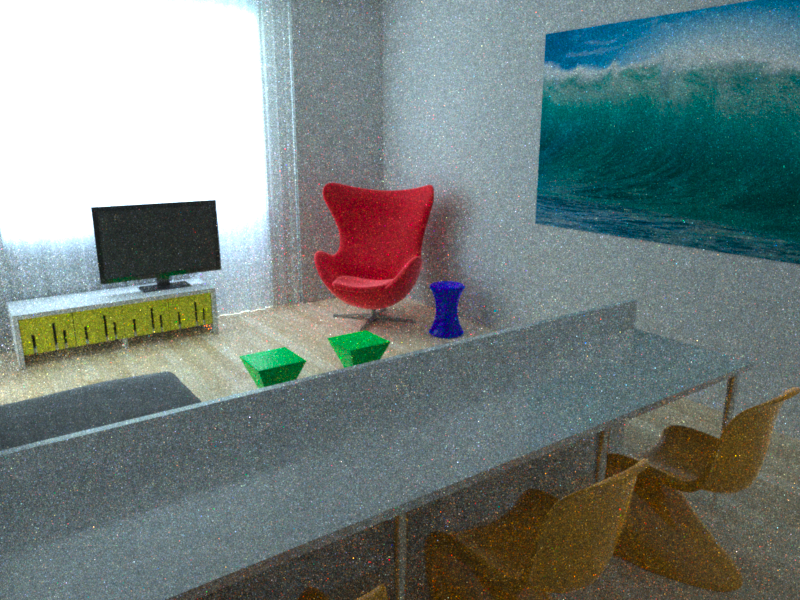
EDIT: Also, i’d recommend making your colors on the furniture look less saturated, especially if this isn’t supposed to be a kids room. Watch out that you aren’t ever setting any RGB values all the way to 1 or 0 with Lux.
If your having trouble balancing the lamps, Create seperate light groups for the interior lamps (ie interior) and one for the sun/sky (exterior).
You can the balance the gain of the light groups in the LuxRender GUI, until its how you wated. Then copy these gain settings back to the light groups in blender.
Don’t use maxconsecutiverejects=16, it will mute any bright areas in the scene and make things very inaccurate. Usually you don’t want to lower it, at least not nearly that low. The default 512 is usually pretty good and about as low as you want to go. For “caustic show” type scenes you usually want to raise it.

 ) is usually enough to make things look pretty clean. If you are using 1.2rc1, you can use the new refine-area brush to help Lux focus on the trouble spots if there are any left.
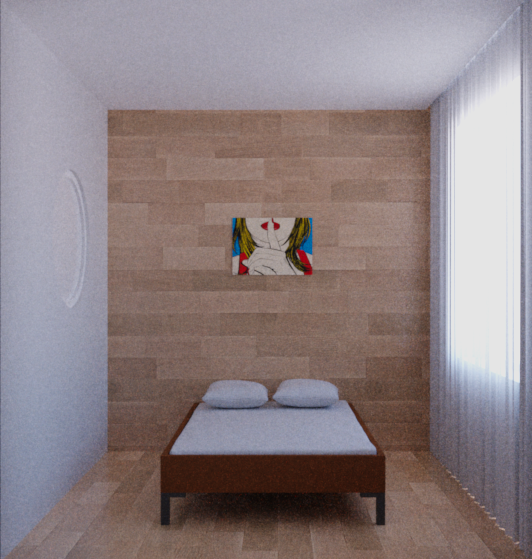