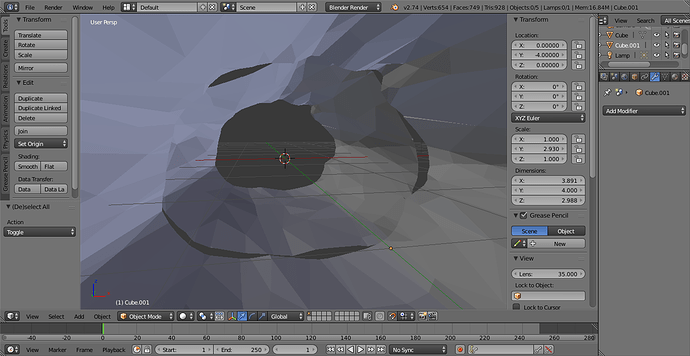
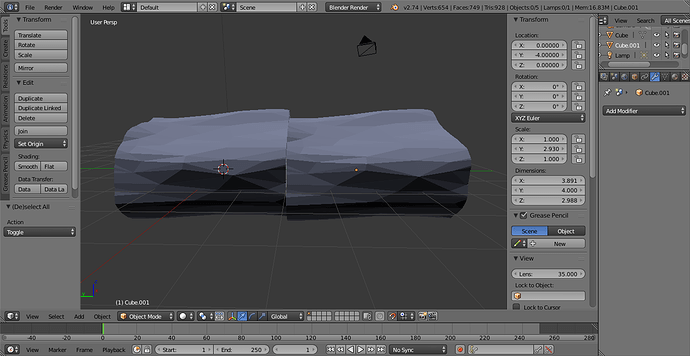
I’m making a modular cave structure and wondering, is there a way to align edges at the center? Both objects are same, I’m trying to make the mesh have same “connection” edges on both sides. I dont need to connect them, only align the edges of the first mesh, them I’m going to remove the second one. Is there any other useful tricks to quickly make modular caves or other architectural structures?
Edit: I totally missed the point of your question.
BTW seems to me more efficient for all of us ask these specific questions on http://blender.stackexchange.com/
It’s great site where you can get very well organised answers and question is there easy to find and follow for others in a future.
If your question is not already answered, ask 
@JA12: well explained 
It reminds me when I created complex curve seamless pattern with this Alt+D and Array 
Guys, don’t you wanna post it there?
Here’s one using shrinkwrap modifier
From top:
- original with random vertex placement
- linked duplicate from the original (alt+D) and moved to the side
- vertices joining end are added to a vertex group and that is used in shrinkwrap modifier, which is set to snap to nearest vertex
You can then make changes and the setup keeps another end matching. Might need to move vertices manually to get them snap to right vertices on the other end (if they’re close to the wrong ones). Linked duplicates don’t update realtime when they have modifiers in the stack which is a bummer but could remove shrinkwrap for manual adjustments and then add it back.
Might be even possible to make the joint uneven with this, which should make the joint less obvious
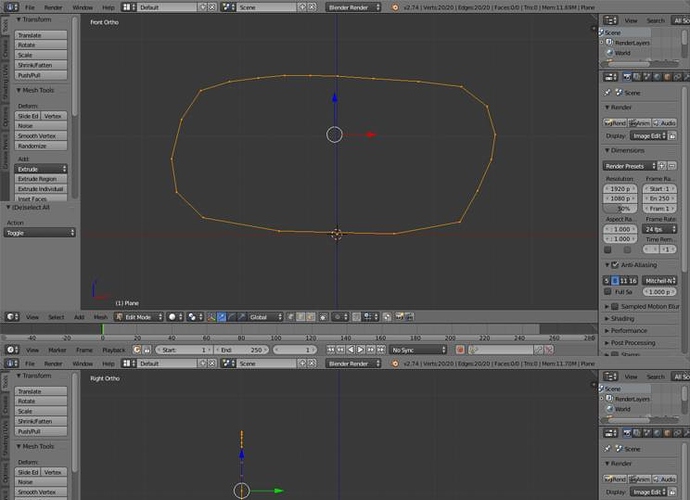
Remember that ends of modular cave must fit to gather. So, what you do is to create a edge circle, shape it like cross section of cave by moving vertex around. Do all that on a plane, front or side view. Now Shift + D to duplicate the cross section and place it at other end of module.
Bridge those two cross sections. At this point you have modular ends that fits perfectly. Now loop cut the polygons connecting the ends with subdivision segments of your choice. Have those newly created vertex selected, model rough interior by selecting Mesh >Transform > Randomize.
Method with shrinkwarp modifier seems to be very effective one, thanks.
I also found a way of making that by making the “connection ring” first, then extruding this ring to the other point of connection, masking edges in sculpt mode and then manually adding randomness.
This method requires manual snapped positioning of the connection rings, though.


