not sure how to sa what im asking, but i have an image in a pds file and i want to place it on my models hair, i found uv unwrap, so i tryed to put it on threw there… but couldnt work out after i got an image in the map, also how can i make it so the image i use shows were there is no image so it becomes see threw like because the hair fades out in the pds file, how do i get that to show, i couldnt find it in any hair tutorials
There are great hair tutorials out there, but this one will shore get you going:
http://blenderartists.org/forum/showthread.php?t=109989
To unwrap you have to select all polys and press U, then select a mapping type from the list. This will create a new UV channel to store the mapped polys.
im not really in need of tutorials on how to make hair i need more of a tutorial on how to apply textures i drew onto an unwraped polly map
You’ll have to attach screenshots or blends to better demonstrate exactly what model you have, how you’ve unwrapped it, what image you’re trying to apply and what you are hoping to achieve. As well as any other infomation that you think will help users here answer your question. Asking just how to apply a texture is just too generic a question when you have a particular objective in mind
My friend you reaaaaaaly need to reformulate your question: It looks like CANTINFLAS…sounds interesting but no sense. You must be more specific, look:
but couldnt work out after i got an image in the map…what the heck does it mean? What map? The model? the image over the UV-map in the UV editor? The unwrapped image? What do you mean saying I couldn’t work out? What? Did the render fail to show what you expected? You lose your image?
also how can i make it so the image i use shows were there is no image so it becomes see threw like because the hair fades out in the pds file, how do i get that to show Well again…what the heck?
Look my only answer would be: Did you create a texture with your pds image and select UV on mapping option? Otherwise the texture will use Global coordinates and it will show on different areas of the hair mesh…I am assuming you are using a mesh for your hair no particles right? or you are unwrapping your model and that’s what we talk about?
really explain it better, we are not in your brain.:eek::eek::eek::eek: If you speak Spanish go ahead.
Cheers !
>.<.the hair mesh map, that i took into gimp and made hair to fit and yes im using a mesh, particle is usless to me, which all the tutorials are on, i got my model nice and perty and readdy to make a uv map on sculptrice but befor i do that i wanna figure out how to map out normal textures and have it all nice n ready for a uv n srry i havn’t made a 3d model in a while and i kinda forget alot of the terminology and very new to blender, got alot more options than my old program
Sorry my friend I wish to help you but I do not understand your terminologies. You said you have exported the UV mesh hair into gimp and you already made the image for the hair, then you talk about normals nice and ready for UV map? You can grab your gimp image and project it in Blender mapped on the UV coordinates…if you pretend only normals then your image should be black-white and bump the Normal values in the texture. If you do not understand what I am telling you, then you need a more specific tutorial.
You look like you do not want to read any tutorial given to you from the community. Go to Blender.org, scroll down to the section “tutorials” and read about texture, unwrapping, UV maps. Your question is not concise at all, and it really tells me that you don’t know much about Blender. You need to start from the beginning, I see you are using sculptris by pixologic and you are mixing stuff that do not make much sense.Well at least to me, maybe someone here may understand you better.
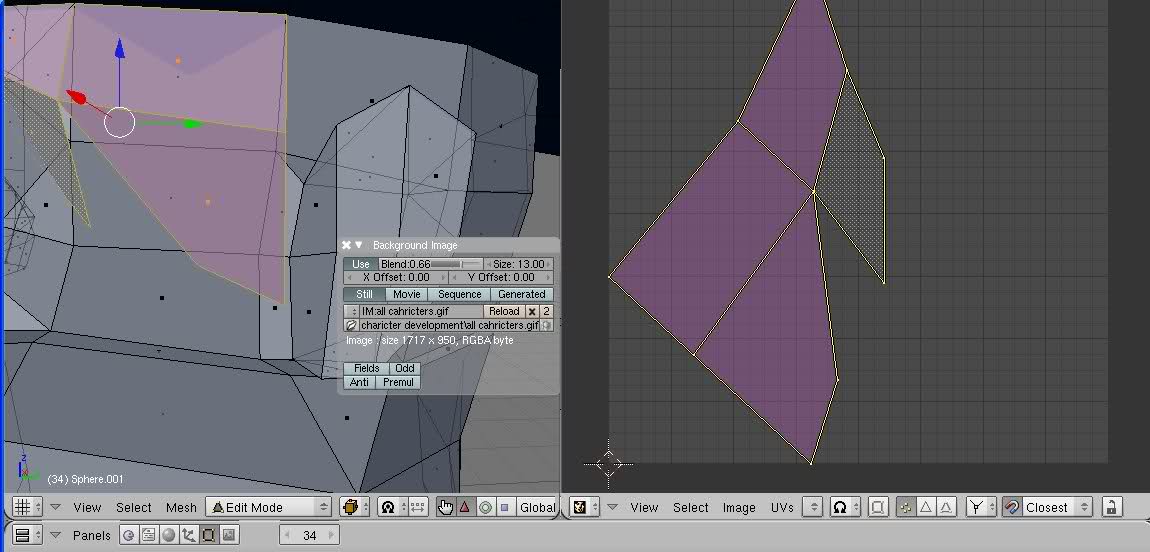
… i didnt say normals at all and i dont no much about blender its very different to what im used to, but its not by pixologic, its made by one man, and have you ever used sculptric? its amazing for uv maps but thats not the point, i know how to unwrap i already unwrapped the hair mesh, theennn and it was displayed in the uv image editor, then i uploaded the image, re scaled the hair mesh and then after that i dont know what to do, and im gunna read the tutorial, im just trying to explain to you better, here ill use pictures, this is a model (not the one im mapping right now but its easier to understand)

this is the map and i want to put an image there, and i dont want the non image area to be replaced by white
In the UV/Image editor window you can export the UV layout as an image that you can then paint on in an external editor. Since you can see the position of the faces you can paint just where you need to. You export from the UV / Scripts menu.
You can have multiple materils applied to an object (in blender 2.49 the maximum is fixed to 16) so you can split you model down with mutiple textures only applied to selected faces.
By the way as far as Sculptris is concerned, the developer now works for Pixologic when they recently aquired the program.
i know he works for them now i didnt know he had to hand it over, are you sure?.. i take it there gunna try and stop it, being basicly a free version of there product… balls