Damn it looks nice…I will say only if You want’ to take close up shot…Don’t think You will see it so much in that size…?
You are fast…I looked at some of your other threads…Wow…
Hector Rides Again…Clap Clap.
Tai
Damn it looks nice…I will say only if You want’ to take close up shot…Don’t think You will see it so much in that size…?
You are fast…I looked at some of your other threads…Wow…
Hector Rides Again…Clap Clap.
Tai
Thank you - you are so kind! :o I enjoyed doing the Hector thing…
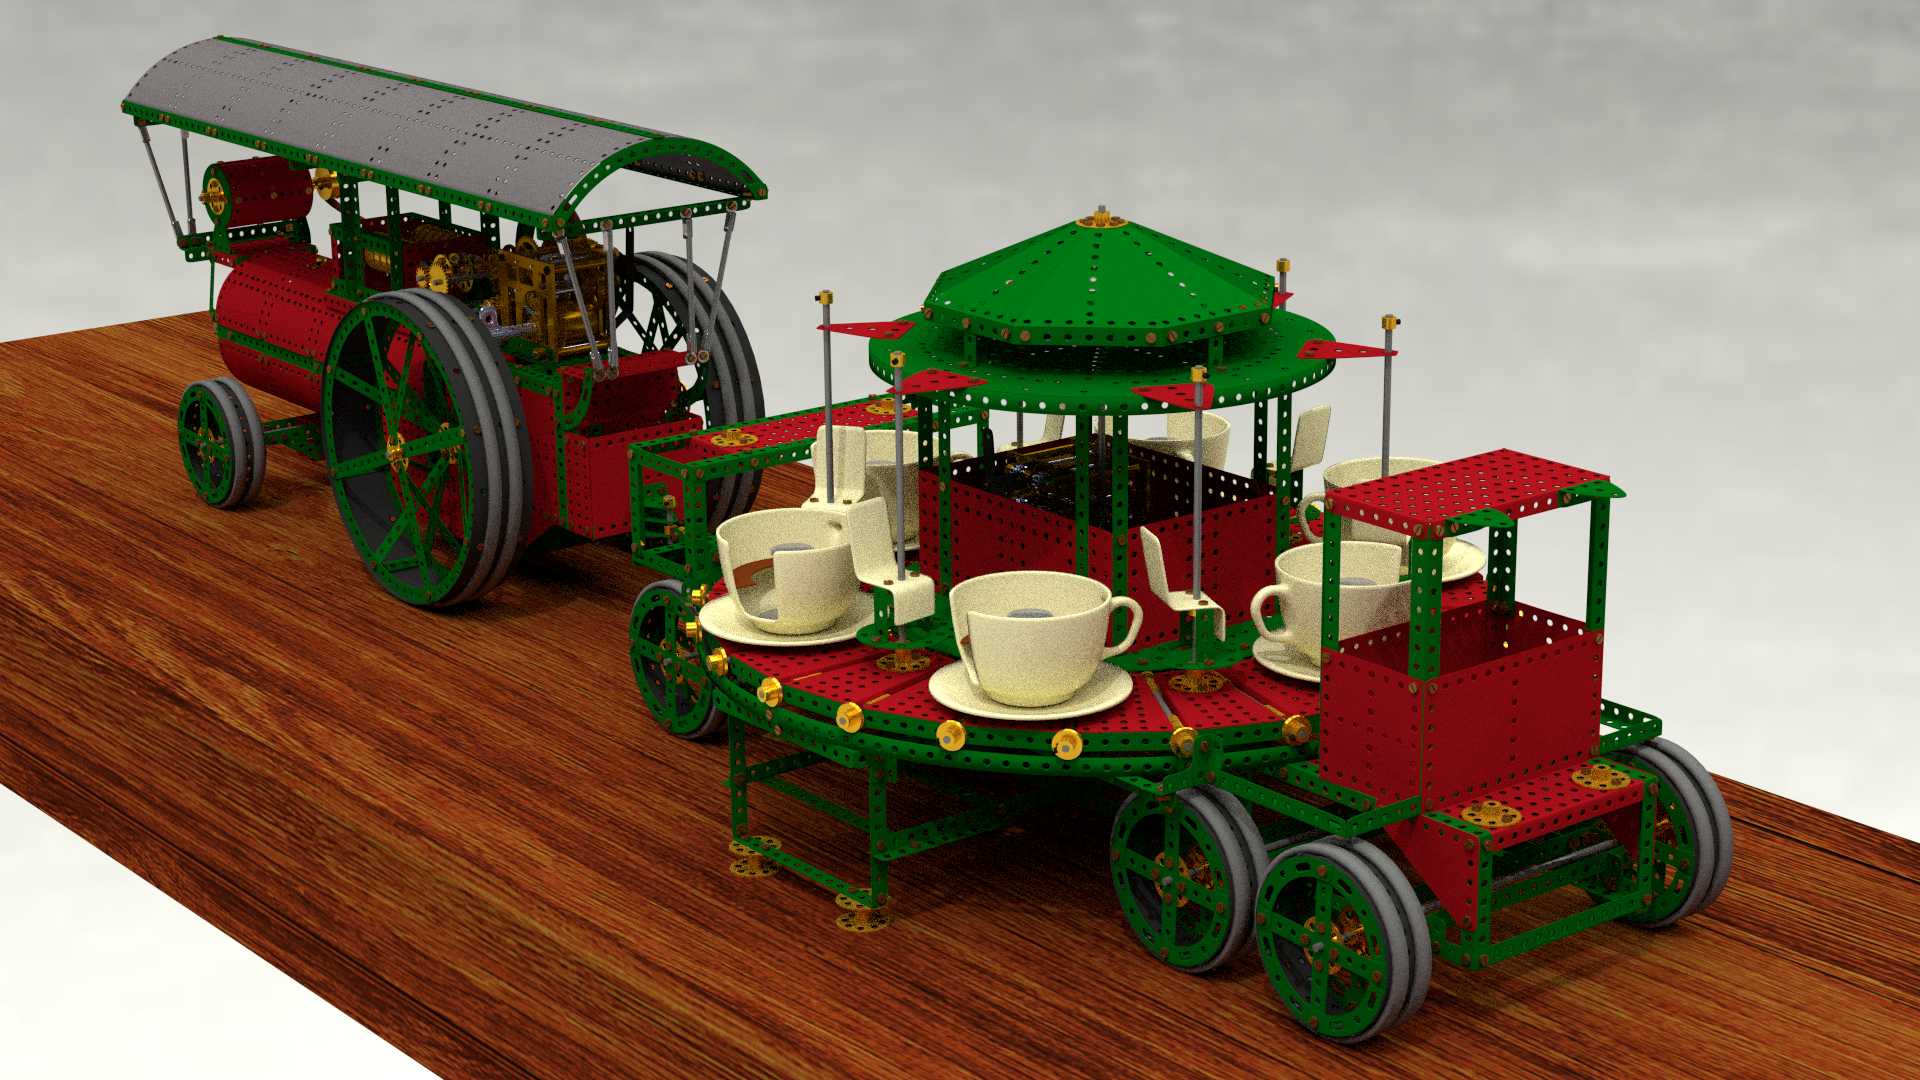
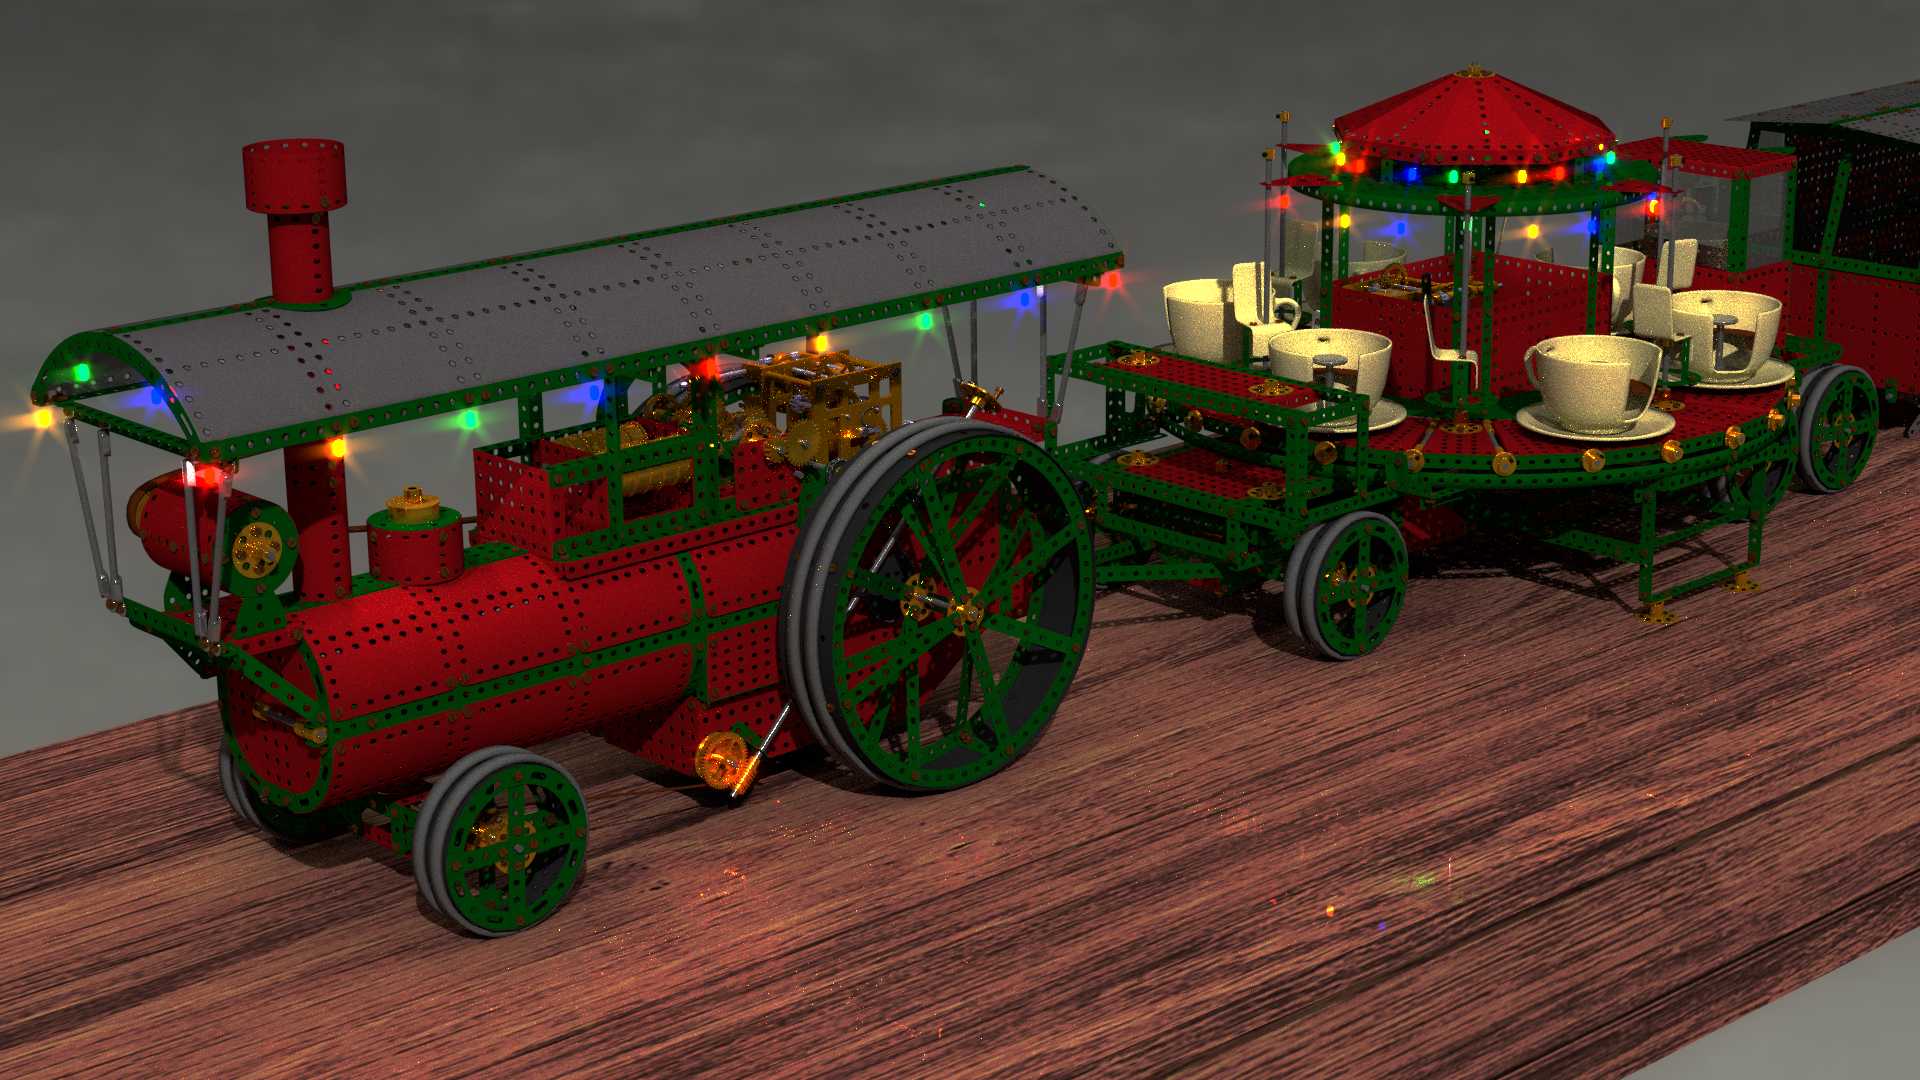
Here is an update - there is a hell of a lot of SHIFT+D in there so it’s not quite so time consuming. The rigging however is - I have added a second clockwork motor to drive the roundabout - that was not easy as it has to rotate itself. :spin:
So here is the update - I need some more light in there to show what is hidden under the roofs, I used to have a load of the old “Grain of Wheat” bulbs - 6 volt I seem to remember and about 4mm long x 2mm dia, they came in various colours - and I used to string those around my models and connect them to a battery. They all broke years ago so I have no examples left to work from. So here is the update:
The little chairs go up and down sinusoidally as the ride rotates, I will render a video shortly.
Cheers, “Carney Clock”. :RocknRoll:
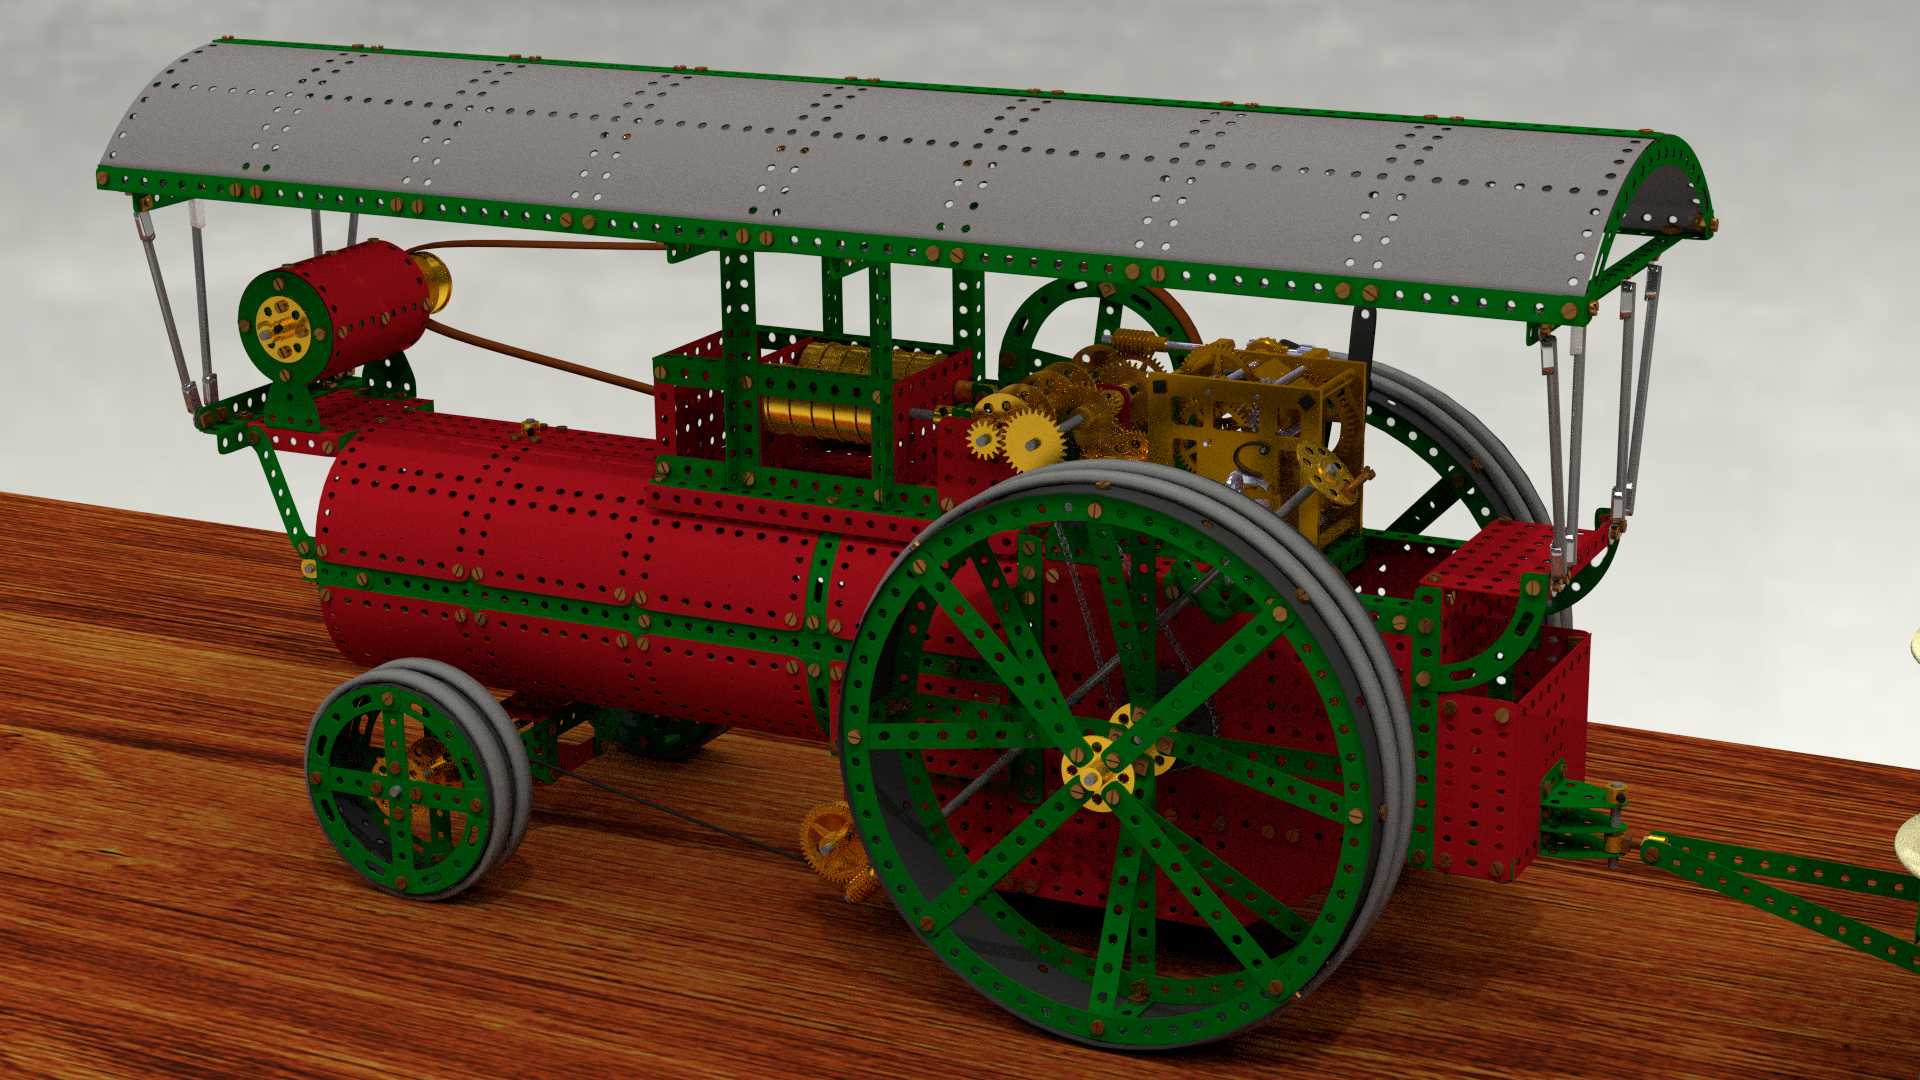
I have added the steering mechanism:
Two drums wind the black cords on and off to rotate the front axle, driven by a worm and cog. You should be able to see the shaft and winder on the left side… As usual all this has been rigged to work properly. 
Cheers, Clock.
Very cool, brings back some childhood memories.
Stunning models. I was also into meccano as a kid.
all the wheels I had have perished and turned to powder/gunky mess.
Same here. Even the (few) plastic parts on the old set have gotten too brittle to use.
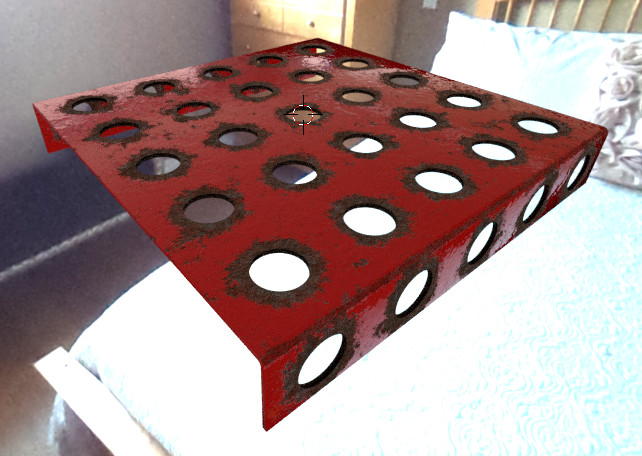
Weathering. You may be a far better meccano-keeper than me (probably everyone is), but my stuff had chips out of the paint like crazy. I did some tests
Here’s a single hole (32 samples):

Unfortunately I didn’t come up with a good way of varying it per-hole, or detecting edges, so a plate (non-measured holes) looks like:
Blend file:
Meccanno.blend (3.8 MB)
So this is how the make all those instruction manuals! Nice work! I’ll have to make myself some K’NEX some day…
Thanks for the comments and the blend file guys
The rust image looks really good and I have downloaded the file to look at later. My own Meccano is in a similar state after years of use followed by years in the attic just slowly rusting. I also have a mixture of green and red, black and yellow and silver girders - one day I might repaint the lot and give it to my grand children, or just play with it again myself…:o
My original intention was to do the model as “new” Meccano - just because there are now over 2,800 separate parts to the project and getting the chips and rust in all the right places is going to be a nightmare! In fact rigging the thing so its stows for transport and works as it should has required a mammoth effort. I may look again at the various methods of “distressing” it later as a separate exercise. In the meantime I have now made the caravan that goes behind the ride in convoy and will next make sure I have all the right bits in place and add the lighting. I had some very small 6volt bulbs as a child that I soldered to wires to make a chain of “fairy” lights for my various real projects, so I will try to re-create this and report back on progress. This lights themselves aren’t too difficult but the wiring will test me so it looks right and can be expanded.
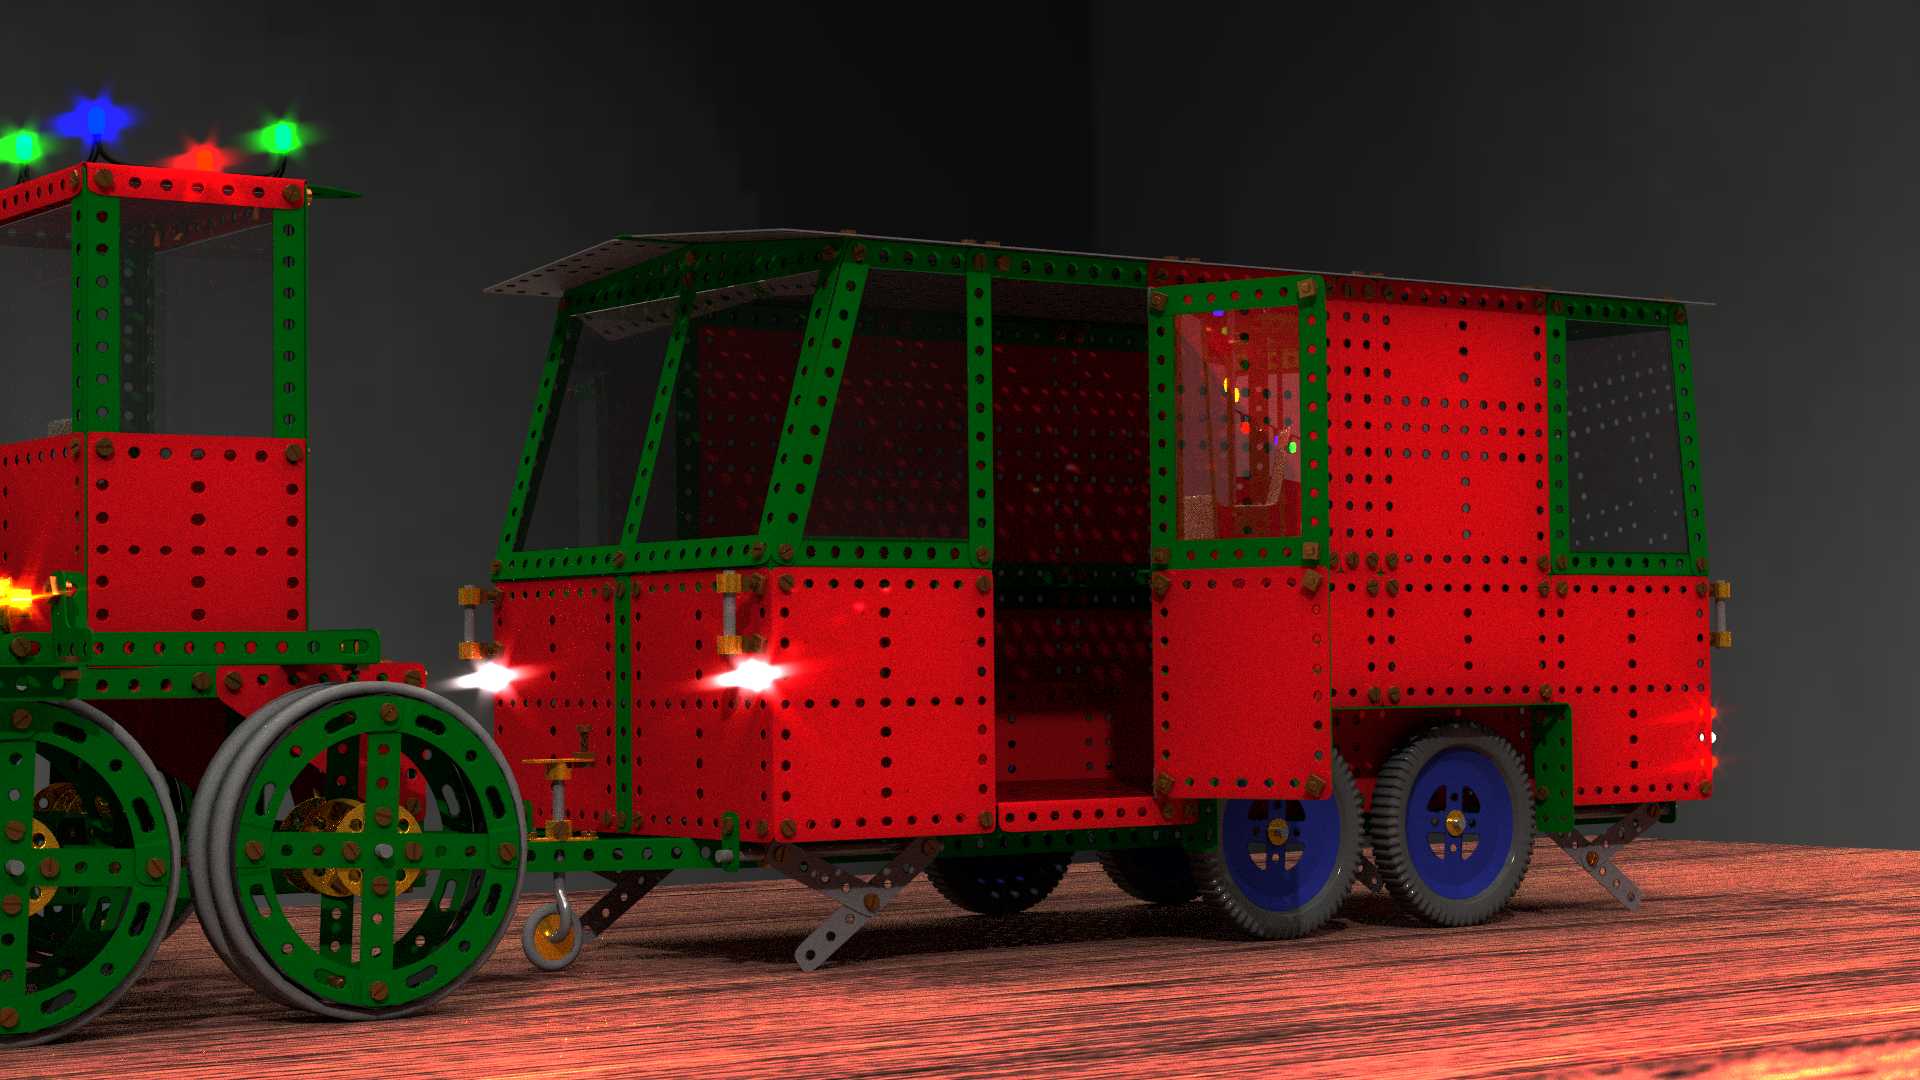
Here is the caravan, as I used to make it. I may add some more bits to make it look better. It would be good to add some handles, and I still need to make the door hinges, but the jacks are all built and rigged:
The windows I made from 1mm perspex sheet, cut to size and drilled in the conrers for mounting, I need to look at the glass material again, but this is just a first attempt.
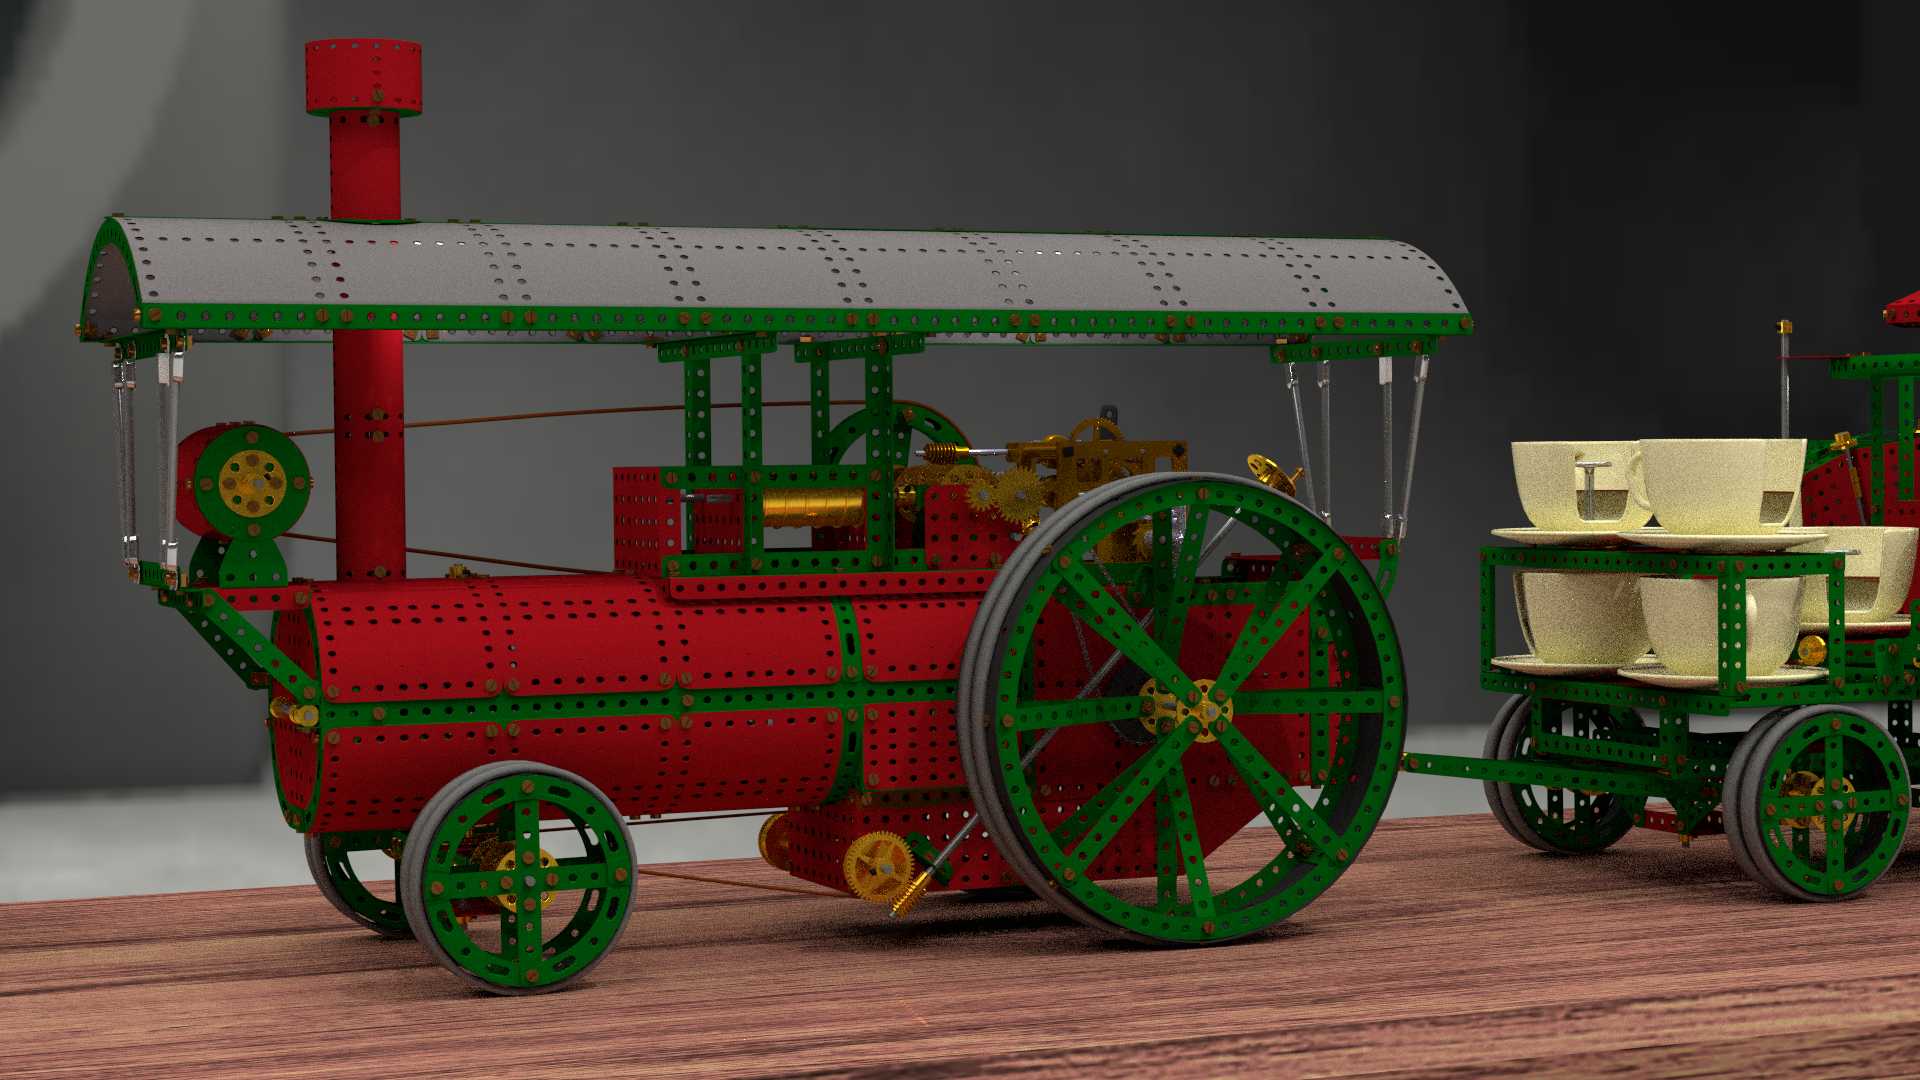
Here also the funnel added:
Cheers, Clock.
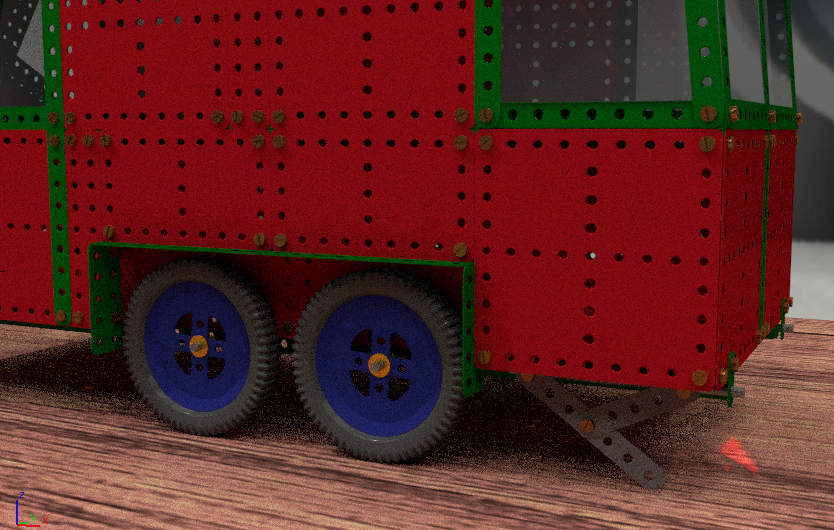
EDIT:
I forgot to post the detail of the wheels and tyres and yes there are the right number of treads…
OK - a first try at the little lights, it needs some improving, but I am not sure quite what just now. Maybe I’ll sleep on it…
Cheers, Clock. :RocknRoll:
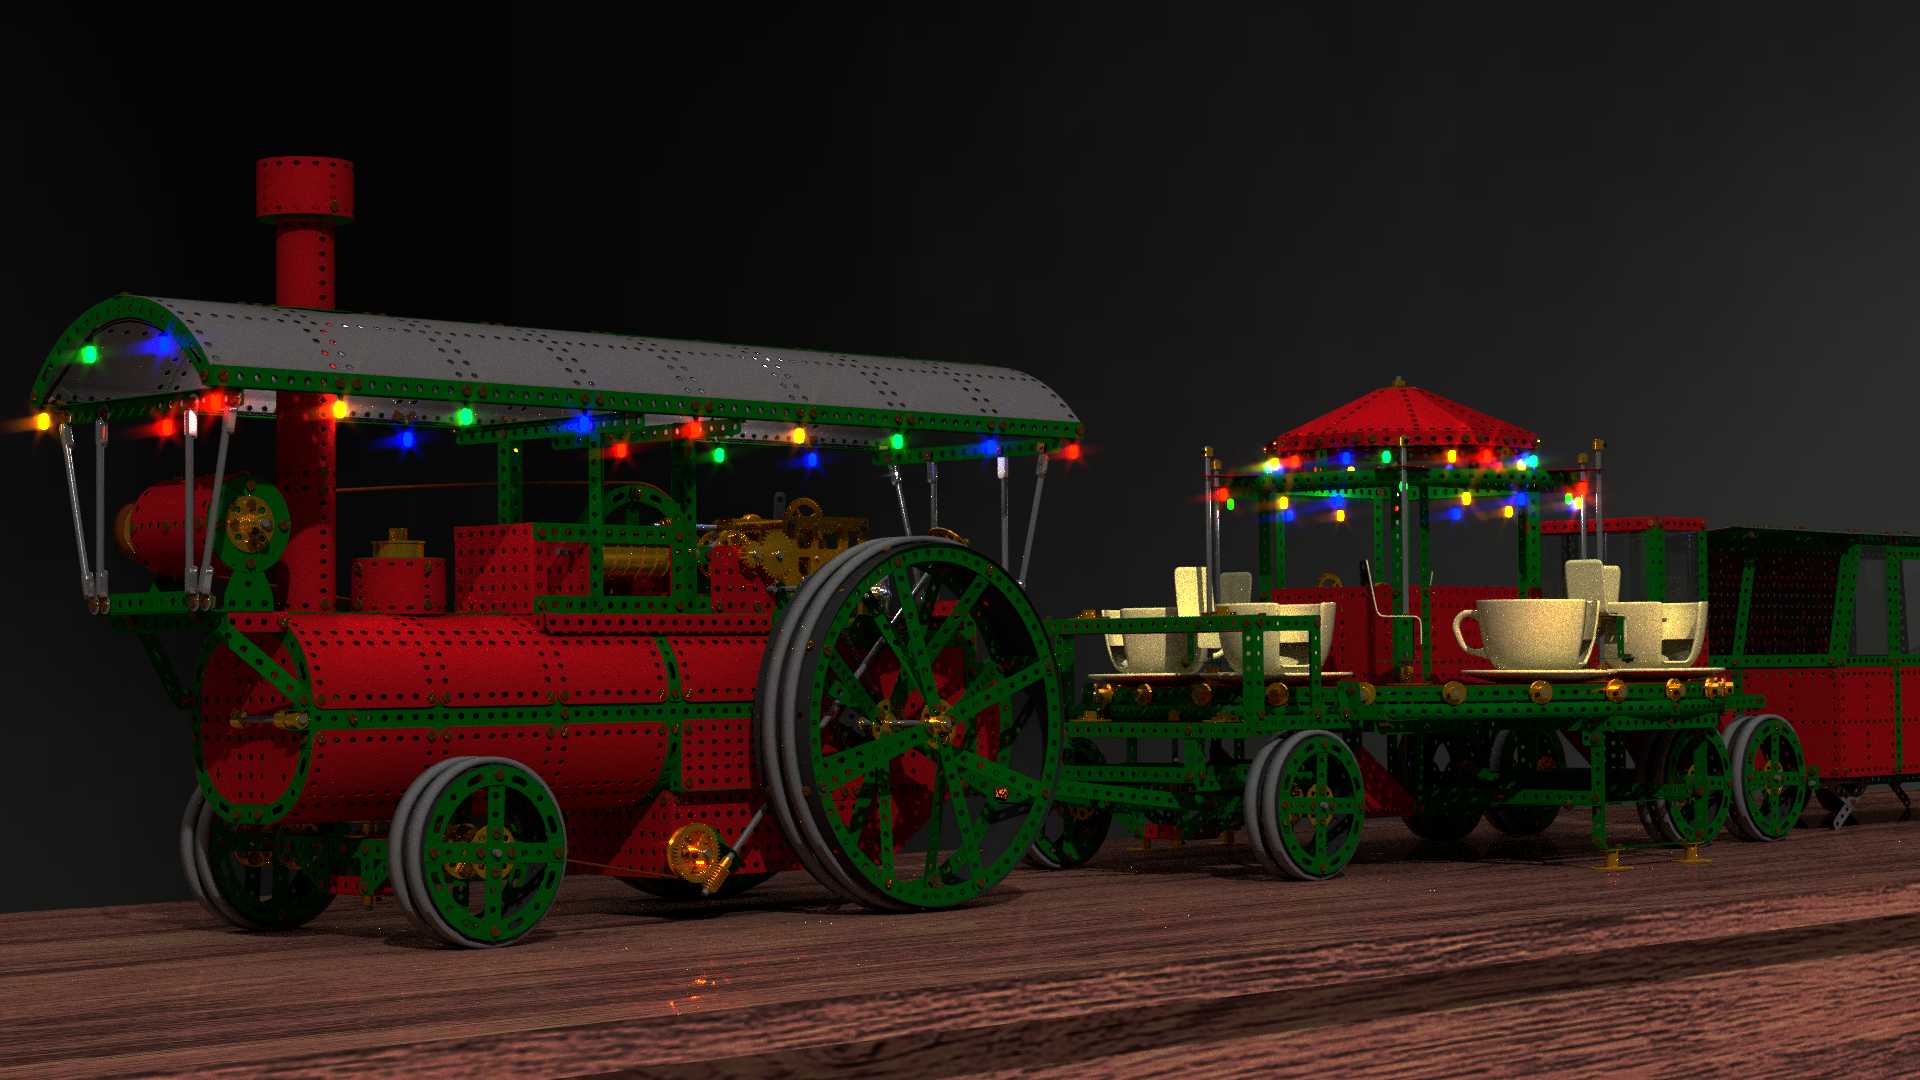
Added all the cabling, although it’s not really visible and changed the lighting to “more dramatic”…
Cheers, Clock.
Looks pretty good…Ready for christmas…
Dunno but I think a few meshlight around the train and wagon will lift it up a little…
It’s very dark on My screen.
It is difficult to see the wheels…Also a liitle backlight will help I think…?
I think the first light beam is better…Because the light beam is greater…Now when You have done all the
cabling , they deserves a little mesh light too…
Good job…Puff Puff
Tai
Thanks @Tai - yes that last image was really quite crap! :o
I have done some more work on the caravan and changed the lighting a little:
The little jockey wheel stows when I put the jacks up - by moving one bone.
Here’s the door hinge:
I need to work on the bits I used to do with coloured pencils and card next.
Cheers, Clock. :RocknRoll:
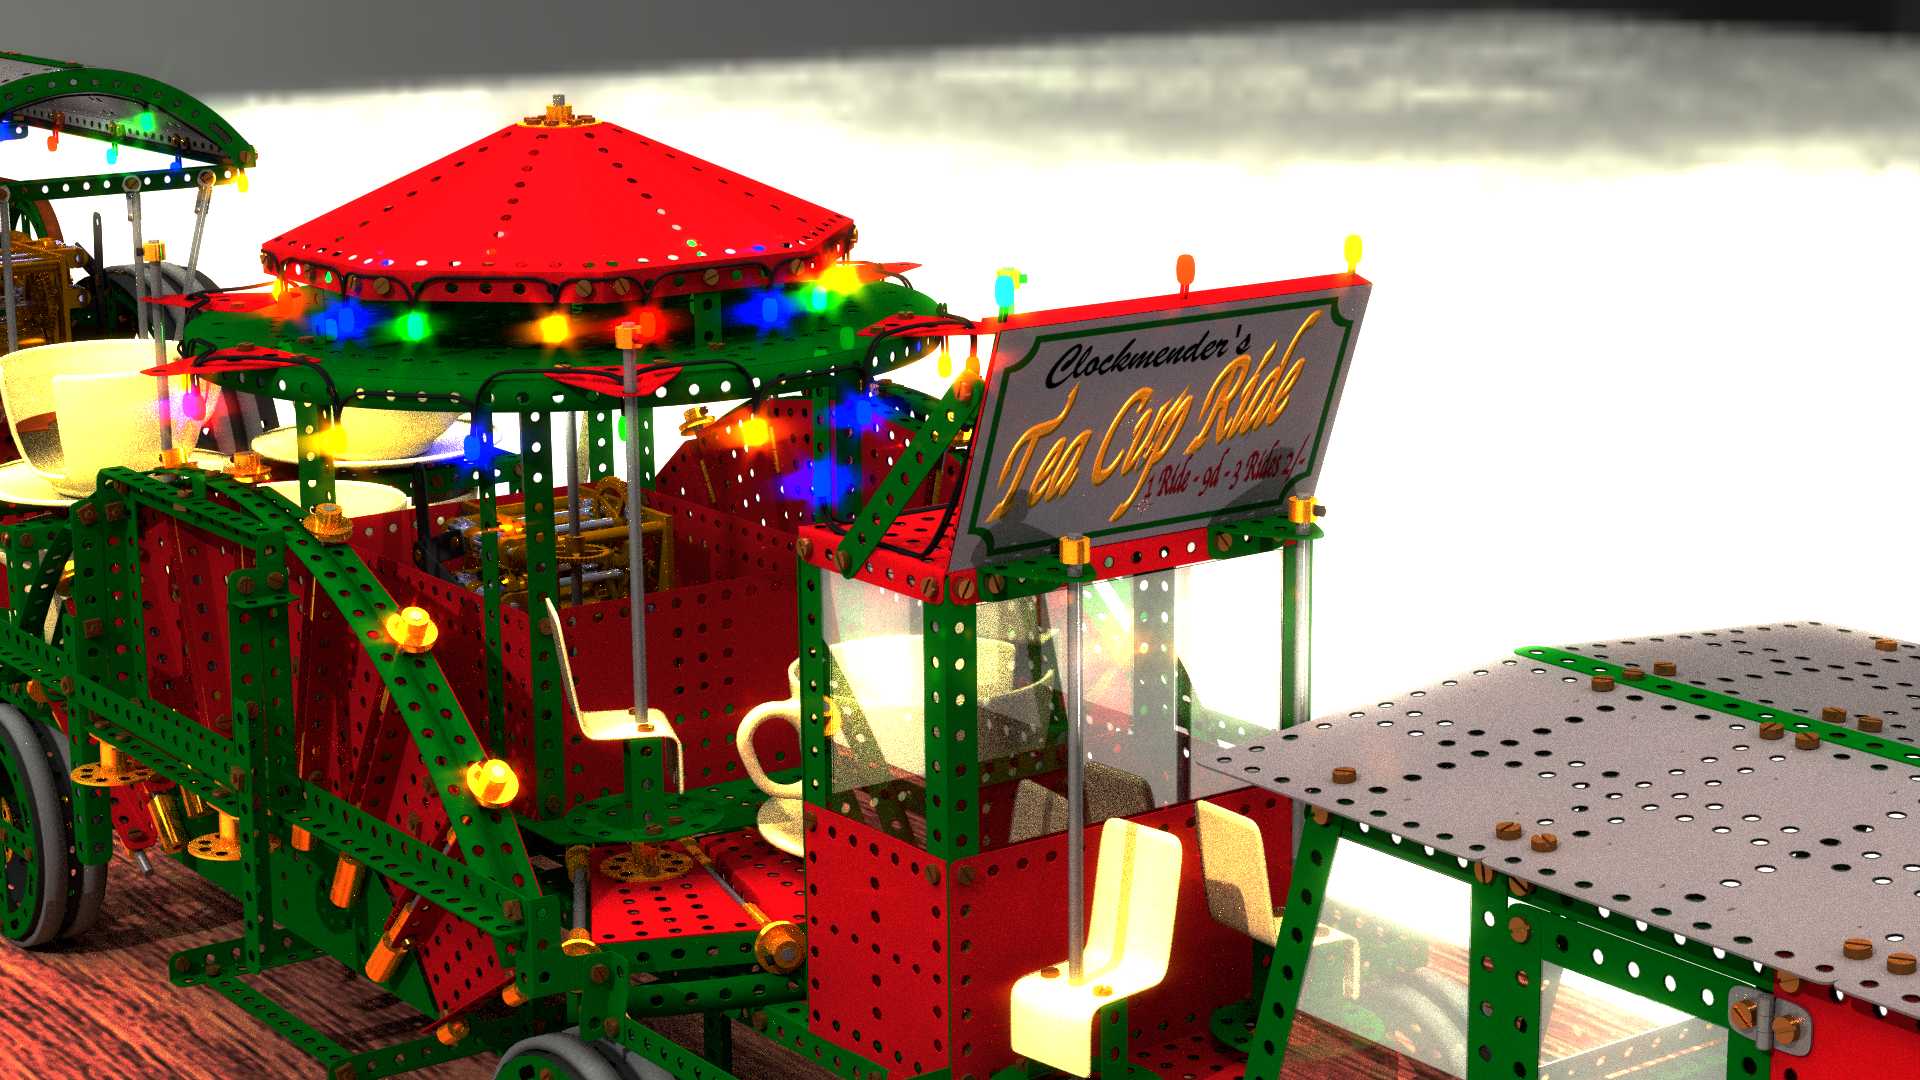
First Sign, all done with Blender:
Cheers, Clock. :RocknRoll:
Background is too light with the camera facing this way… Oh well can’t win 'em all
Ohh…
It looks a lot better…I really like all the detail You have made they lift the picture… So much to look at…
I like when I can move around in a picture…and just look at all the small details.
Lighting begins to shine…Yellow bulp looks good…Nice transparent in the glow but I think they other color need the same transparent in the glow to shine too…Your Sign…
Tai
OK - thanks for that Tai - I have added a transparent shader to the light material controled by a Layer Weight “Facing” feed, is this any better, or what can I try next?
Or maybe I need to experiment with the Compositing a little, but I am going around in circles just now :spin:
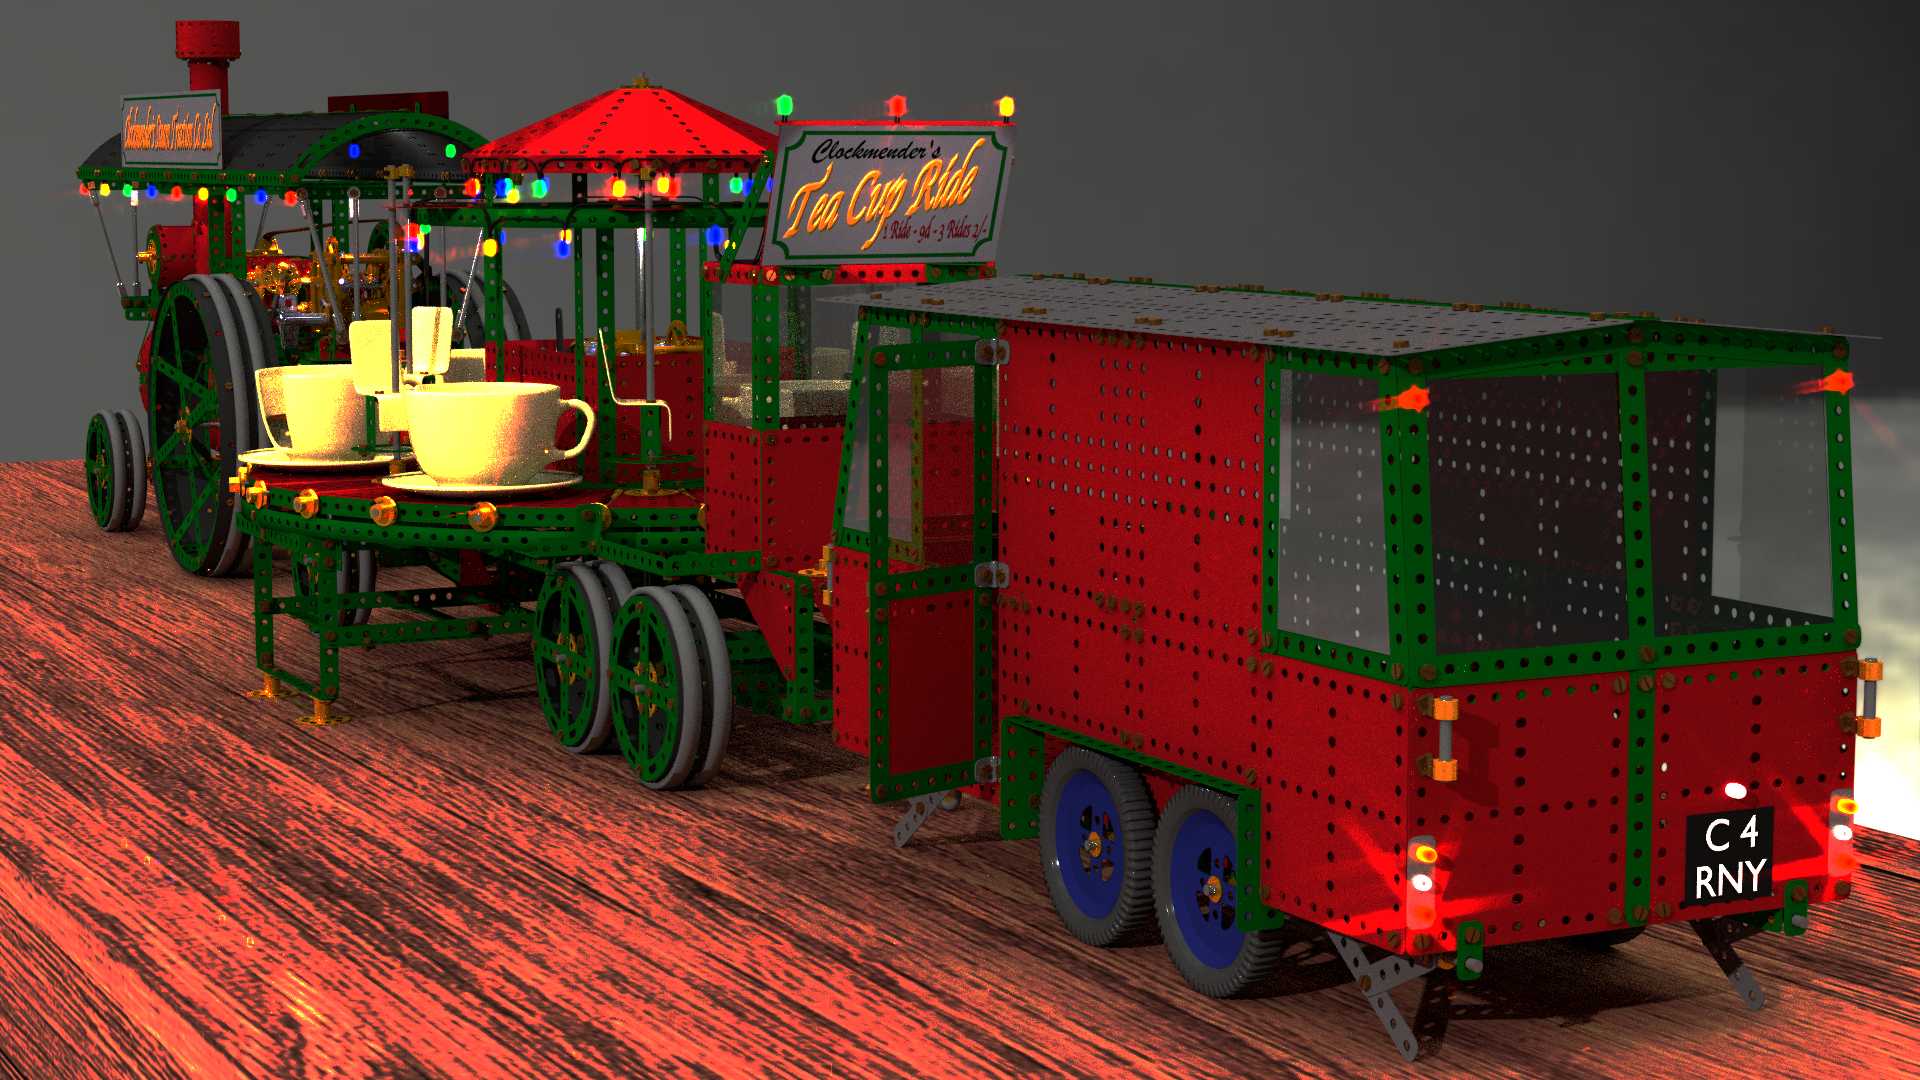
I added the second sign and the registration number - this is a bit of a joke understood mainly by the Brits…
Cheers, Clock.
I think it looks damn nice…Get it up and run…
Cheers
Tai
Thanks for that, I keep looking at it an wondering what I can do to make it look better… So I have some bits to finish off, like the lifting mechanism for the chairs on the ride and the governor on the engine, etc. Then it’s Video cooking time, so I will hand the file over to my server and let my “beastie” graphics card loose on it.
Cheers, Clock.
Looks great, Clockmender! I don’t know how you get two pages into a project before I get wind of it. (Maybe I need to pull my head out of the rigging forums once in awhile.)
These pieces look a lot like what I remember as an “Erector Set”. Lots of metal pieces and mini bolts and screws. I think the Erector Sets were the precursor to modern legos. Brings back good memories…
Thanks @Danpro - yes I sneaked this one in under your radar…
Erector Set was the US equivalent patented in 1913 I think, Meccano was conceived by Frank Hornby in 1898 and patented in 1901. Meccano now owns Erector Set as of about year 2000, if my memory serves me…
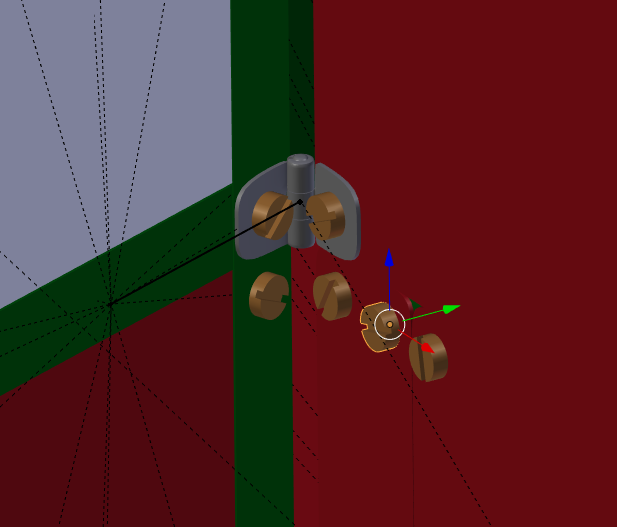
I have now done the governor and bits for the ride, this picture shows the governor, which consisted in my youth of two crane hooks that moved out when spun. So I had to find a way of making the angle they are at directly proportional to the speed of the shaft they are on. Not yet solved satisfactorily, but I have an open thread in the Animation section to see if a better way can be found. This one is a good old Clockmender KISS Hack!
So this is where I am at just now, for some reason the pictures on this webpage look a little naff, whereas they are nice on my screen.
I have also just about completed the animation, so it goes like this:
Engine clockwork motor gets wound up.
Complete model drives along the table top.
All stops and the Engine gearbox goes into neutral. Caravan jacks and jockey wheel deploy and door opens.
Ride deploys ready for action from its stowed state.
Ride & Engine clockwork motors get wound up.
Steam engine starts up again, this time not driving the wheels, but just the generator so we have power for the electric drive motors in the ride and the lights (this is the fantasy bit). Now, as in my youth, clockwork motors drive everything.
Ride starts up and winds down, I have reduced the speed of the ride as it progresses to simulate the clockwork motor running out of torque.
I shall start rendering the video once I am happy with everything. Hmmm, I seem to be back to being a kid again - great fun.
Cheers, Clock.
EDIT:
Should I consider baking all the textures for faster render times?