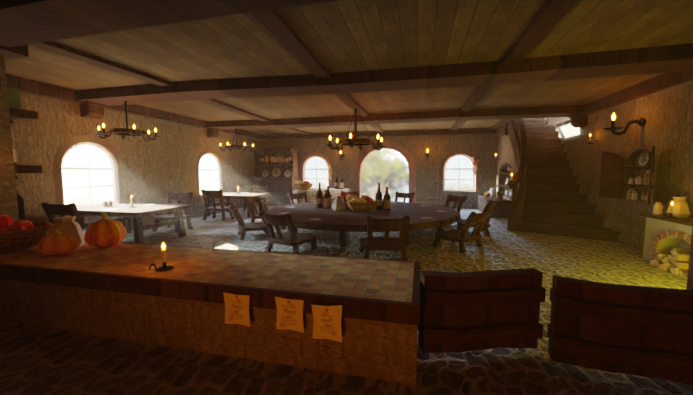
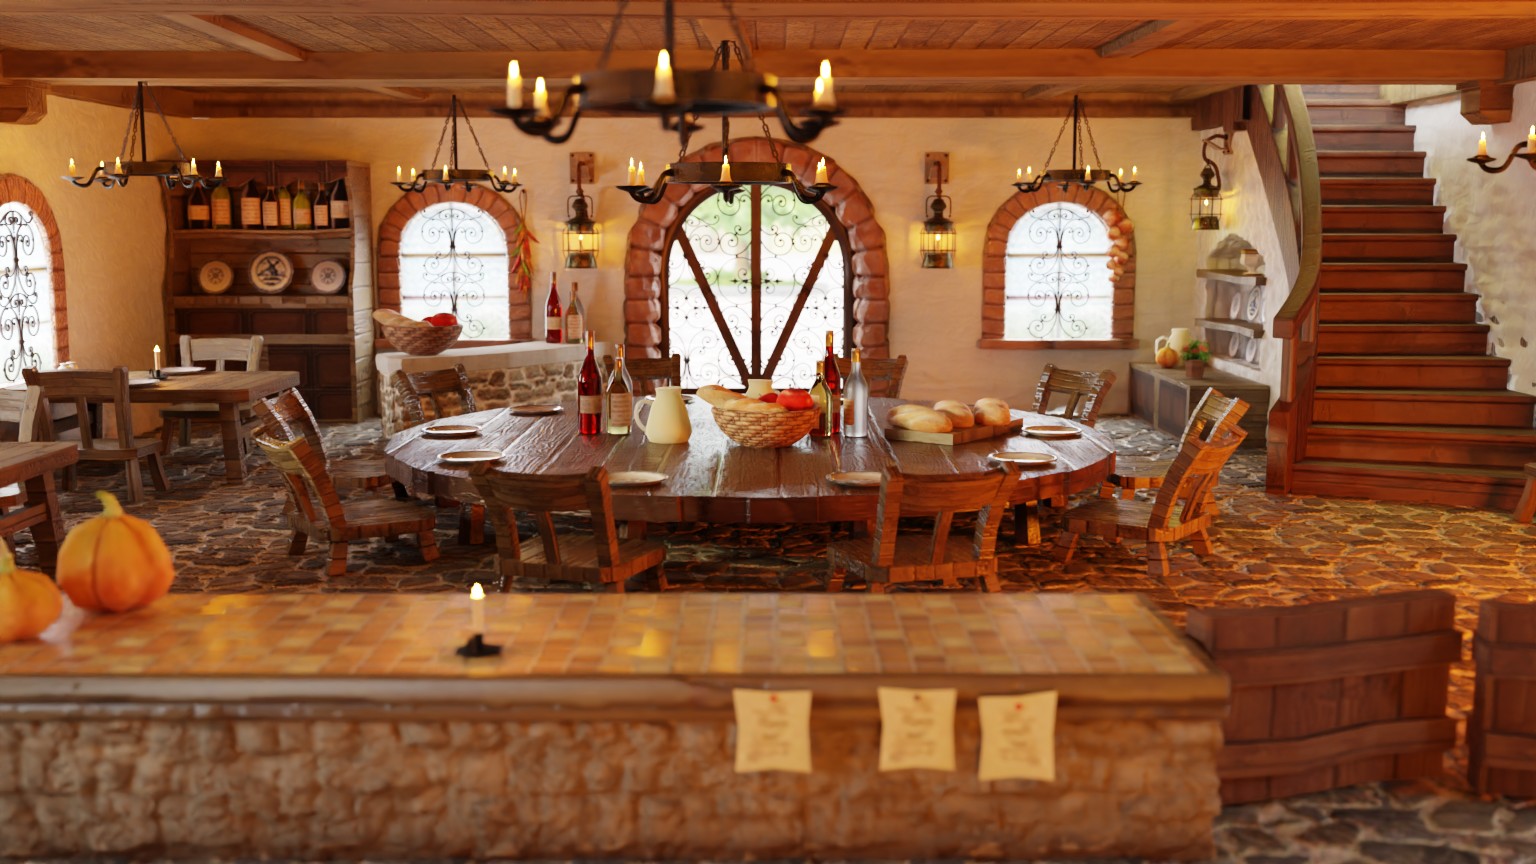
I added PBR shaders and lights. (april 2020 maybe)


(march 2 2021)
This crap took 8 hours to render ![]()
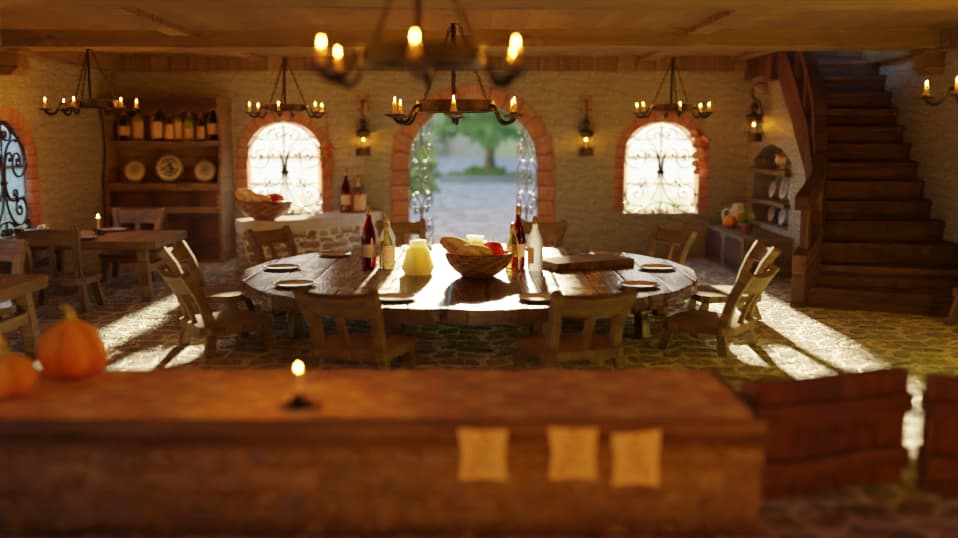
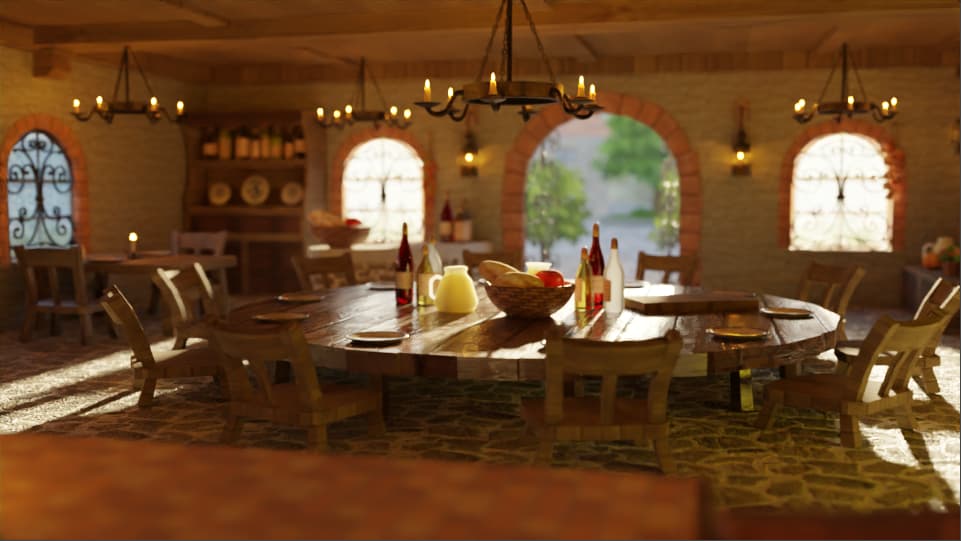
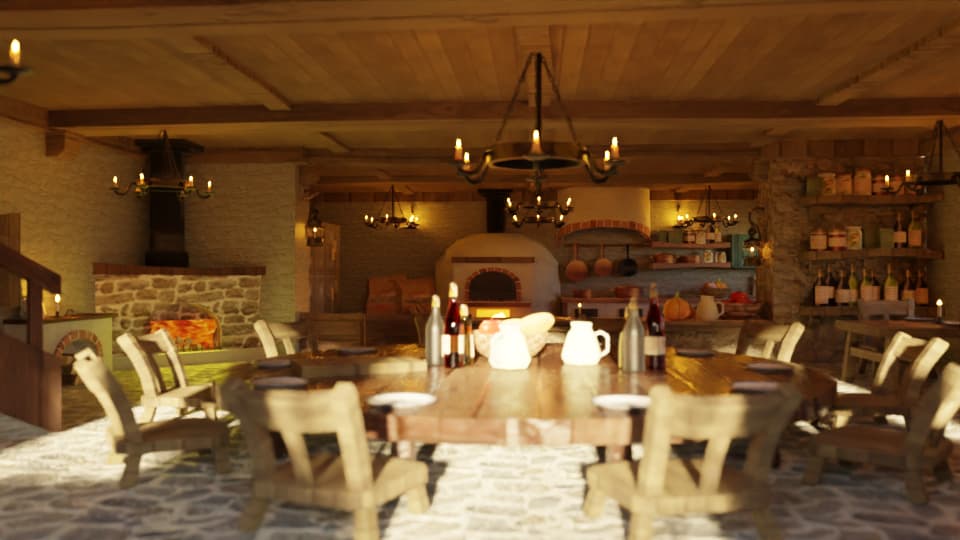
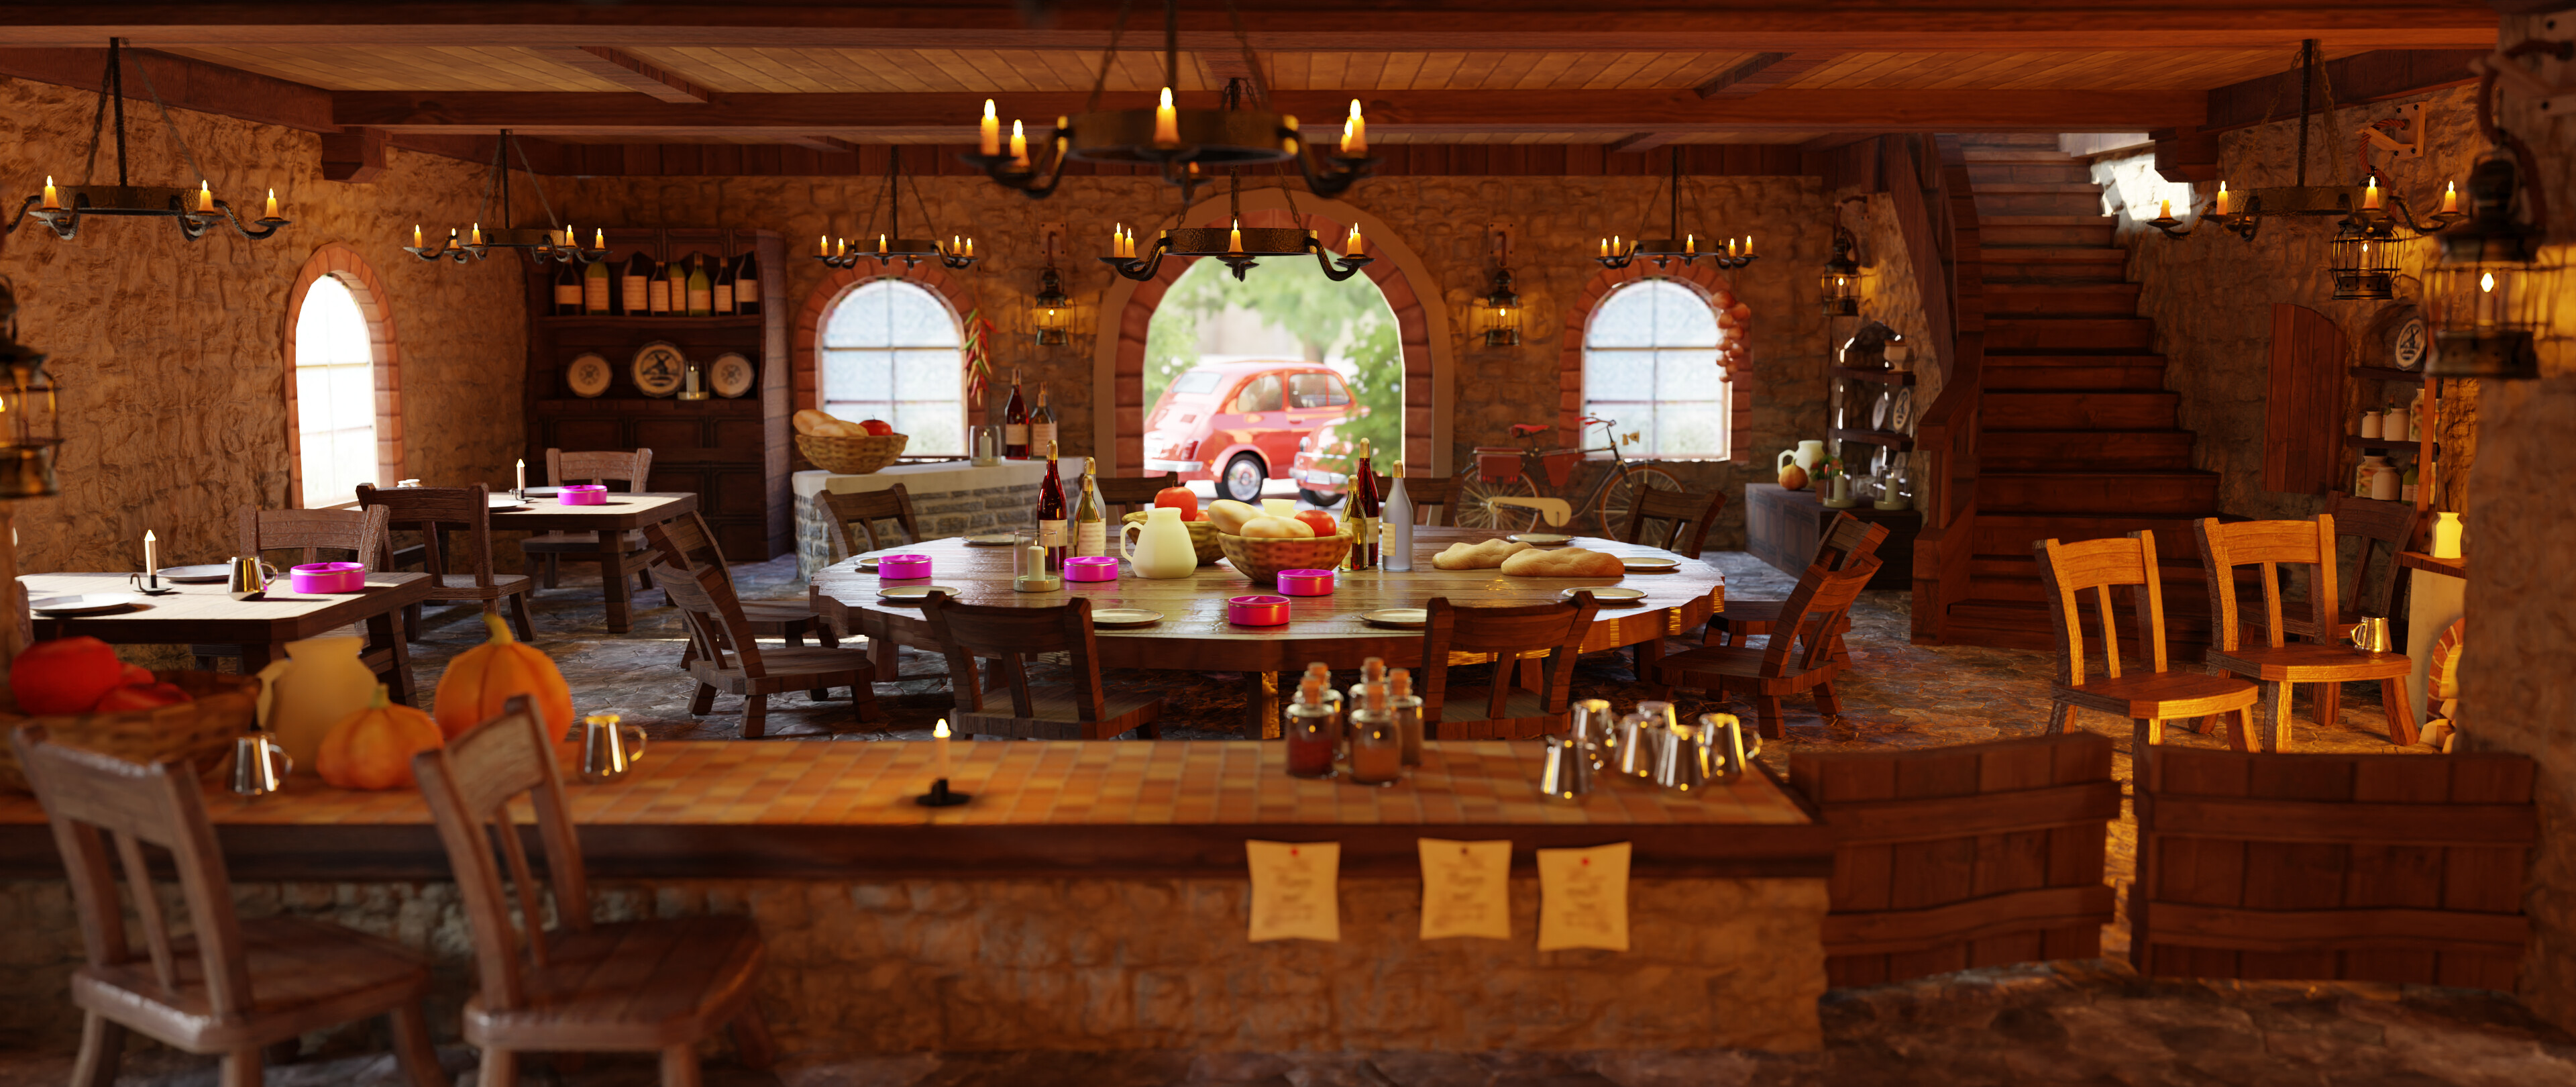
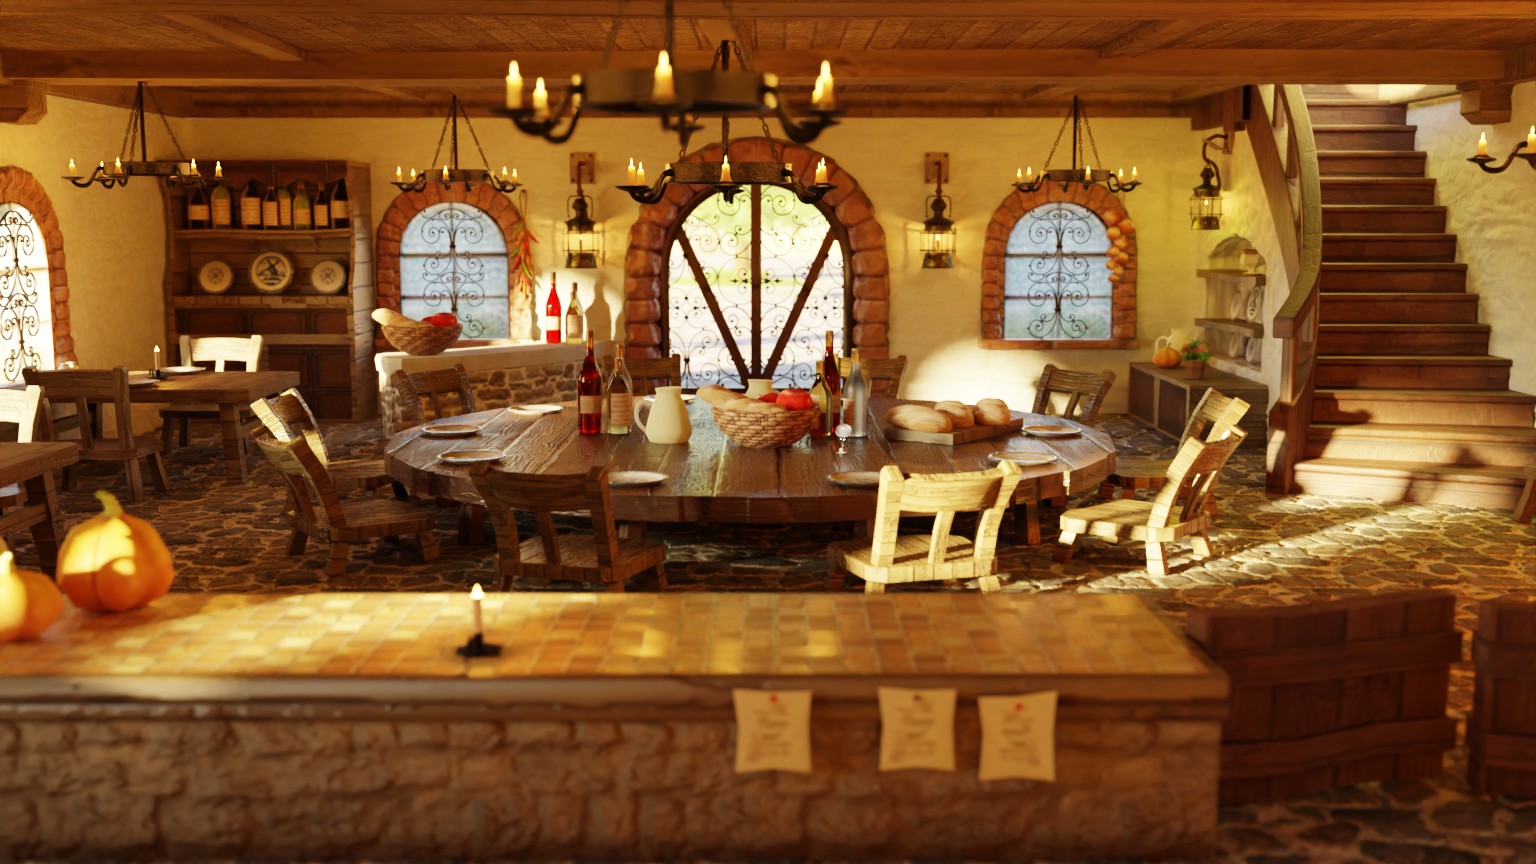
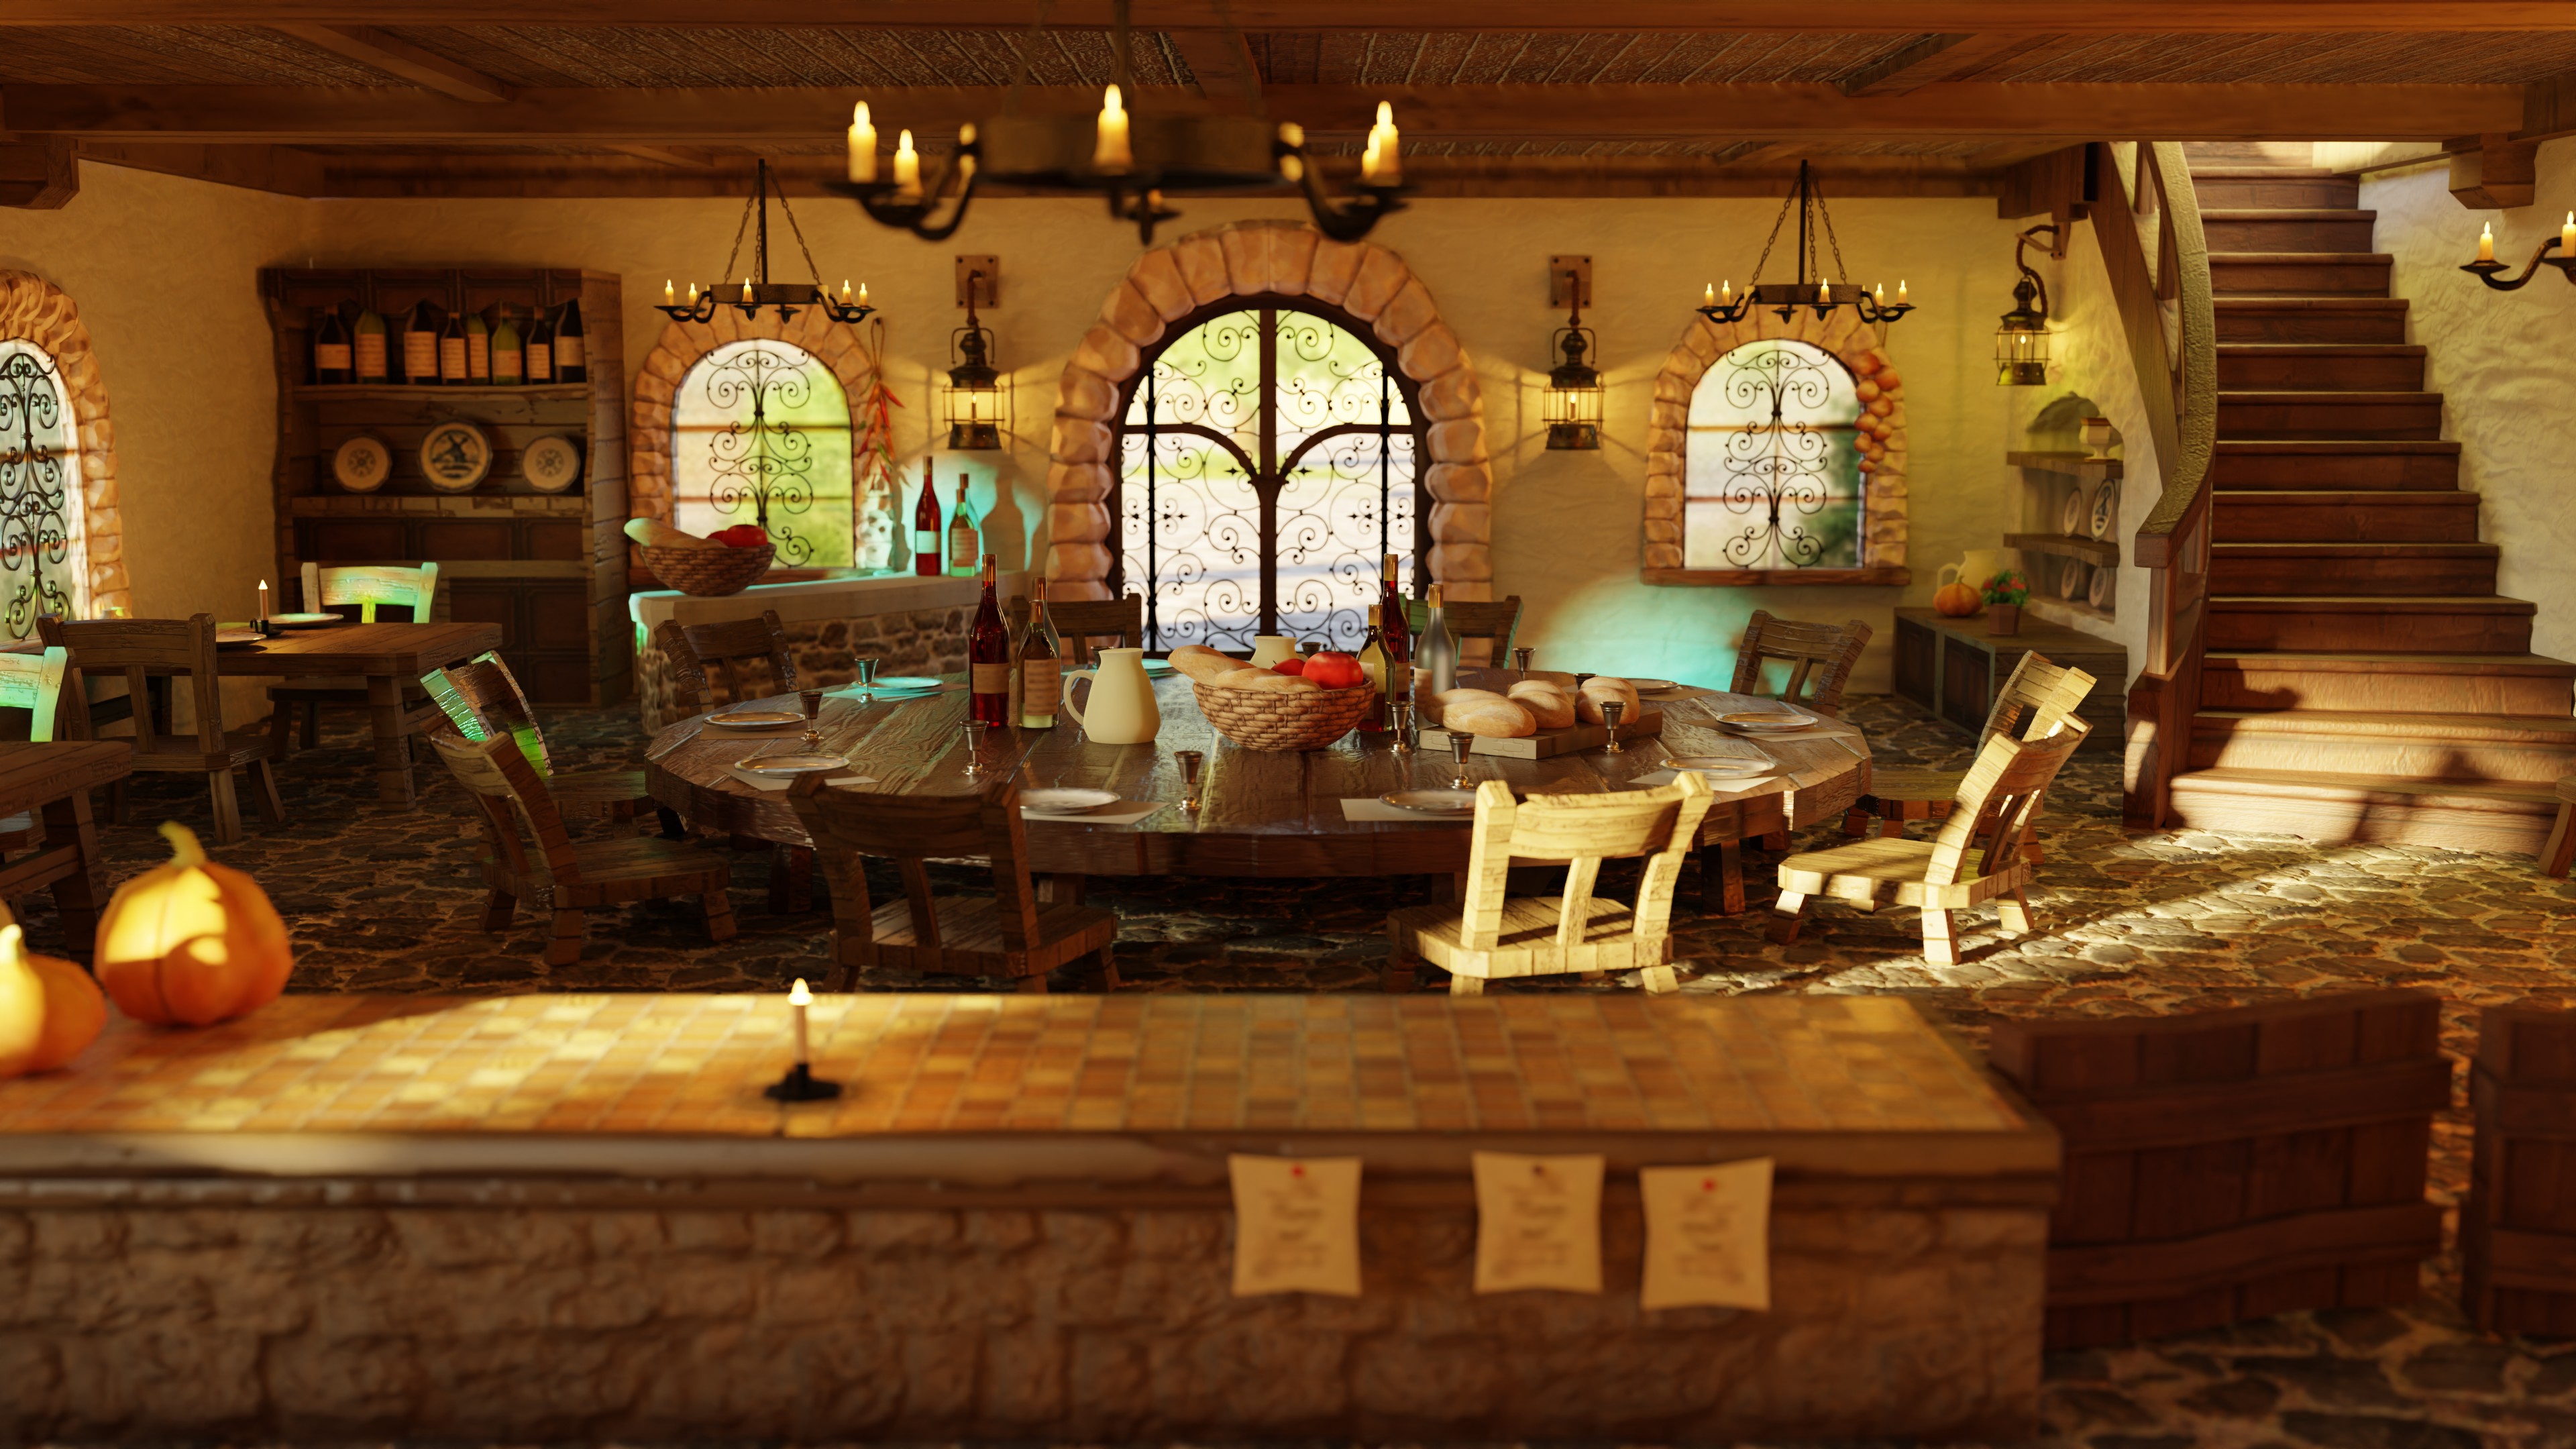
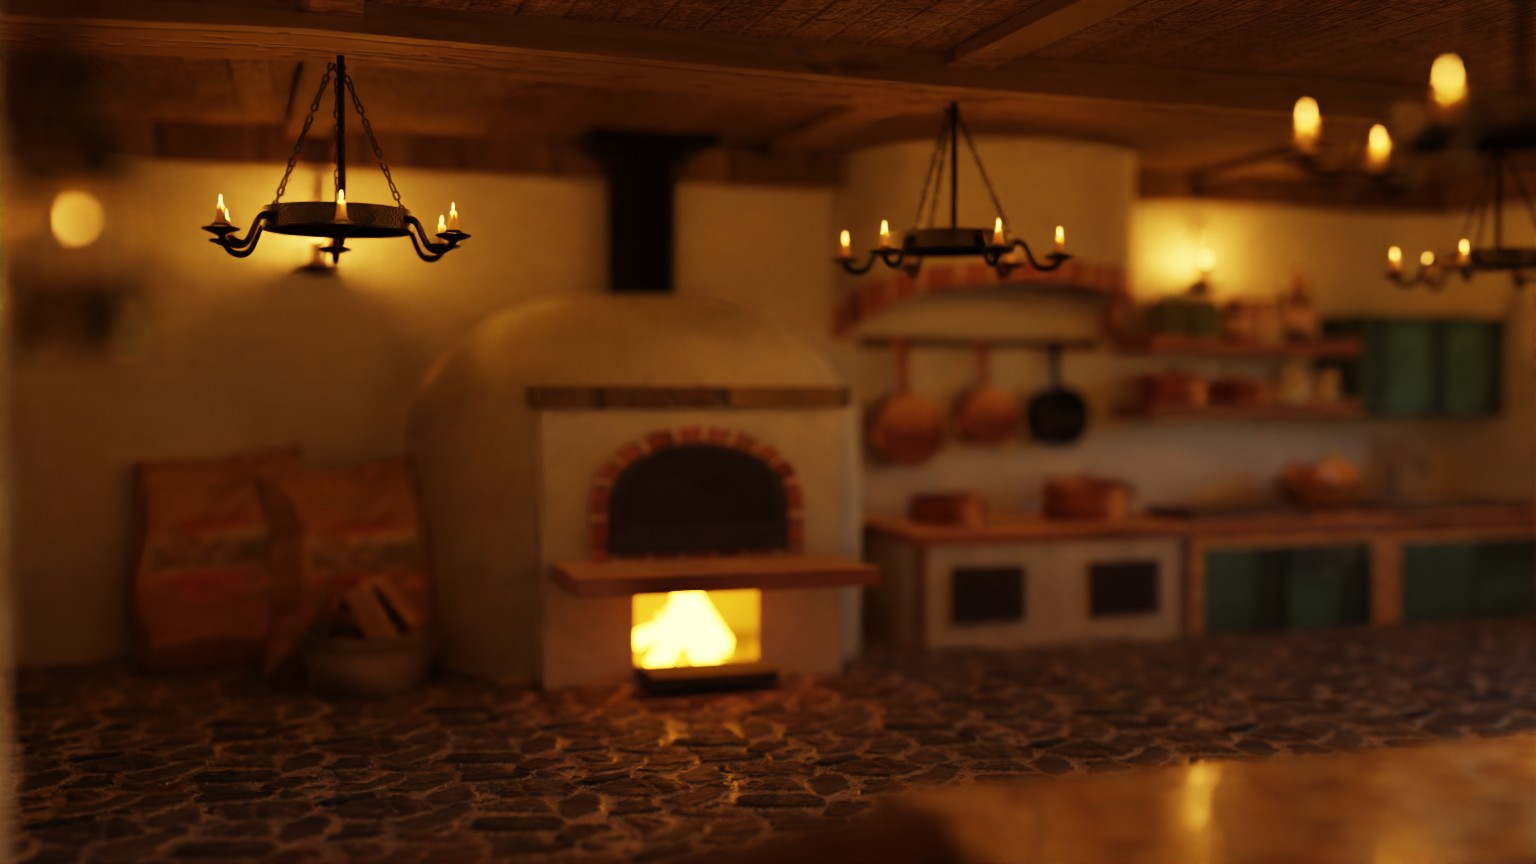
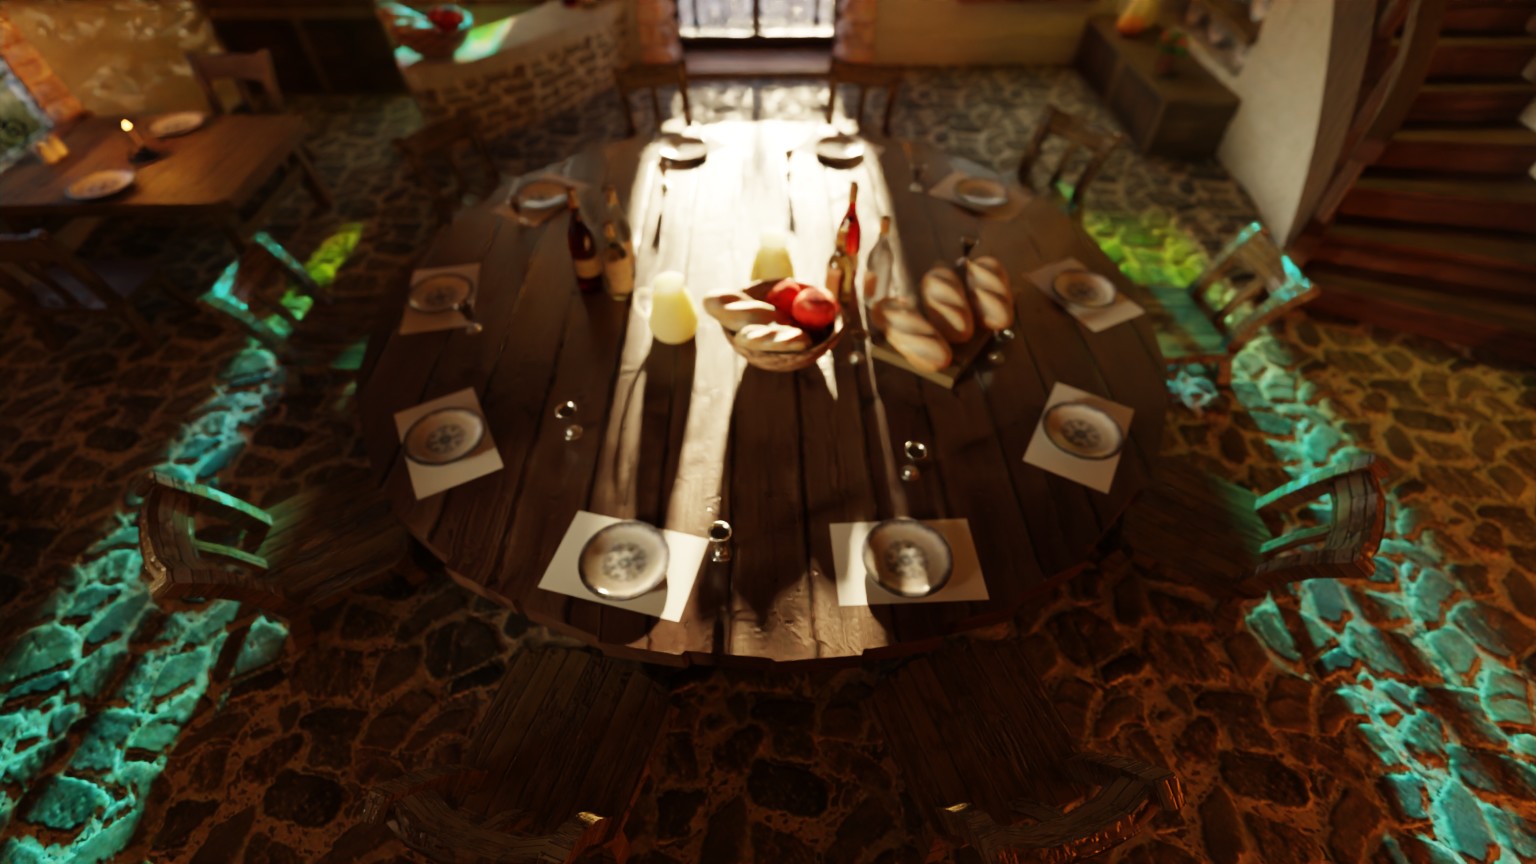
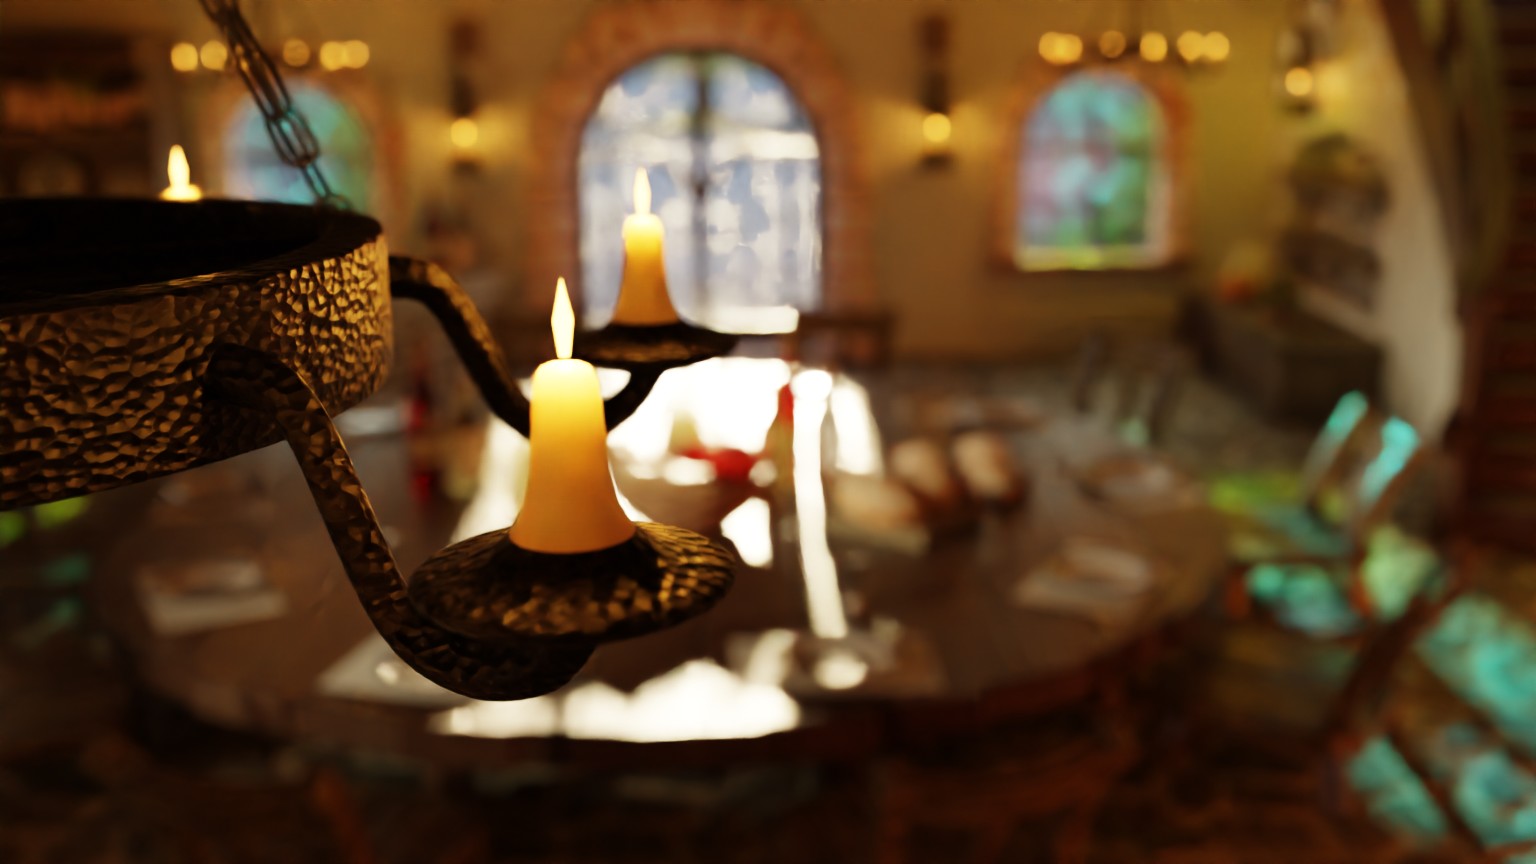
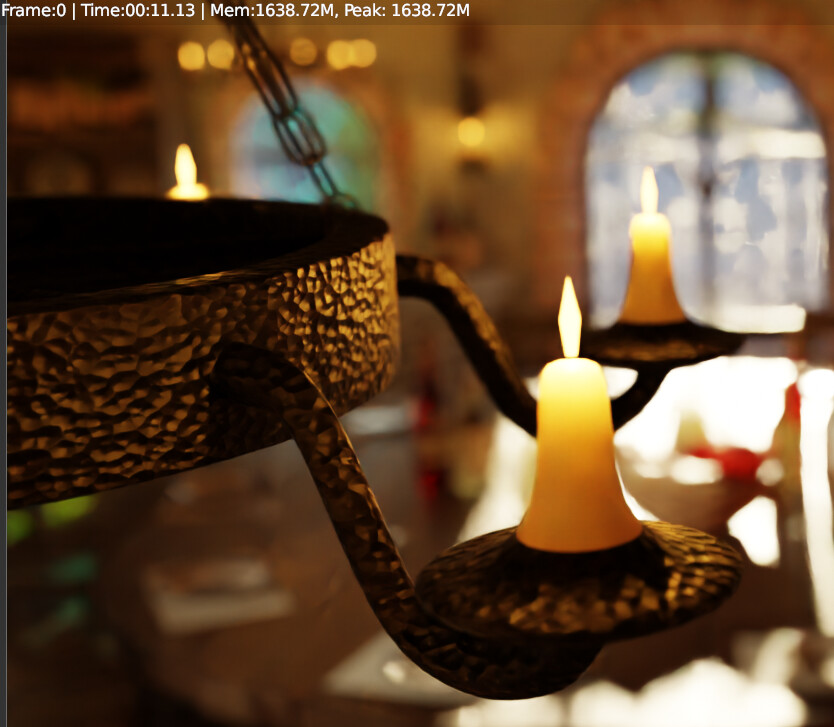
I wanted to have more realistic candles but now I’ve lost the vibe of the lighting I had in the earlier version at the top of this thread. Added lots of random assets from blenderkit and blendswap.
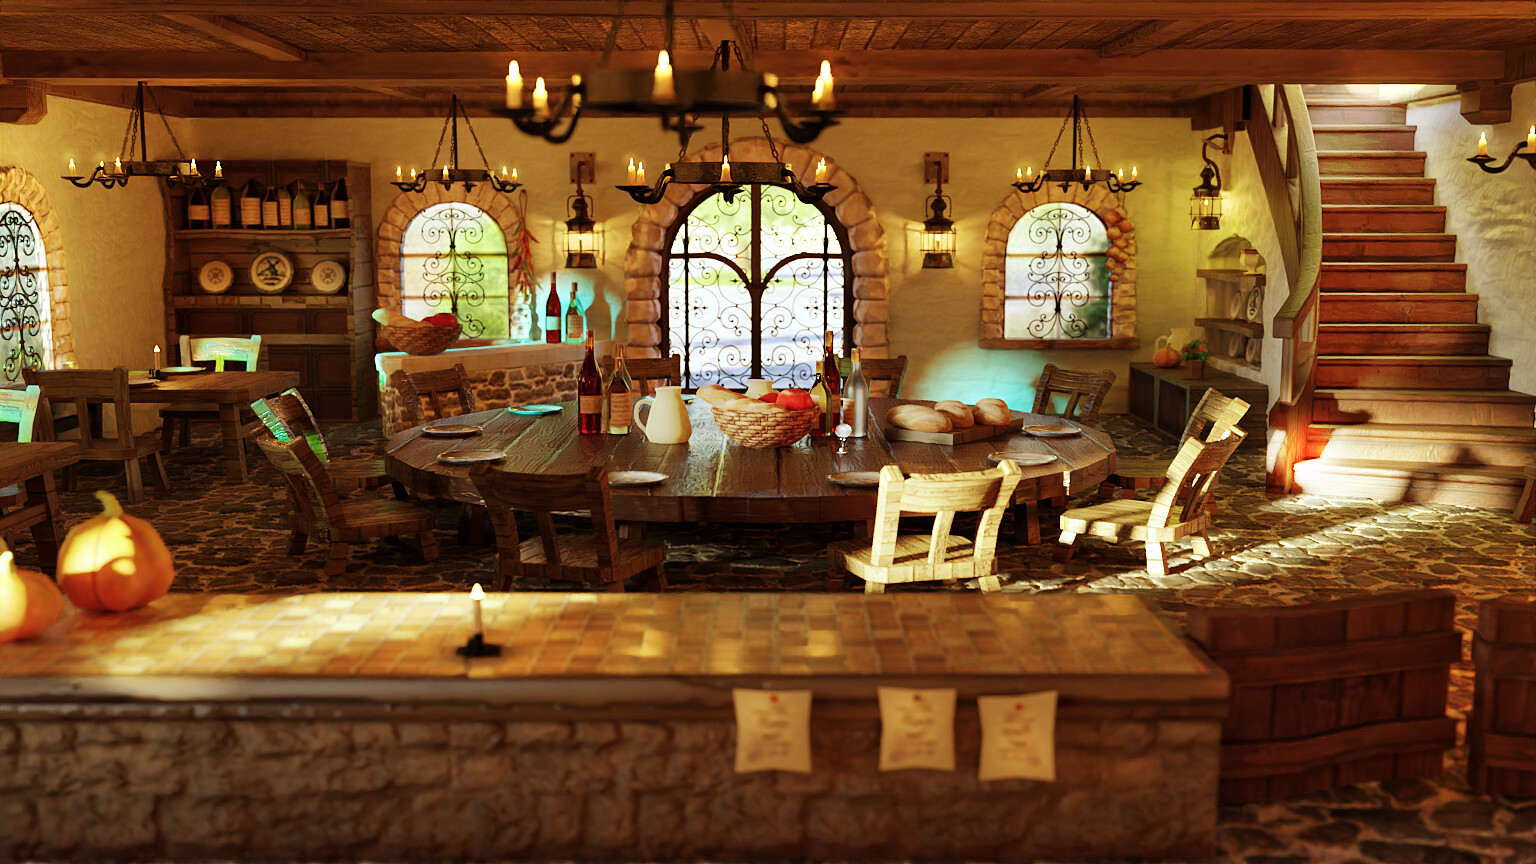
august 31 2021
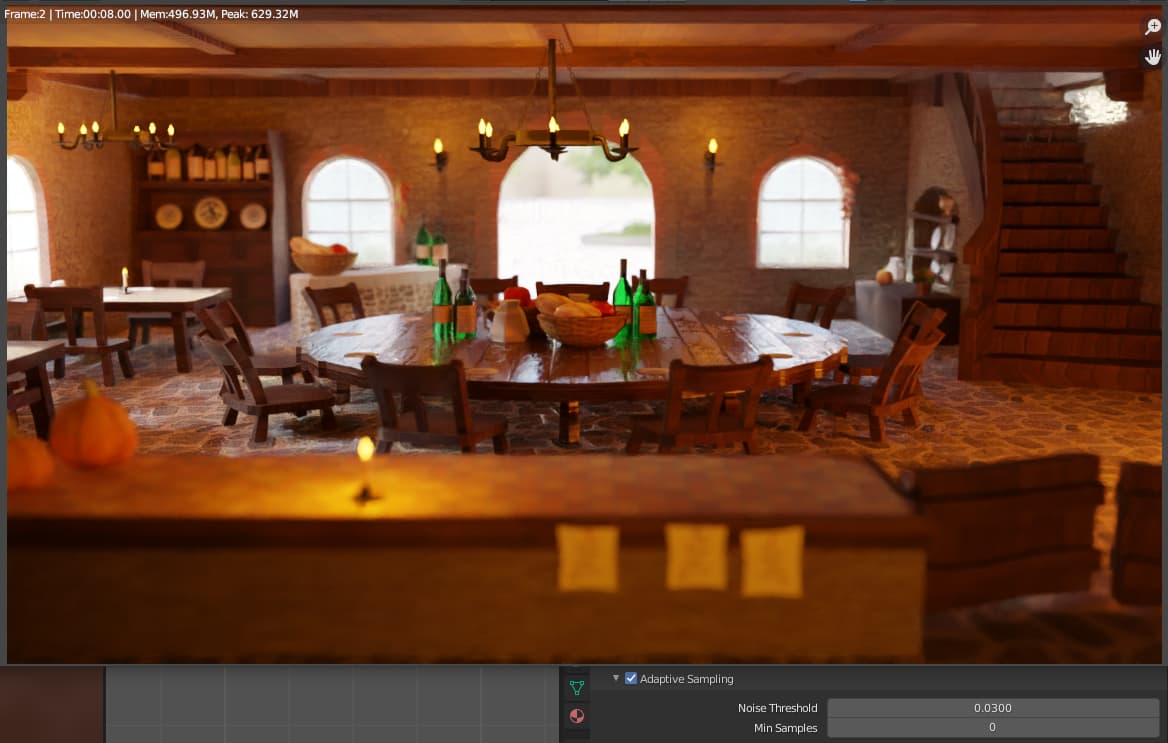

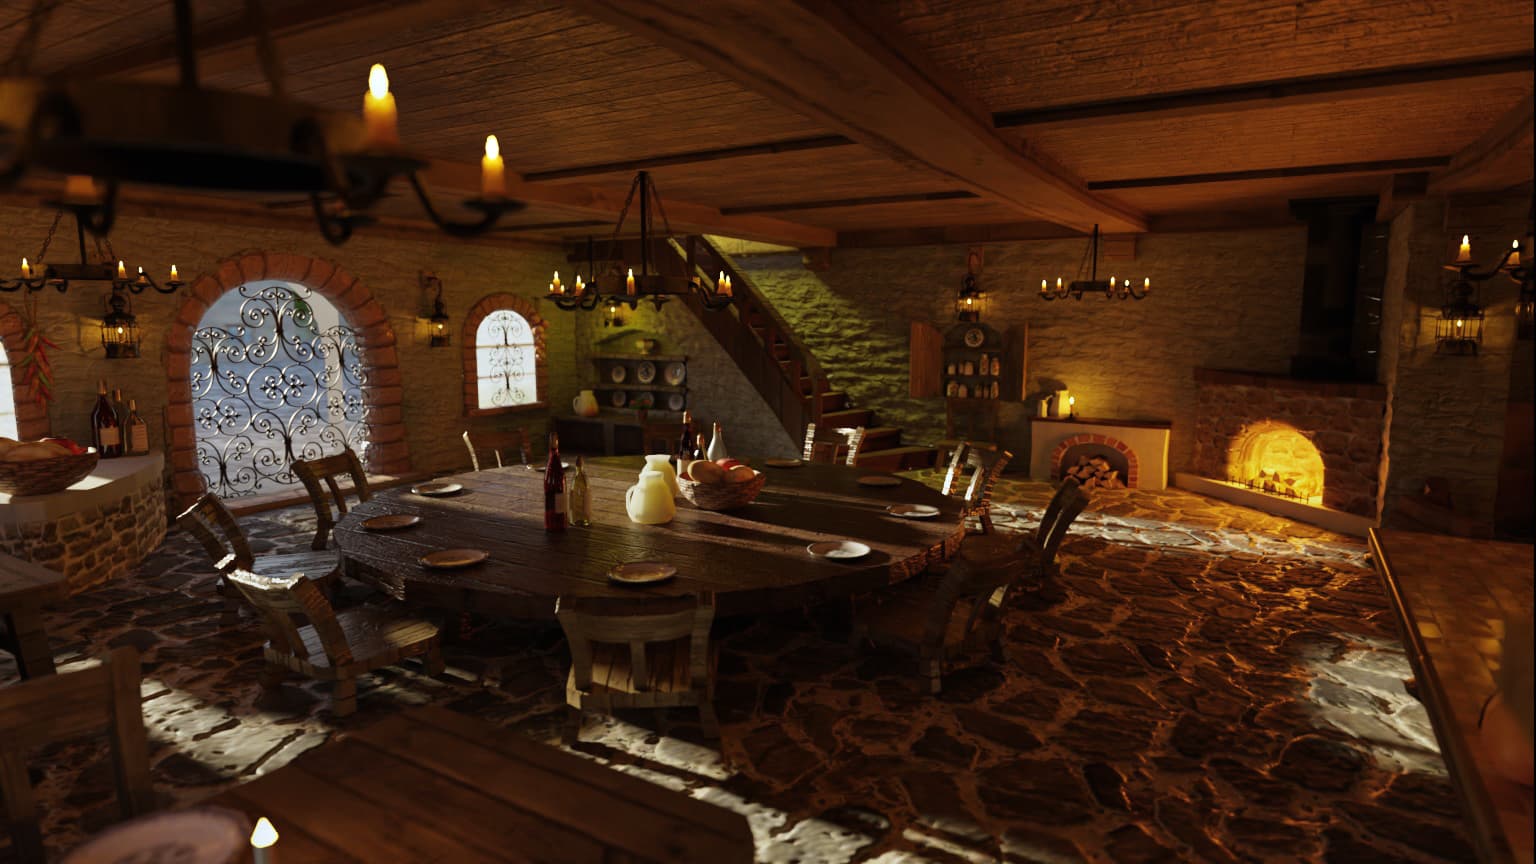
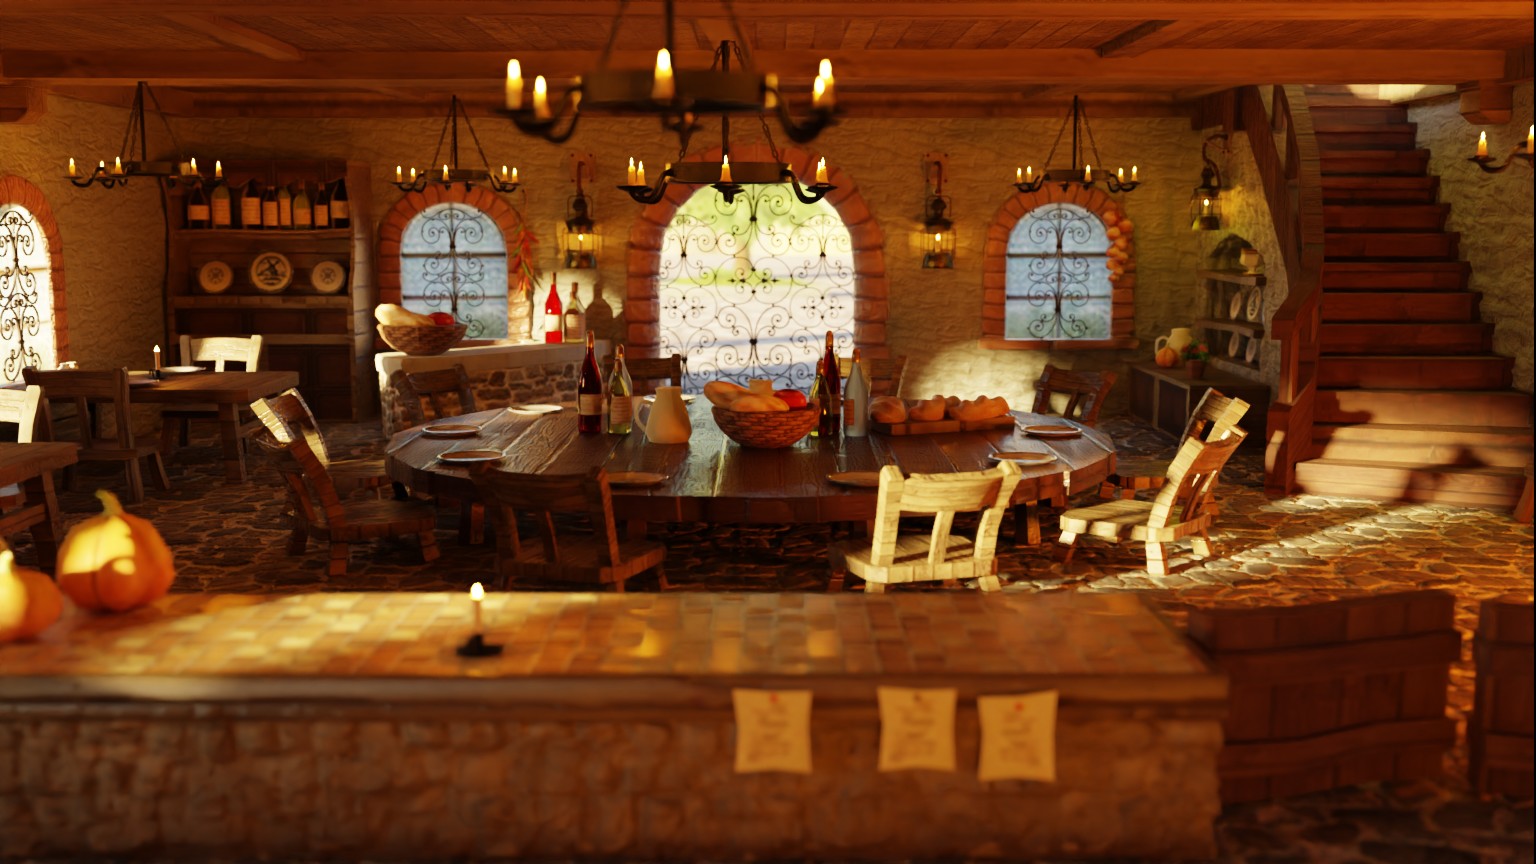
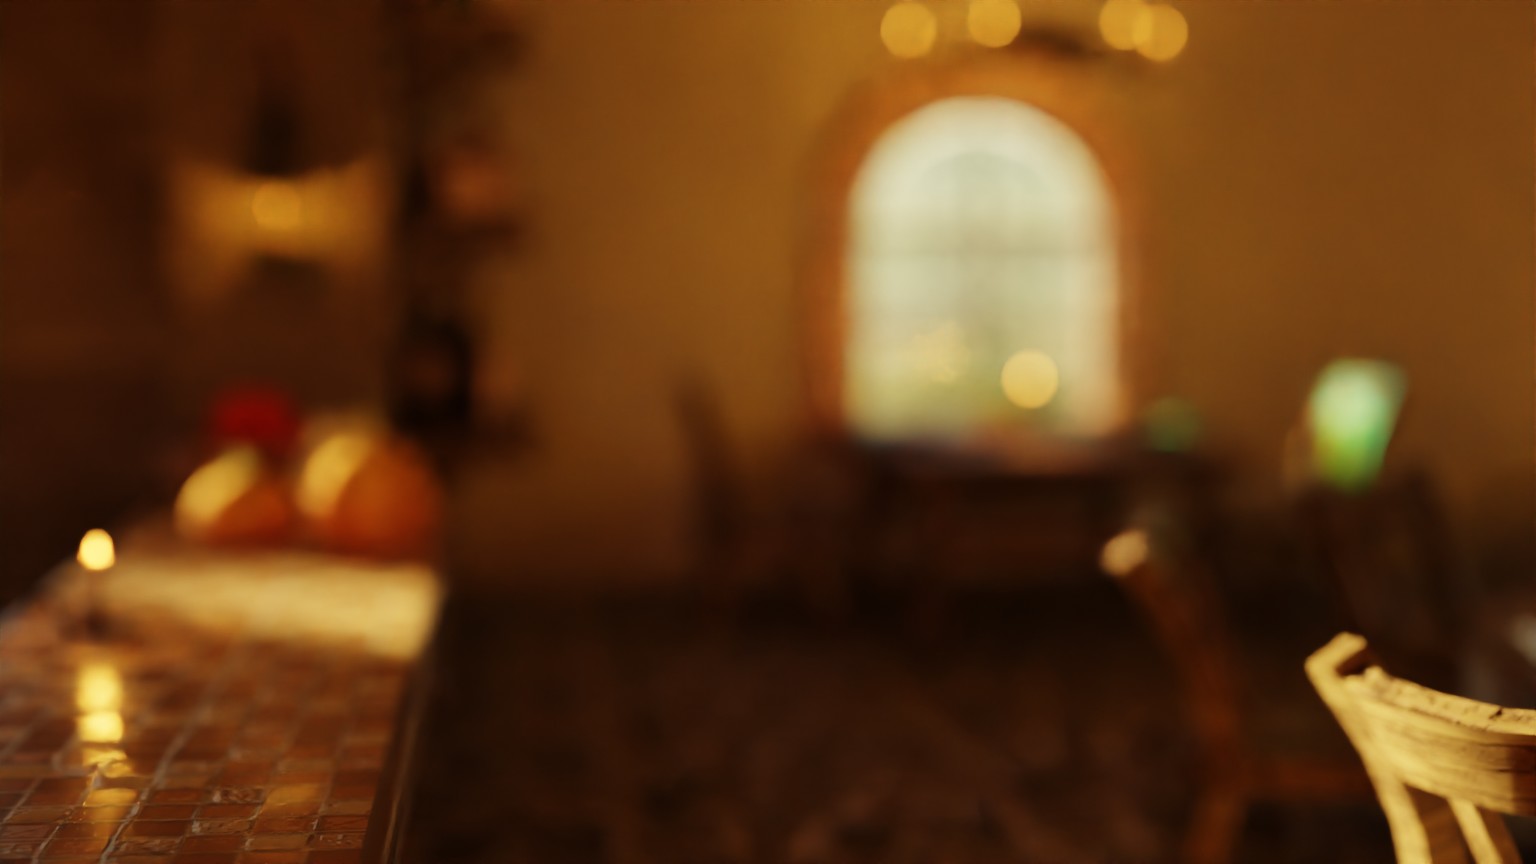
For a year and a half I’ve been trying to find a balance between render time and noise on this scene. Adaptive Sampling, which reduces render time significantly, was screwing up the denoiser and making the counter top look like smeared mud. Finally found 1 setting I don’t remember ever tweaking before and the problem went away. But, I bet if I go through my notes I’ll find I did in fact spend a whole day playing with that setting at some point. I know I experimented with Min Samples extensively but I don’t think I ever touched Noise Threshold. I’ve only tested it in CyclesX so possibly it is still a problem in regular Cycles.
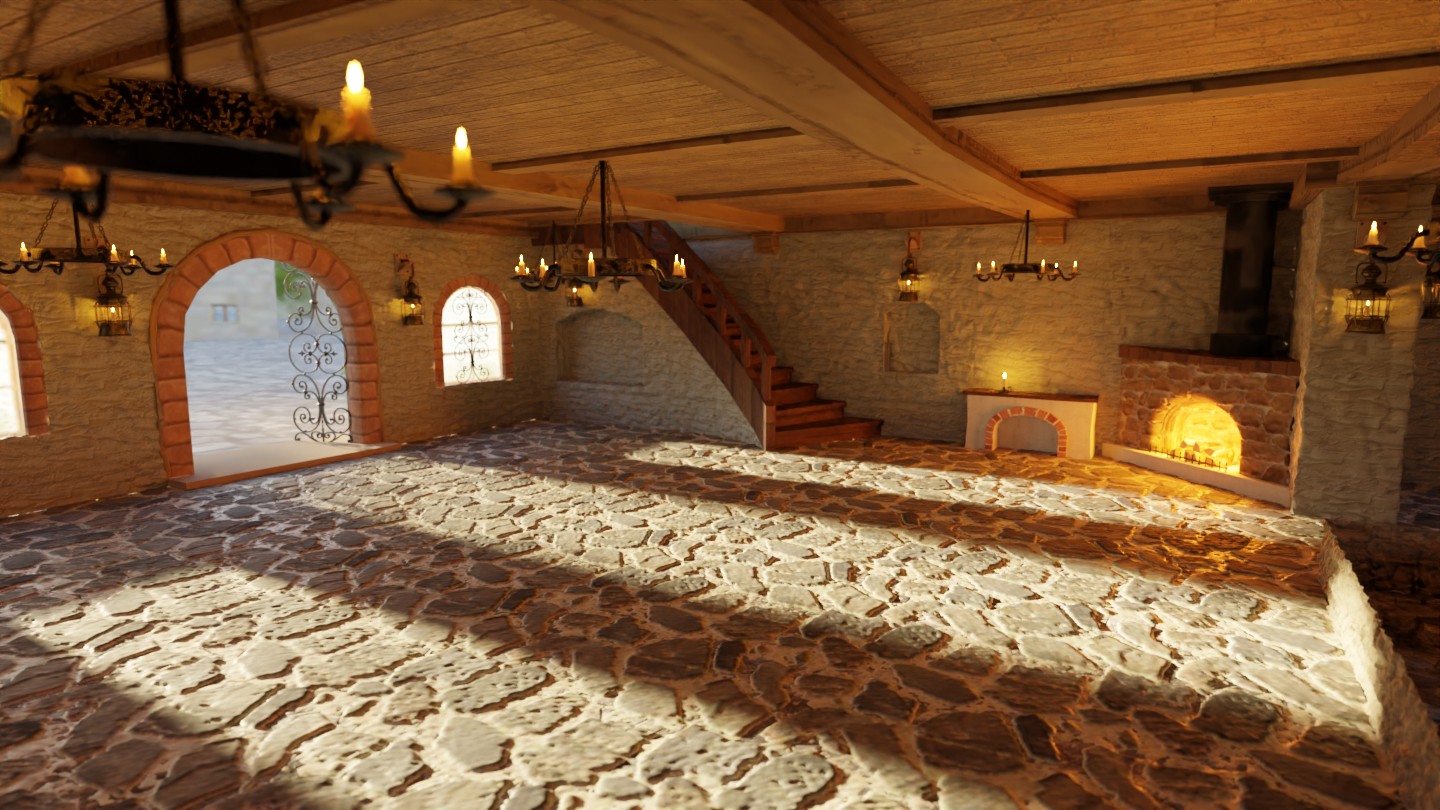
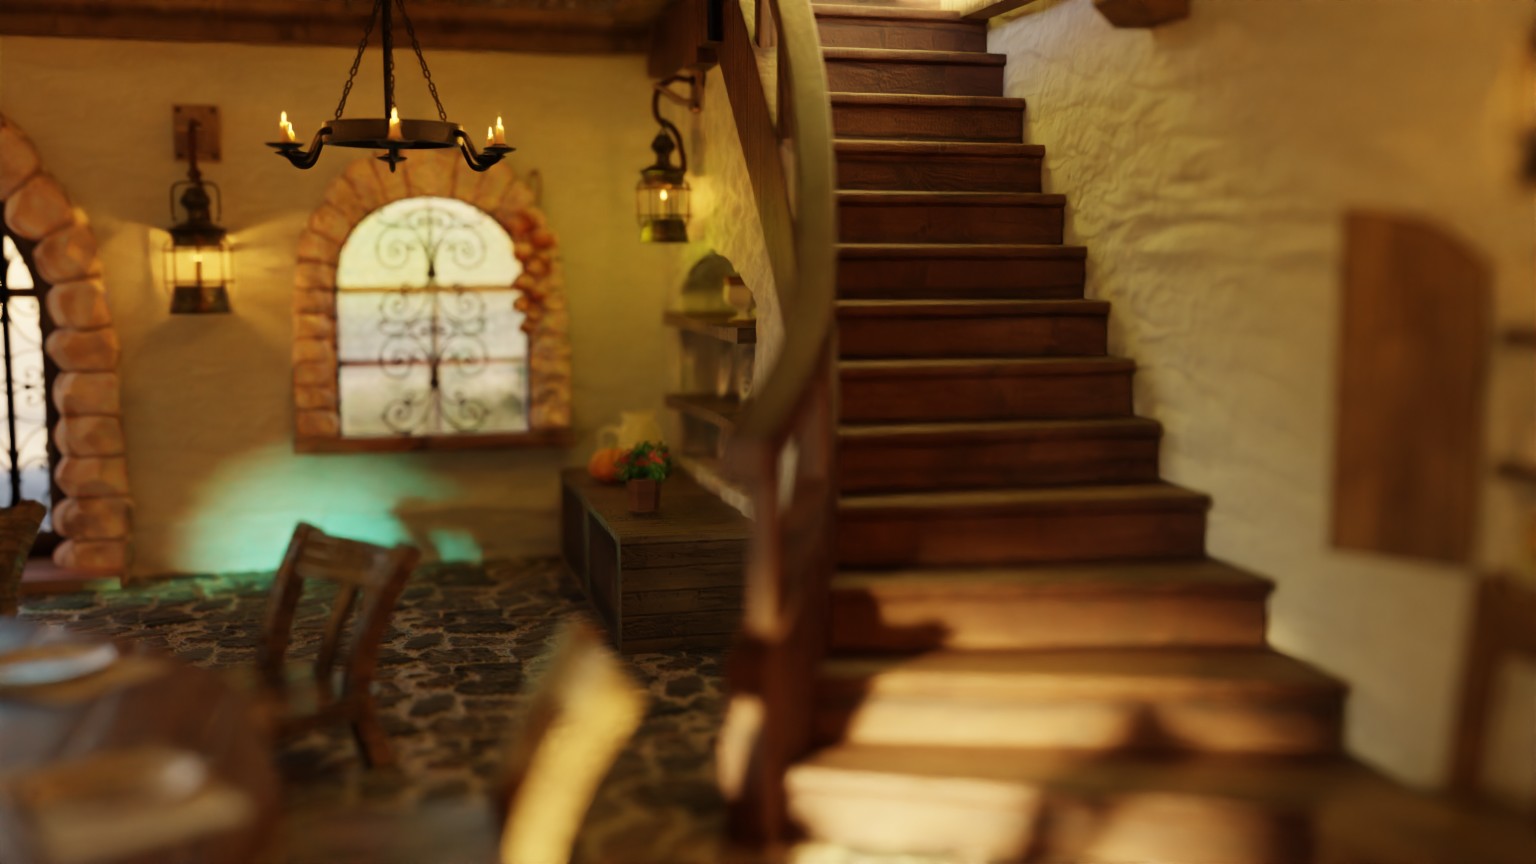
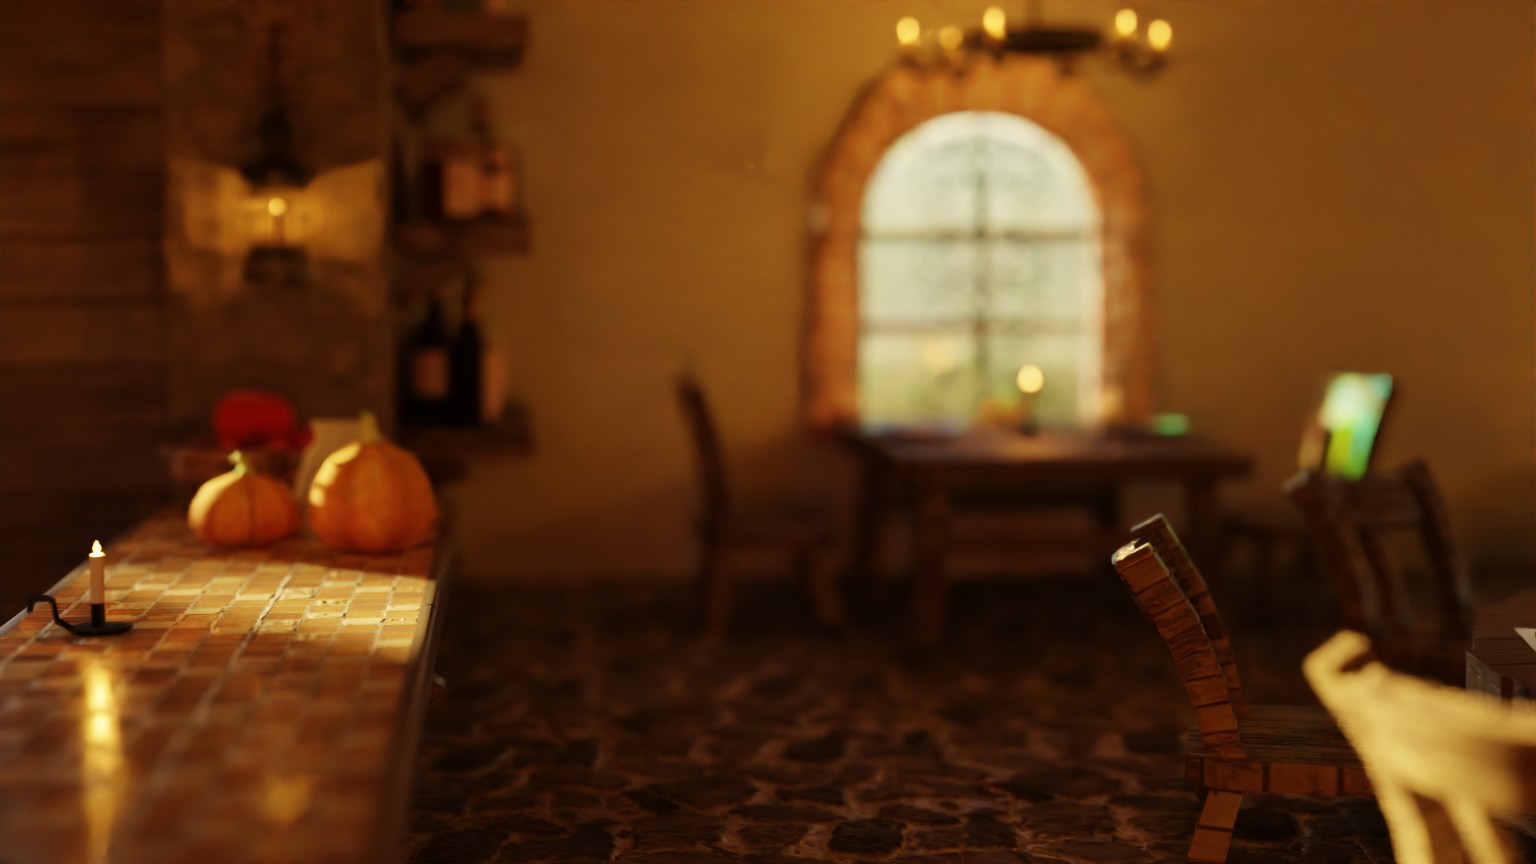
This problem has been plaguing me since early 2020. If adaptive sampling was on and set to zero the denoiser would fail hard. Today in CyclesX I discover that if I change Noise Threshold to just above zero not only does this problem go away but it renders in a fraction of the time. However, a new problem is introduced with the shadow of the stairs on the upper wall. That shadow looks much better if I leave Noise Threashold at zero.
What makes this extra frustrating is this problem caused me to abandon Jonathan Lampel’s advice about using real world lumens and exposure to make lighting in Blender easier. I only got this problem in this scene after following that advice and using his Extra Lights add-on. I thought the advice was the problem. The point lights over all candles are real-world strength, the exposure was set relative to those lights. All this time I was under the impression that having the lights so weak and the exposure so high was causing the problem, but all I needed was one click on Noise Threshold to mostly fix it.
Forgot to mention in the old cycles the adaptive sampling was never applied to the viewport. That was only fixed in CyclesX.

1 Like


I featured you on BlenderNation, have a great weekend!

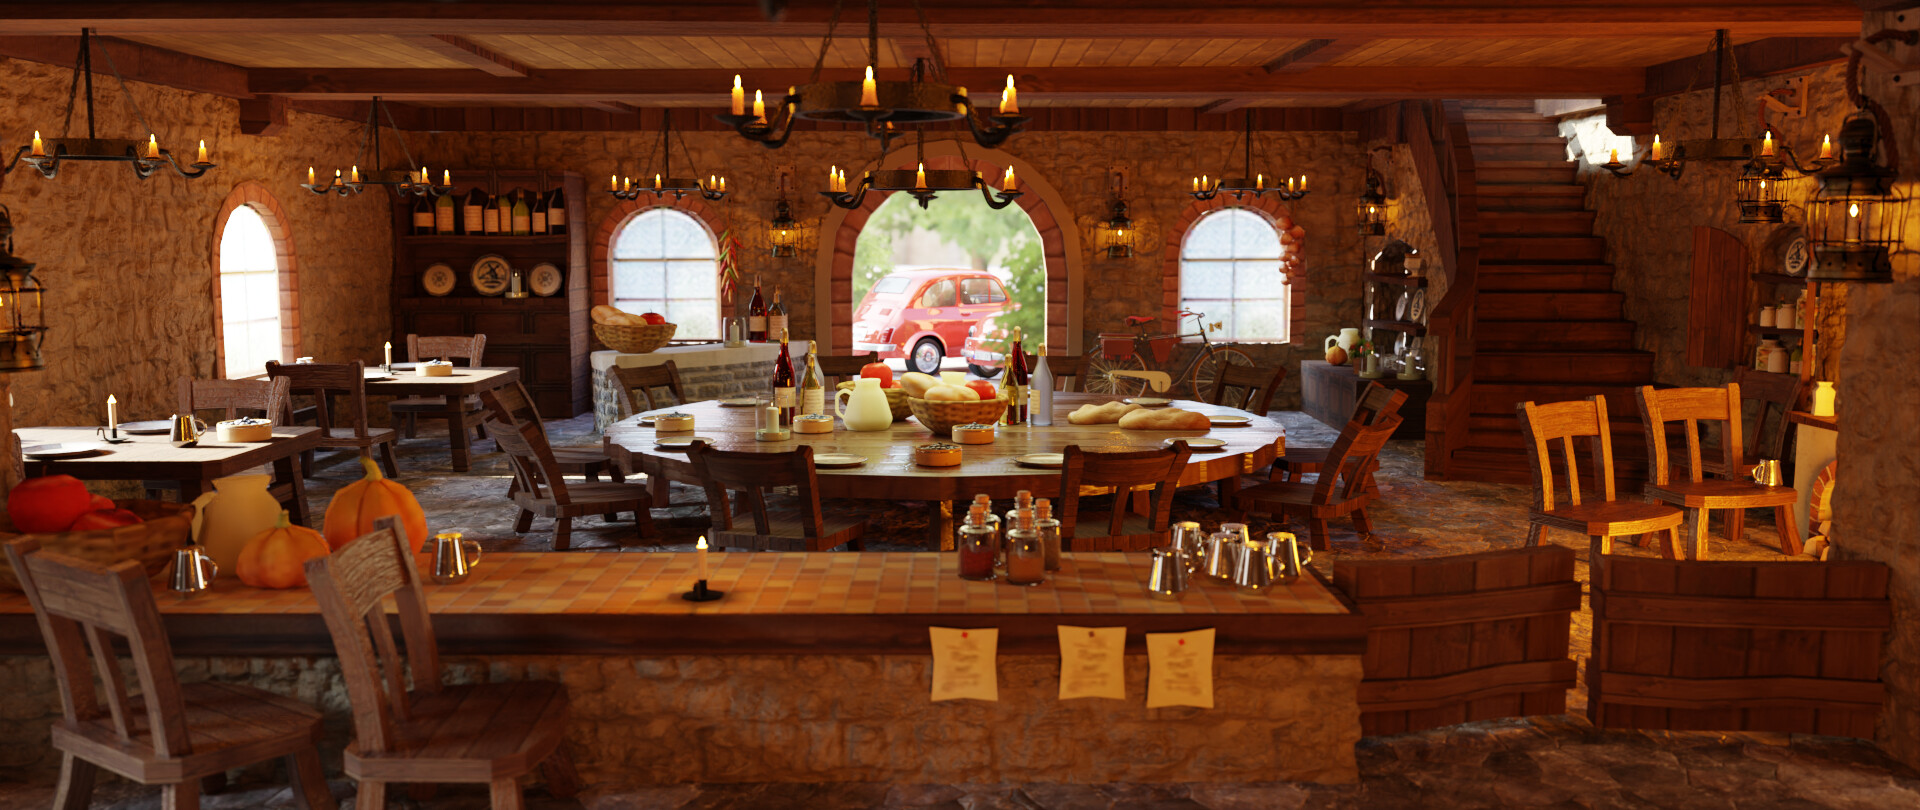
Really nice work and mood! I like the version with the car outside a lot. One thing that sticks out to me is the height of the chairs which I feel could be increased slightly. Otherwise this looks fantastic!
1 Like
Size of the chairs is from the original scene in an old nintendo game (3rd picture in first post).
Eventually, after I finish doing a long list of pointless things that don’t really need to be done, I will make a similar room mostly from scratch with realistic proportions.
I was in Sam’s Club and did a 4K test render on an MSI laptop they had on display. LOL. This looks extra ugly at high resolution.
http://thinsoldier.com/blender/done/Restaurant%20%20open10.B.01%20-%20libs%20packed.blend (67mb)
-
MSI Gaming Laptop
- RTX 3060
- Intel Core i7 - 12700H
- 3840 x 2160
- Max Samples: 2000
- Min Samples: 1000
- Light Paths: 24 [14, 8, 12, 0] 10
- Clamping: 0 and 10
- 12 minutes 57 seconds
-
My current HP Gaming Laptop
- GTX 1650
- 3840 x 2160
- Max Samples: 2000
- Min Samples: 1000
- Light Paths: 24 [14, 8, 12, 0] 10
- Clamping: 0 and 10
- 43 minutes 39 seconds
- GTX 1650
-
Lenovo Legion - The laptop I bought
- RTX 3070
- 3840 x 2160
- Max Samples: 2000
- Min Samples: 1000
- Light Paths: 24 [14, 8, 12, 0] 10
- Clamping: 0 and 10
- 10 minutes 29 seconds
- RTX 3070
2 Likes
“C:\Users\thinsoldier\Desktop\Blender Temp Test Dump\renders\tweaked Restaurant open10.B.01 - libs packed (2).blend”


“C:\Users\thinsoldier\Desktop\Blender Temp Test Dump\renders\tweaked Restaurant open10.B.01 - libs packed (2).blend”
1 Like
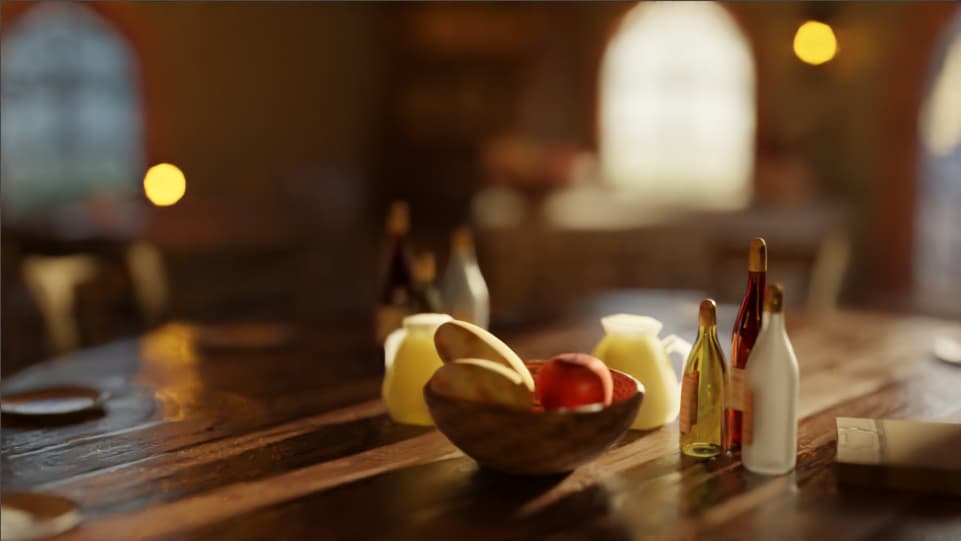
I can finally edit the materials in-context and actually see what the result is clearly without having to wait 5 minutes for test renders after every little change. I think each of the renders above were about 6 to 12 seconds each.
Thought up a nice trick for faster test renders.
Put a plane set to holdout behind the area you’re focused on. You get all the indirect lighting of the full scene without wasting time on any of the direct lighting.
Faster renders and your subject looks the same in both.
1 Like
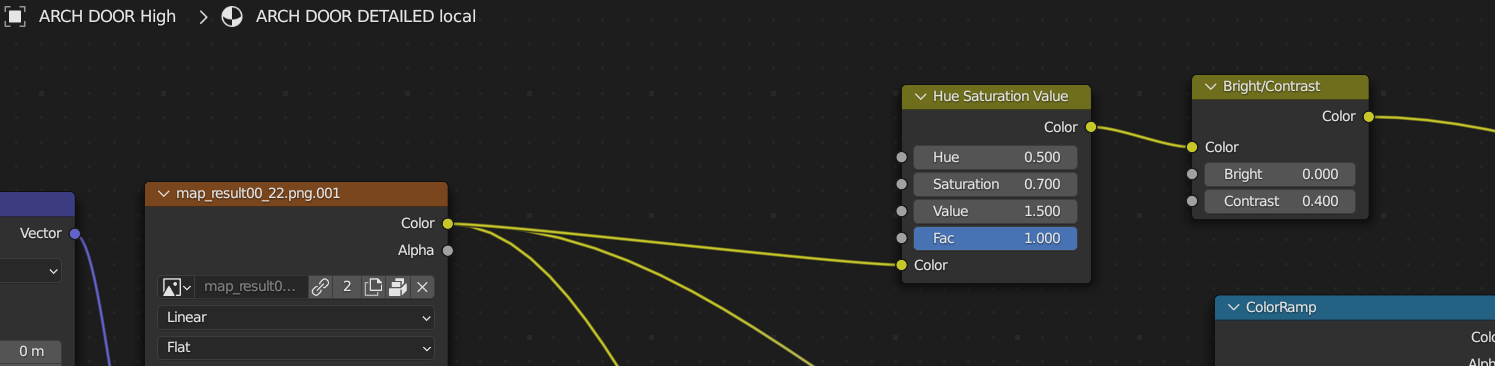
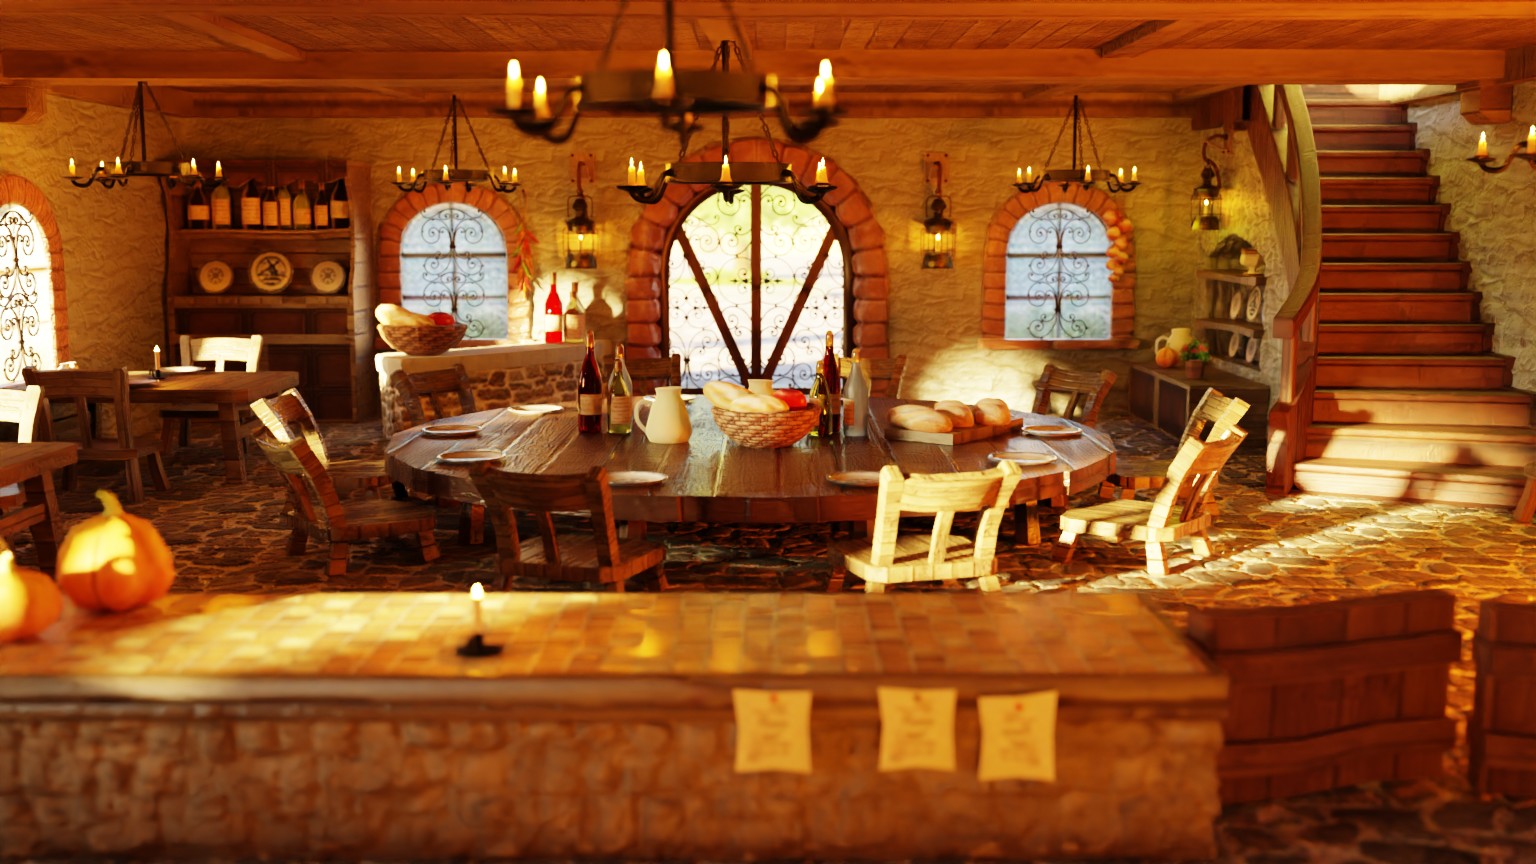
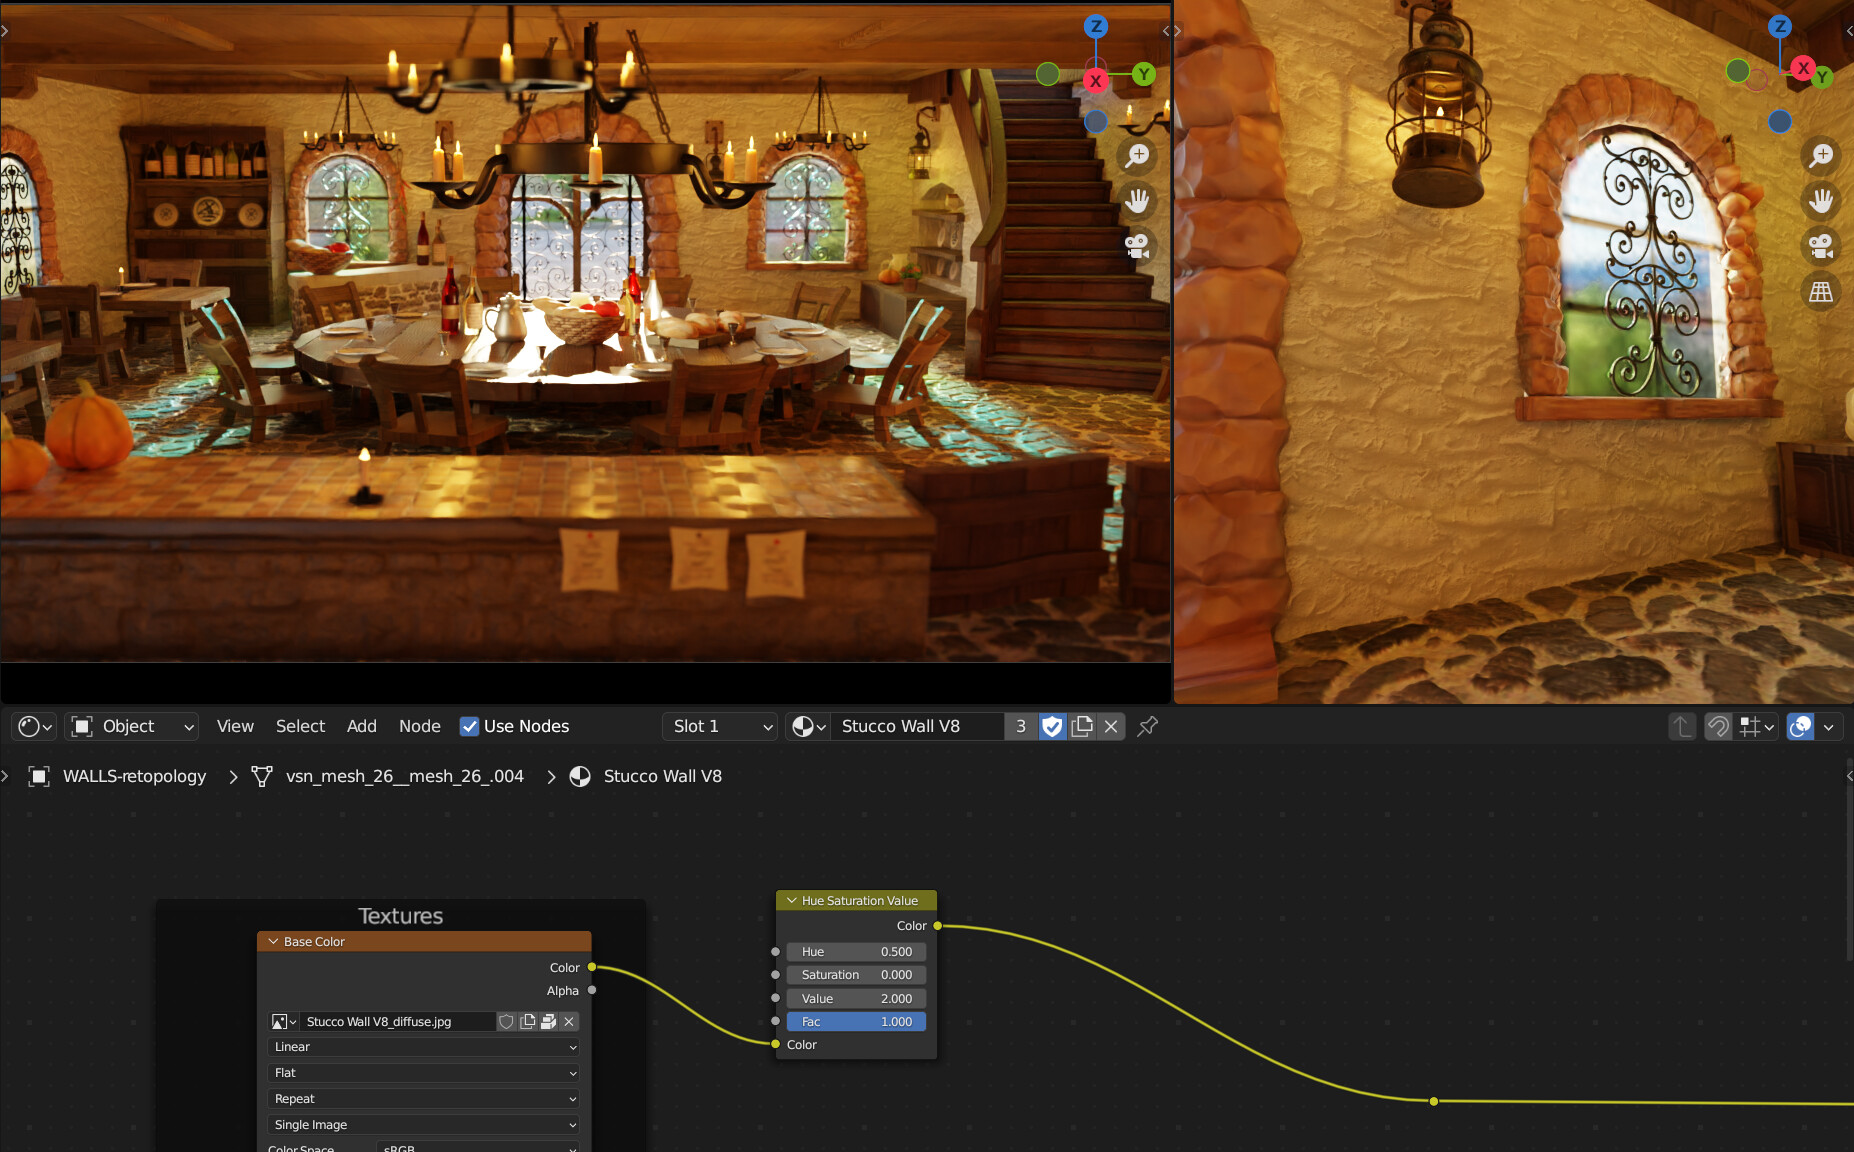
Realized a big mistake with the wall texture.
There is more than enough texture detail in the base color.
I was mixing it with white to brighten it up but MIX replaced detail with white.
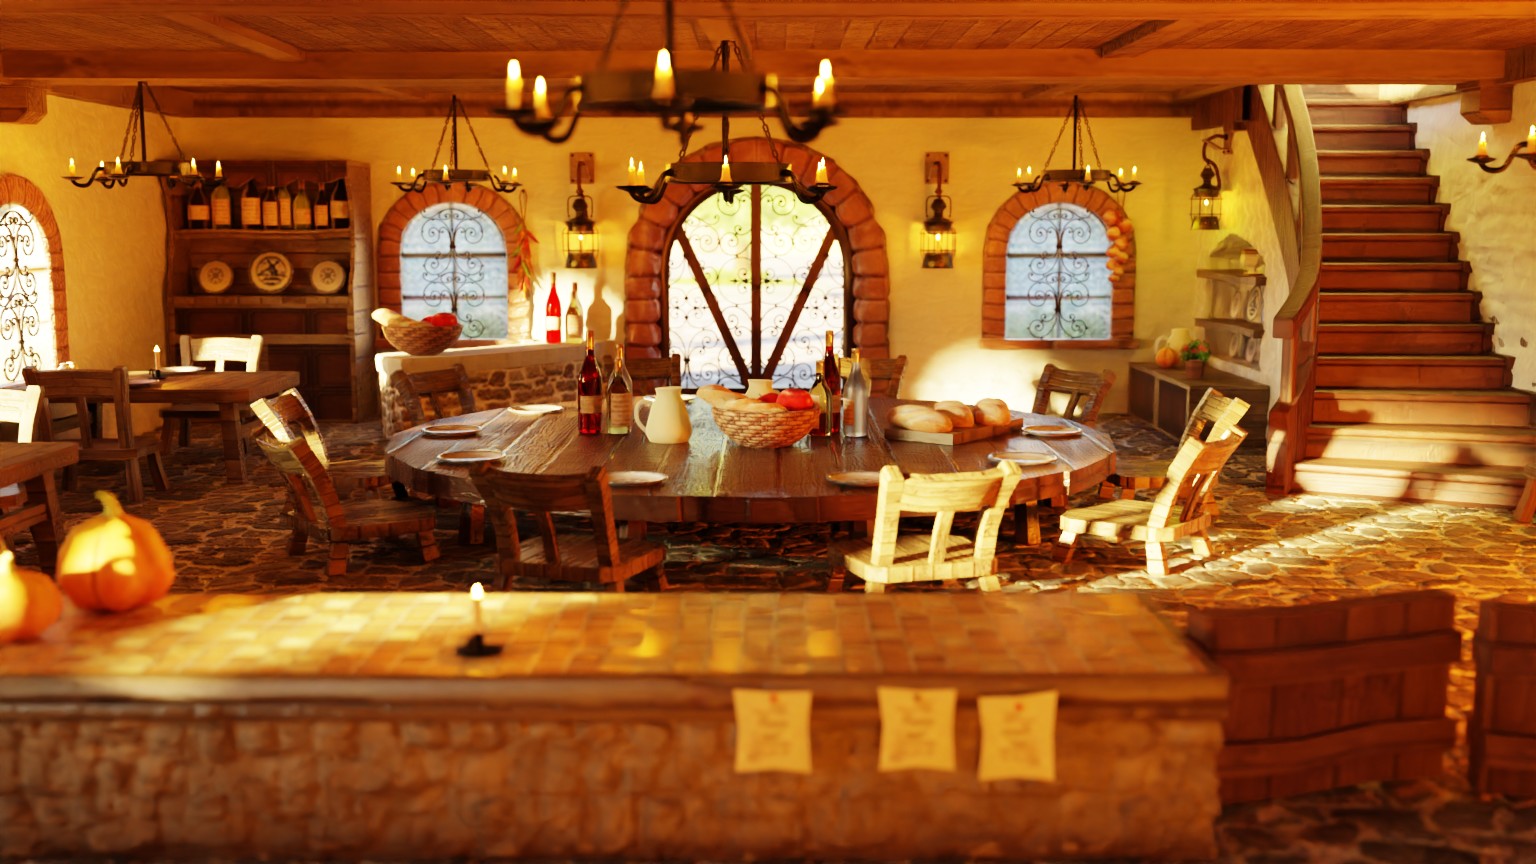
I can lighten it with HSV saturation 0 value 2 and get a brighter wall and less warm lighting while keeping all of the texture detail.
All those hours wasted. Retopology of the walls. Experimenting with displacement modifier and adaptive subidivision.Fighting the light leak from overly strong bump map. All for nothing. I could have just not mixed the texture with white.

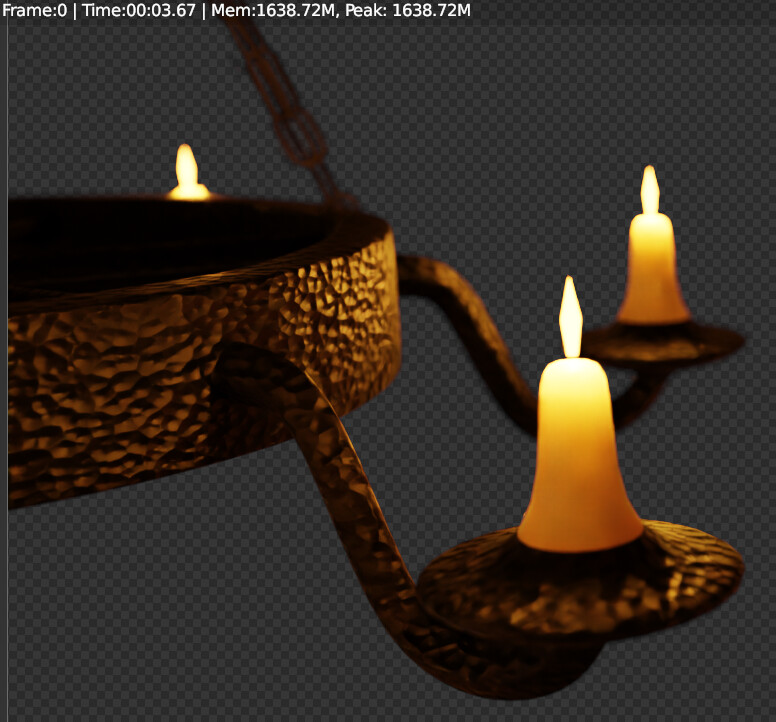
Emission strength of 9999 on the candle flames is probably overkill.
1 Like