Is there a way to apply the mirror modifier and get two objects instead of two meshes inside one object?
I know how to go into edit mode and pull by selection or loose parts, I was hoping to skip that step.
Is there a way to apply the mirror modifier and get two objects instead of two meshes inside one object?
I know how to go into edit mode and pull by selection or loose parts, I was hoping to skip that step.
Yes, apply the mirror modifier first.
In edit mode press P and select “by loose parts”. Remember to set their origins again in object mode.
You apply the modifier, and then in edit mode select all the verts on the mirrored mesh (select one vert and ctrl L to select connected) once selected you hit p and choose ‘selection’ to make those verts a separate object. You can also not select anything and hit p ‘by loose parts’ if it’s all connected. After you have turned it into a another object don’t forget to reassign the origin.
I know how to pull by selection in edit mode but was hoping to avoid all that as I have a bunch of parts to do. 
It would nice if the mirror modifier had an “apply and make separate objects and adjust origin” button. It doesn’t. If you are talking like 1000s, you might want to make a script.
Also you should have specified in the original post that you knew how to do it manually.
Yes, I looked for a link to edit my original post but didn’t see anything. Thanks for taking the time to respond.
Are the parts all using the same axis in the mirror modifier? If so you can just get to the point where you want to apply the modifiers, then delete the modifiers, copy the objects, and scale them -1 on the axis you want them mirrored on.
If the parts aren’t all at the same location, set the pivot point to “individual origins.”
If the parts aren’t all in the same orientation, set the transform orientation to “local”
Then just select the objects and all in one swoop, do Ctrl-D, S, XX, -1, [enter] (assuming you’re mirroring on the X axis.)
Then just to keep things clean you should apply the scale(Ctrl-A)
Also if you want to go hi-tech, you could do Alt-D rather than Ctrl-D. That will create new objects that use the same data blocks as the originals. They’ll automatically be updated to match when the original mesh changes, but you won’t be able to apply the scale.
EDIT: OOF, just thought about normals getting flipped. I’m on 2.79rc2 and the normals don’t flip the wrong direction until you apply the scale. I don’t know if that’s always been the behavior, because I never really paid close enough attention. Turn on backface culling and see what you get.
Modifiers can be applied for many objects by converting them to mesh. There’s also separate operator in object mode, which applies to selected objects, but can only separate by loose parts or materials.
LOL, yes I ran into the flipped normals thing yesterday.
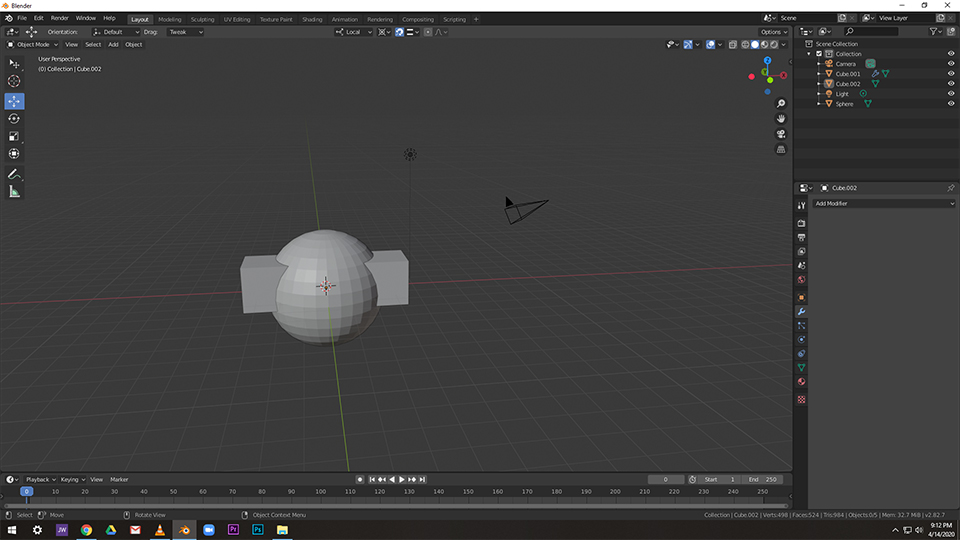
I couldn’t do the “separate by loose parts” method because the bosses on top of the lego bricks are not attached so I would have ended up with more work to do. I just ended up going into edit mode after applying the mirror modifier and pulled by selection.
This is my question too, but as a beginner, I try to explore a solution.
After applying mirror modifier (Set Cursor to World Origin). I hit Shift+D (Duplicate) then Hide the first Cube, I rotate the second cube with mirror modifier in -180 Y (Viewport Front View), unhide the first cube, snap the second cube to first then remove the modifier of both cubes.
Unprofessional steps. But as a beginner, I try my best to solve what I want.