I’ve been modeling a chess set, and all of the peaces have gone nice, all being a slightly modified pawn. The board looks good, and I have fairly good textures. (At least I think).
But I can’t get the stupid knight. I’ve tried everything, from rotating a tub, like thing, to modeling bottom to top, etc. etc. But I just can’t get it.
You want it to look like a horse, right? I have done a couple of those… probably, the first thing to do, would be to make the base, then as a seperate object, the horse part. Making complex organic shapes is always tricky, so find, or draw, a reference image, then load that as a background image in your view menu. Try that and if you still have trouble, I’ll put up a wire frame for you. here’s a pic of the last one I made, on a mock up I did, for a tournament page http://home.att.net/~yorik/chesspg1.html
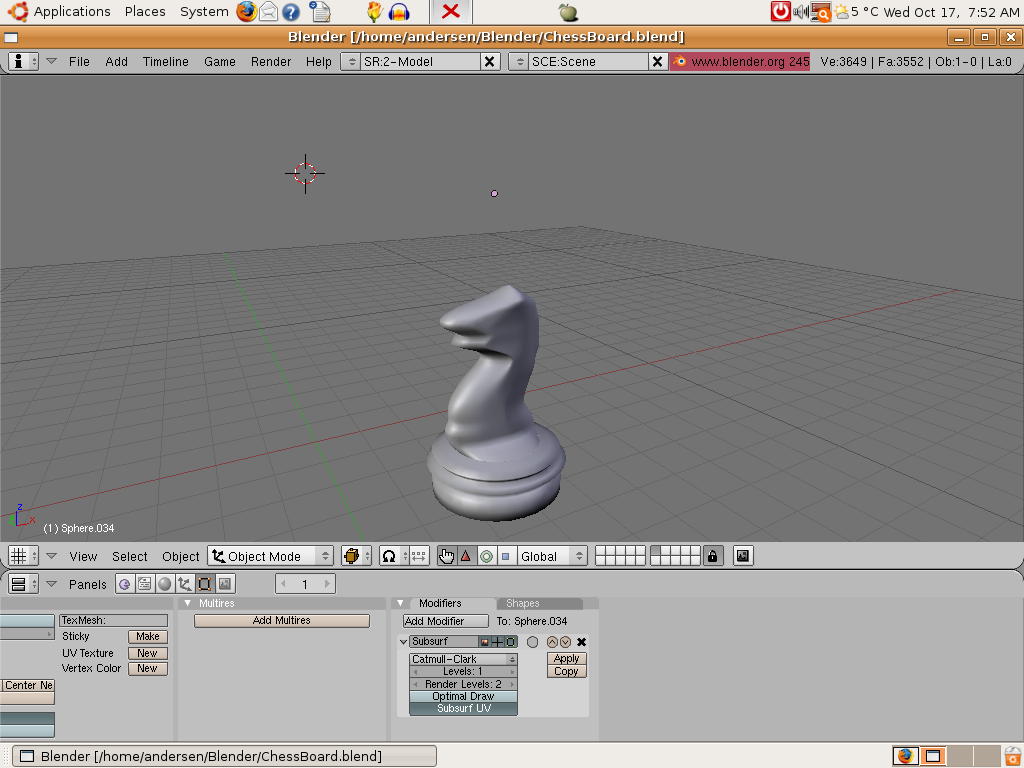
Well, i found one picture on the internet. And with an hour of modeling I got this.
It’s not their yet, but at least it’s a starting point. (Maybe I should take pictures of my own plastic night, and import them for a picture at all three angles).
It looks like you have a good base mesh now…one way to procede would be to ( first make a copy and send it to another layer, in case you make a mistake ) make it a multires mesh, then use the sculpting brush to sculpt in some details, then make a new lower poly mesh over it using that as a form, ( like a shoe form, or a hat form ) with the retopo feature.
For the start you could use Bezier Curve. Outline the body of the horse and make the curve cyclic. Then extrude a bit and bevel a bit. Convert to mesh and continue from there adding detail as much as needed. (Note it is good to outline with all control points set to Vector - thus you will get nice low res mesh).
Alright, I had already moved a copy to another layer, but most of the rest of the things you are talking about are foreign to me. So do you have any suggestion where I can learn this stuff, thank you.
And Syziph, thank you for the tip, but I’ve already started, but I’ll keep it in mind for another project. (I’ve already got a base model, even though I see it would be much faster a neater to make it out of a curve).
tbol, for documentation of the sculpt brush, and the retopo feature, you can check the documentation in the release notes for recent versions, or check the blender wiki. Basically, to use the sculpt function, the controls of which are located in edit buttons, you go into sculpt mode, from the selection menu on the main header, same as going into weight paint mode, and vertex paint mode. then you can, provided your mesh is high poly enough ( and that’s why you use the multires feature ) treat you mesh more or less like clay, and paint in features, or chip away, or inflate, or whatever, depending on the type of brush you have selected. but that leaves you with a very dense, high poly mesh, which is not always practical, so, you use the retopo feature, which allows you to use the surface of any model, as a guide, over which, you can create a new mesh, that conforms to the surface of the guide mesh. they are features worth looking learning, so check here for tutorials, i know there is one on the retopo feature in the tutorials section, and check the main site for release notes, and documentation, and also the blender wiki. Of course, these things don’t replace basic modelling skills, but it looks like you have some of those already.
Ok, I think I have a grip on what most of these tools do. However, I don’t know what you mean by ‘paint in features.’ I’ve never used any of the paint modes actually.