Ok, this is my first post so I hope I’m in the right place and this isn’t an idiotic question
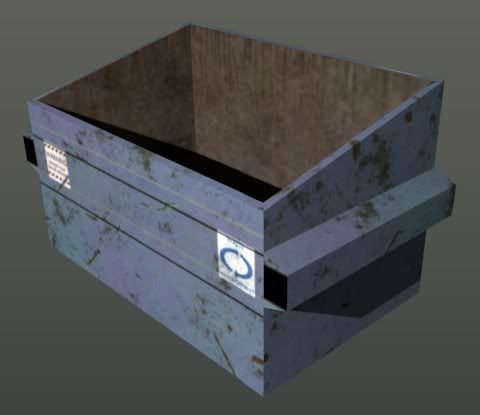
anywho… I’m modeling a garbage dumpster for my game I’m working on in Unity. Here’s the reference picture of what it’s more or less supposed to look like [ATTACH=CONFIG]156239[/ATTACH]
What I want to know is… I’ve already modeled it (its going to have an interior…) but the sides I did with a plane, only after I had done this had I figured out… planes don’t have 2 sides -_- I know I can set it 2 sided, but from my understanding it textures the 1 side same as the other, Waste Management logo on outside will also be on inside… right?
So… How would you guys do this? Would you have a seperate inside and outside face? I realize this is probably best way to go but how would I unwrap that? Wouldn’t it take up unnecessary space on the UV Map? I don’t know lol, that’s why I’m asking here.
I hope I made sence and you don’t have a hard time reading this block of text
Slightly Off-Topic question… How would I unwrap the holes on the sides where the garbage truck things pick up the dumpster?
I’d take a box, inset the top face and extrude it inward to form inside face. Then extrude/construct the rest of the details. Covers and wheels would be separate objects.
Ok… What about unwrapping? Wouldn’t it take up a lot of space? I don’t know I’m just thinking ahead so i dont have to remodel it all over again!! Lol
Would anyone else do this differently or is that pretty much the best way to go?
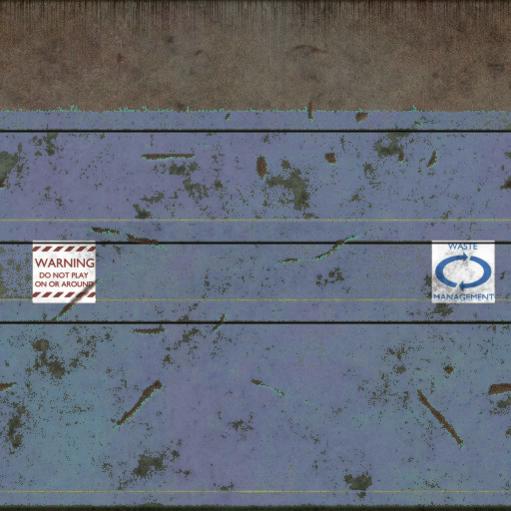
I made these for an urban scene that I am not currently working on. They will require some simple UV mapping to use, but you can use them if you’d like.
It seems Unity Engine don’t have simple capability to attach image on backside of polygon face. So, you need to make the dumpster inside surface; just extrude dumpster top inward.
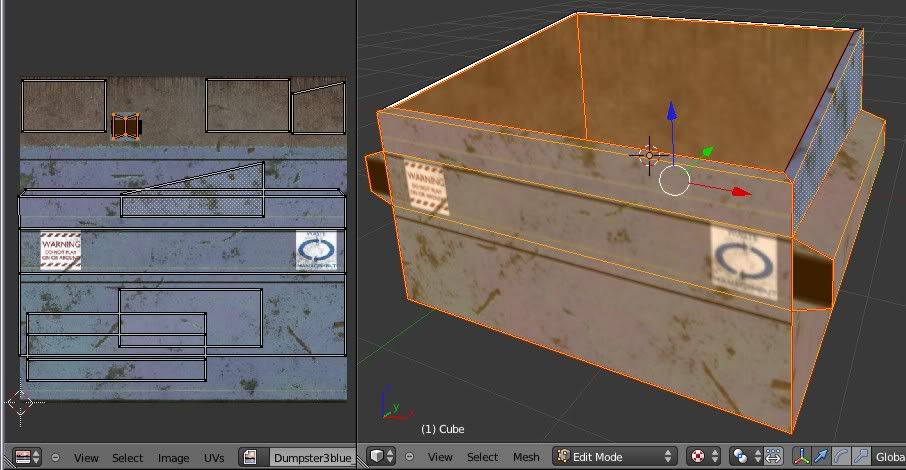
Here is simple dumpster model using Modron posted: I simply overplayed different face UV on top of image. As for pickup cavity, simplest way to do it is to just paint the hole black.
I don’t know if Unity Engine will let you layer UV surfaces as shown. With Unreal Engine you cant texture that way.
Wow! ok thank you guys! Anyone have some tips on how I would unwrap this? Since I’m kind of lost as to which edges i should mark as seams lol
Thank you very much Modron! When the game gets released I’ll be sure to give you credit!
Glad you like it/can use it. Unwrap using the ‘project from view’ option. So, for example, select the faces on the right and left (out)sides of the dumpster, then go into side view ( 3 ) and with those faces selected in edit mode, hit U and select the option ‘project from view’. Once the coordinates are in the UV editor, use the S and G keys to scale and move them, so that they correspond to the correct portion of the image.
right, that’s what should happen. if you loaded the front faces from that view, they would show up as little slivers. so you only want to load the sides from that view. to load the front faces, switch to front view. so, start with the sides, then do the front, etc. pretty soon you will have the whole thing.

 [ATTACH=CONFIG]156239[/ATTACH]