I want to simplify the positioning of a path with bones. This path will be on the surface of a sphere (plane flying over a planet).
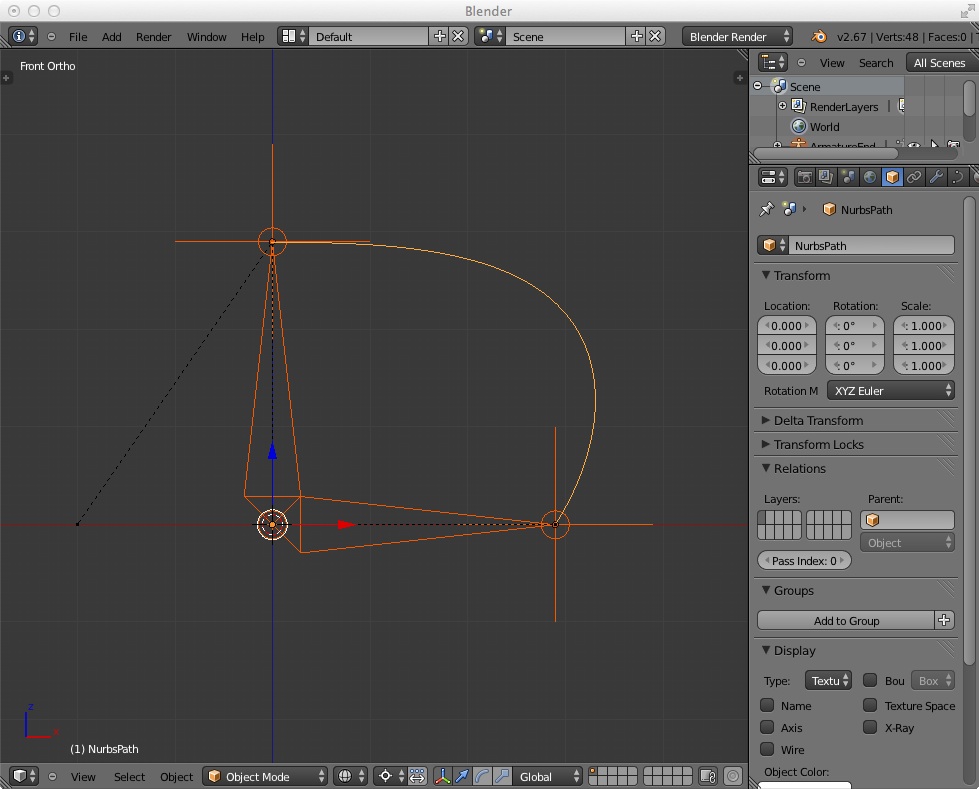
My idea was to attach each end of the path to a bone and by rotating the bones, I would position the start and end of my path precisely. After, you just have to edit the middle points of the path to give it the shape you want.
What I did is parenting an empty at each tail of my bones and I “hooked” each end of my path to one of these empties.
It’s working well, I can rotate the bones and the path follow.
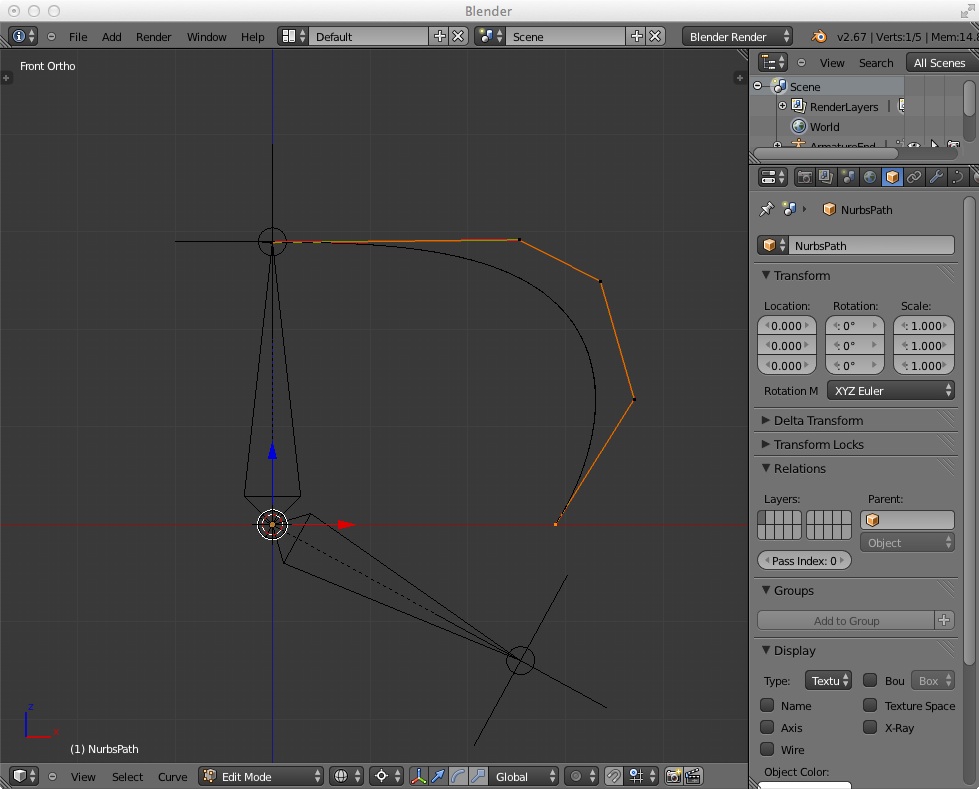
The problem is when I go in edit mode to modifiy the middle points of the path, the edition is done on the initial position of the path and you cannot adapt the path accordingly… (see the second picture).
Is there an option I missed or may be another way to do it ?
Thanks
I am not sure how you rigged it, tip of bone attached to hook, but you can do the same for other control points. Just add more hooks and bones to control the curve.
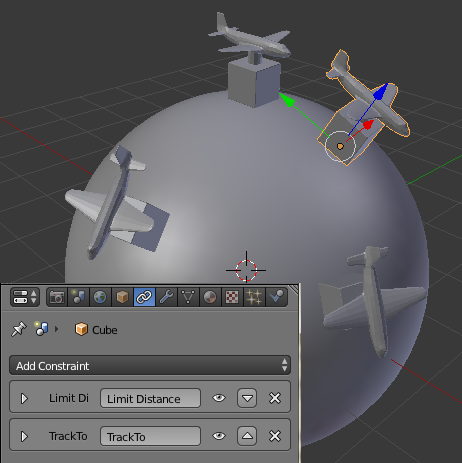
Quick and dirty way to do what you want is to use Limit Distance, and Track To constraints:
It’s an interesting way to keep the object at the surface and it helps to define a “traditional” animation after.
But what would be great is to be able to attach a path object between two of these points, path followed after by the plane.
The problem of the constraints is that as soon as you enter edit mode for the path, the editing part is done on the original position of the path, not the one obtained with the constraints.
Actually what I need is as soon as you move one of the controler of the path’s ends, the deformation is kept (or apply) in edit mode.