Hi Blenderian People, here i bring to you my new personal project. A Camaro ZL1 under the tutelage of Christopher Plush (i have to polish my skills after several years away from Blender) and his DVD Training Video from CG Masters (I recommended amply this video series, to start from scratch are amazing, you can get it from Blender.org in the shopping area, or from cgmasters.net). And incidentally explain how i started to work To the people who wants to start in this wonderful and artistic world.
First thing
A Complete image gallery to get as many reference as possible (i got at least about 30 images). And with Image reference i mean PHOTOGRAPH. Like this two here
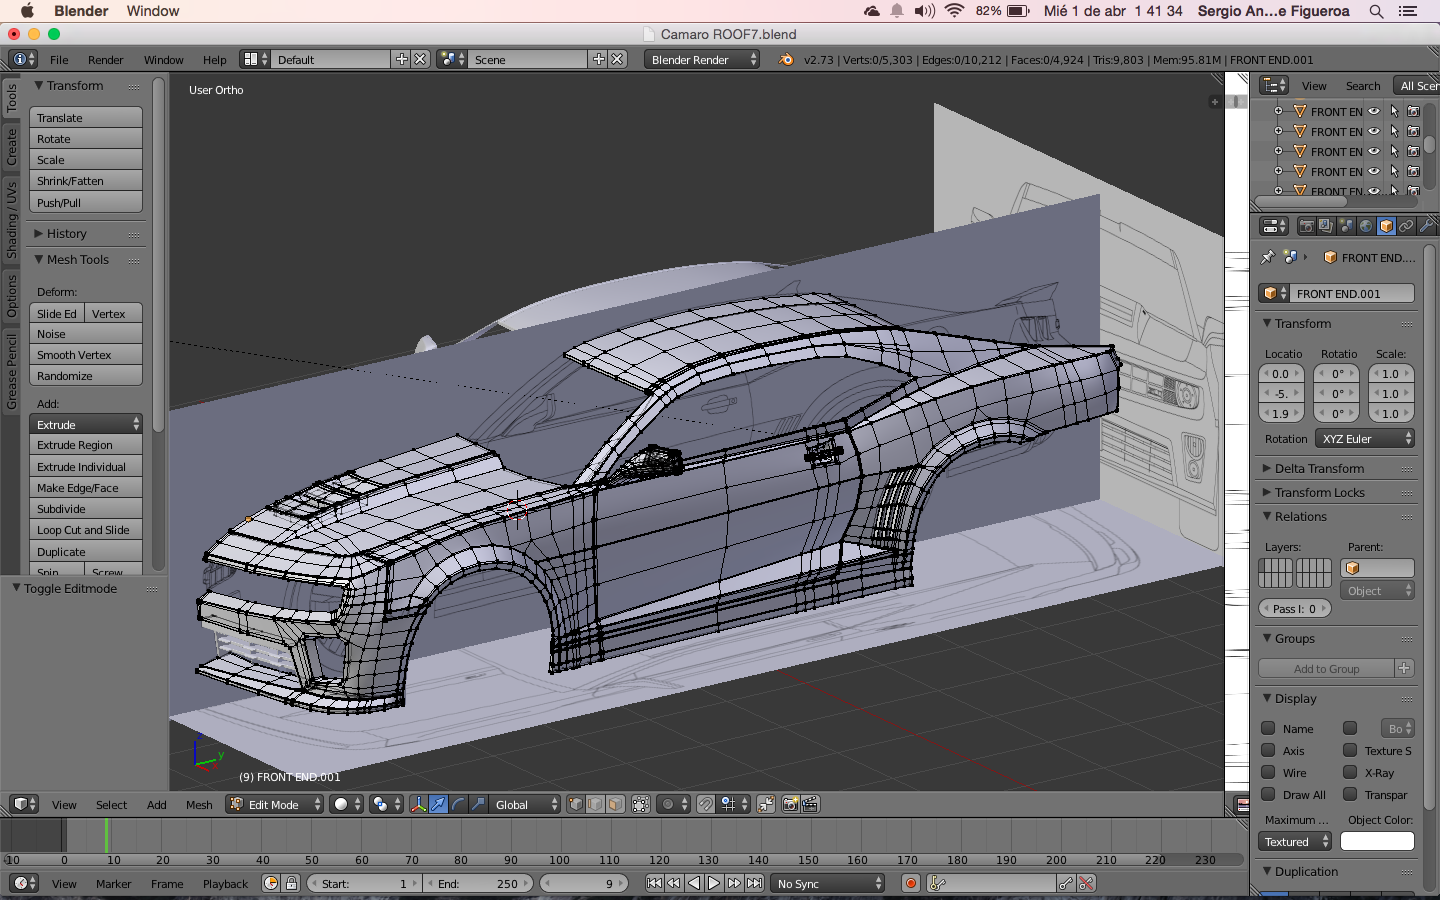
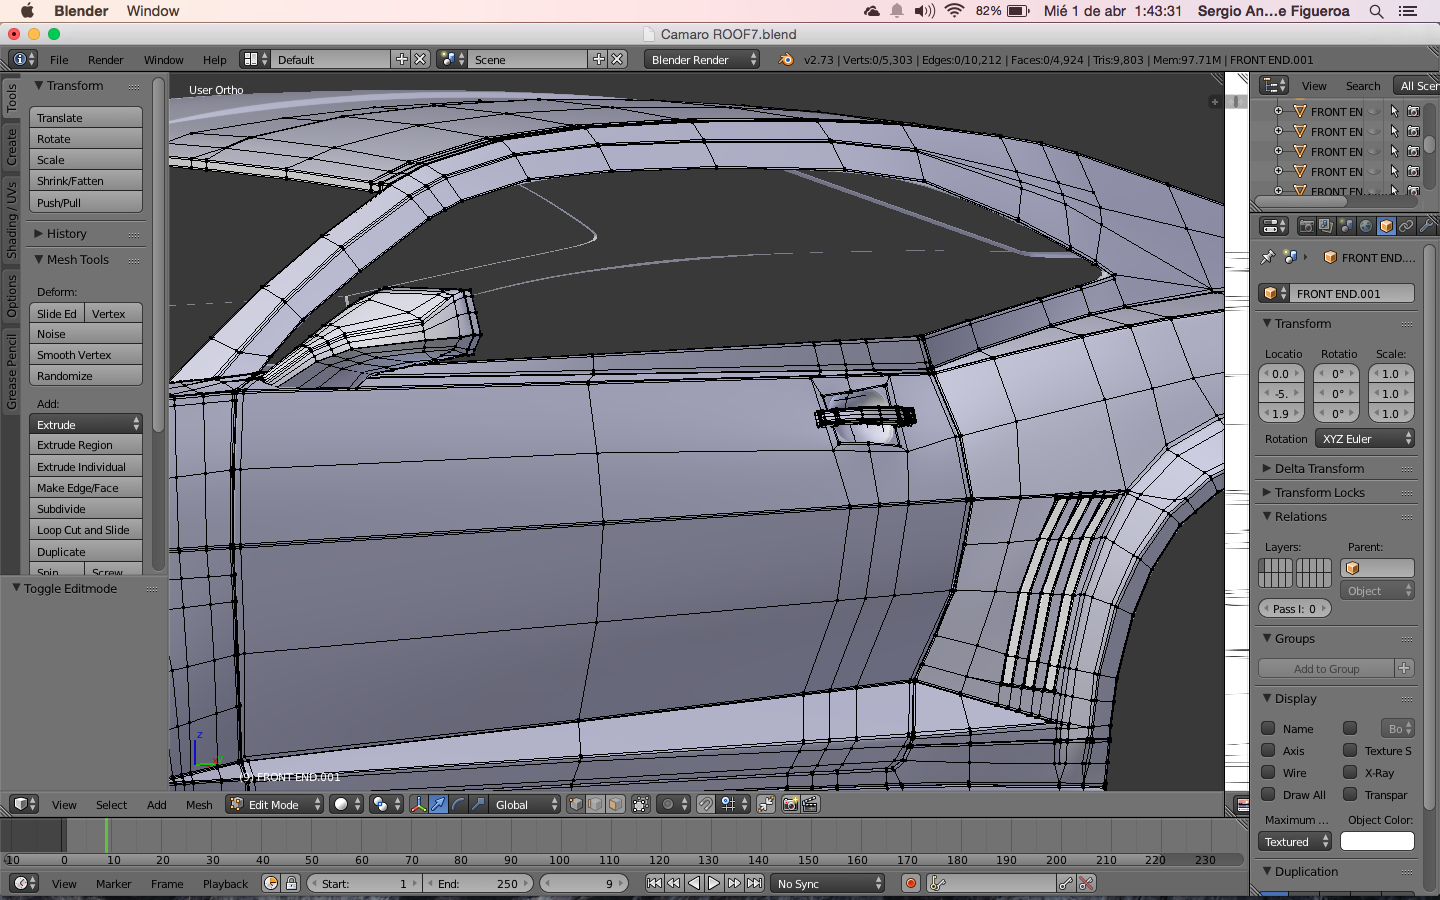
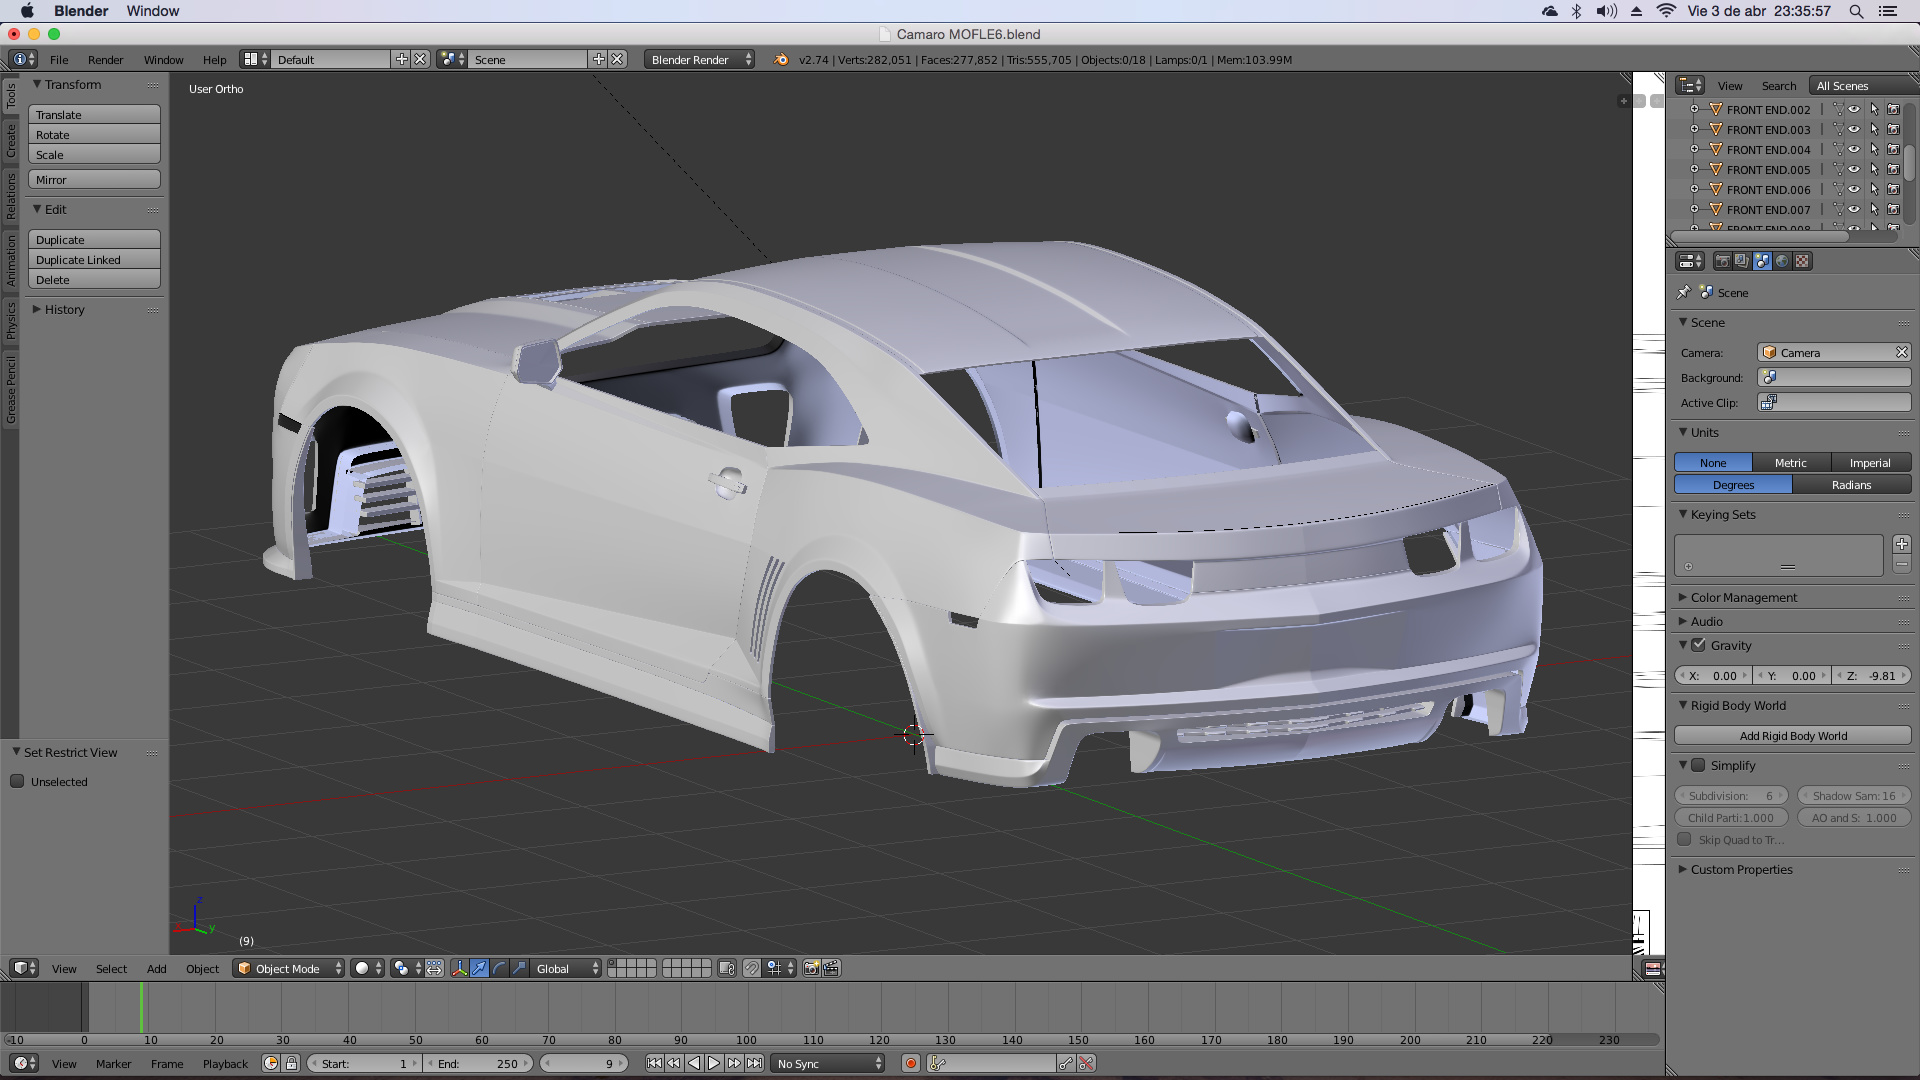
Chose one part of the car and start to work. Mark Off the surrounded area to get a basic shape from the part to work. And then complete the basic shape of the entire part. We have to try to get the same vertices quantity and work with the less resolution possible to maintain control over there. And thus, continue working to complete the modeling process as clean as possible.
Thanks ctdabomb Its because the system only allows to put 3 Images for thread… and thats a problem when you want to explain something… i hope now it works.
Third thing
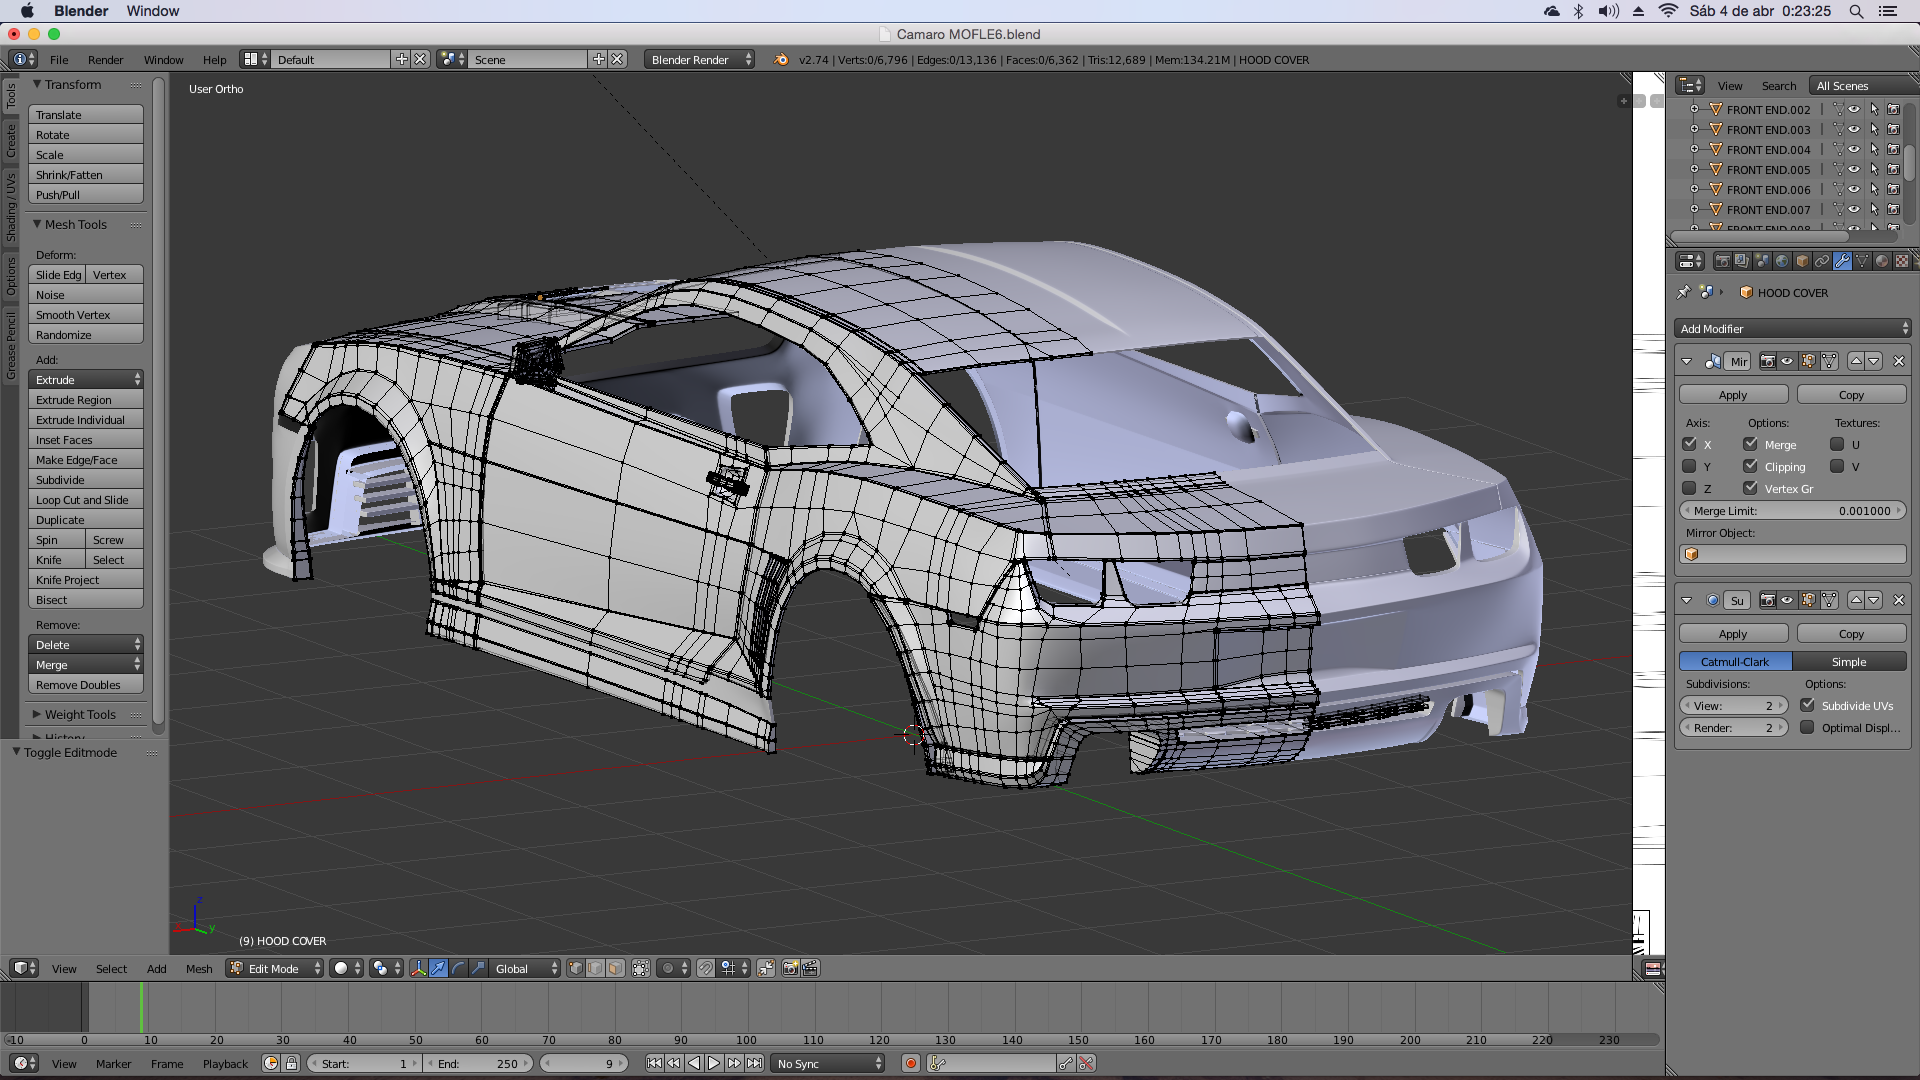
Chose one part of the car and start to work. In this particular case i follow the Chris video’s and started from the Hood. Mark Off the surrounded area to get a basic shape from the Hood.
[ATTACH=CONFIG]370239[/ATTACH]
And then complete the basic shape of the entire Hood.
[ATTACH=CONFIG]370240[/ATTACH]
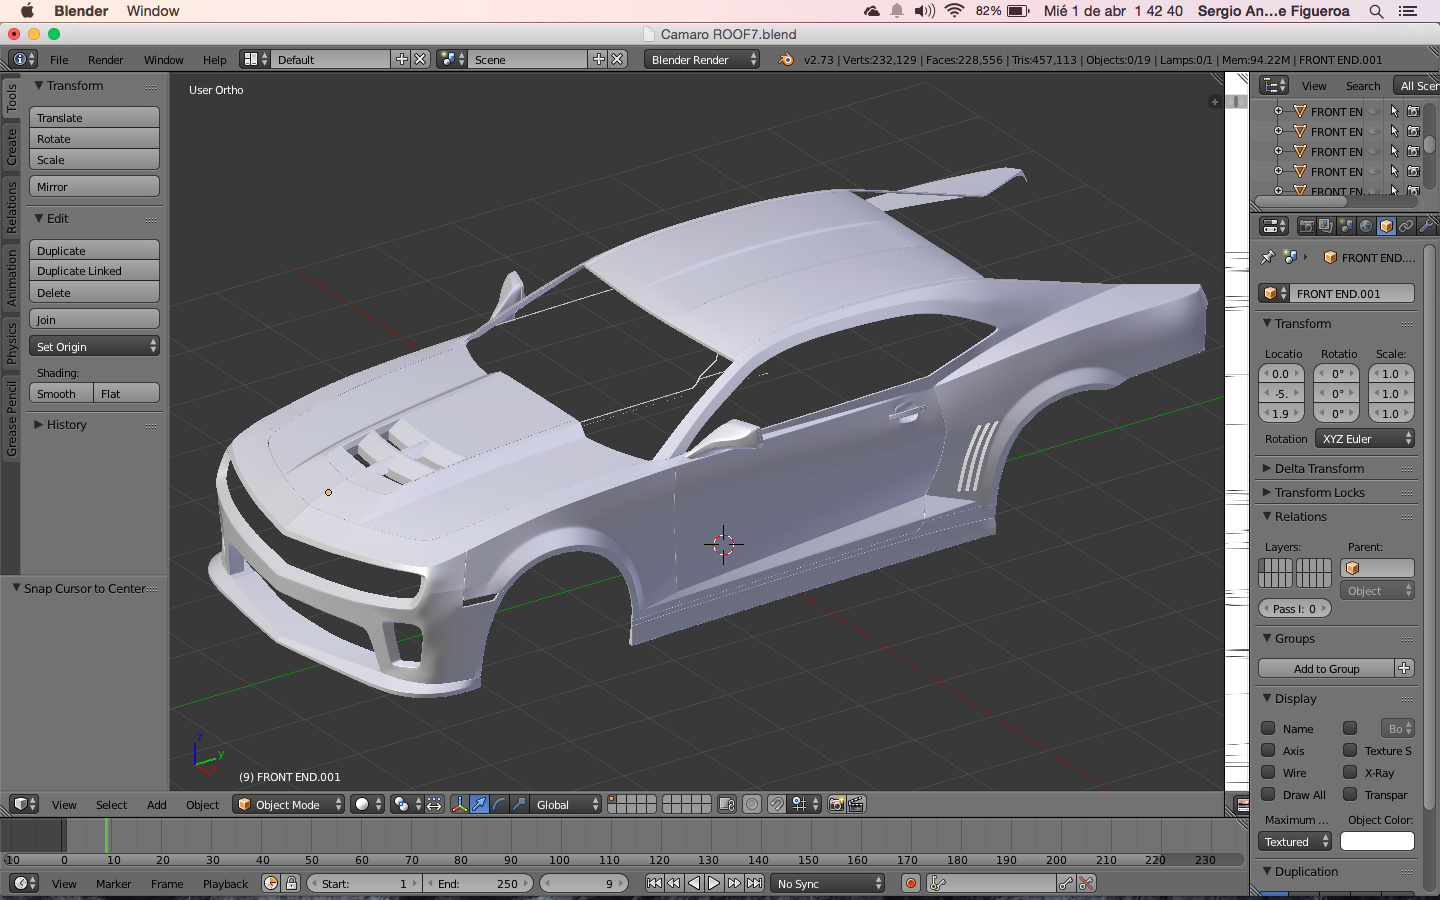
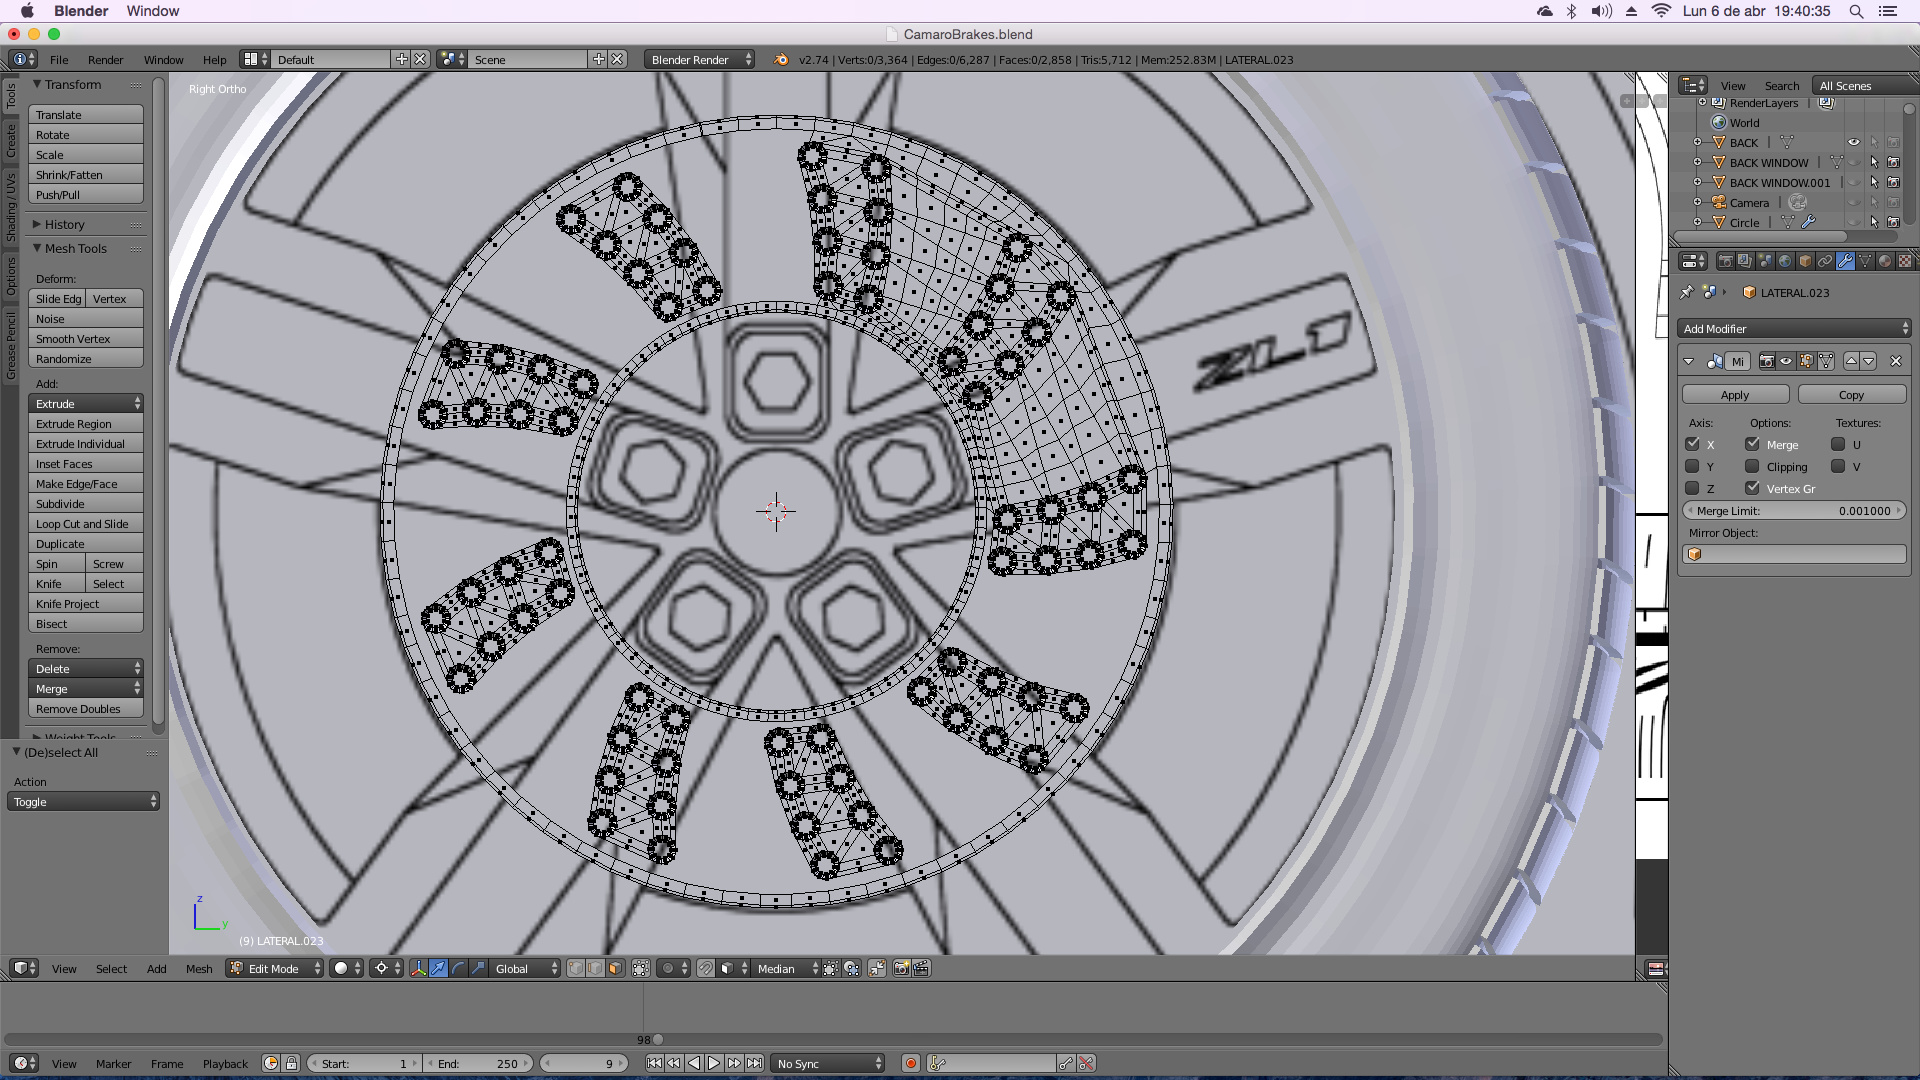
We have to try to get the same vertices quantity and work with the less resolution possible to maintain control over there. And thus, continue working to complete the modeling process as clean as possible.
[ATTACH=CONFIG]370241[/ATTACH]
The high resolution in it, its because it has the SUBDIVISION SURFACE MODIFIER or SUBSURF (the second one at the bottom with a blue buttom activated, started from the top), and that allow to get a really smooth shape, BUT NEVER USE REALL MESH IF YOU CAN ABOID IT.
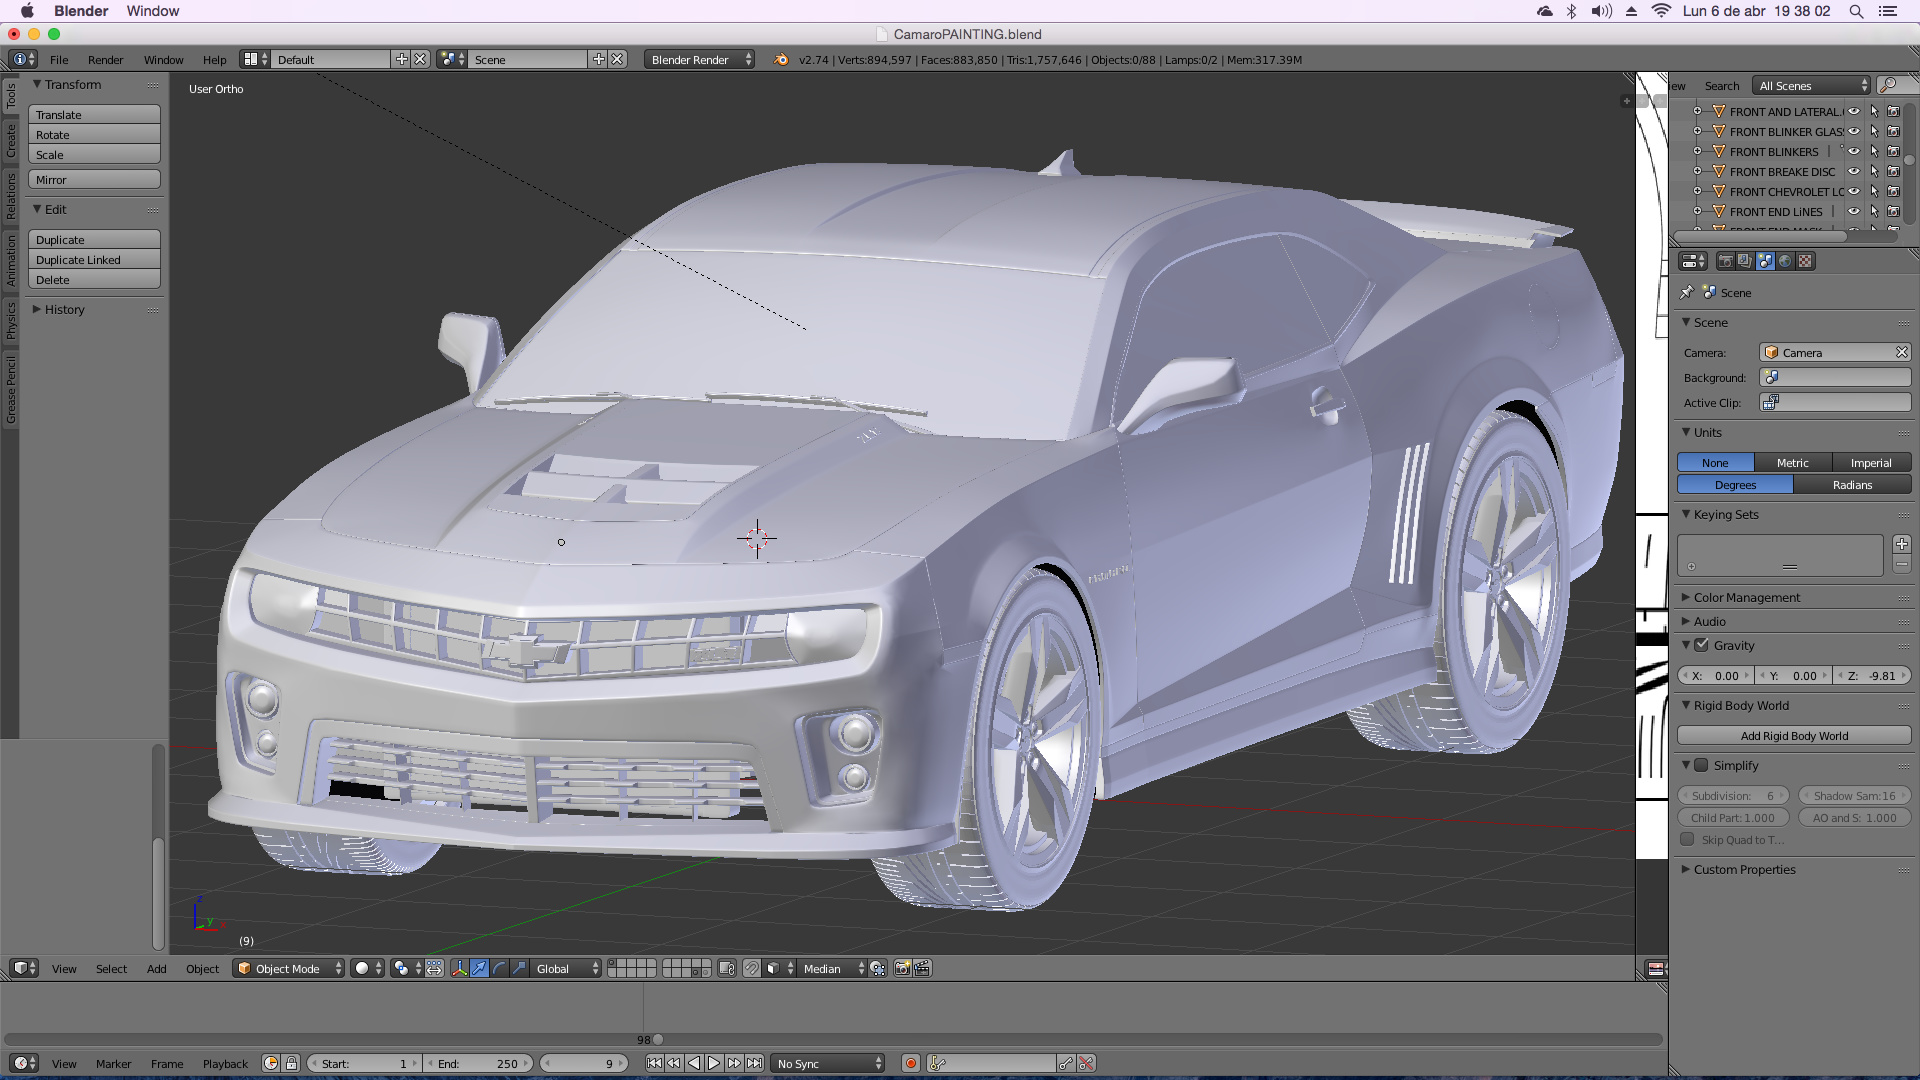
Really nice modelling. Looking very good. Lighting and materials seem a little cg-ish. Quick tip, use cycles instead of internal… go to the scenes panel, go to color management and select a new look. The modelling is the hard part which you’ve got, the final tweaks are easy but tricky and they push it to the next level.