My Sketchbook for 2024 [MM]

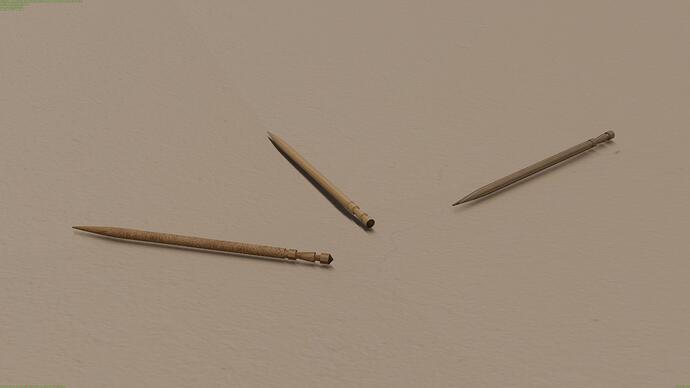
Toothpick JP 01 .1
2024-05-26T23:05:00Z
Side project
I was bored, so I modeled a toothpick that was on my desk.

Ref:

End Model:

Render w/ Poly Haven Materials:

Quick animation:

I really like the design of toothpicks we have here. They’re like small swords or rapiers. I tried making my own when I was into woodworking a few years ago, but that’s when I realized how hard it was to carve wood (if I could even get a good piece) into a cylinder, let alone on a small scale.


Anyway. I’m at a breaching point in my life, so hopefully I can get through it swiftly.
Goodnight people.
2024-05-26T23:20:00Z

7 Likes

Hey, great to see you back at blending, the toothpicks look very nice! Are you gonna resume work on your dream car, or is that a finished project for now? I would love to see some animations of it!

2 Likes

Thanks! My car isn’t finished, sometimes I need to work on something else after being absent since getting straight back doesn’t work for me. It brings me anxiety in the sense that I’ll feel rushed and at the end of the day, I’ve nearly even touched the model. I need to get in the mood yknow. I’m currently working on the dash, so stay tuned for that!

2 Likes

Dream Car 01 Interior .3 / Material .2
2024-06-16T20:45:00Z
Interior Update!
I’ve been working on the dash with the speedometers and stuff, and I like what I’ve done. It’s a bit crammed, my friends said. But as an artist, I lack empathy for the users (haha) so I went with good-styled details.

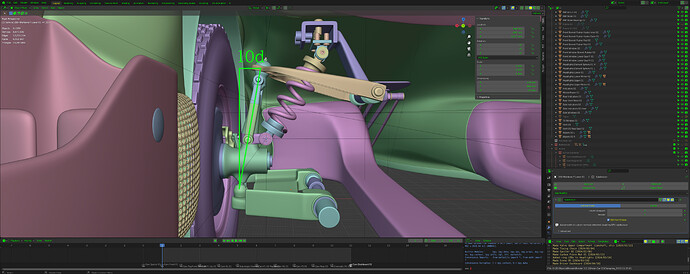
I also realized that I don’t have a kingpin angle on my car. My tires are mounted vertically to the ground which will make it hard for the driver to know or feel the center position of steering since that angle makes the tires want to straighten out while driving. Usually, the tires would dig into the ground when you turn them, which is caused by this angle.
So, I fixed it.


10 degrees of KPI should be enough. (Apparently, normal cars are between 6-14d)
For the other angles (chamber, etc) I decided against it… for now…


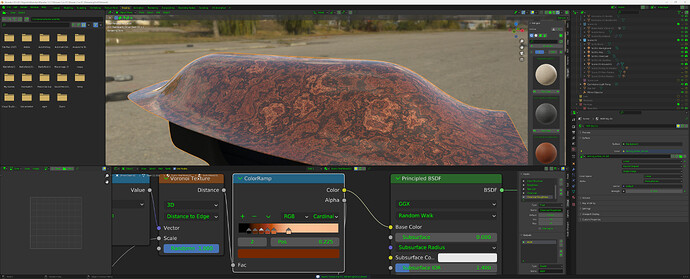
New “Wood” Material
[06/17]
Worked on a new wood material, among others. I was doing a tutorial on Procedural Generic Leather Material by @RyanKingArt, but when it came to the mix node, I realized it was a new feature in 3.4 which meant I couldn’t complete it since I was on 3.2. I added a math node instead to see what would happen and got this. As you can see I added a couple of colors to illustrate the different grains, and it took me quite some time to decide the colors and positions of them on the color ramp node. But, as I realized gradients weren’t really that possible (I would probably need another set of nodes for that) I gave up the realism part and just went with a believable shade which turned out pretty nicely I think.

Looking back at it again, it looks kinda like a snakeskin or a weird rock :o :smiling_face_with_tear:

[Update 7/17]
I moved to a new apartment some 100km away. It was a requirement for my new job, and all is going well.
Being able to wake up in the morning has never been so rewarding, especially after 3 years of working at night. I was exhausted, and now, that I have time until they actually do give me stuff to do, I can rest a LOT. Wake up, do chores in the AM, go take a nap for a few hours, go outside and actually do something, and come back home to a clean room with natural lighting coming through open windows. It’s never been so rewarding, even though I haven’t done much. My new place is “the best niche for me” between the city and the countryside, with just the right amount of both. That helps my anxiety to a level I couldn’t imagine a few weeks ago. Everything’s fresh and colorful.
I bought a lot of new stuff to help my aid, and I’m a new person now. “Well that was easy, wasn’t it? I wonder why I haven’t done it sooner”.

New dashboard
Making a dashboard for the interior, and it’s fun. For once I get to work on something that could technically be 2D and still be functional, a sort of interface design. I made mine a little old-fashioned with thin bars and fonts. I fused it with some modern-ness.


Car dash, without (above) and with the screen (later toned down the specular)
I’m obviously not finished here, I need all the symbols to tell the driver stuff. The space on the right is reserved for that, but I will eventually fill in the other areas a bit more if I can spread the symbols in a meaningful way, visibility and design-wise.
2024-07-17T12:14:00Z

6 Likes

Dream Car 01 Composite/Material .3
2024-07-17T13:20:00Z
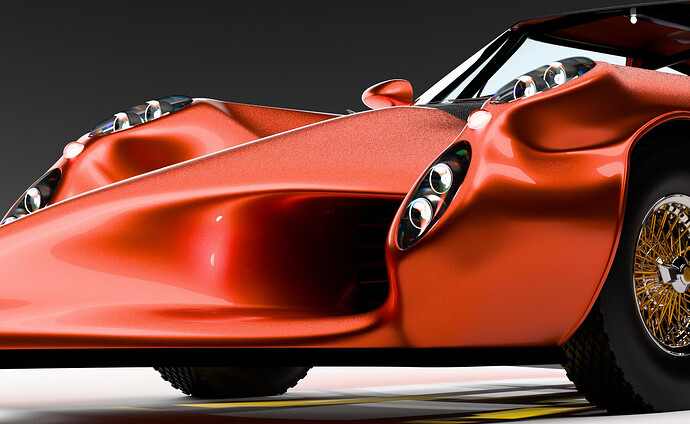
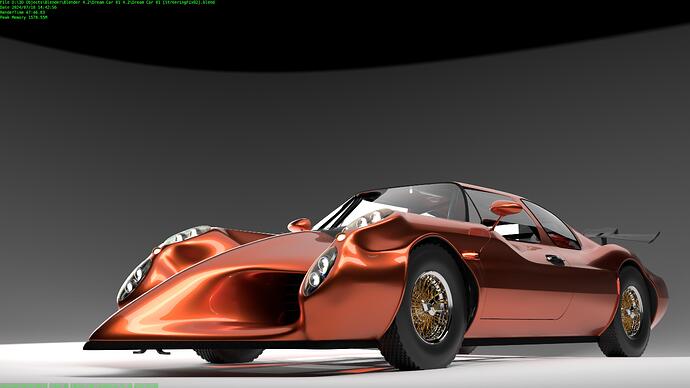
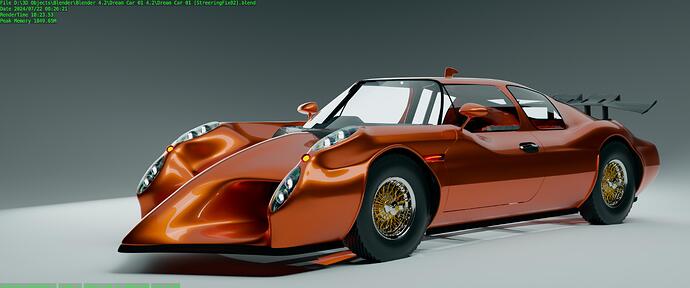
Today I adjusted the materials (mainly lights), used a tone mapper, and toyed around for too long. I also upgraded my project file to Blender 4.2, which sped things up a lot, and allowed me to play around with the new extension system as well as material settings.

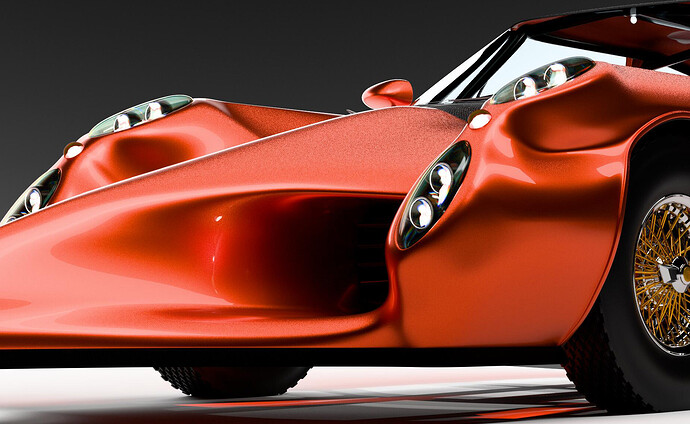
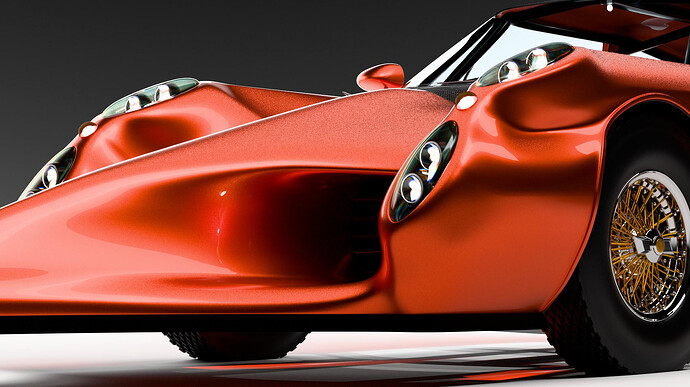
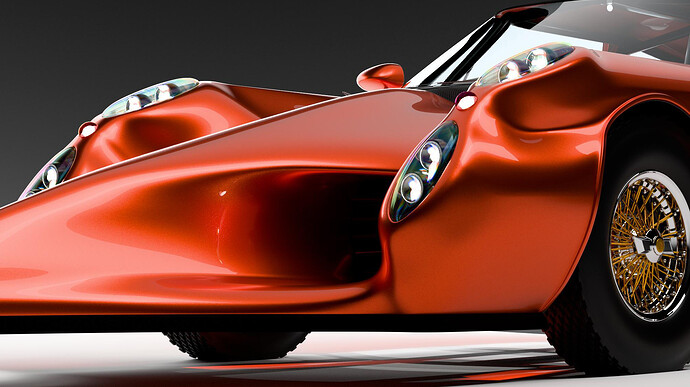
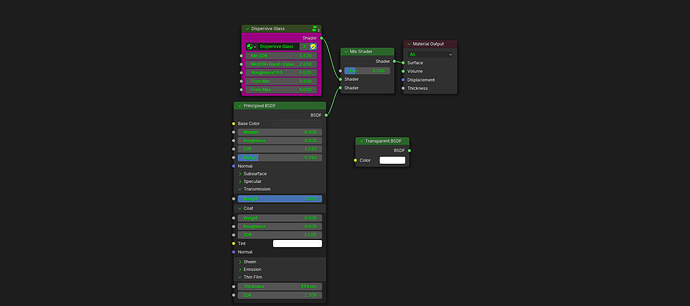
Headlight dispersion


Left - Before, Right - After adjustment
I adjusted the headlight glass material for it to use less of the transmission shader and more of the dispersive glass. I also adjusted the dispersive properties so that it looks more natural. It’s hard for me to achieve something better since I’m terrible at math, but I do think it’s pretty good. The weird greenness that’s going on in the left glass of the new image is something to consider. (Might be the new Thin-film property that I tried out, really not sure). Which do you like? (I’m gonna have a lot of polls today)

Headlight Dispersion
  • Left (Before)
  • Right (After)
0 voters

Color Management & Compositing
Today I realised that I had a monitor that uses the DCI-P3 color space. So, I decided to use that setting inside Blender!
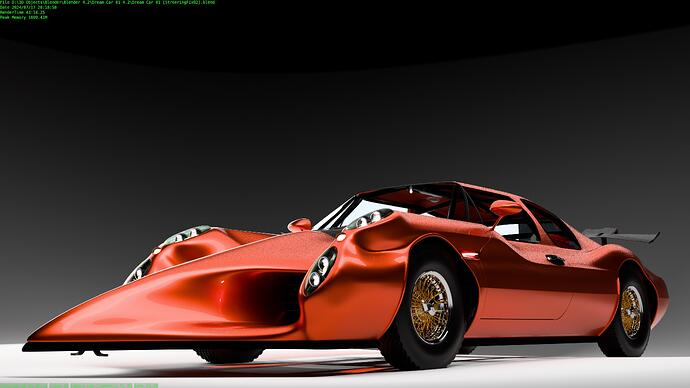
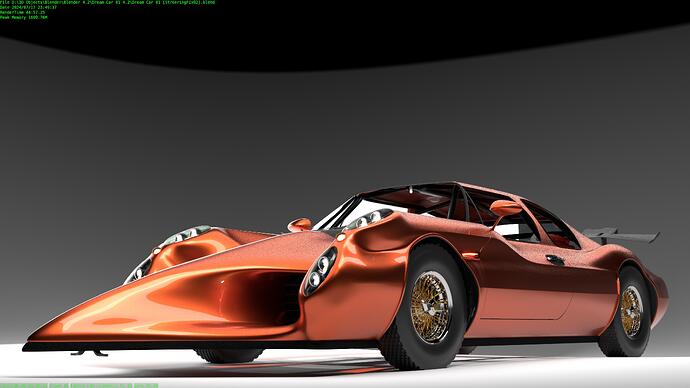
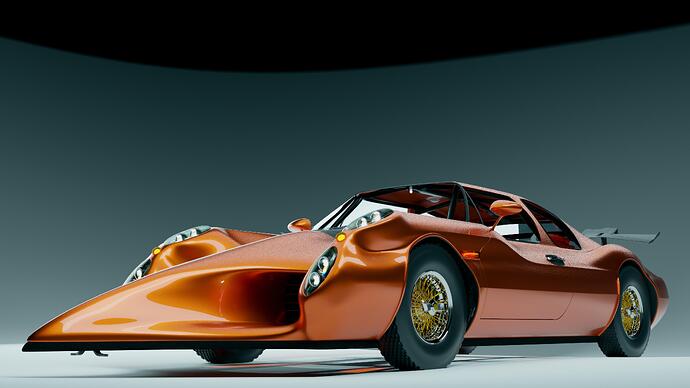
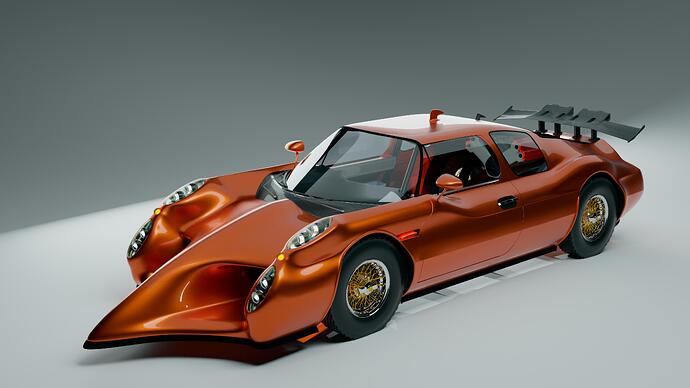
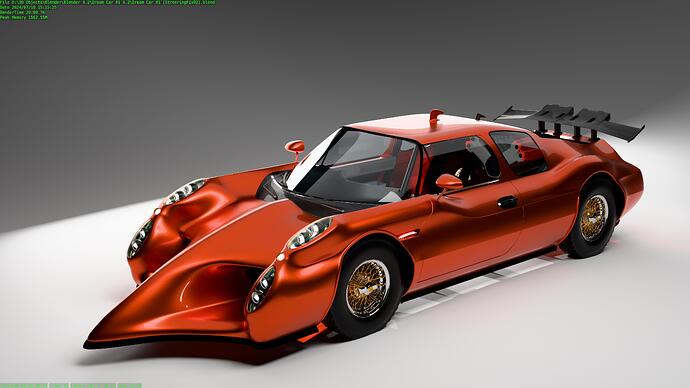
Below are comparisons of different color space settings as well as the R/D Photoreceptor Tone Mapping thingie in the Compositing tab just for fun (I think it adds a retro feeling to it).


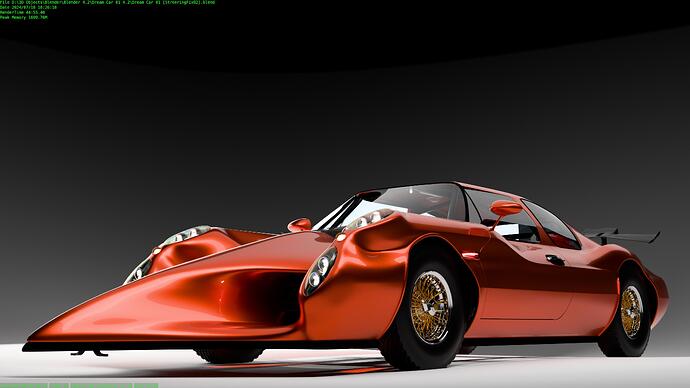
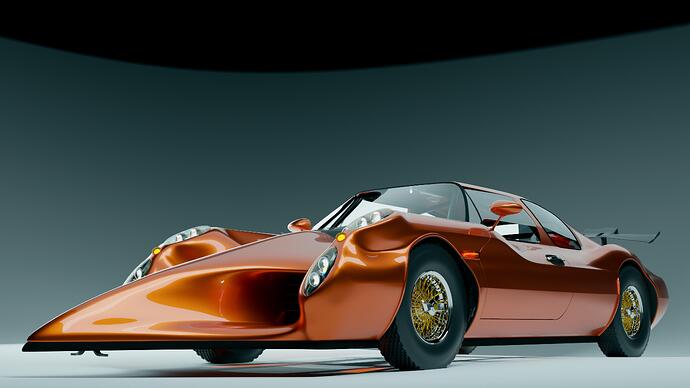
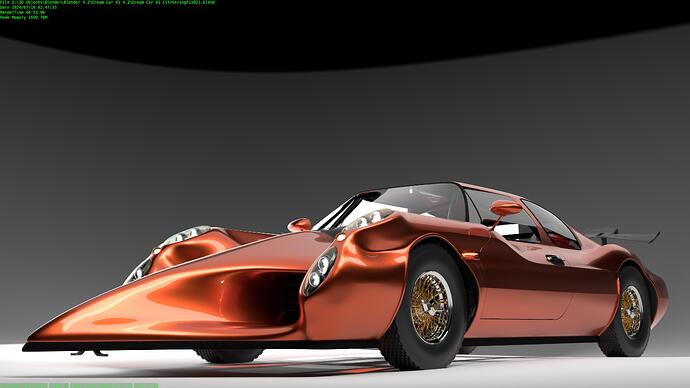
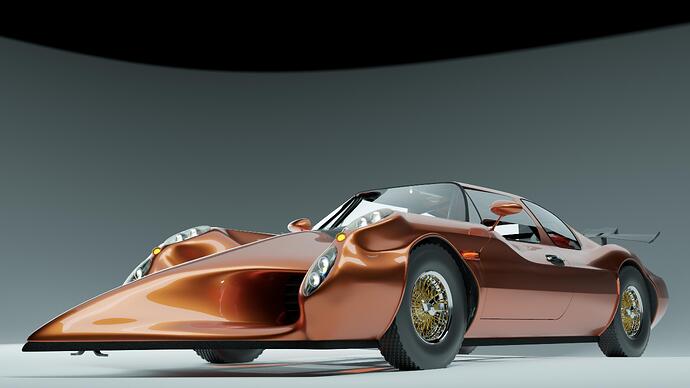
↑↑ Pre-adjustment (original)


↑↑Left - sRGB w/ Khronos PBR Neutral / Right - DCI-P3 Standard


↑↑Left - Khronos / Right - DCI-P3 w/ R/D Photoreceptor Tonemap

So, which one do you like? (You can choose up to 2)

Color
  • sRGB Khronos PBR Neutral
  • Display P3 Standard
  • sRGB Khronos w/ R/D Photoreceptor
  • Display P3 w/ R/D Photoreceptor
0 voters

For me, I think I’ll stick to my monitor’s usage of DCI-P3 (or Display P3) since that seems the most sensible for now. But I can imagine how a well-lit scene with the Khronos PBR could potentially beat DCI-P3 by miles. I do think it depends on the scene and usage. I prefer the DCI-P3 for a more filmic look akin to that of an '80s-'90s car magazine, or other product viz. But, it can lose some color after applying filters and tone maps, so when I’m using those, I might go with the Khronos PBR.
I did notice the “sprinkling” effect of light from above in the newer renders. I thought it was noise at first and turned up the samples, but I couldn’t make it go away. Not sure what I changed there.
4.2 has been really fun to play around with. It’s great to have LTS for Blender 4. Okay, now I have to play around with the extensions and thin films!
2024-07-17T16:56:00Z

5 Likes

Oh, just figured out the “sprinkle effect” on the lighting. I needed to turn on “multiple importance” in the lighting properties. Will re-render those.

My renders have baked, and I definitely like the Khronos PBR w/ the tone map.


5 Likes

So many oranges!!

Dream Car 01 Exterior .2
2024-07-18T06:20:00Z
Large Ground Finch incoming


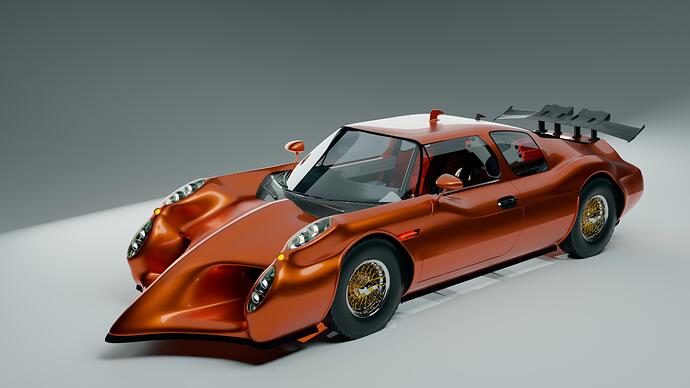
↑↑Left - Original / Right - Snub Nosed Version
Yes, this car has several versions… before it’s even finished! As an avid design enthusiast, I cannot go on for days without making a million different iterations of my designs. Even if I haven’t made it yet, it’s in my head. Like this one, which has been sitting in there far up, for at least a few months.
I’ve redesigned the beak, but not only that, a new set of frames and intake redesign to suit it and sit there in a more streamlined-natural way.


↑↑I’ve baked the most liked versions of color scale

I’m guessing that its beak is still too long for it to be road-legal, but nonetheless, my satisfaction precedes me. It is shorter by 400mm. Yep, that thing was big.

Again, poll! Just for fun.

Beak Redesign
  • Long Original
  • Short Snub Nose
0 voters

Will probably shorten it a little more, now that I looked at it. :thinking:

1 Like

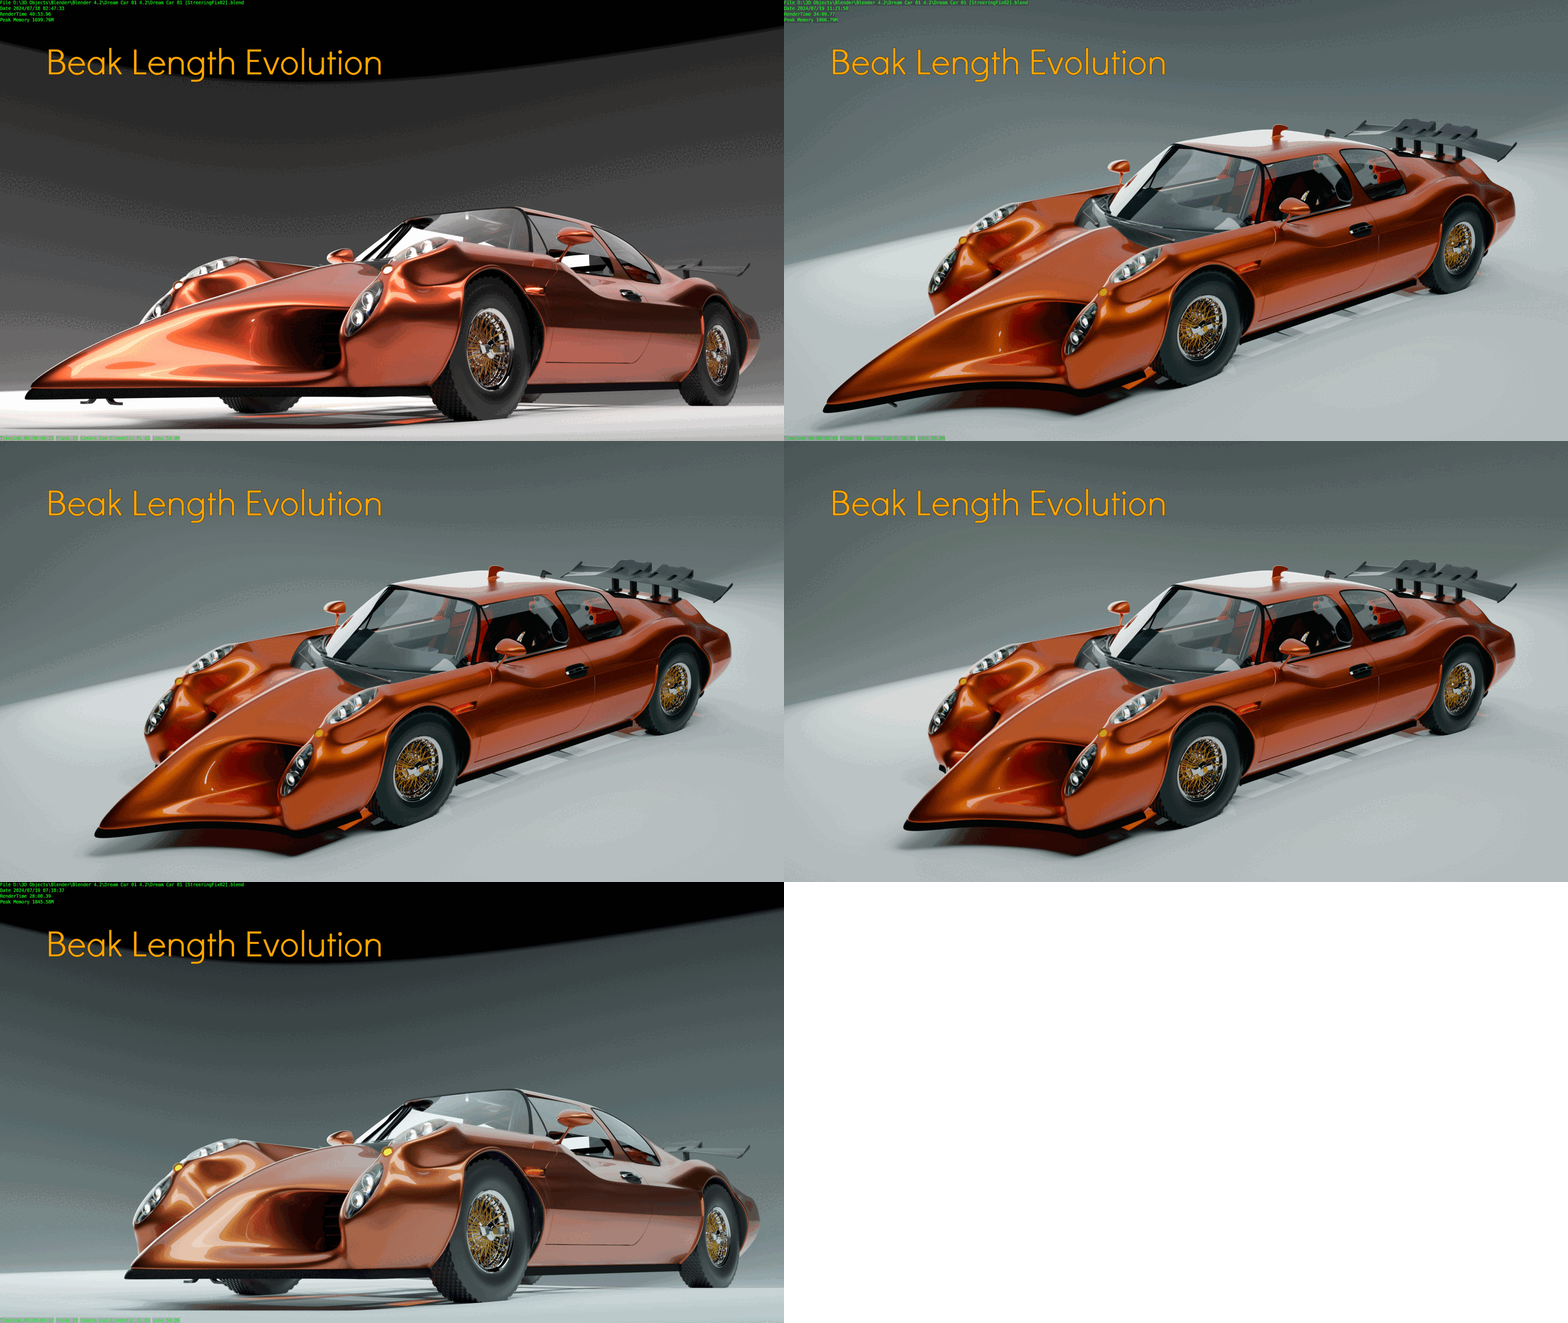
Shorter Beak
Hmm, maybe another -200mm was too much, but honestly it’s still longer than most cars.


↑↑ Left, ≈-400mm / Right, ≈-600mm

Okay, this is getting into Darwin’s evolution theory… Now the -400mm model seems as if it was the original. I wish there was a comparison slider for three.

DC01_Beak_Evo_Words_ezgif.com

4 Likes

Dream Car 01 Update .25
2024-07-19T03:55:00Z
↑↑Trying to find the last time I updated the specifics was tedious and not very accurate since I bounce around subjects, so I thought I’d just bunch them all into one category per project.

Headlight Dispersion Material Update
Again, this time, on the thin film. I finally realized the “right” way to do this, via the official Blender website. I tweaked it to see what numbers give the material a more colorful dispersion with nice integration into the existing glass dispersion setup.


↑↑Left - Previous / Right - More nicer dispersion
The left image has a multitude of lighting mistakes, but do look into its eyes and see the difference. The small round indicators are different too, as they use the same dispersion setup. The thing that stands out the most to me is the lack of “presence” in the previous. This is because I used a transmission shader to mix with the dispersion setup.

The film/glass dispersion has been something people always try to mimic accurately in the Blender community, so I’m glad that at least the film side is being developed and refined with usable real-life parameters.

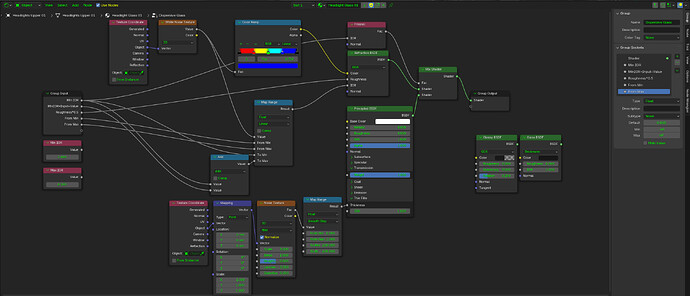
For those who want to get nice dispersion, this is the tutorial I followed for the original dispersion node setup.
And this is what I changed, albeit not much (parameters/PrincipledBSDF):


So there are actually two film dispersions though one’s not set up properly, just there for the transparency to look a tiny bit film-like.

Here’s it with the new contour:

6 Likes

It’s funny, I recently have been learning CAD for about 2 weeks now (job) and realized just how much easier it is to do this design stuff over there. I’ve already created a better piston, a detailed oil pan, and more. The bevels and booleans work far better, and whaddayaknow, it has a very easy way to output blueprints. Industry-standard much. Though, it’ll probably struggle to run any environments or any other sort of material, it takes about a quarter of time to do the same amount of work. I like the precision of it. Most important is the lack of worry for any topology! (Simpler)
The only downside is that it takes a few thousand dollars to install, and more to maintain.

It’ll be something to do my work with CAD and come back home to Blender, but it’s a good direction to take. Infinite dreams of geometry, here I come!

4 Likes

I’m so sorry I am just replying this!!!
The interface difference was an issue at first but I got used to it over time. I guess the difference was not that bad. I just needed to adjust along the learning curve.

1 Like