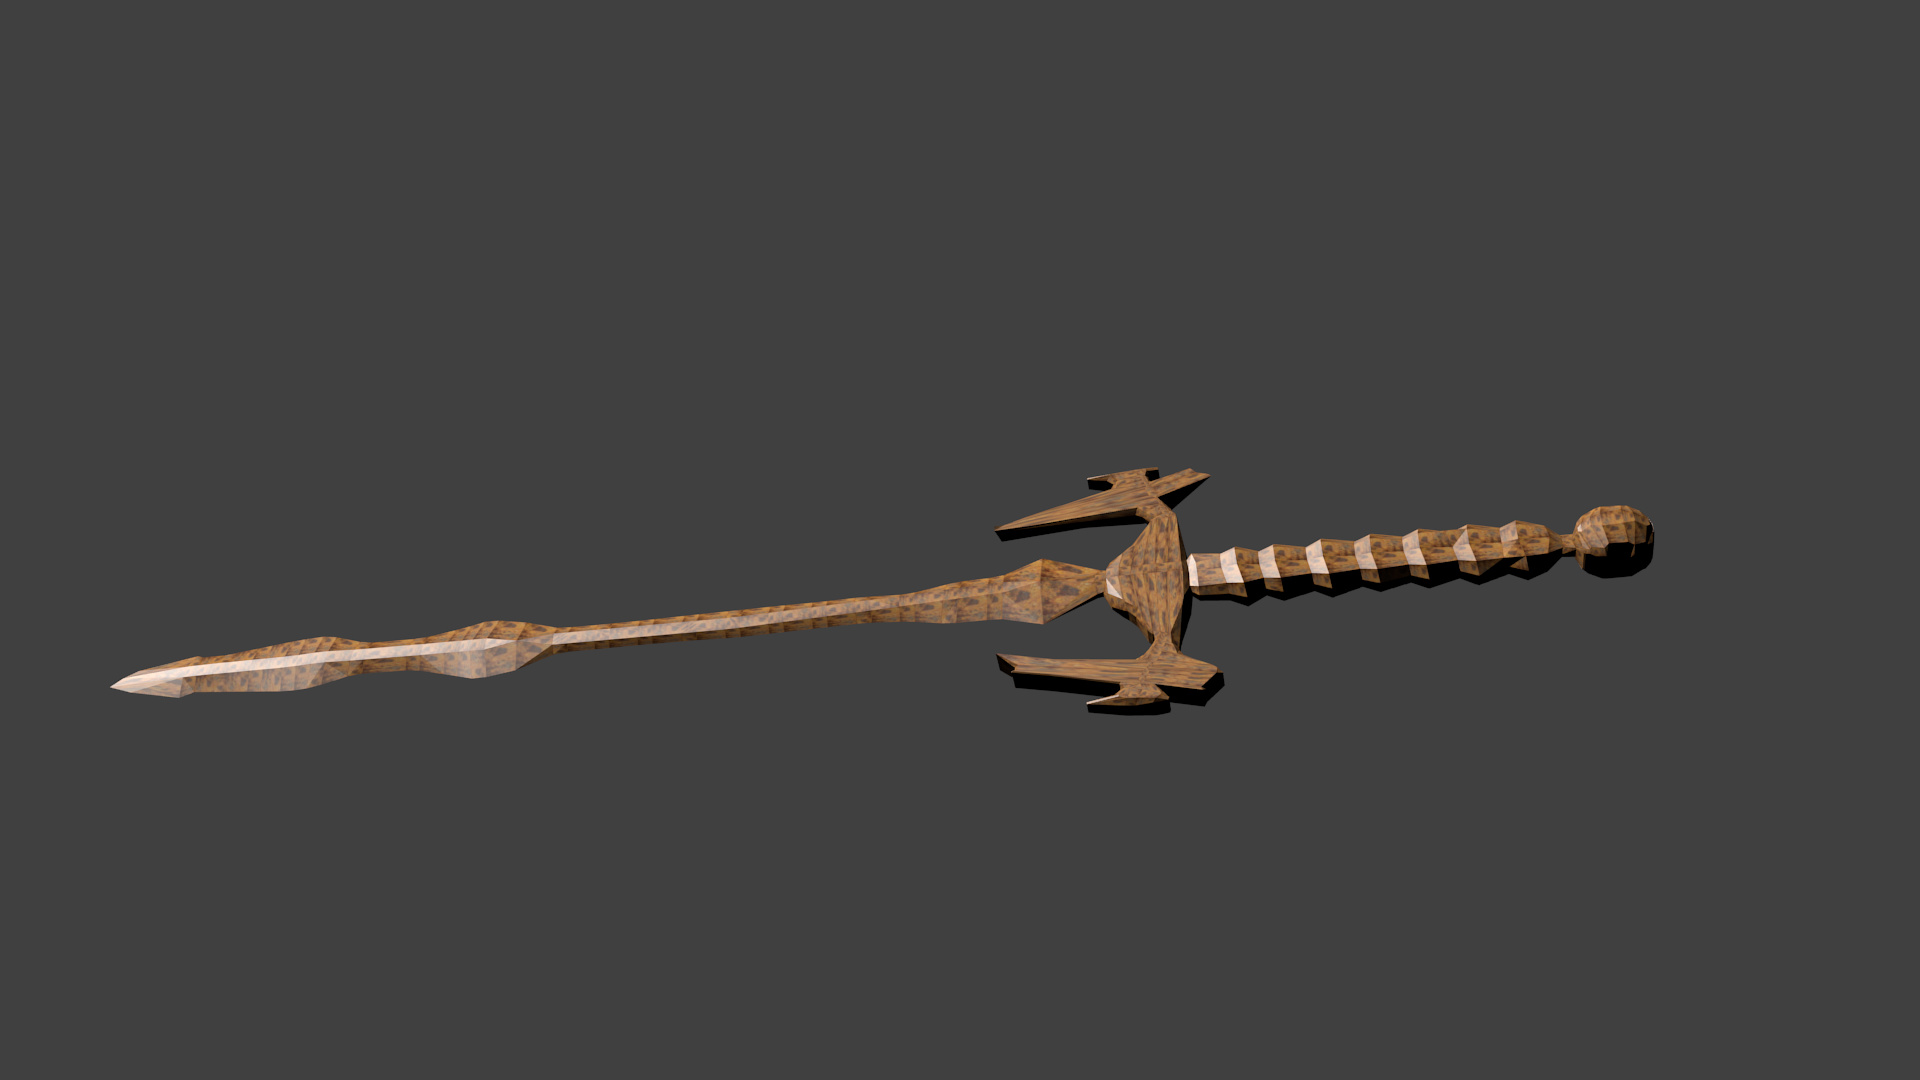
this is a sword ijust finsted it this is my 2ed sword done. It dose’t look right if any one can help i can use it.
I put texed on the out side. i going for old. but i loved doing it.
this is a sword ijust finsted it this is my 2ed sword done. It dose’t look right if any one can help i can use it.
What am i doing rong?
I just don’t understand the concept. Is it supposed to be a wooden sword? If not I’d start by making a metallic material for the blade. Also it seems you rendered a smooth shaded object with a very low poly count, you should add a subdivision surface of at least two subdivisions. If you wand to keep the detail such as the handguards spikes you could add a mean crease (In the menu, press N to show/hide) to edges that need more sharpness or add edgeloops where the detail needs to be sharper. Also you should use a different lighting setup and camera angle so the detail will show up more visibly on the render. However it is a nice design from what I can tell.
It its a rusty sword ya it low poly count I did not know it made a diff. ill try dif camera angle do I need more lighting or less I have 1 in its above the camera thank you so much I post when done .
You should take a look at these two tutorials. One is for creating realistic materials and includes a rusted look. The other is a guide to lighting which will help you more than I will since I’m not that great at it.
http://www.blenderguru.com/videos/create-realistic-materials-with-cycles/
http://www.blenderguru.com/videos/mastering-lighting/
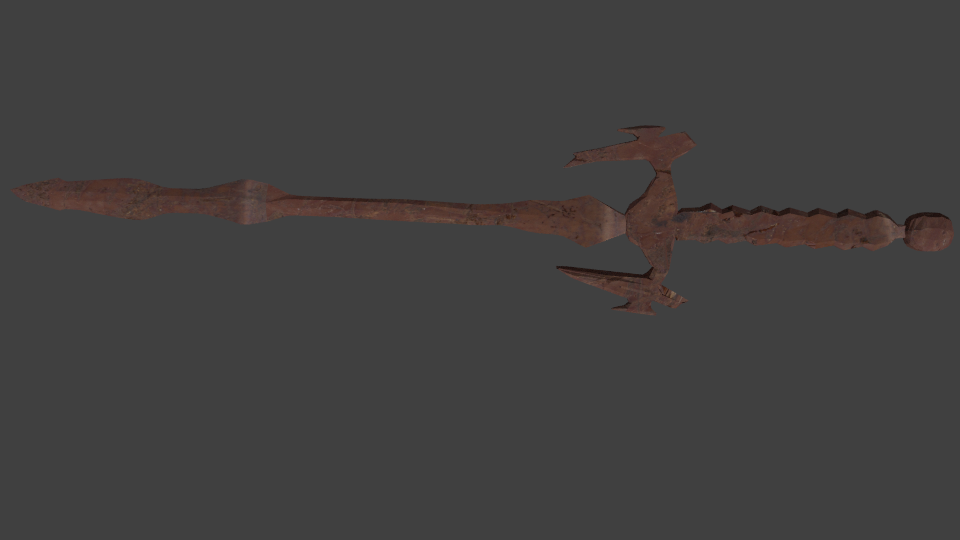
hi i just got it done i think did all the stoff u sayed did subdivison, put more lighting and added
dam mad it too shinne that vids. halping a lot thank you
Wow what a difference! I think this is better than the original. However a few more pointers (hope I’m not getting naggy). You should create a better UV map so that your texture wouldn’t stretch, and also you might want to tone down the specularity since, after all this is a rusted sword and has a much more diffused surface. To get more surface detail you might want to consider using a bump or displacement map.
i got the bump map done. i still have to do the lighting and lower the shinne but cant figer out how to do it
but i will. i think this is the best one. i still have to watch the lighting vid. but the other one halp a lot.
thank you again:eyebrowlift:
sword2.02.blend (841 KB)
Is it suppose to be wooden or rust sword?? The texture still need some work, there are repeat and stretch everywhere.
Since you said it is rusty, it should not be that glossy. Rust does not reflect light as honed metal does. Also does rust not appear everywhere on the sword in the same strength. Look at some reference photos. Maybe the blade is more rusty than the handle, since it is finer material, or the sword lay in the water for years with one side up, which is therefore not that rusty. You should have a story in mind for the item, that will yield a more realistic render.
the lighting tutorial in short will tell you, to have 3 light sources. Two in front to not have those very dark shadows as on the downside of the handle, and another one in the back (rim light) that the outline of the sword does stand out from the background. The last one may not be that important since you have a solid colored background.
Last I want to point out that the idea for model itself is great. It’s a unique and creative sword. Good job.
Hope I could help you.
I’ve taken a look at your model, and you need to unwrap it manually as it is currently divided into too many seperate islands. You should use the mark seam option in the Ctrl-E menu dropout. The subdivisions I guess will be used again in the final render I assume? Also you might want to bump up the bump mapping as it is not visible at the moment. For future modelling you might want to use the mirror modifier during modeling as symmetrical objects are much easier to unwrap.
@ForgottenWorld: If you look at the fourth post you can see he says it’s a rusty sword.
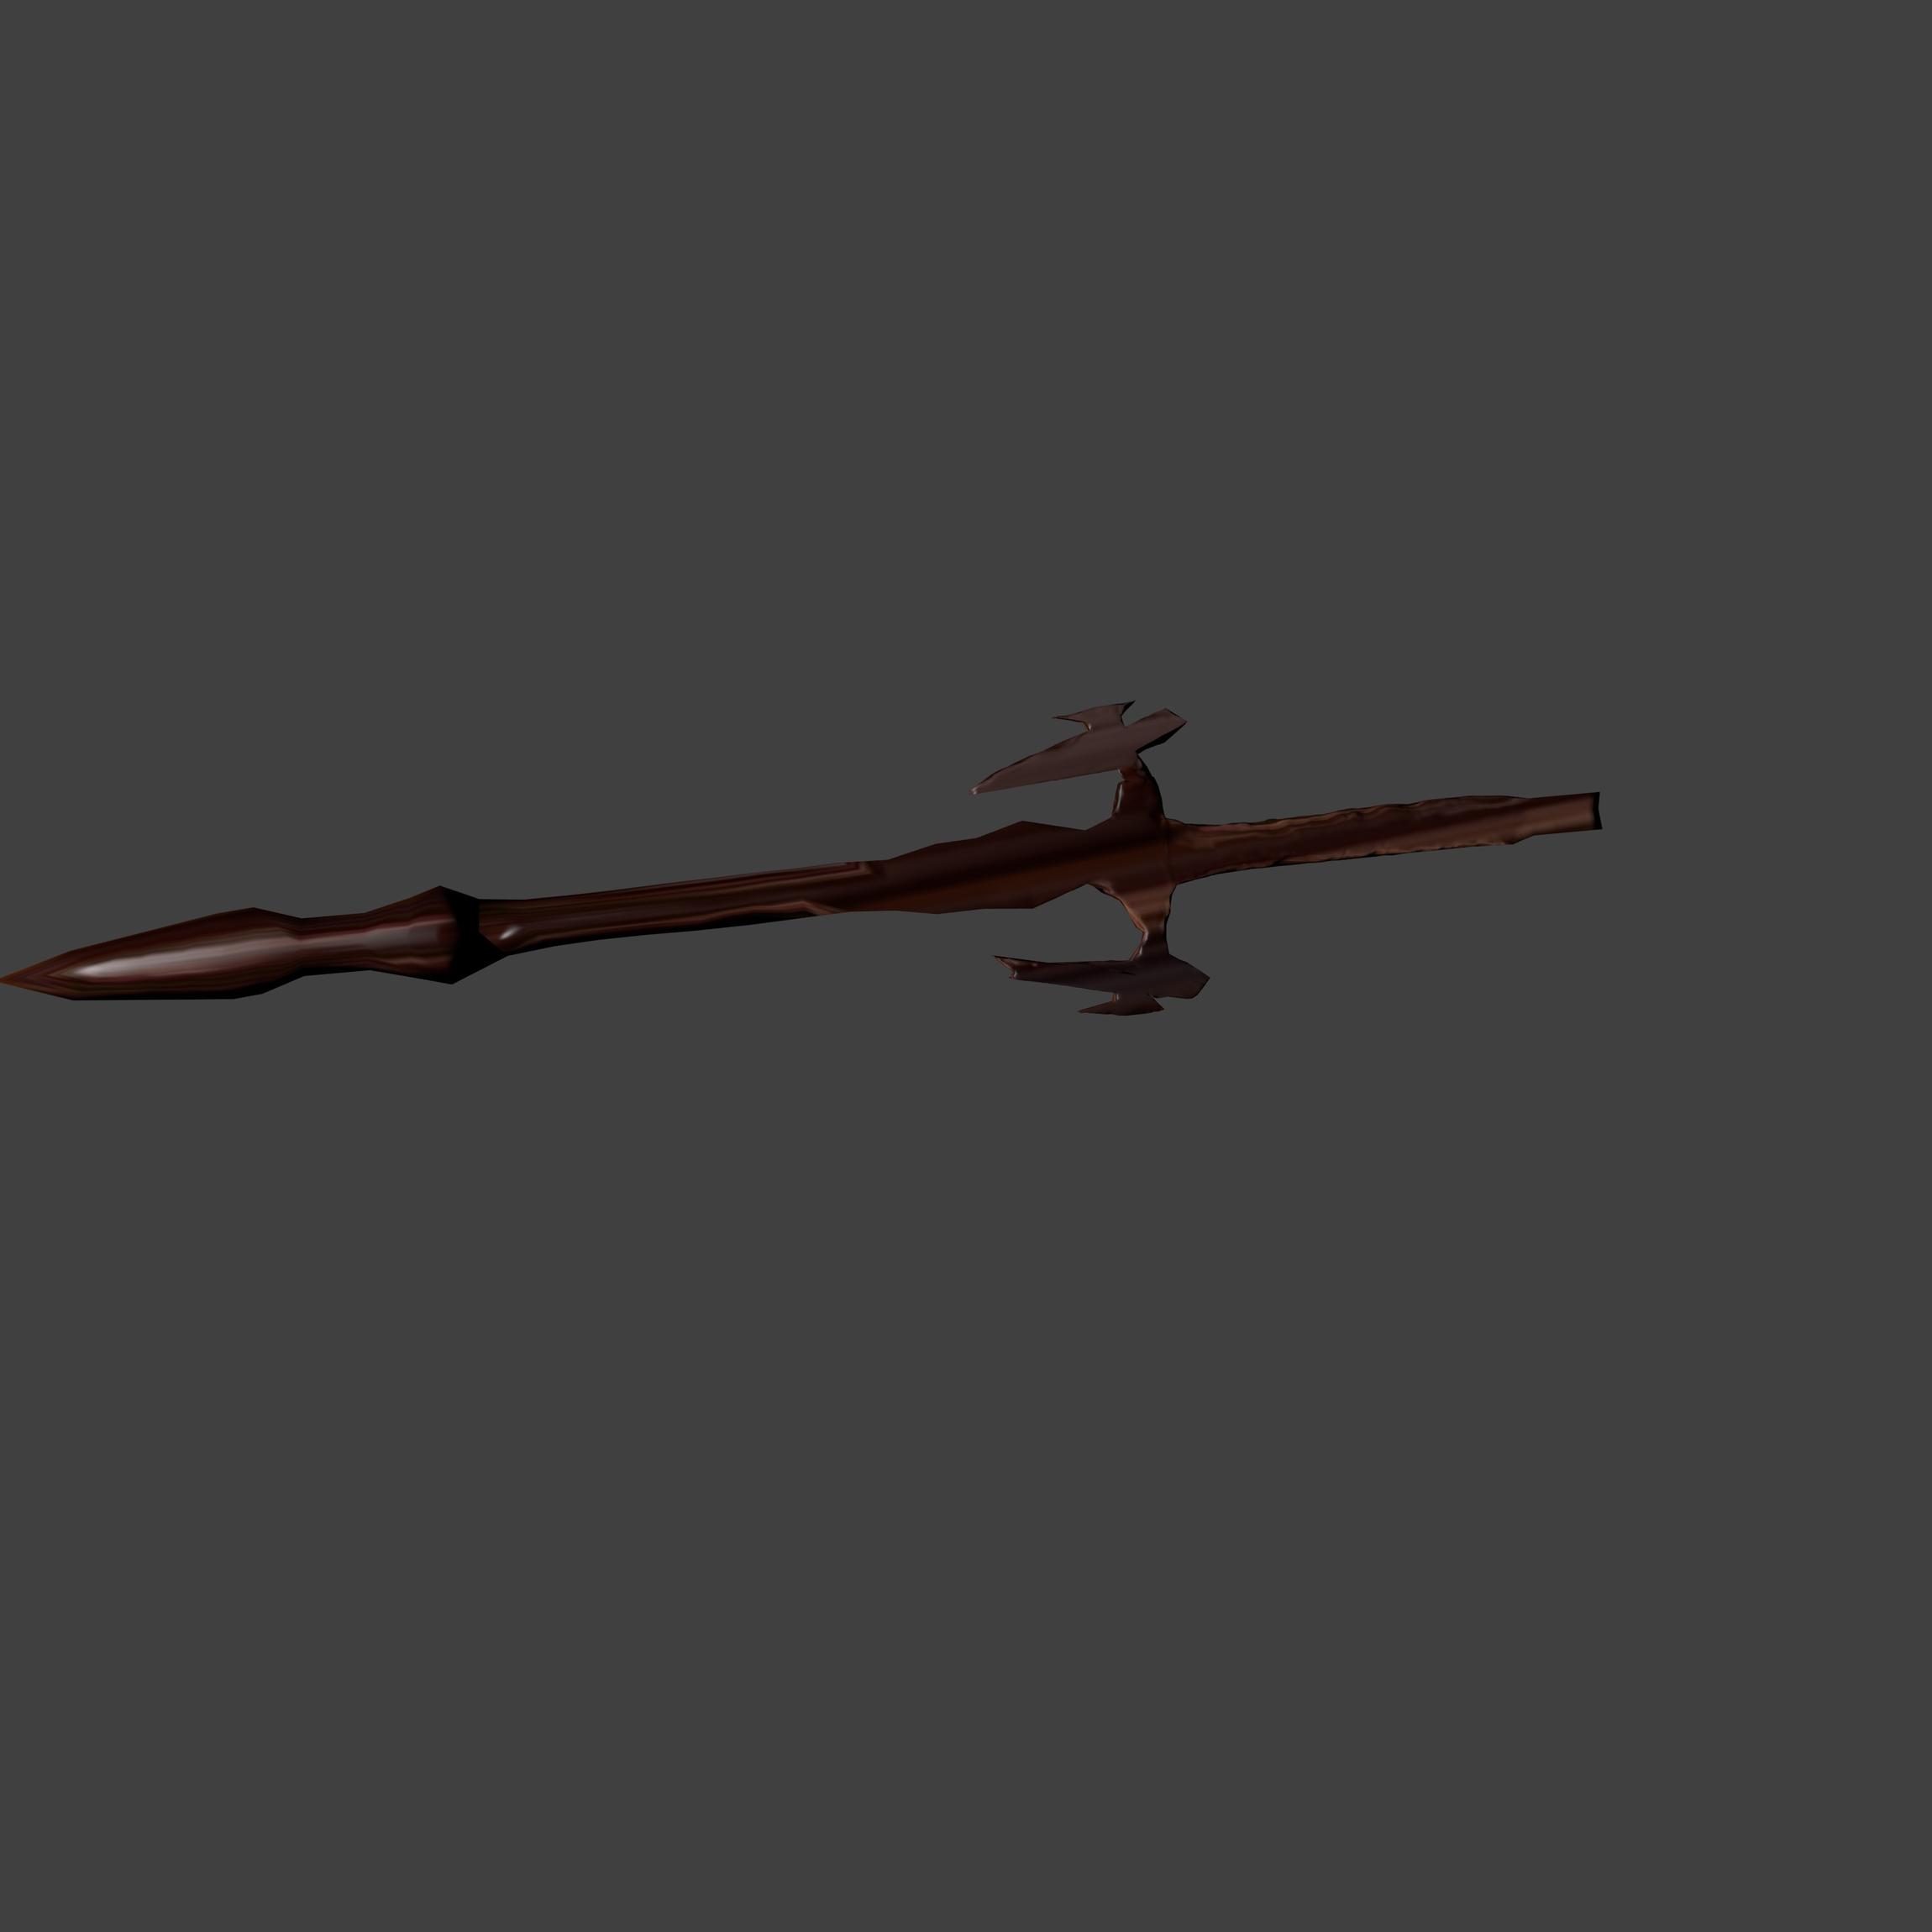
i dont know if it is better but this is first 1 done with nods thanks to you and the vid. so thank you. i have to fix the lighting get better shot.
but i wounted to give you a sneek peek.
Very well done. that scratch at the center of the handle is a bit too strong but other than that, very well. Hope to see the final image.
What do I have to do for a final image. I mean do I have to do something special renderer or somthing else never done final image I don’t think. I just render. Any advice u can give me on the the topic would-be much application. Thank you for all the help.
Adding a plane for the sword to rest on, adding in an hdr panorama for lighting, using the compositor to add depth of field, glare, and other compositing effects, basically to create what you will see by taking a picture of a rusted sword. If you were to go right now and photograph a sword it will not be floating in a gray space. It will be lying on the floor or a table or something and when you take the picture the background will be blurry and also the surroundings will influence the way your sword is lighted and hence its color, direction of reflections, and other similar things. The final image or final render is the final render you make of your artwork.
Ok thank i will post when done mite need halp with it.post if I do thank you again
i got one done but, i am still working on the finaly render. trying 2 put the sword on a table. and make it all go.
but did this quick render thant it looked good.