I’ve imported the OBJ file but I’ve noticed a couple of problems straight away;
The legs weren’t symmetrical to the seat, but that shouldn’t be a problem as I will recreate those.
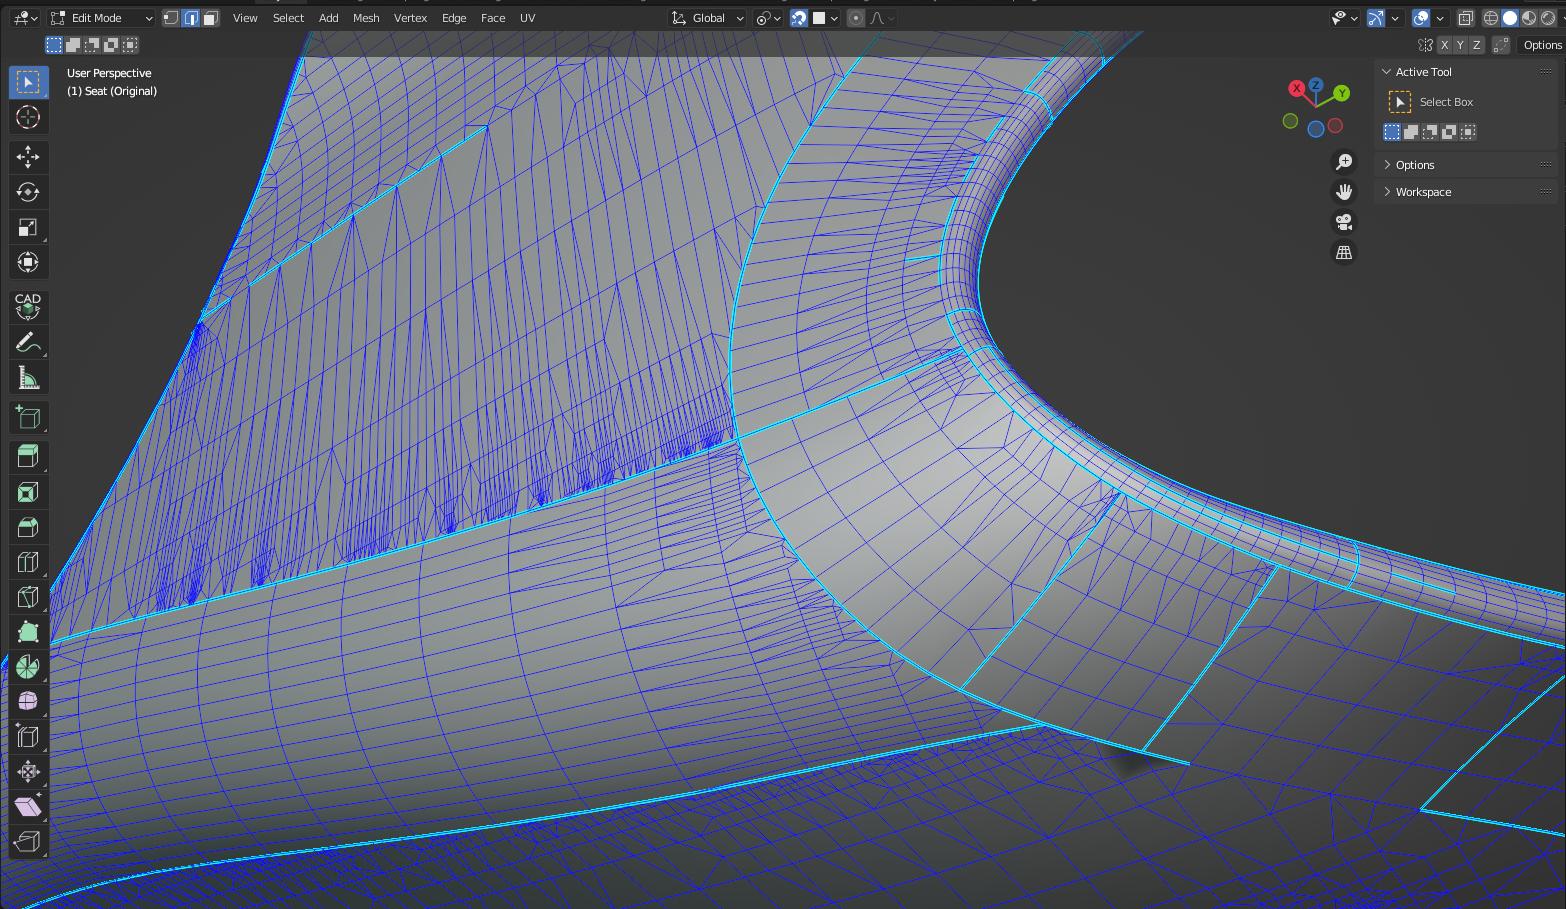
I’ve separated out the legs geometry and deleted half of the seat and its immediately evident there are LOTS of tri’s; approx. 8400 in fact (43% of the entire seat geometry).
Trying to convert the existing tries to quads would surely be an painful experience, and as I keep reading that its advisable to avoid tri’s where possible, it seems I’ve little choice but to have to try and remodel this myself using only quads. I don’t think I’ve ever modelled an organic form like this before so I feel a bit out of my depth and unsure how to go about it.
Has anyone done anything similar that can advise what approach I should take?
So basicly I have crazy amount of polygons from photogrammetry or other way, use it as original and use instant meshes to create clean version and use high poly version to bake normalmap.
I’ve tried that and it does remove a lot of tris but around half of the original still remain.
Tri’s aren’t the only problem, as there are many edges which don’t flow into adjacent panels where the surface direction/mesh thickness changes
Hello,
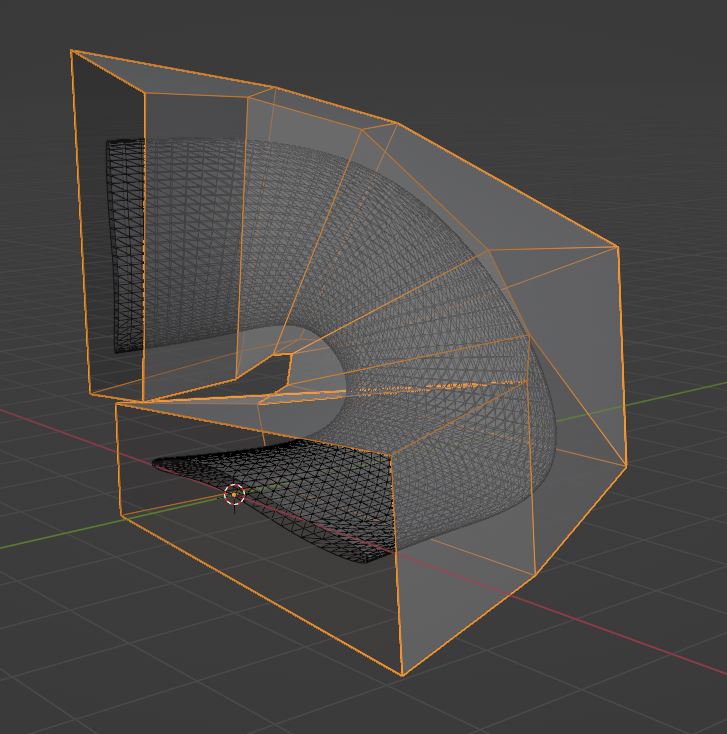
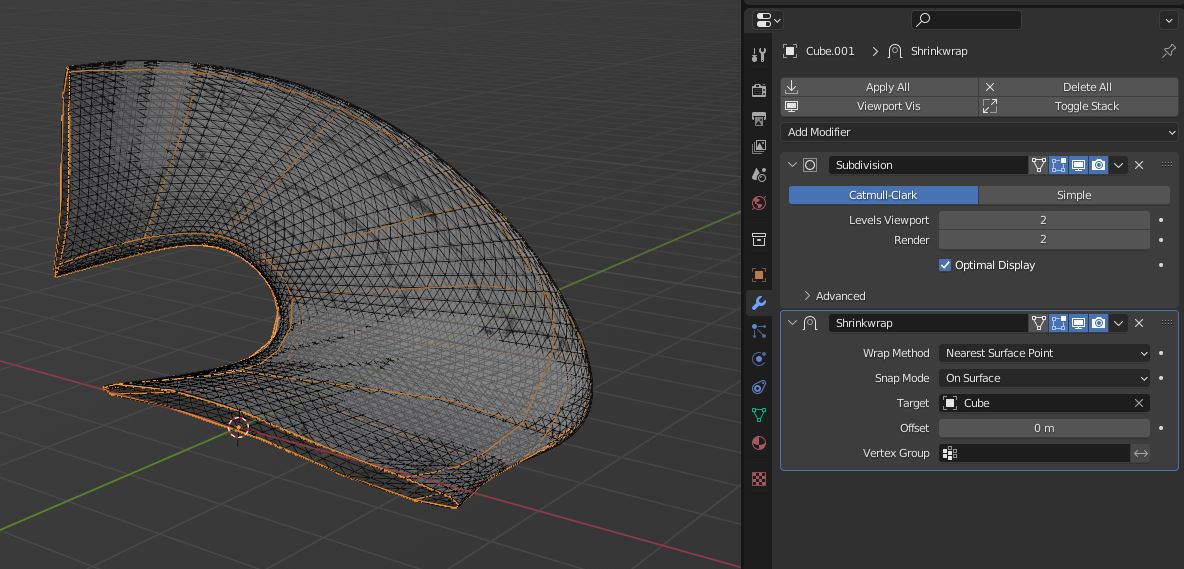
That geometry allows a quick retopo in three steps:
-Model a LoPoly socket covering the original. You can take your time for accuracy, but first you can try with an extruded tube all over, just to test.
-Subdivide.
-Shrinkwrap.
Anyway, is it for an static render? Try a render and maybe you find no shading issues, so use the model as provided.
That’s a pretty cool program and also found a good tutorial video demonstrating it on YouTube. I did give it a try but I found that no matter how much I try and define the flow direction with the comb tool, it didn’t give me anything usable. Often, that tool and the singularity tool seem do have no effect at all.
Maybe someone more experience with the program might get more out of it, but I can’t help but think I’m just going to have to model it manually.
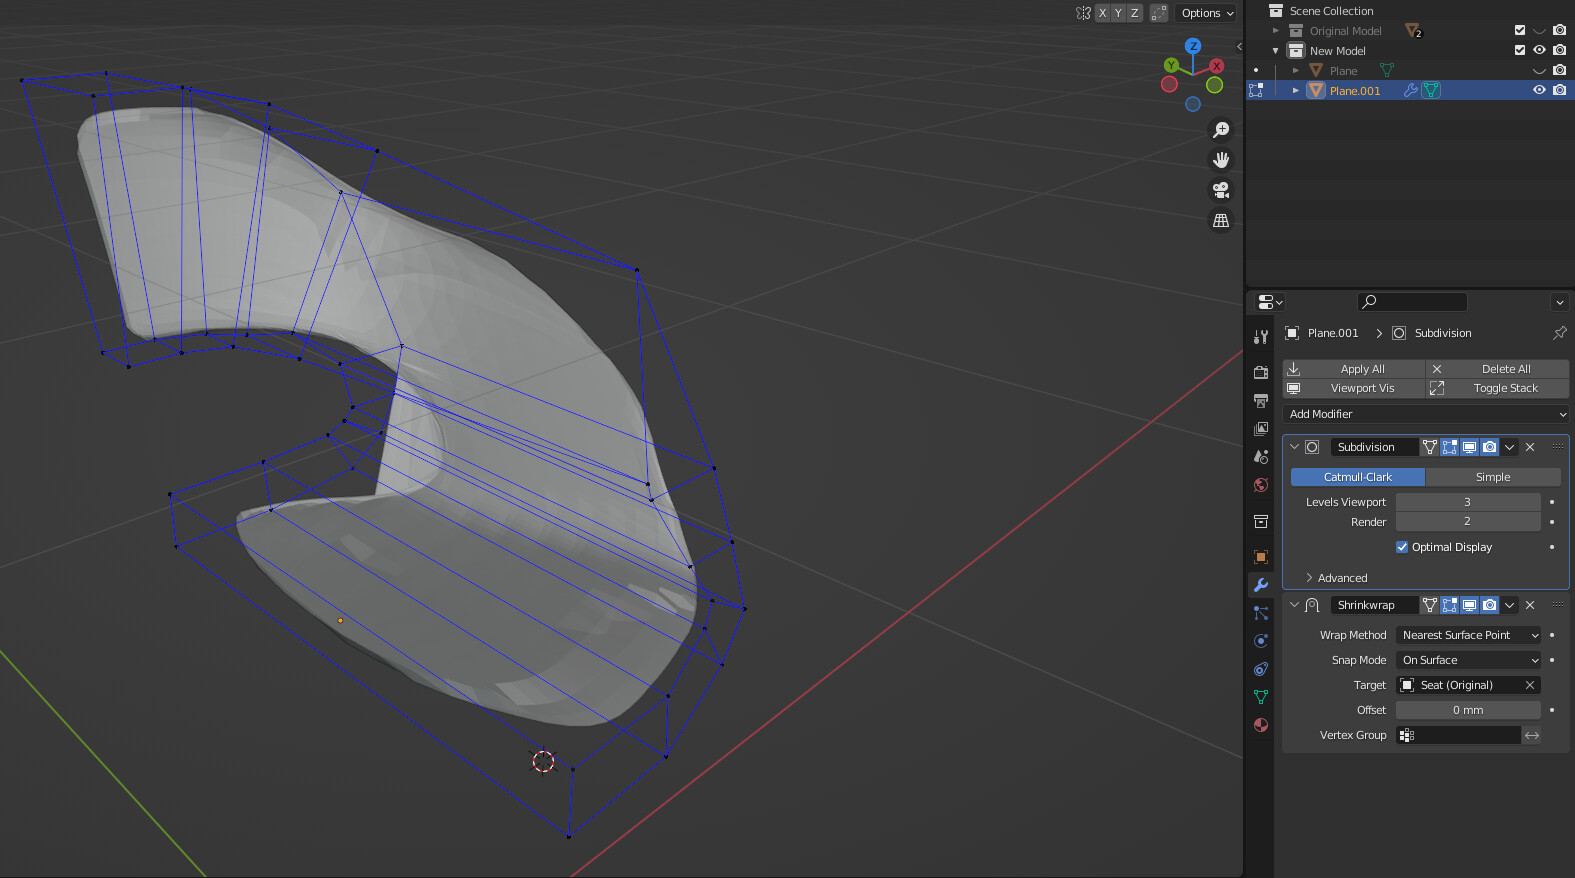
It seems the shape of the mesh affects the resultant mesh. I did tweak it and it cleaned up the back opening a little better, but the eventual mesh after applying the modifiers looks way worse than the source model.
Any chance to get a better model ?? (you 've been provided with… customer?.. tell him and show him he is giving bad stuff… because it is… ask him to render this in his CAD system… what can a cook make if you give him sh… ??)
My example was illustrative only. You will have to model following the original to capture as best as possible the shape and flow of the geometry.
While Retopoflow is an excelent addon (an essential tool for retopology in my opinion), any manual retopo tool is more or less a variation and improvement of the shrinkwrap method.
You will have to tweak vertices anyway.
I think the quad remesher in edit buttons would work well on this. And of course manual retopo would probably be best, though somewhat more time consuming.
It looks to me as if you don’t need to alter the model at all, just use it as it is.
I assume it’s a rigid object that isn’t going to deform during your project, and if that’s the case then triangles in the mesh may not cause any problems. Sure, if it’s a character’s face and needs to deform properly you might need to do a lot of work, but a chair? If it looks OK in your renders (and your example looks as if it is fine) then just get on with your project using the model as it is. You only need to work on that model if some of the triangles are creating artefacts at render time, and I don’t see any.
If it were my mesh I’d be unhappy with the quality of it and would want to start again, but if you’re making commissioned images with it and it renders OK don’t waste time remodelling, just get on with making the image(s) or animation you have been commissioned to make.
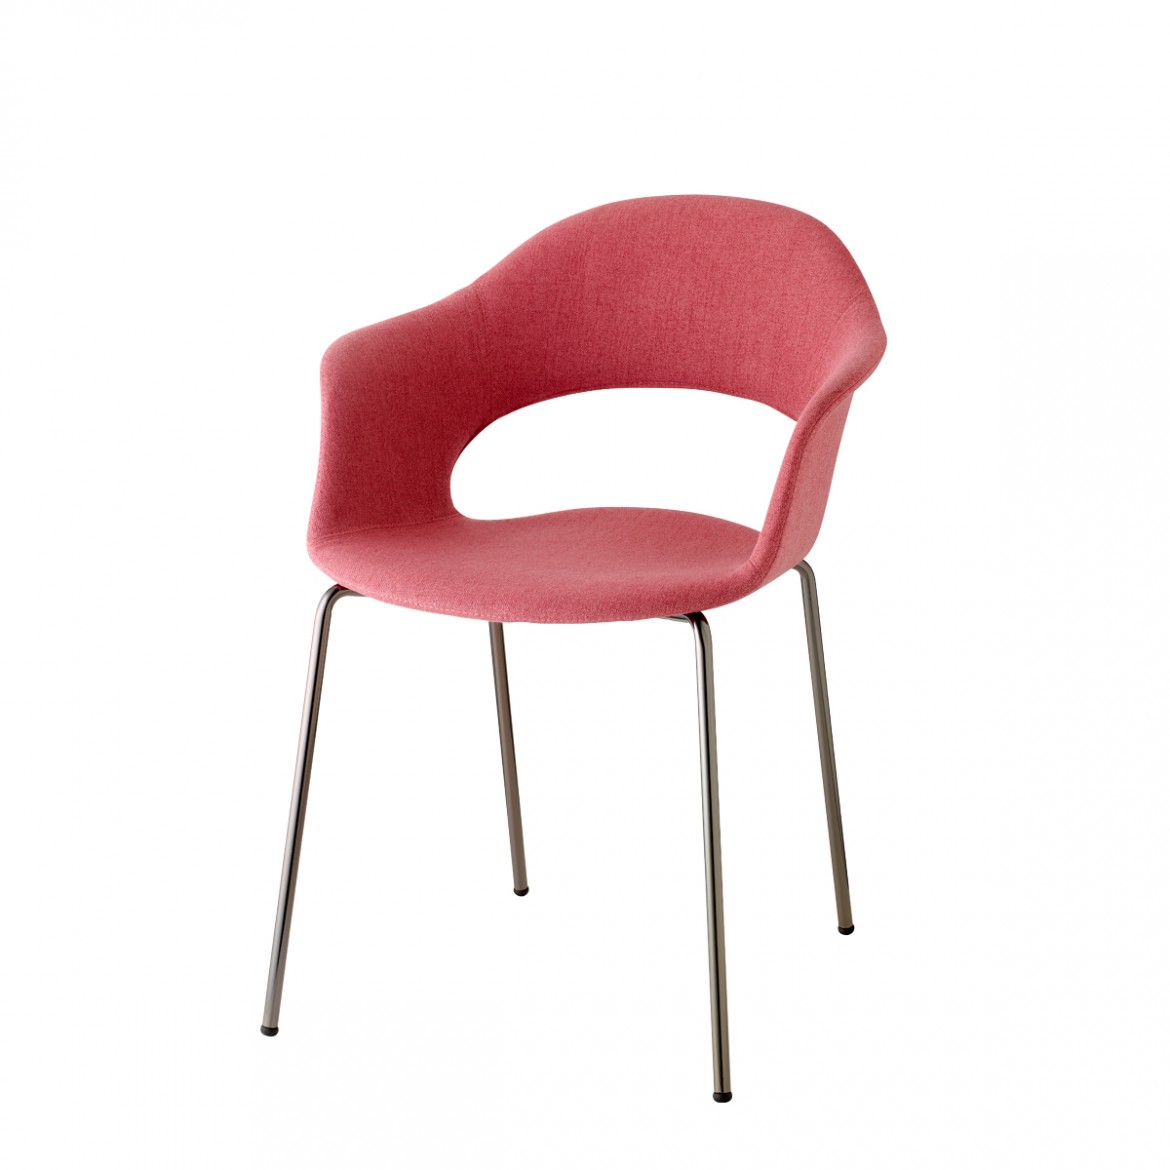
Oh yes… i was assuming this model does give bad renders… (after a little Re-search…) … And since the Lady B Pop chair is covert with cloth i guess there are no reflection showing any imperfections ?? (By the way :is this the CAD data from the original website (user login needed) ?)
You dont need to change anything in case it would be using for rendering. CAD models (at least in FBX/OBJ) exported with custom normal data. Despite the fact what topology are not quad and mess as hell, the shading are correct and totally fine. Any changes like mirroring - will broke custon normals and lead to seams on shading.
In case it would be used for game project its split to two possible way:
Mid poly
and classic
Low poly with baked normals
Basically in any way you would need to retopology the model from scratch. Truing to fix already existing topology from CAD are wase of time in 99% cases.
Midpoly would require more attention to details and topology and understanding the pipeline.
Lowpoly can be created pretty fast and more easily. There’s a tons of tutorials about baking normal maps.
Yeah I was sent a zip file from a furniture supplier; inside it contains a .3ds, .dwg, .max, .mtl and .obj files. I imported the obj and since I don’t have access to a copy of 3DS Max, I don’t know if the max file geometry is in the same condition. Attached is the original obj file if anyone is interested, its needs a bit of tidying up when first imported and you can see what I mean about the legs not being central to the seat (I had to zip it as its 9mb and greater than the forum limit). lady B pop.zip (2.0 MB)
Yeah, exactly that, just static chairs in stills and perhaps eventually a small walkthrough. Admittedly I haven’t even ran a test render to see if there are any problems. I will probably create a couple of duplicate blend files with 2 different materials and link them into my scene and see how they render out.
Agreed though I’m not being commissioned, I’m doing this out of my love for Arch Viz and I haven’t had a chance to do it since the 2009 financial crisis.
There is no doubt some truth in that, however, conversely as someone who has never modelled anything like that, doing so could be valuable experience to give me the confidence to tackle similar items in future. If you’ve already got that ability in your locker than your statement is understandable.
That was my original thought. This video randomly appeared on my YouTube timeline and although its for Maya, the principles seem applicable to Blender also, even if the toolset is somewhat different.
At approx 15:30 the author starts to use a tool called Quad Draw to start creating a quad-mesh using a model as a guide to snap to. I was thinking I could replicate that process and had started to do it manually, and then happened to discover RetopoFlow 3 which seems like it would help speed that process up. I’ve still got some hours to mull over purchasing it with the summer sale discount, even though I wouldn’t need it much for typical Arch Viz I’m likely to model.
OK, I got the wrong impression. If you’re keen to learn from remodelling the chair and there is no commission deadline to worry about then go for it. I have almost no experience of remodelling in this way, usually if I am given a model for a commission, even a free one, I use it as it is unless it renders badly — and I have only seen one that did that.
Nearly all of the modelling I do is making things from scratch, which I admit is easier than retopology work.
Haha, tell me about it. I have strong opinions about how to UV Map something properly, and you should see how obsessive I get making sure I do it just right when I am mapping one of my models…
I probably do waste some time on UV mapping some models, though doing it well does make texturing a lot easier.

 - Blender Tutorial")