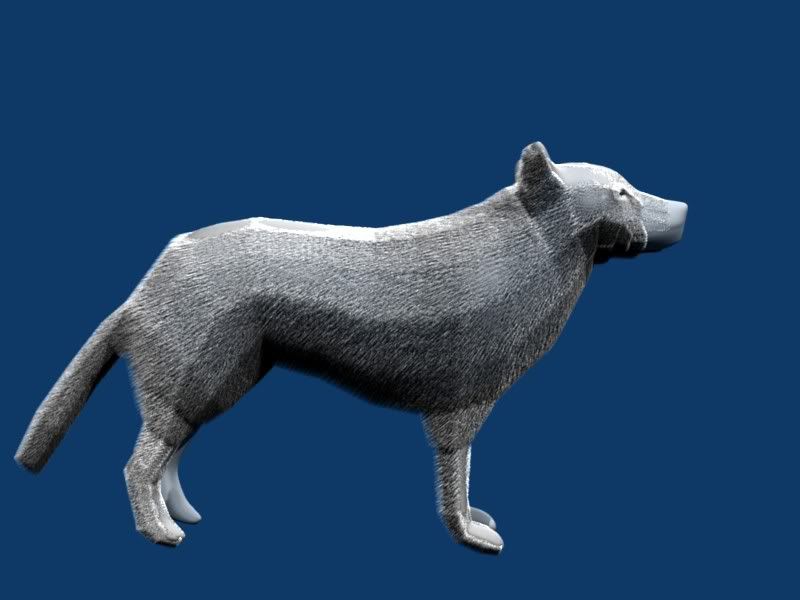
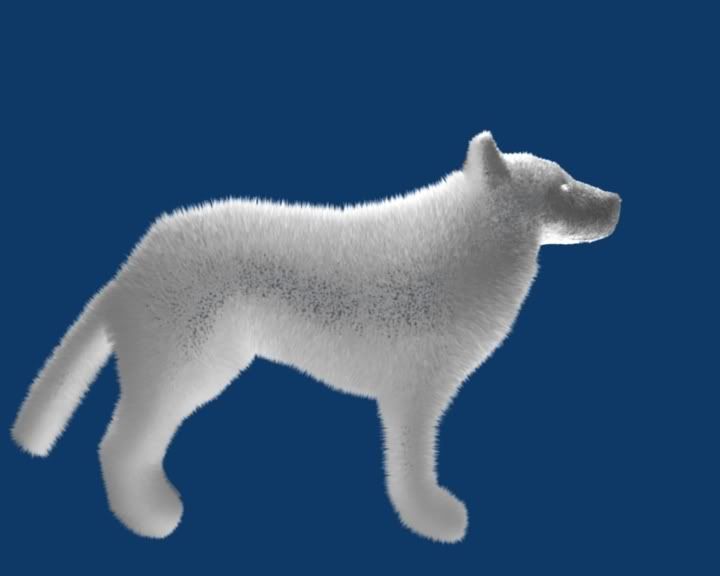
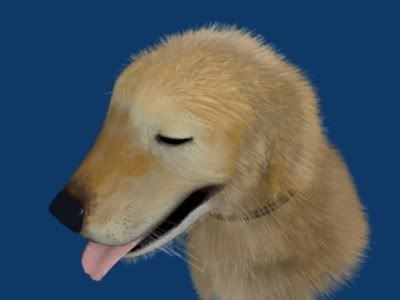
Anyone got any ideas how to make the fur look not blocky as seen in the second picture?
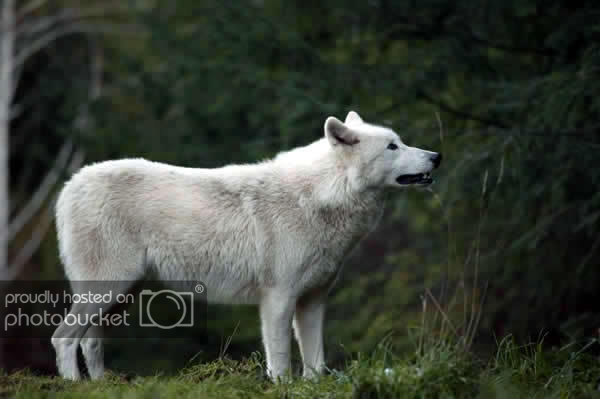
Anyone got any ideas how to make the fur looking better? (I’m trying at the moment but finding it hard. The one in the Blender.org release notes for Blender 2.40 shows a dog with furs, that’s the quality of fur I want not like the one in the 3rd picture that looks like a doll.
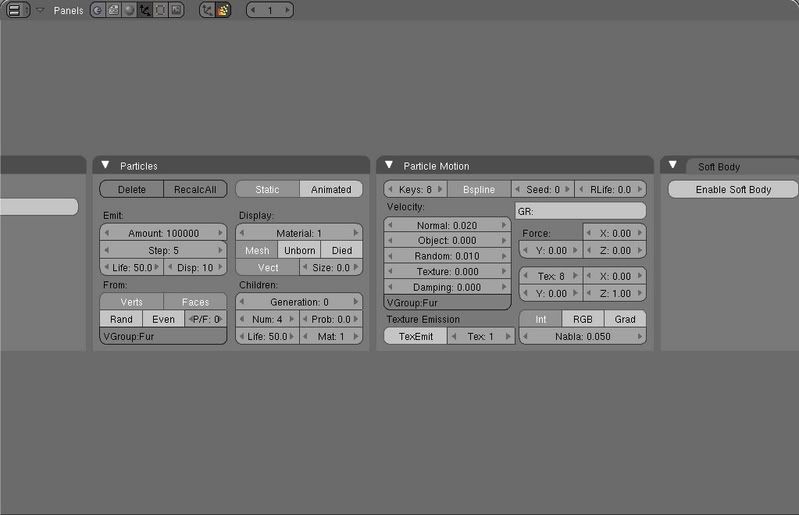
What are your current particle settings? Off the top of my head, I’d guess you might need to modify the Rand and Even settings to change your particle distribution, and apply some variation in force to get it to lay down better. If you post your particle settings, some other, more specific, ideas might spring to mind.
You might also try going with fewer particles, and put an image map texutre of fur on the base material, to give a more “layered” look, which might help with the overall look of the fur.
'Kay… try clicking on Rand and Even in the Particles tab, which should give you a more natural distribution. In the Particle Motion tab, try setting the Z force to about -0.03, which will pull the fur down as if gravity were acting on it, and set the X force to about -0.01 or -0.02 which will bend the fur toward the back of the animal, simulating the way the fur lays when it grows. You may need to experiment with those numbers, depending on the size of your mesh.
You might also try increasing the Random velocity while decreasing the Normal velocity by the same amount, to get more variation in the direction of your fur.
Well now… the fur and hair plug-ins for 3DS Max are specialized to perform just those functions, and they take into account a lot of specific properties of hair, like thickening of the strand at the base, patterns of movement as the hair lays, clumping, and growth variations over stretches of skin. The particle system in Blender is a general purpose tool for particle generation that just happens to be good at generating certain kinds of fur.
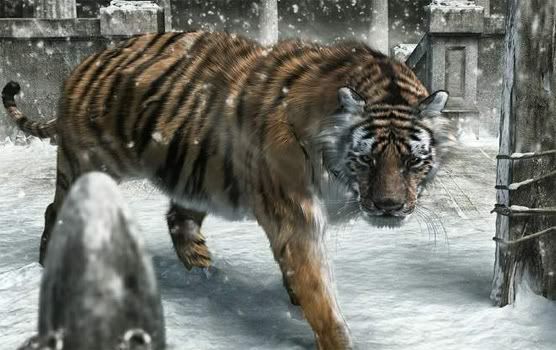
You might need to create a lot of vertex groups on your mesh, and set up a separate set of particle parameters for each one, so that you get those kinds of variations across the body. Notice on the tiger how the length of the fur varies from head to back to tail, and then down the legs. Also, the creator of that image may have created a much higher density mesh, creating more normals for the hair system to work with.
You’re really talking about apples and oranges here. Furry apples and oranges, to be sure :), but there are a lot of differences between the two systems.
You may want to duplicate the mesh and apply the subsurf modifier for it. Hair doesn’t detect subsurfacing, also you might want to apply a soft force to it and give it color variation with a procedural texture or an Orco mapped image (since hair doesn’t get color from UV maps)
Captain Jack, If I remember correctly, the video tutorial on how to make hair says you can paint hair length or something.
I don’t get it though. I can’t seem to paint longer than the particle’s normal lengths.
They should add that to the new Blender release, to be able to paint hair longer.
Yes Cyborg Dragon, I was thinking of using a bit of wind to style my wolf’s fur.
It’ll be really cool if the next Blender release has a big improved hair and fur system.
Like specifically made for hair and fur rather than a general purpose particle system. Basically so it gives better control and results over creating hair and fur for advance hair stuff like this.
Well, as for the direction of the hair, you can use curve guides. That would help with the image you posted that looks like the wolf’s just been blowdried/electrocuted
And I guess they’d work in animation as well if you parented each guide to one of the wolf’s bones.
You can paint hair length! You need to go into ‘weight paint’ mode and paint some weight. This automatically adds a vertex group called ‘Group’. Type ‘Group’ in your particle settings tab, ‘Particle Motion’ in ‘VGroup:’. The hair should match the colour of the weight paint. Good luck with exams…
Also, good hair comes from playing around with it alot. Play around with the materials(as halos), and turn the shading option on for the hair. That should also help some. Also play around with the X Y and Z options so the fur doesnt just stick strait up…
I would go back to your origonal fur. It looks so rough because you are using a subsurf. Set the preview res on the subsurf as high as you want it to be in your final and apply it.
See, I usually use the bump mapping trick, where I start with a gray (128 in all RGB values) flat, so I can go both in upward and downward directions by lightening/darkening.