
Sometimes a project starts with a weird idea somewhere in an area of ‘wouldn’t it be cool if…?’. This one is definitely not an exception.
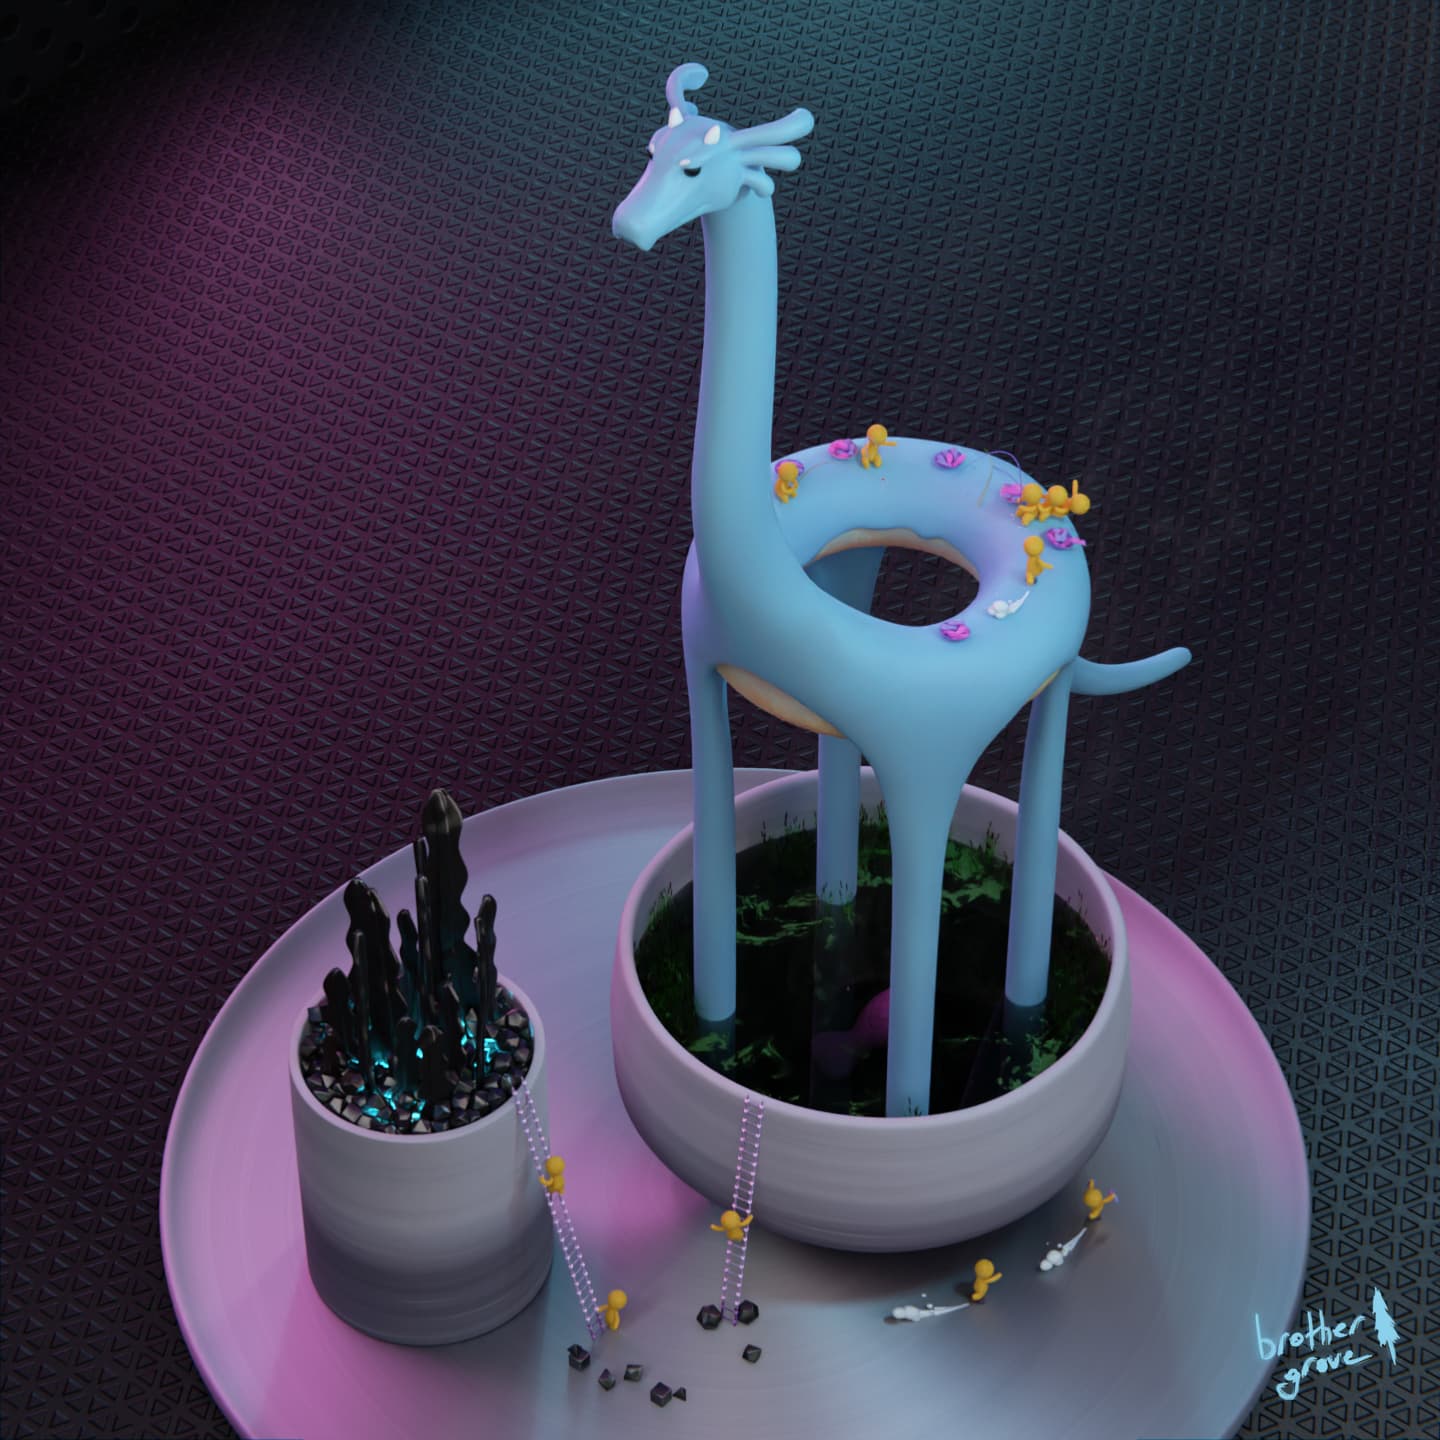
First thought came to me while going through well-known donut tutorial sometime ago. The brain literally went “oooh, what if we put the donut into the coffee cup, but it is not actually a donut, but a loch ness monster with a sky blue body of a glazed donut who eats licorice candy… and then I can add little sprinkle people fishing and one guy should be running away with someone else’s catch…” (I swear I wasn’t stoned).
Well… Here you have it:


This project took me through an almost complete production cycle: concept stage, block-outs, modelling, sculpting, retopology, concept again, more sculpting in blender, subd modelling, character rigging and posing, procedural materials, baking, lights and cameras setup, and finally postproduction with a little promo.
Each part was equally challenging and exciting as some of them I’ve tried for the first time (I’m looking at you rig-with-twisted-knees and you too, too-small-to-calculate-collision).
Below you may find description of some parts of the process and ‘in progress’ screenshots with design sheets.
- I had an idea - so I needed some kind of visualization first. I’ve started with a default camera shot - ortho from top, like in old video games (you can see it on 1st design sheet). Then I switched to Blender to create some simple block-outs.

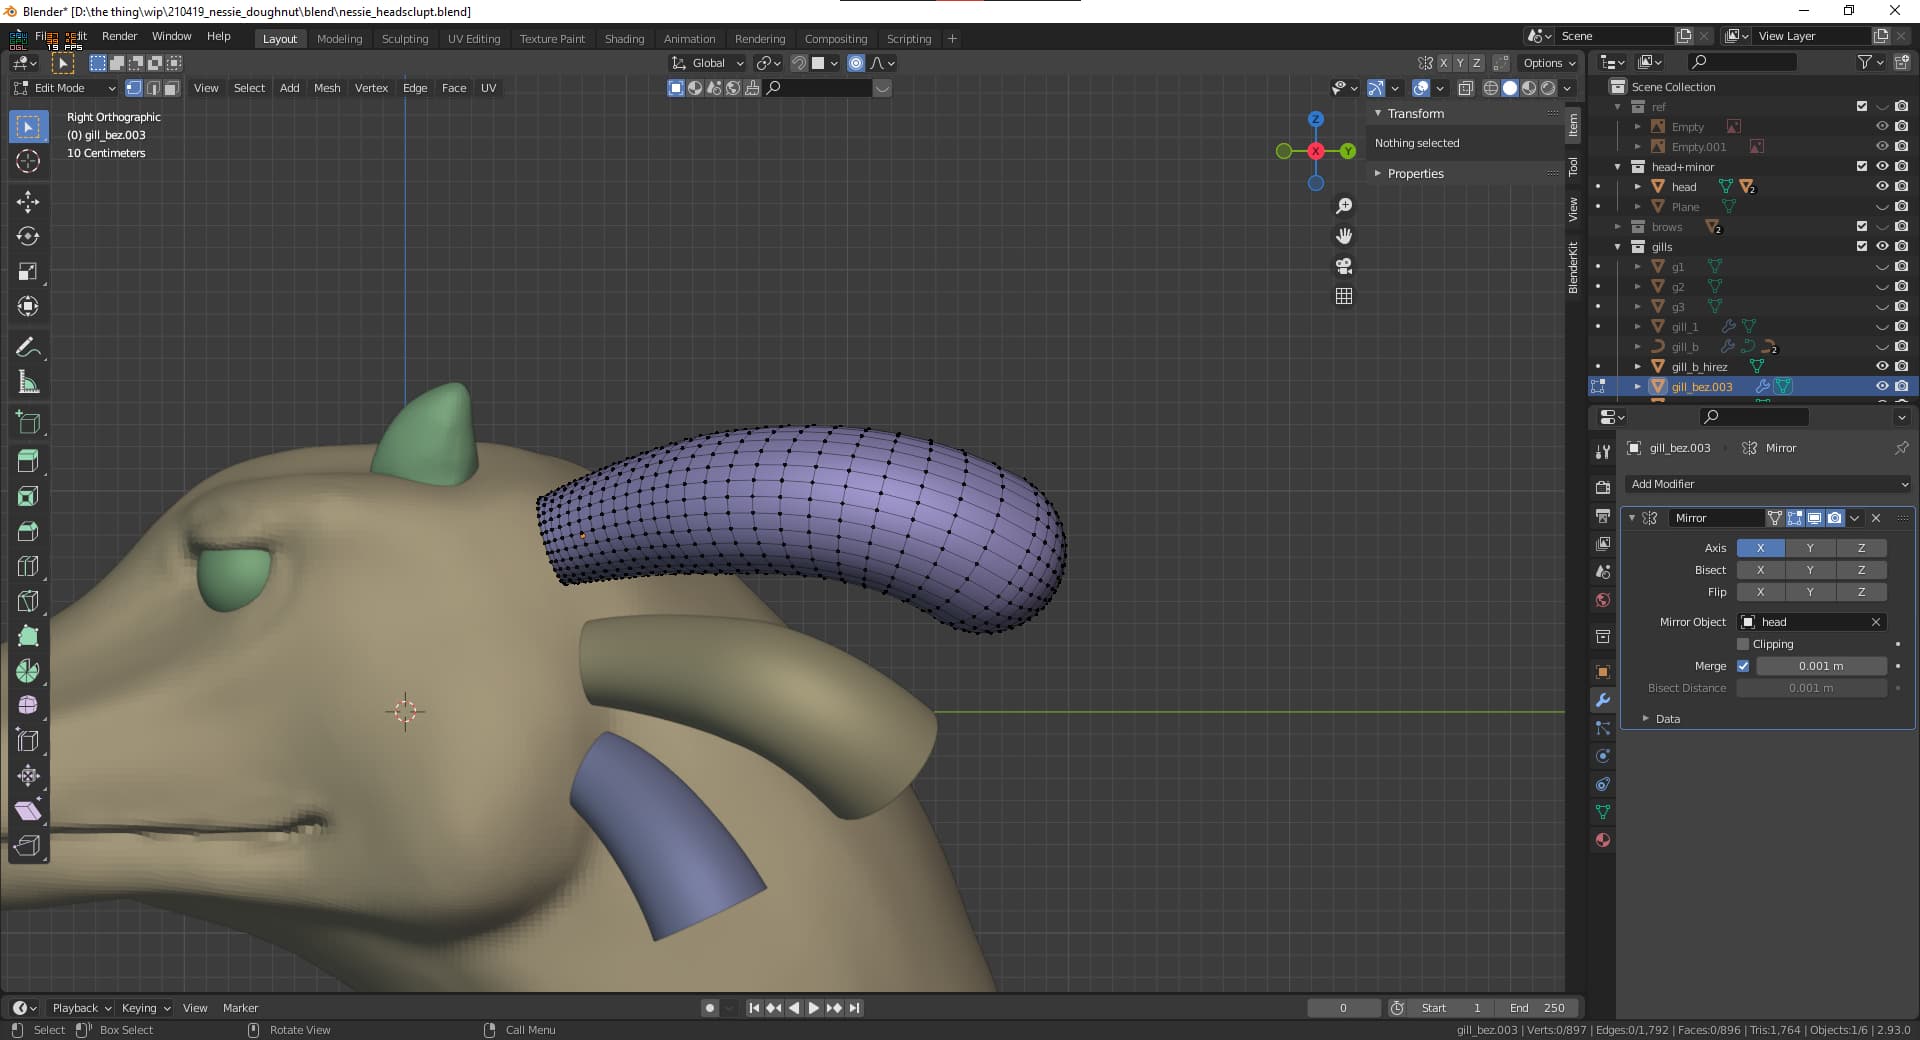
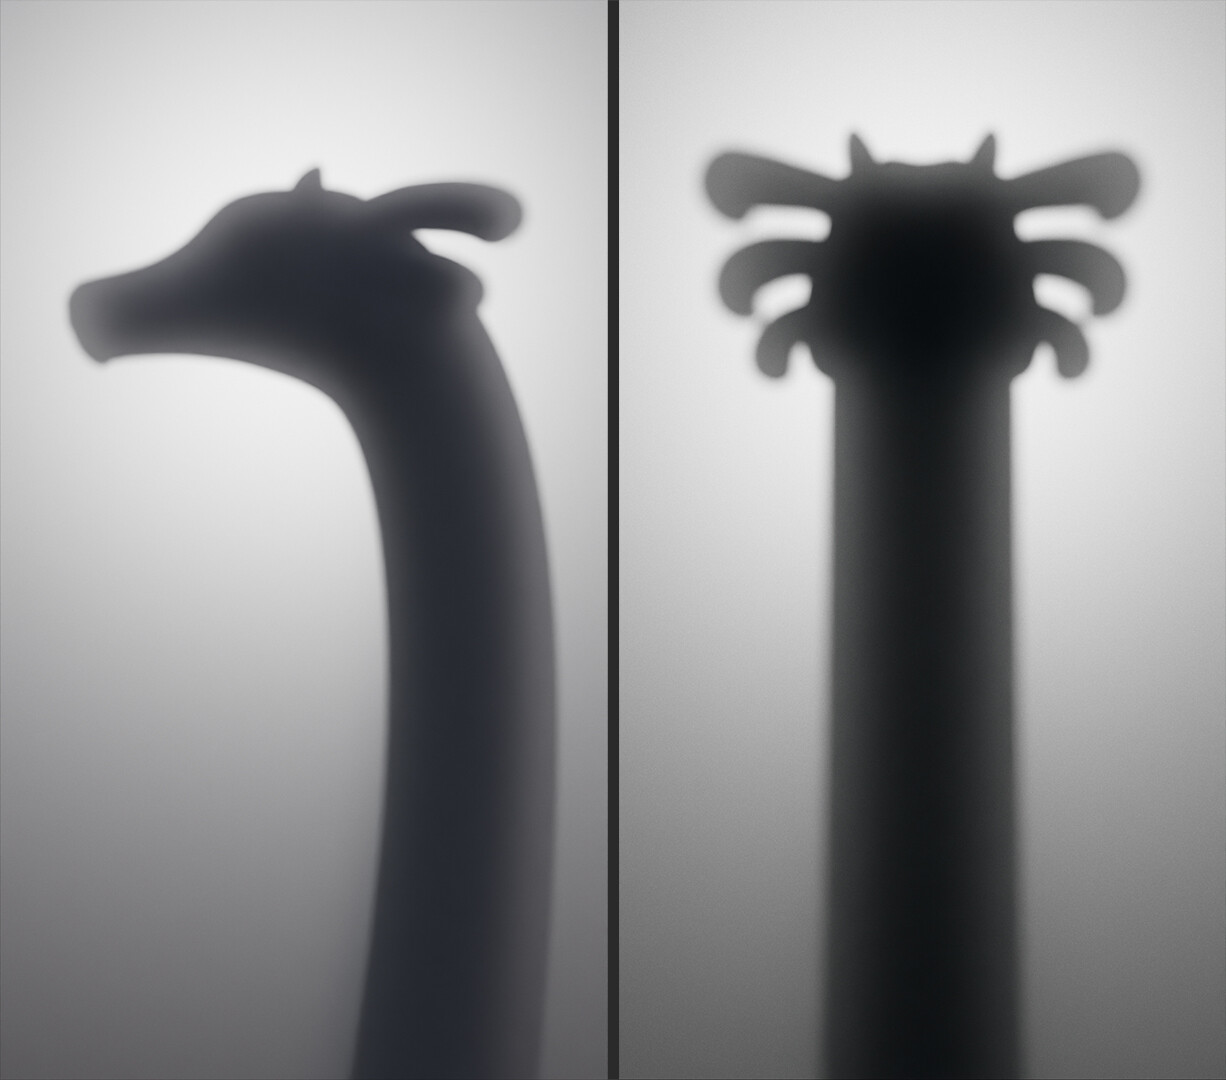
- Once I got general proportions of Nessie and other objects in the scene, I had to design her head. This one was interesting because when you think about Loch Ness monster, old-fashioned dinosaurs come up first. However, scaly lizards don’t always look friendly. And who does? Correct, axolotls and cows (nice mix). So this is how you get the scale at the bottom and those gills coming out of her head.

- Sculpting smooth shapes and retaining the overall form wasn’t easy, so I used curves for size and fluid direction of the gills, converted them to mesh, attached hemispheres and removed unnecessary parts. Head itself followed a mix of dino, dog and cow forms to keep main volumes such as muscles in correct places (even though it was stylized).
-
Body and head have been then retopoed via QuadRemesher, but I’m sure I’ll redo the head manually later. It has too much details and current mesh won’t work for rigging.
-
Sprinkle people concept started out from blender, instead of sketches. In first iteration they looked more like ginger-bread people. Which quickly broke my perception of their idea, so I had to go back to sketching.
To keep stuff interesting, I’ve also created a design and modelling timelapse.

-
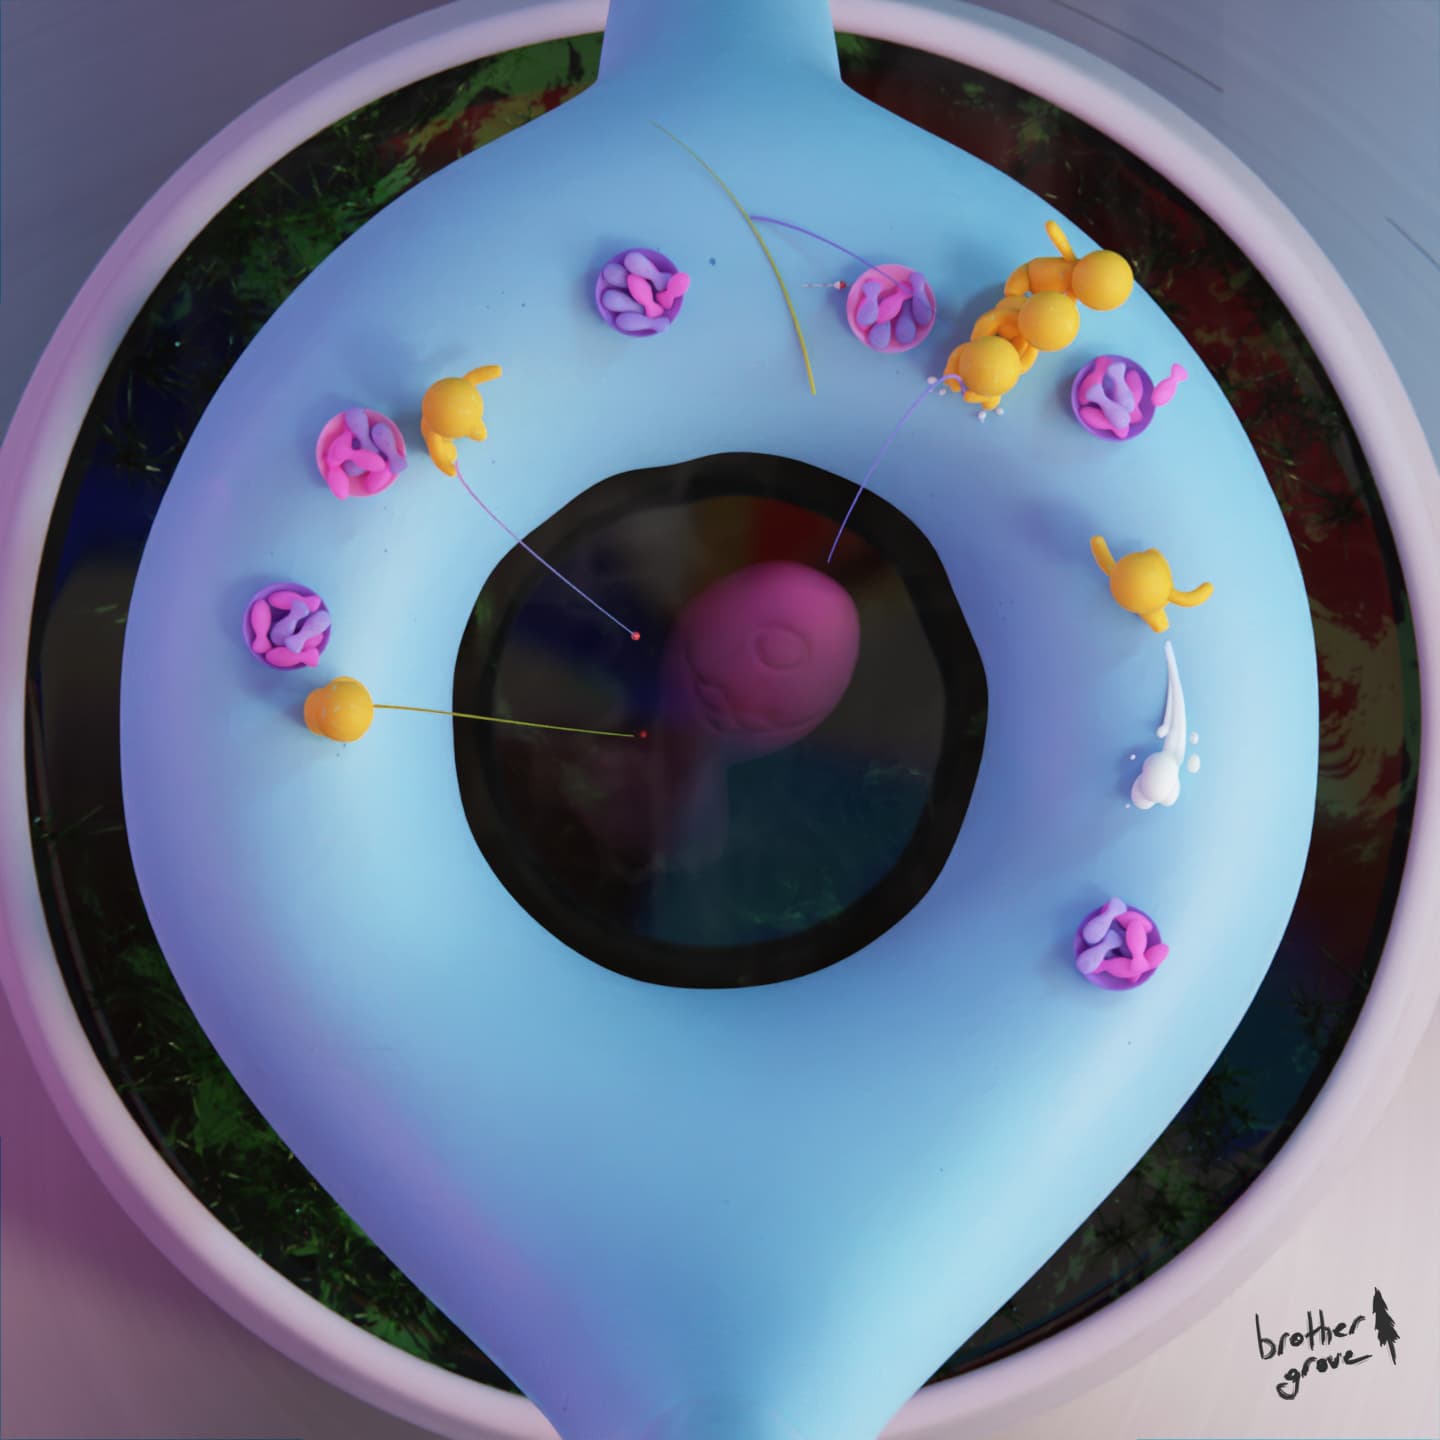
Once done with the characters, I created all of the attributes like fish - they use normal maps for scales imprint - baskets, fishing rods, ladders (arrays) and other.
-
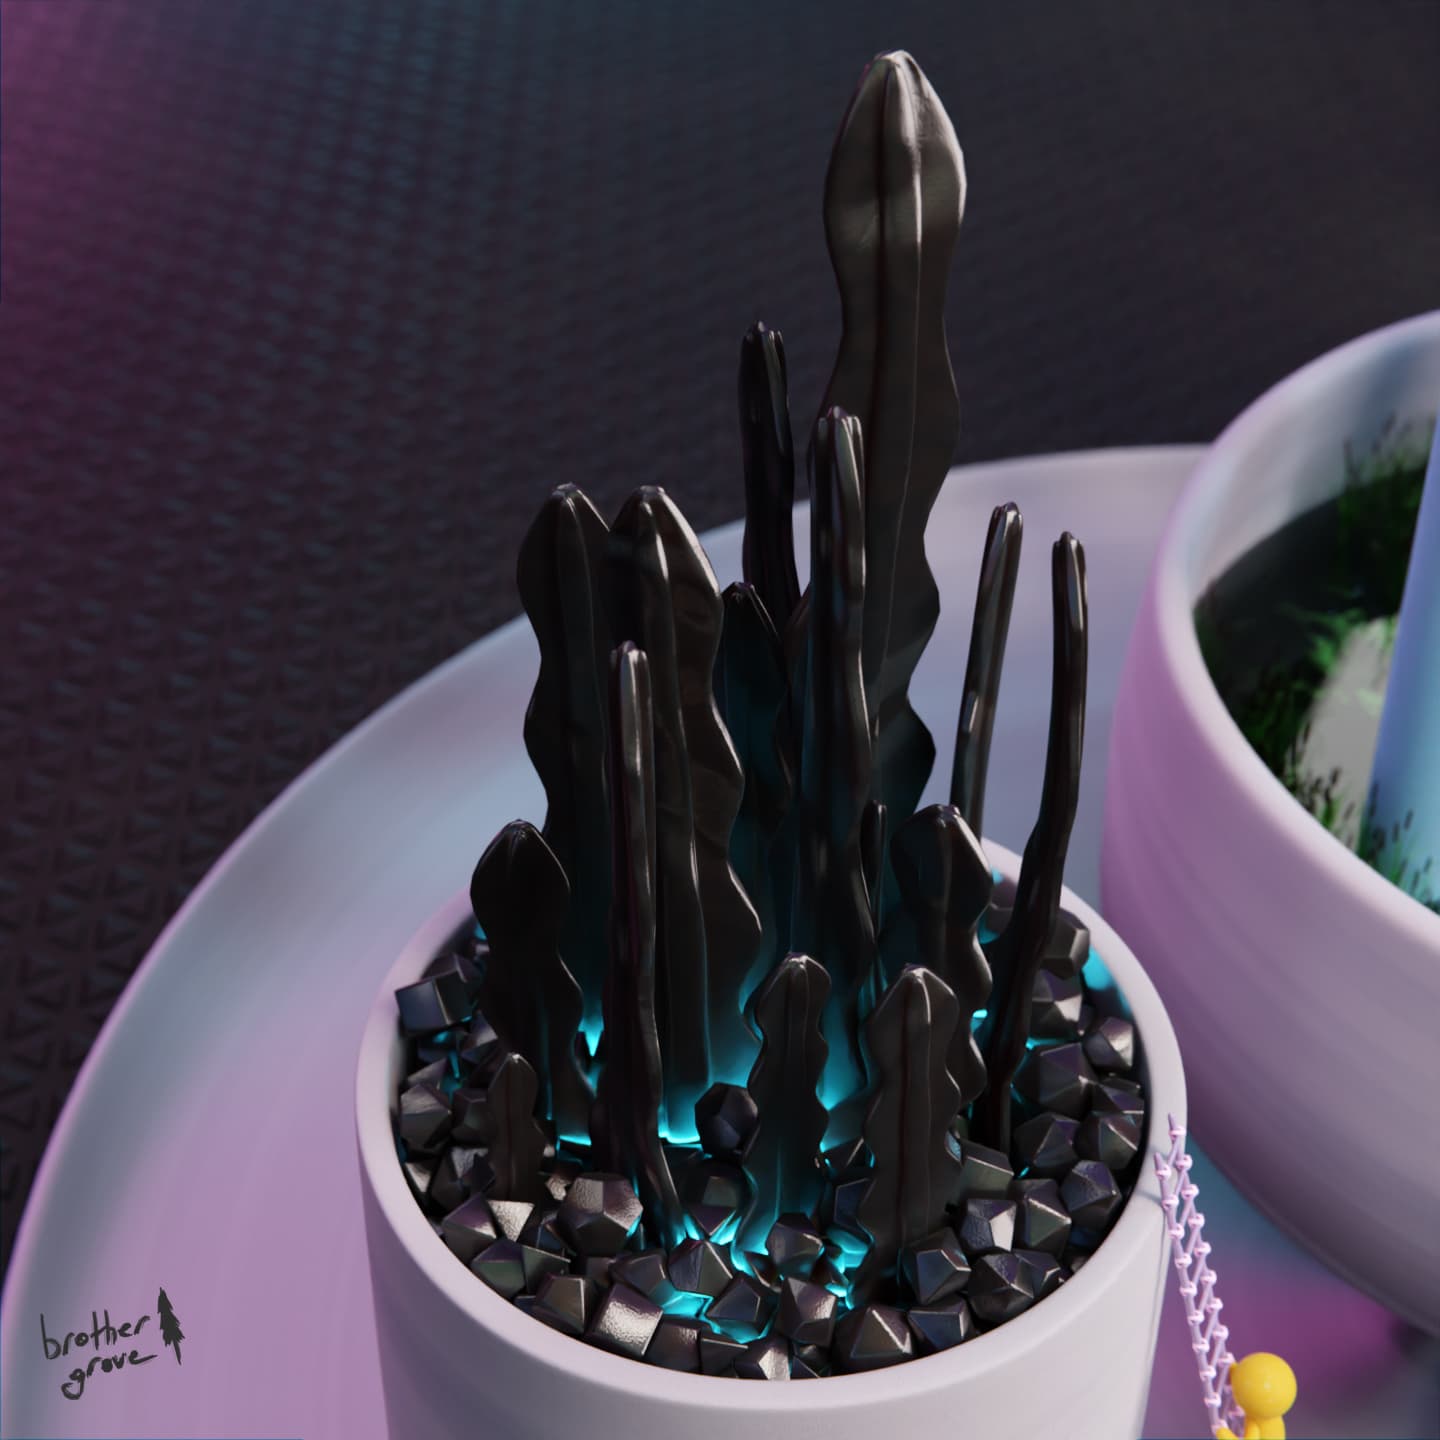
Licorice seaweed, was done using geo-nodes because it has Poisson disk distribution - prevents overlapping. Licorice rocks were dropped via rigid body system, which glitched a lot, because first time I tried simulating it in scale.
-
In regards to lighting - it was a ‘daylight’ scene at first, because all parts of it should have been edible. However, halfway through composition process I understood that detailed background, which is necessary for believability in this case, even blurred, would take away from main subjects. So it has been ditched for a darker club-like set. I may try it again, with some more experience.
-
Lastly, I’ve created promo shots and almost used the one on the right… well, just tilt back and squint a little…
Of course the project wasn’t without it’s issues and I’ve noticed one peculiar only recently.

Subsurface scattering disables ‘blend’ modifier and causes weird discoloration near mesh intersection points. It doens’t seem like a bug, but I’m not sure. Maybe you folks know more about it.
::summary::
This project allowed me to learn a lot of processes and try out workflows and techniques of which I’ve only heared before. It’s amazing what you can do with one software package and I’m looking forward to trying out Blender 3.0 with updated cycles soon.
Any feedback is appreciated!
HDRI used from https://nscr.gumroad.com/
Background materials by js_viii
I usually post work-in-progress updates on my Instagram - feel free to join.
P.S. And now I also know that here ‘Ctrl+Enter’ posts the topic immediately xD