I have also been looking for tutorials on how to do masks and I found some but not with this particular problem.
If anyone knows of any tutorial on the net then please let me know.
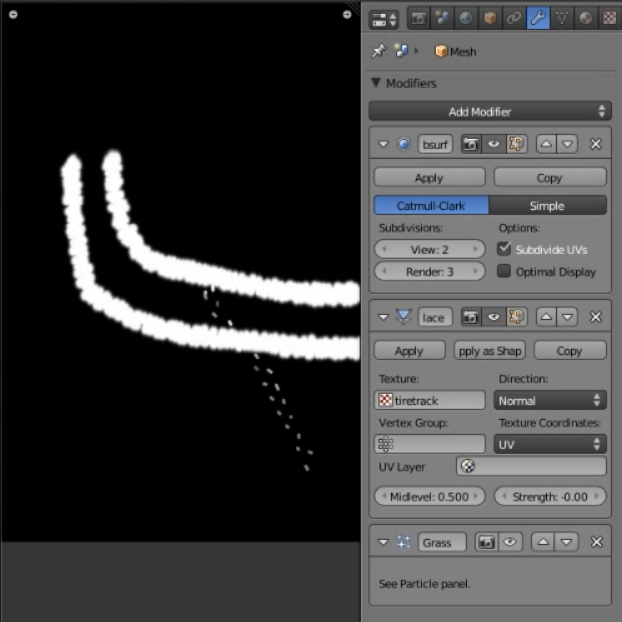
This tutorial was made for Blender Internal render. And Andrew Price was using the tire tracks as a texture for the displacement modifier. You can see this around 14:00 in the video. So, now that you have created the mask you are just one step away from the tracks
I think the order of the modifiers in the stack is important. In your setup the subsurf is after the displace. But it should come before the displacement modifier. Because then the displacement modifier has more geometry to displace. (You should also turn on the viewport visibility of the subsurf modifier, by using the eye symbol, to see its result).
Craig Have you aligned your UVs in the UV Image editor against the image?
I thought I had but I took a closer look and I found that It wasn’t lined up so I redid the tracks.
I realized how very important that is to do. appreciate it.
minorbus
I think the order of the modifiers in the stack is important. In your setup the subsurf is after the displace. But it should come before the displacement modifier. Because then the displacement modifier has more geometry to displace. (You should also turn on the view port visibility of the subsurf modifier, by using the eye symbol, to see its result).
Great Idea to do that It made it looking at it so much easier. Thanks for the suggestion to do that.
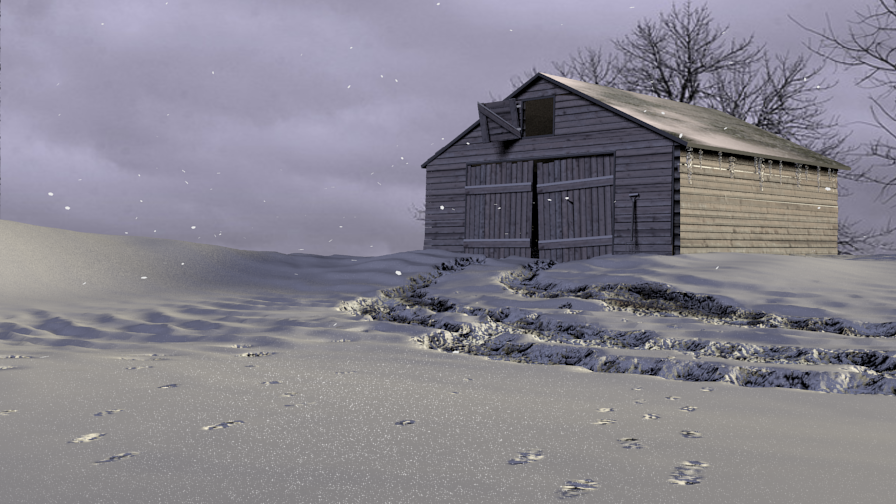
Yeah, looking good now - I like your scene so far! Comparing before and after, it looks like you had set to UV but not properly unwrapped it, so your texture was affecting each face with the same pattern Now you are good, all better!
Yeah, looking good now - I like your scene so far! Comparing before and after, it looks like you had set to UV but not properly unwrapped it, so your texture was affecting each face with the same pattern Now you are good, all better!
Thanks Craig. I sure have learned a lot from doing this
minoribus
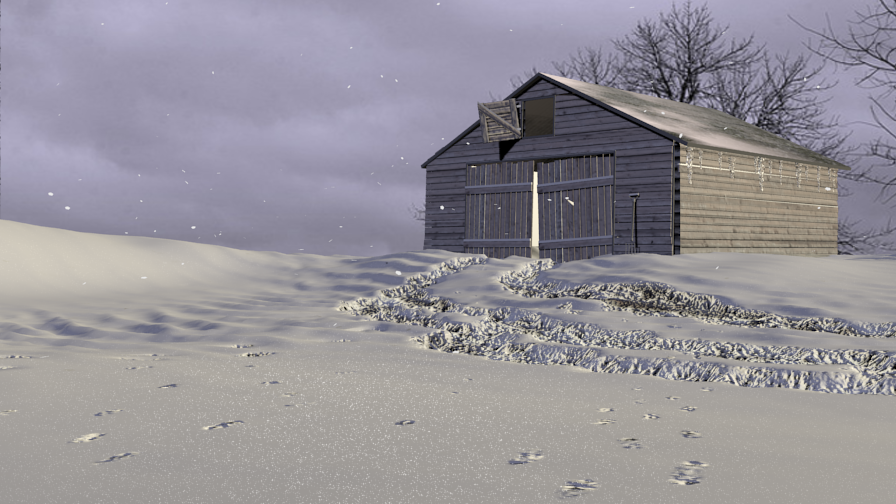
Yeah, there you got tracks. The texture on the tracks is also nice. Very good progress.
Great I appreciate it.
I am just about done with this. i have to fix that shadow and soften it more than I have. Will work on it tomorrow some more.
Looking much better. I suggest trying a bit of SSS on the snow, that might give it a much more natural feel. Also it’s a bit odd to have a super harsh shadow on a cloudy day.
Keep up the good work!
I suggest trying a bit of SSS on the snow,
Not sure what you mean by that. Please clarify.
I agree about that shadow and I wanted to change it so I used clicked no shadow with the spot light that I had
which is not what I am looking for so I will look at this once I get back from work.
To get softer shadows with a spot lamp you can set it to ray shadow and increase the soft size. The smaller the size he sharper the shadows. You can also control the quality of the shadows by the number of samples you set in the spot’s properties. Be careful. More samples increase render times also in Blender Internal.
Looks beautiful, only thing I can say is to look at ways color correction or levels might give you alternatives to the render itself, but that is not mandatory. Your image is great, good work!
Since you’ve asked for it: My two cents are that with this big icicles I would expect more snow on the roof. Were else could all the water for the icicles come from. And the second point is that the window in the gable looks flat. Is there really a hole in the mesh?


 The texture on the tracks is also nice. Very good progress.
 Now you are good, all better!