Hi Matt!
Good job for being new at this.
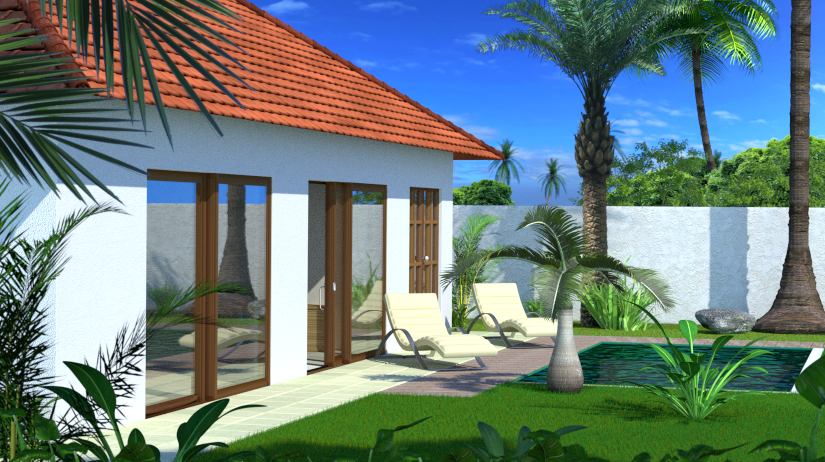
Photorealistsm is my goal too, but i’m not an expert, far from that, anyways, as something which helps me on the ilusion of photorealism is the grunge, the cracks, the diferents shades of the same material.
Ur house is too clean, even for a new one.
Hope it helps you too
Keep it up!
Hi, thanks. Any tips on getting the grunge, cracks, shades …?
Textures! Get various textures from sites like cgtextures, or just use google images. Just remember that connecting texture directly to Color input of shader node is usually a bad idea (unless you’ve processed it in 2D software).
Also, try playing around with settings in Light Paths section of Render tab. And use some HDRI maps for ambient lighting, you can find some awesome ones for free on openfootage.net
ok. So what would be a better way for a texture to connect to a color input?
About lighting:
I have an environment texture now, but it’s not HDRI (i think). Does is make a difference for ambient lighting to use a HDRI?
My sun currently has a plain white color. I suppose this is not really ideal? What would be a better color? Also, does the distance of the sun to your scene has any effect on lighting?
Make a big difference using a HDRI (High Dynamic Range Imaging).
Short brief about HDRI:
A HDRI is a SET OF TECHNIQUES used in imaging and photography to reproduce a greater dynamic range of luminosity.The HDRI images has different exposure values. The non-HDR images have limited exposure range, resulting in the loss of detail in bright or dark areas. HDR compensates for this loss of detail by capturing multiple photographs at different exposure levels and then combine them.
About realistic texturing u can find a tutorial by Andrew Price here: https://www.youtube.com/watch?v=W07H7xeUnGE
Its the best. He will teach you some secrets of photorealistic texturing. He uses CrazyBump (for creating normal maps textures and specular) and them put in Blender nodes. Note: Its very important do make the final render in GIMP or photoshop by changing colour tones, adding cracks, leaking on walls, shadows, even if you want to add human silhouettes in your scene (this is best for architectural visualization renderings)
There are multiple ways of lightning your scene (using a HDRI, using a sun lamp). This is according to your scene. For example in interior redering you better use the sun lamp with ambient oclussion checked and for outdoor scenes you can use HDRI light.