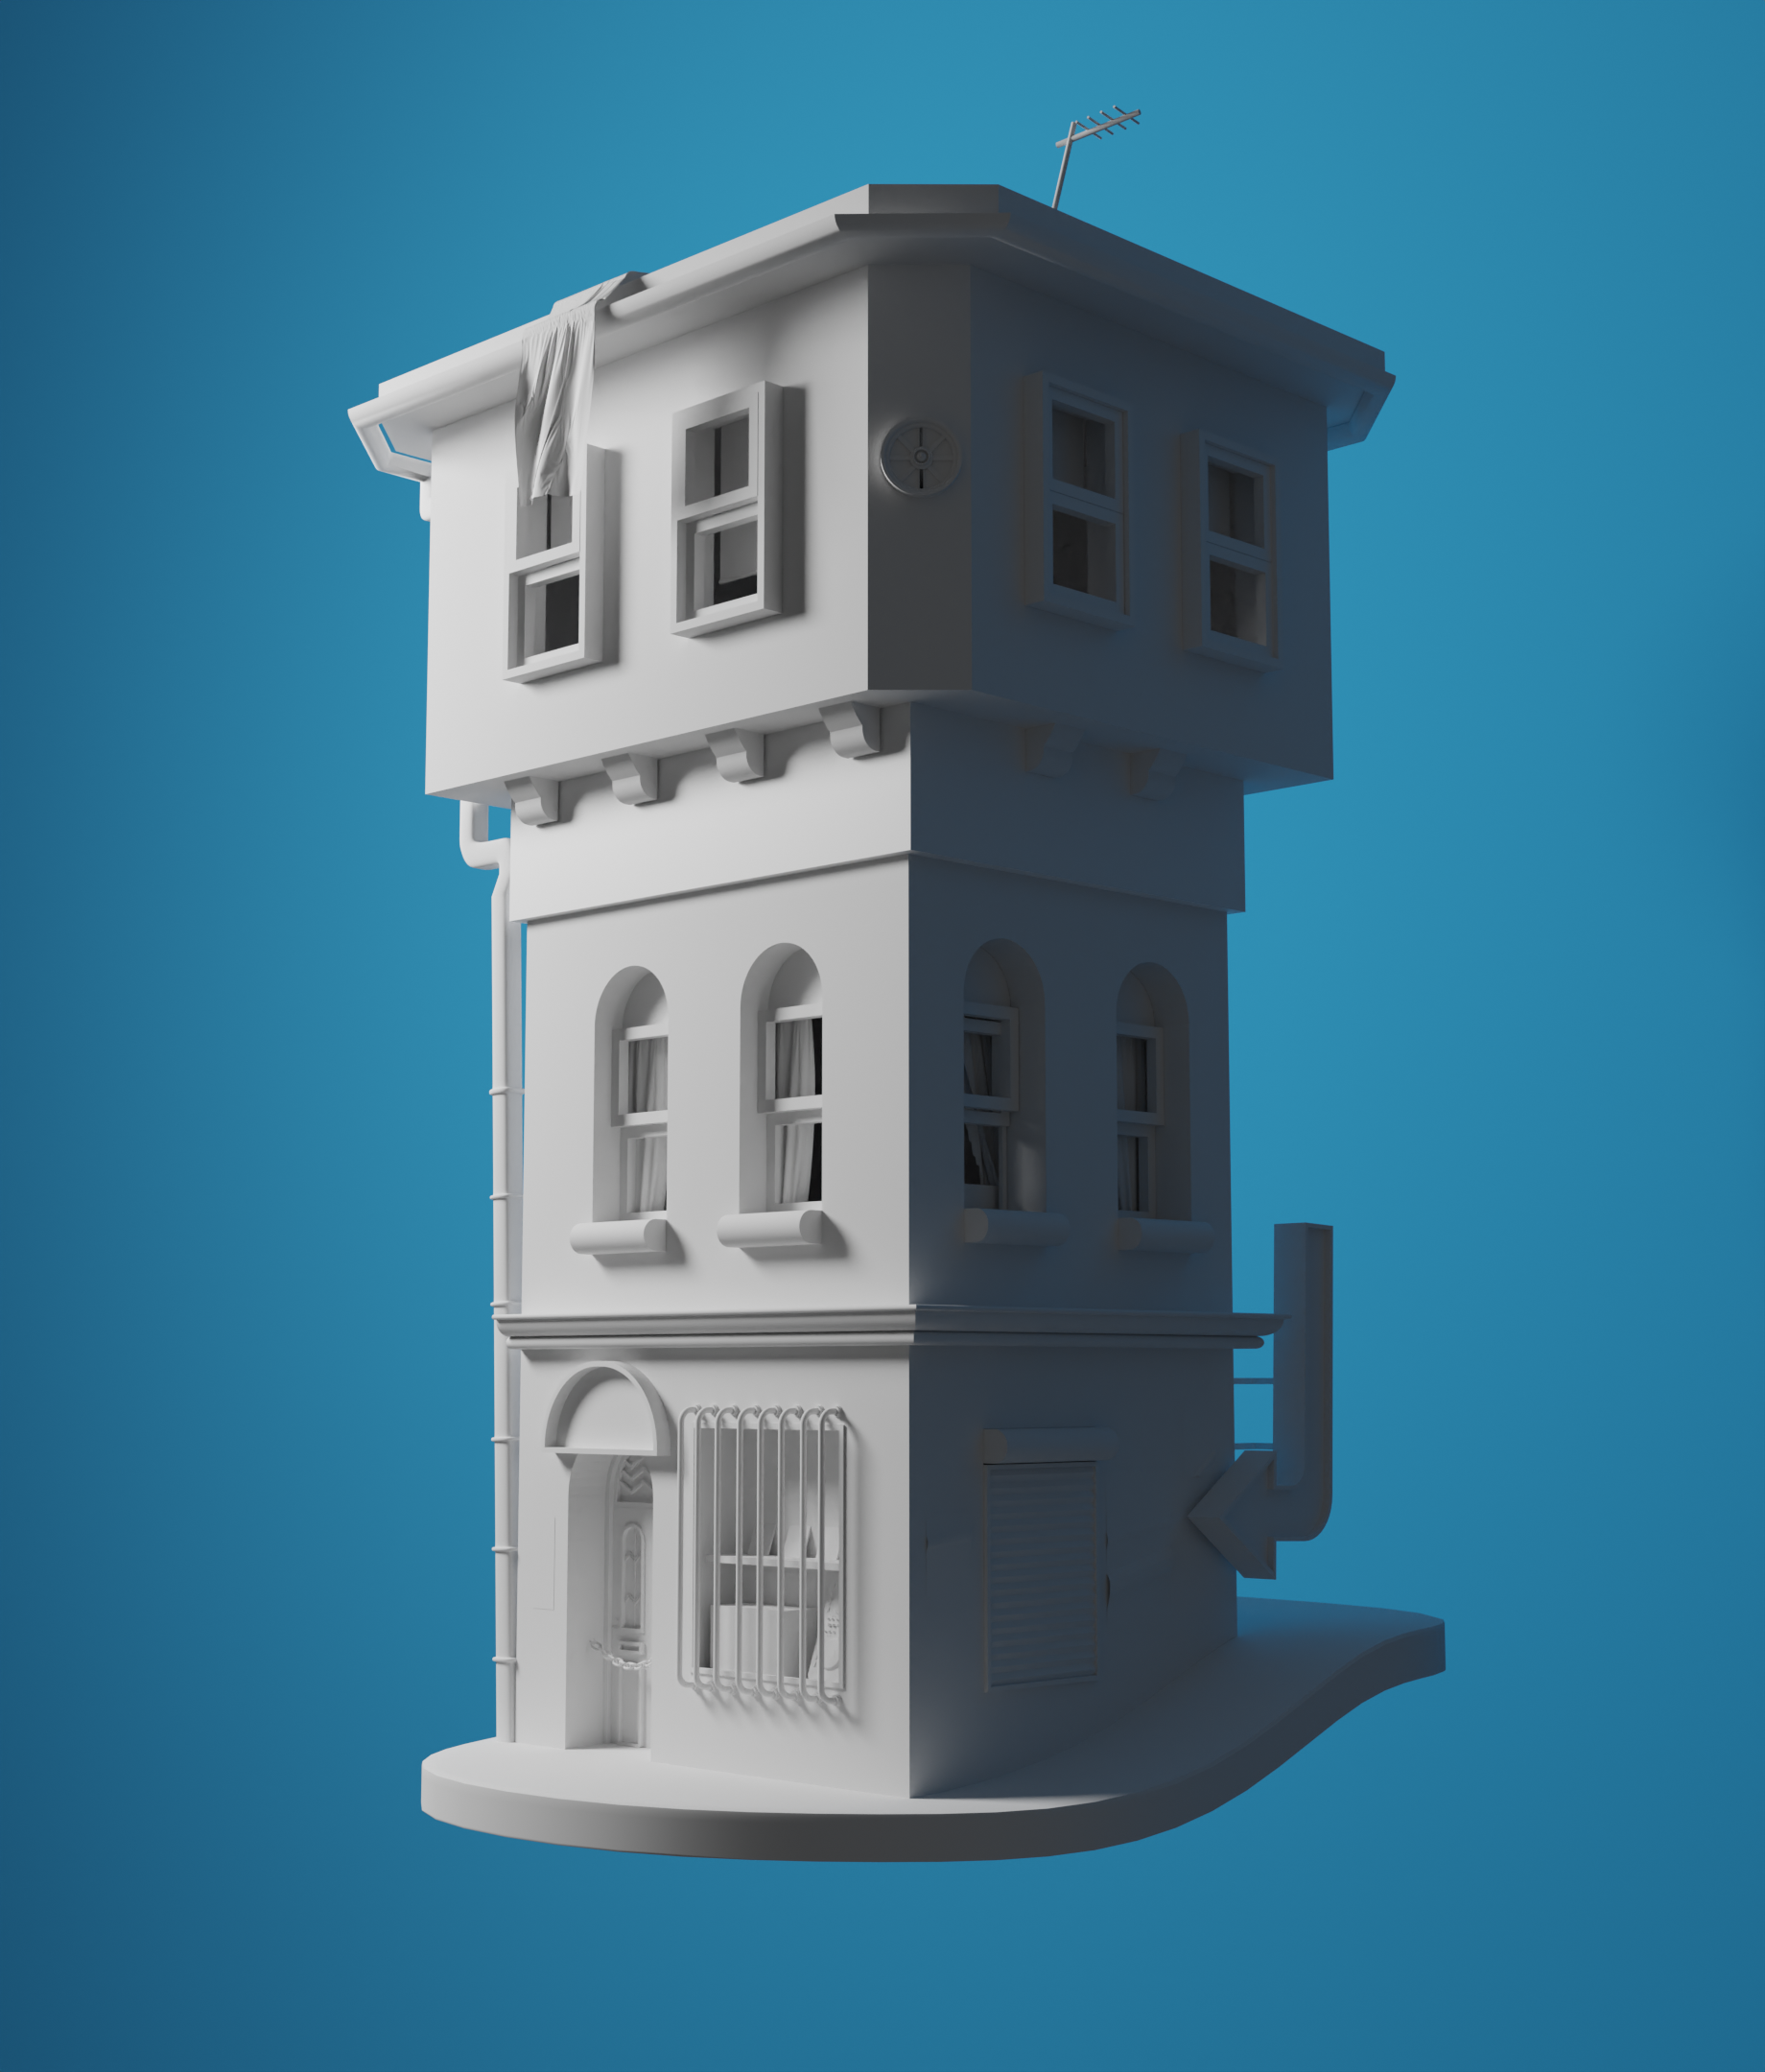
Hi all, my first time posting here, hopefully I’ve formatted this correctly. Decided to start learning 3D a couple of months ago (Am originally a digital illustrator using Procreate). I thought after a month and a half of following tutorials that I’d try my hand at recreating one of my original illustrations of a building.
It’s been really difficult trying to learn Blender by myself, I don’t know anybody else who’s used it, so I’ve joined blenderartists to get feedback, help, and to connect with other Blender users (and to give help back wherever I can).
Am really pleased with where this WIP piece is at the moment - anybody have any advice as I move into trying to figure out the best ways to texture everything now? I’ve been careful to make everything easily UV-unwrappable as I go, and have had a go at drawing the original building illustration’s texture out brick by brick directly onto the exported UV map, as well as trying a procedural texture which I had a little success with. I’m wondering if it’d be good practice to diversify and to export into Adobe Substance, which I’ve not used before.
Anyway thanks for reading if you’ve made it through this lengthy post!
If you own Adobe/Substance Painter I would suggest you use it. UI and workflow is easy to understand.
For flat wood or stone textures, you can paint them in your usual painting software and then just import into Painter.
It’s also possible to work procedurally in Painter, there is a brick generator there for example.
Ah thanks, I’ll definitely give it a go. I’ve found it quite difficult trying to figure out the best approach to texturing considering there are so many ways you could do it, but everybody seems to be pointing me towards Substance. I like that it seems to be pretty industry standard too so seems a good software to learn.
You already know how to paint in 2D, exercising your artistic sensibilities inside an 3D painting tool will probably come easy to you.
Starting with painting pixels directly on an unwrapped mesh seems like the logical starting point.
It’s the least technical way once you have understood the general workflow and UI, you can stay in the zone and just create without much thinking.
I think that you’ve definitely got a model that you can work with. And so, you should now consider the various ways that you can apply a suitable texture to the various pieces of it. You’ve already done an excellent job with the physical details.
“Within Blender alone,” there is (for example) “texture painting,” where you essentially “spray-paint” textures from an original source to create the map that’s finally applied to the image. But you are certainly not limited to “Blender alone.”
Thanks!! Yeah I’ve slightly dabbled with bump and displacement, I think I’m starting to wrap my head around it a little bit. It seems a bit daunting but so did most of the things I’ve learnt so far in Blender. If I’ve understood it correctly, I’d have to draw out my texture as the base colour, then make a B+W displacement version, and one for roughness etc too, then plug it all in to the shader?
It’s something I’ll definitely have to get my head around because I’d love to be able to essentially draw all that information myself and have it translate properly onto my model (how deep the little chips on the bricks are, how deep the mortar is inbetween the bricks etc)
Thank you! Yeah I’ve found the modelling part the easier bit so far but now I’ve arrived at the texturing thought process it’s become a bit daunting purely because it seems there are so many options and ways to approach it.
I’ll definitely check out the texture painting setting in Blender at some point, I do think it’d be great to branch out into another software for texturing though and a lot of folks have recommended Substance Painter. Do you yourself generally stay in Blender when you texture? Or do you prefer to take it outside the program.
Don’t be afraid of the process…throw yourself at it and you’ll get it (and you’ll love it).
No matter which way you use, you’ll arrive at the same conclusion.
You’ll end up with color and greyscale data sets that drive the various inputs of a shader.
Roughness for example is just a value that goes from black to white ( from 0 to 1)
Black is a perfect reflection like a mirror, white is diffuse like asphalt or rubber.
Bump and Displacement work similarly except that they usually use a 50% grey as the middle ground - white then bumps outwards, while black dents the surface inwards.
Metalness/metallic is basically just a mask. If its metal it’s white, if it isn’t - its black.
A light orange color with an dark grey in the roughness channel + a pure white metallic channel will give you Gold.
You only need to understand what these ranges of values do to the surface and everything else will fall into place.
If I’ve understood it correctly, I’d have to draw out my texture as the base colour, then make a B+W displacement version, and one for roughness etc too, then plug it all in to the shader?
Yep! There’s actually a really good video that can help you understand that further called “The Basics of Good Texturing in Blender”, if you haven’t already seen it. I’ll leave the link here just in case.
Thanks for the explanations of each, I’ll definitely come back to this to help remember. I’ll report back with my first texture too once I get it sorted!