Sorry guys, I’m sure this is an easy question, but I can’t find the answer anywhere. I am new to Blender, and overwhelmed by half the stuff I don’t understand yet.
I have a very simple model of a house sitting on a plane. I modeled the house, and then unwrapped it to apply a UV texture map. But now, I want to setup some lamps and some shadows, and it won’t work. If I switch the view to Shaded as opposed to Textured, I can see the shading from the lamp. But the textures have no shading whatsoever.
I have a feeling this has to do with multiple layers of texture or color maps, where I need to add some layer that will react with the light, and that layer will combine with the base UV texture to create shaded textures.
I just have no idea how to do that. Your help would be greatly appreciated, as I am about to pull my hair out on this one!
Go to the Game menu at the top of the blender window and select ‘Blender GLSL Materials’. In textured mode you will then be able to see the lighting. Note that you have to have a compatible graphics card for this to work. If you don’t see any change then you’ll have to go back to shaded.
Well, that gets the grass ground plane to be textured, but now my UV wrap on the house is gone, and it shows a default-like material. I can apply textures to it, but they are applied to the entire house. Is there any way to maintain UV wrapped textures and get the lighting effects?
I should mention, I am doing this to create models to export to Flash Papervision, and I was hoping to bake the lighting into the textures, ultimately, and then export the baked textures and geom as Collada
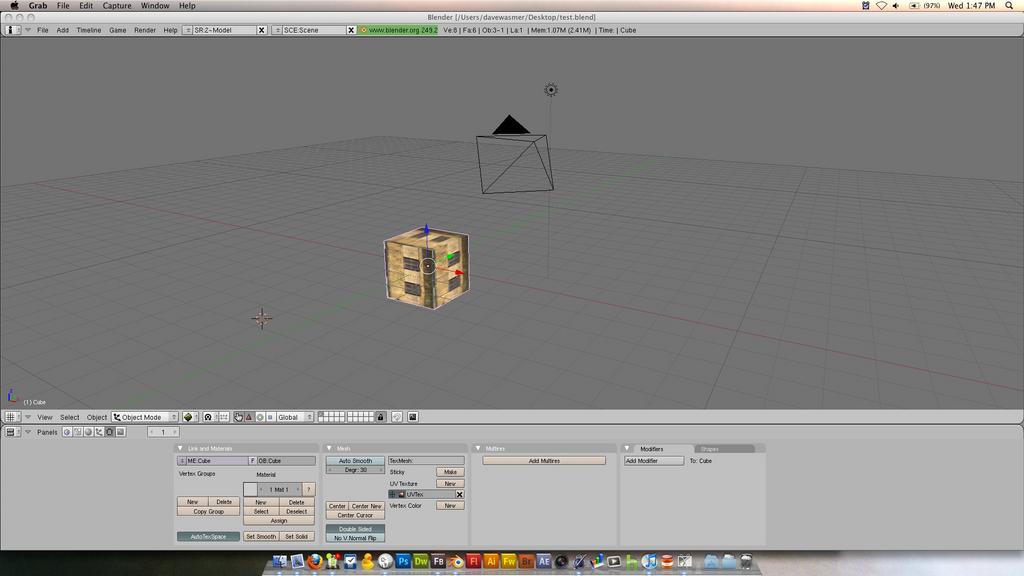
Well, this isn’t the exact same file, but the same problem is occuring. I opened a new document, used the default cube/light/camera setup. I went into edit mode on the cube, unwrapped it, and applied the texture you see in the screenshot.
The first screenshot is using the default texture setting under the game menu (“Texture Face Materials”). The second is using “GLSL Materials”. The uv unwrapped texture disappears on the second, and is not properly shaded on the first.
And I have no clue what is wrong
My equipment:
Macbook Pro 17"
GeForce 9400M
Dual monitors (not sure if that makes a difference)
Maybe I am not understanding UV unwrapping properly, but I don’t see the texture image in the UV editor view of your file. It looks like it was just applied directly as a material texture (I’m probably using some of the terms incorrectly here, bear with me). In my example, I was hoping to be able to use the UV view editor to specifically arrange the textures on the mesh, and then have the shading work properly. With your setup, how would I adjust the texture for each face of the mesh?
I’d just deleted it from the UV image editor after I’d positioned the image how I wanted so it you were seeing it only as part of the material settings as an applied texture. If you have it in the UV image editor it will show up in the texture mode when not in GLSL instead of just white.
You can add the image back in the image editor, select all vertices and in the image editor select the image from the drop down list.
Ahhh, I think I sorted it out now … now only if Blender would stay running long enough for me to complete anything before it crashed, that would be even better!
Thanks for all your help, I was about ready to start pulling hair out. Thanks for your patience!