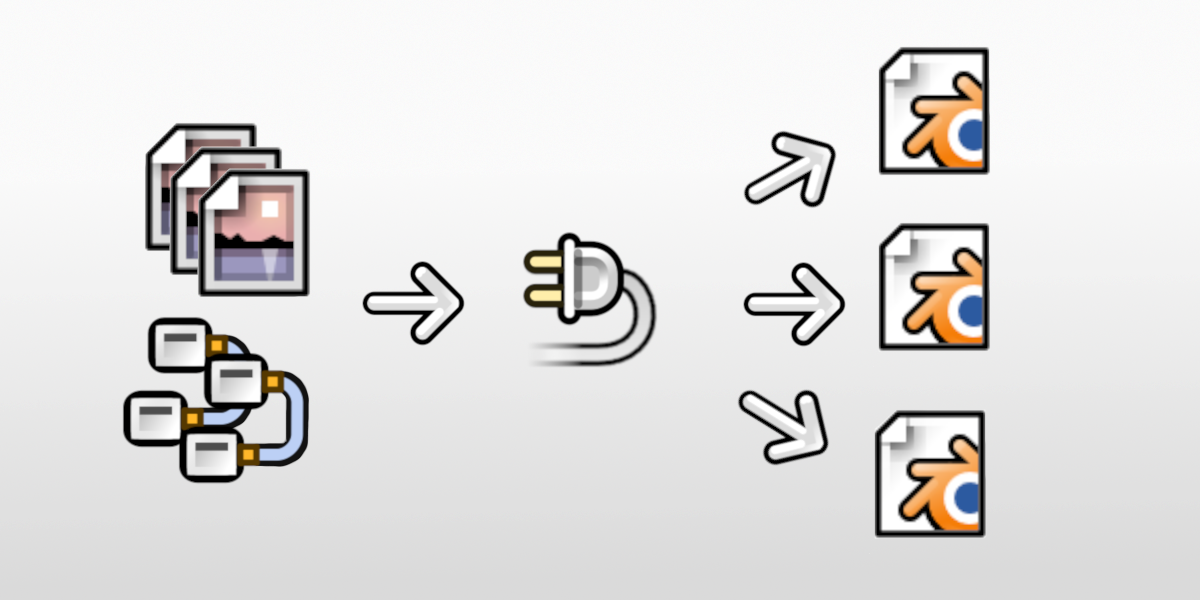
Node2Code automatically packages all external data. Once exported, Images, Text and External Values will always be available regardless of file location.
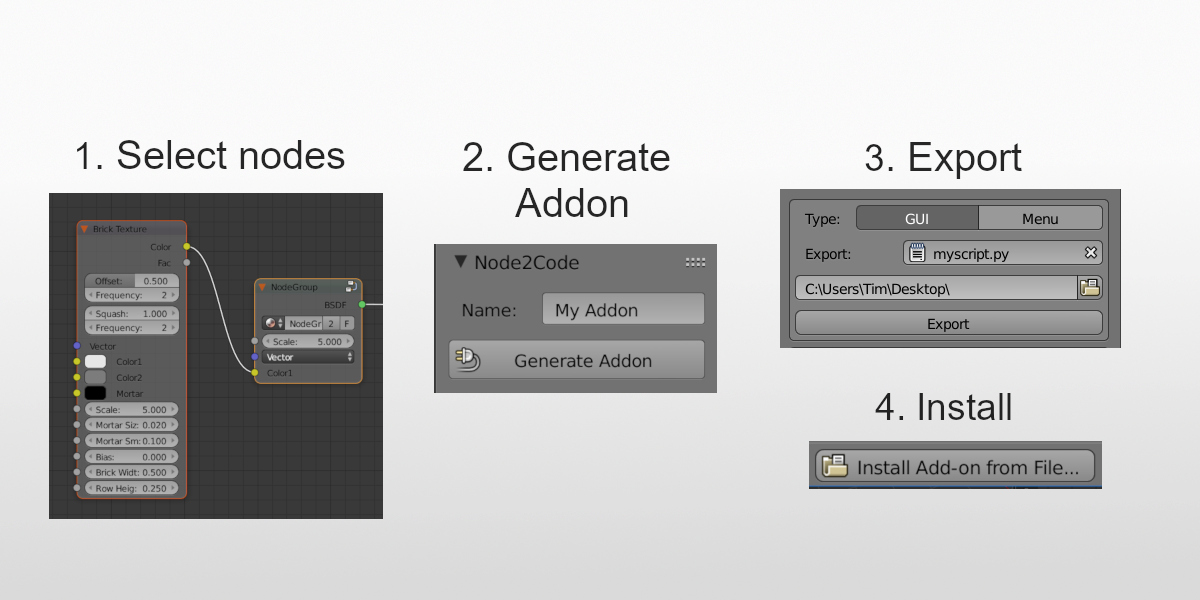
With only 4 easy steps you can build your own addon with a few clicks! Once enabled, this addon will provide instant 1 click access to all exported shaders.
With this addon I make addons or scripts?
In case of addon, I imagine something like a script-loader where you can set the location of the scripts, save that preference and then load shaders in the UI.
Or how does that work? (how are my customers going to load my shaders?)
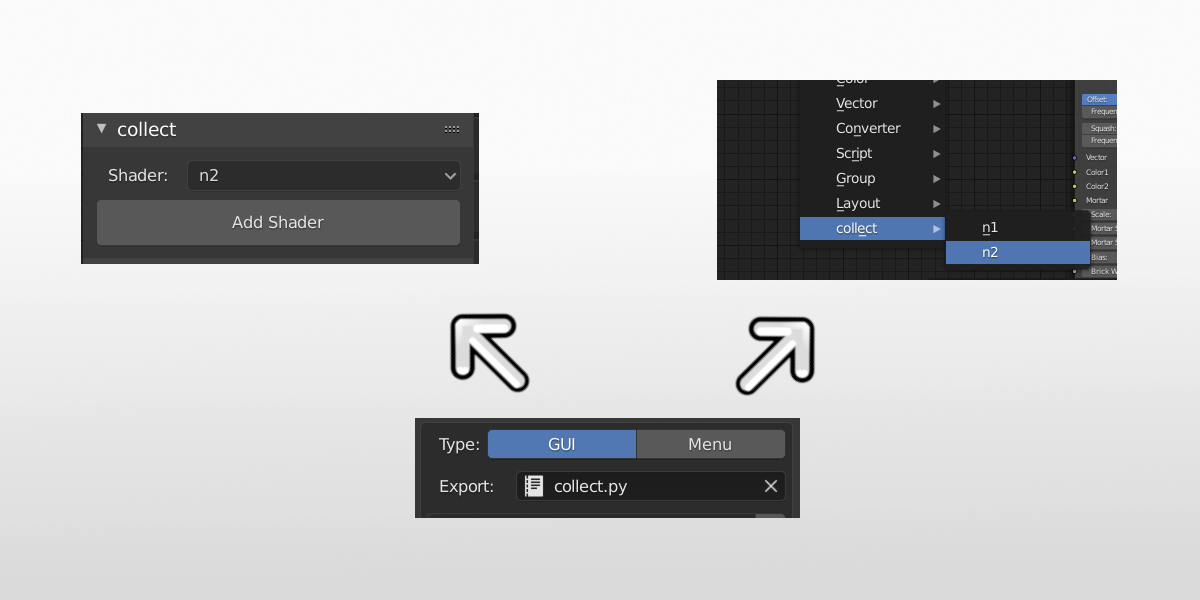
combines multiple generated addons into a collection inside a new addon
You don’t need to set any script loading.
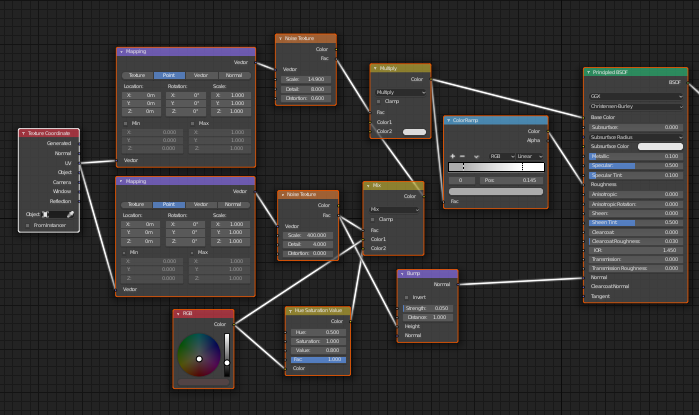
As mentioned in the picture above:
Select Nodes
Generate Addon
Save the text file from the text editor and load it back into blender.
How loading the addon works (workflow for customers):
open user preferences
navigate to addons tab
click install from file
selected the saved “.py” addon file
enable the addon + save user settings
This workflow is common for every addon, so customers that have purchased addons before will have no issues applying it.
After this the addon will permanently remain in the node editor toolbar whenever you open blender
Thanks, sounds good!
Could it be interesting for us to see a screenshot of that UI in the node editor toolbar. So, what my customers will see. (Not what I see when I buy your addon).
Images are very tricky, especially since this plugin generates addons that can be distributed outside of the current computer which means saving the file path and then just reloading will not work 90% of the time.
Nevertheless I have a rough idea to solve this issue and will publish an update in the future to address this. I have added it to the roadmap.
For the moment however, image textures will need to be re-opened upon deployment.
@Thatimster
I wonder, I can manage to code some simple python by copying it from the info panel and making a script of it. But I can’t code an addon like making panels, classes, and make it so that when I press a button it execute that code.
So I wonder if I can use this addon to make an addon initially meant for the node-editor, and then I adjust it a bit so that it can execute code in another panel I want.
For example I make a an addon for the N-panel (I know it’s overcrowded already) place a button there and then it execute code I made that is setting a few lamps. So then I can offer a set of light-setups.
Exactly, storing the image data is the biggest problem if only the script is distributed, especially when sizing up to 4k textures etc. For the moment I will continue adding updates and try addressing the issue directly.
This is totally possible with node2code I may consider making this easier in the future.
Steps to modify:
In the panel class starting with NAME_PT_panel, change the bl_space_type and/or bl_region_type properties to determine where the addon is drawn.
If you have a collection script, each method starts with “def execute_name”, so below each of these sections you can replace all the code with anything you like!
If you have a 1 shader script, you will need to modify below the “def execute” method of the class that starts with ADD_OT_name. This function must return {“FINISHED”} when completed so leave this last line in.
General advice: Convert whitespace to tabs with format operator in the text editor and maintain indentation level.
Feel free to get in touch if you run into any issues!
@Thatimster
I works which is super, but noticed the following:
The mapping node is causing this error: ( I didn’t group some node here because I thought first that that might be the issue but that’s not).
Traceback (most recent call last):
File “C:\Users\Flatron\AppData\Roaming\Blender Foundation\Blender\2.80\scripts\addons\node2code-280.py”, line 495, in execute
details[“props”] = self.copy_props(propstr, to_code)
File “C:\Users\Flatron\AppData\Roaming\Blender Foundation\Blender\2.80\scripts\addons\node2code-280.py”, line 372, in copy_props
prop_dict[m]= self.stringify_val(getattr(n, m))
File “C:\Users\Flatron\AppData\Roaming\Blender Foundation\Blender\2.80\scripts\addons\node2code-280.py”, line 550, in stringify_val
if val.type ==“VALUE”:
AttributeError: ‘Euler’ object has no attribute ‘type’
So for now I leave the Mapping Node out and then it works, but is there a solution for or is it a known limitation for now?
Some values, like in RGB-input node and values in Colorramps were not stored in the generated addon… Is that correct? Most (or all) other values were stored in the generated addon. I can easily add code myself though.
Looks like I forgot to test euler properties fully, I’ll also double check to make sure RGB input is included.
Working on a fix now, hopefully can include reroute nodes and labels in the same patch.