Hi guys, I’m currently working on hairs such as final fantasy uses them in their games. Surprisingly they do it all by hand in 2D, but nevertheless their hair has a superior depth. How can that be? Can you create a normal map without baking it?
I would really like to get it done, but I have only gimp and ps at my disposal. If I manage to do this I will write a tutorial about it, that’s for sure. So please help me XD
Thank you for reading!
ok, it’s still looking terrible but for now I’ll just go with it…
I now tried to setup the hair on a character just like those final fantasy characters do. I saw some pictures of their workflow and their not using simple planes, but they extrude these planes also. Now I don’t find a way to do this in blender, is it possible to add a visible UV to an invisible object? Or is it possible to make textures universal for an object?
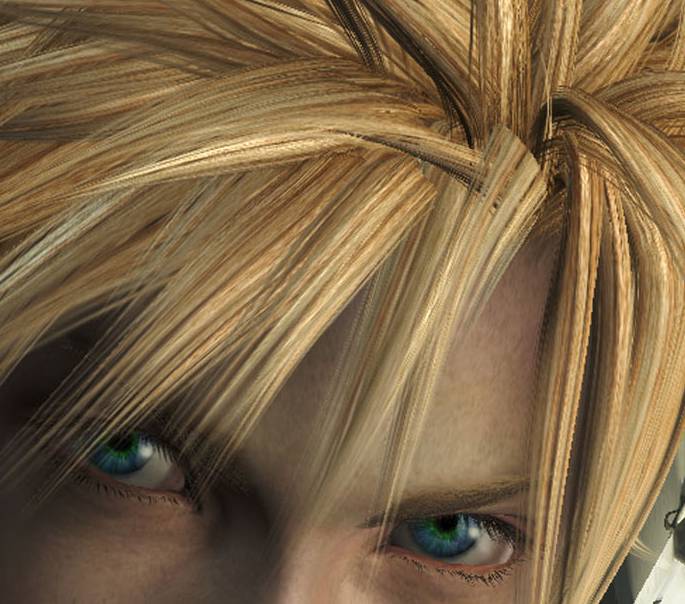
I think Final Fantasy character hair is made of just color map and alpha map. There are lots of hair polygons and it is rounded somewhat to give some highlight and shadow. But basically its all drawn hair.
yeah, I tried to use three basic vertices and then extrude them subsurf one smooth 2 or sth like that, but every single face uses and resizes the image on it’s own… That’s why I end up with something looking more like a feather than hair… but if I wanna unwrap the whole hair to a UVmap I can’t figure out how to make the UV map visible while the material is ztransp and a=0. That’s my basic problem now… pretty basic stuff, eh? XD I know there is a way but I just can’t find it.
EDIT:
lol, I had em in UV texture mode, no wonder… fixed it now, anyways thanks for your help and I’ll post again if I get some results.
Ok, if you are as interested in creating these hairstyles as I am, then here’s a little help on how to create the textures:
download hair mesh from http://www.3dmd.net/gallery/thumbnails-49-page-1.html
edit it in 2D , black background:
edit with perspective scaling
(GIMP : select the image, right click, tools, transformations, perspective
PS: select, edit, transform, perspective or even better, warp)
edit it in blender uv editor with texture paint and color all the stuff that shouldn’t be transparent white
That’s the alpha, , you can create a normal map by tuning with the contrast and luminosity of the texture.
And then you need a color map which I haven’t yet…
You think this is the right way to approach this hair?
EDIT: I think only the alpha and shading settings are bad… This makes me confident!