Nose Modeling Advice in Blender

I’m trying to do a 3D model of myself in Blender following this tutorial: https://www.youtube.com/watch?v=86JiuZpbi_w, but I keep struggling to model the nose. Here are some images of my results. As you can see, the nose doesn’t quite look right. Can anyone refer me to a tutorial on how to correctly model a nose from a photograph or offer any type of advice?


You might want to:
1.Provide a file
2.Show geometry in screenshots (edit mode)
3.Not use subsurf while modeling or at least at this stage of your process…

There are some very nice youtube videos on box modeling a head that look easy but that’s just deceptive, it’s a lot of experience that makes it look that way.

Yeah. I’m sure it is a whole lot of experience. Here’s my .blend file: http://www.pasteall.org/blend/36967 and here’s my geometry sans subsurf:


Noses are problematic, But on a first look you will need to hit number pad 5 to take it off of orthographic,
Your base topology is alright, all things considered. You have the major loops represented.
But modeling requires allot of tweaking. Look at this video and I would try the topology flow he uses on the tip of chin for the tip of your nose. There is allot of volume there.

Don’t worry about doing any tutorial step by step, Give it time and practice fairly often, once you understand the general rules of topology and anatomy solutions tend to find a way of happening.

Being new to subdivision surface modeling, people often either try to add every polygon the final should have or use too little when following subdivision result.

The face sizes should change gradually when defining curved surfaces. When a quadrilateral face and faces around it are somewhat square, subdivision surface follows the modeled curved form better. The problem comes from following subdivision surface result instead of modeling the forms:


Defining a curved form.
Top viewport,
left: Used only two long quads and subdivision gives a round shape but it needs subdivision level 4 to do that
right: used two quads to define the start, end and the middle, but then added additional cuts to define the form with more square faces, subdivision level 2

Now when the modeling continues and the curved form has to continue on top and maybe make a turn, it will need additional cuts. When the control cage had only two faces to begin with, the shape becomes more angled. Subdivision level 4 is also an overkill at that point. The better defined form still holds itself with the same subdivision level.

This is only a simple example and would be easy to fix. What I’m saying is that one should not follow what the subdivision is doing when you build the rough model structure. Use just enough faces to approximate the forms and the subdivision will follow very predictably.


Left viewport, left column: When you do that, the control cage structure and subdivision result are very similar and the refined version is not very far away from the intended form.
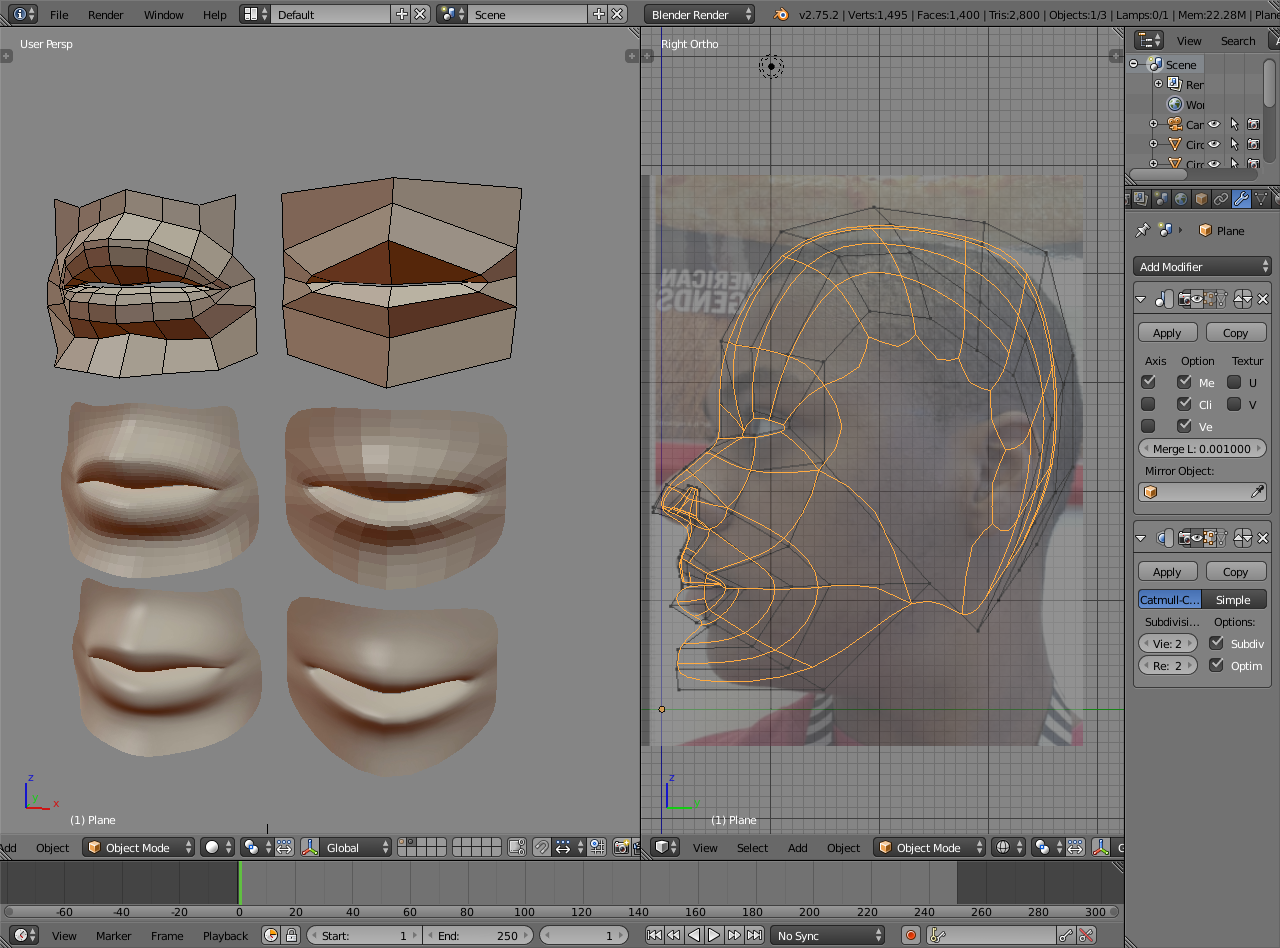
Left viewport, right column: Where as a bird mouth structure becomes a cartoon mouth with a stiff upper lip.
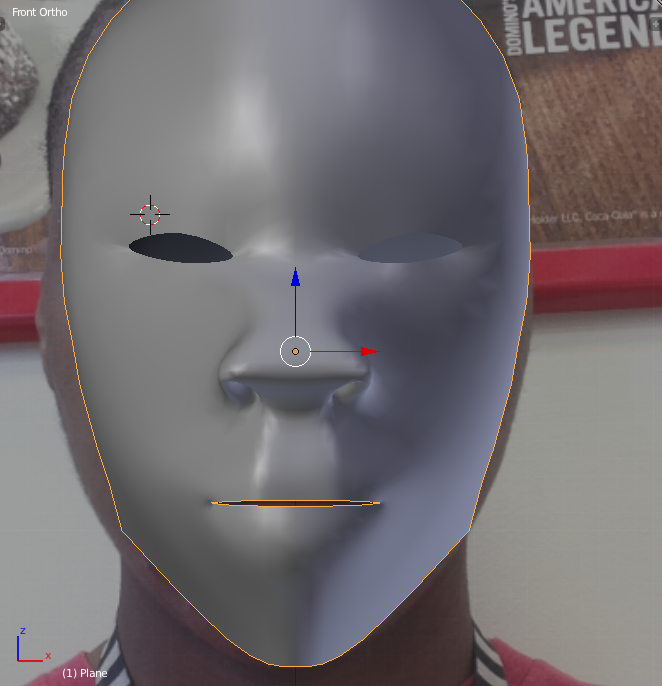
Right viewport: The overall head shape is nothing like the reference. I’m guessing it’s because the head form was done by following subdivision result and the shape changed after you started adding more to it.

What is just enough? It’s about the angle of a curve or a surface. If the angle is low the distance between vertices can be higher and face sizes can be bigger, where as steep angles need more geometry for the same subdivision level


Left: low angle (surface form on top of the head for example)
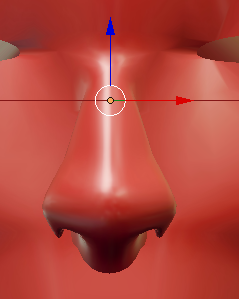
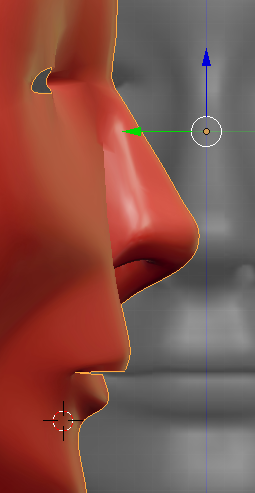
Right: high angle (surface form on the nose perhaps)
High angle needs more geometry for the form, otherwise the same subdivision level is not enough to refine the form to a smooth surface.

A good alternative to box modelling your head is to follow this kind of workflow :

  • make your base, box model it if you want until you get a base, it’s not important if it has bad topology of plenty of triangles, it’s only a base, the more detail you’ll put will make the next step easier to you.
    http://i.imgur.com/Jb15csI.jpg

  • go to sculpt mode , enable dyntopo and sculpt, of course if you never sculpted it may look to be hard, but even then you’ll still be able with some training and testing to produce something usable in term of proportions and features, and with more training you’ll even surprise yourself at what you can do with that dyntopo tool.

  • now the huge interest of having something sculpted with the proportions and shape you want is that you have this snapping tool to do some retopology
    http://i.imgur.com/sNv29U9.jpg

  • and then create your actual low poly model with putting your loops where you want, with them snapping automatically to the sculpt base and follow the shape of a head without you having to fight against your vertices to keep your head proportion and shape.
    http://i.imgur.com/AXJpjrl.jpg
    http://i.imgur.com/4pGdgOv.jpg

Maybe give this method a try, you may find it not only interesting and useful, but actually quite fun with the sculpting part.

Thanks for the advice, but to tell the truth, I wouldn’t even know where to begin with this method. I’m not even sure how to build the base mesh from a basic cube.

Don’t worry, it’s not that advanced, i just detailled as much as i could so it would be easy to understand, in practice i think it’s even easier than box modelling a face directly, though with the sculpt part it may take more time.

Well, I mimicked the technique that was used in the video link you gave me and my nose modeling has improved somewhat, though I still can’t manage to model the outside edge of the nostril. Here are my new nose models:

We learn by making mistakes, Taking the time to look at them and then trying again. Most everyone that has posted here will have a different workflow on how to do it. Hell most everyone here will most likely have more then one workflow on how to do the same thing.
Just practice. A few models a week for a few months will do wonders for your level of skill. You are going to make mistakes and bad judgement calls, Don’t delete them. Study them and occasionally look back at them.

you should avoid faces that are too bent, like this one, because blender won’t know how to shade them, and it can cause artifacts.
(edit) the one on the other side of the eye has a similar issue as well…a quad polygon should look as much like a flat square as possible, is a good general rule.

Thanks for the advice.