Great stuff in here, great progress aswell! Love the UE4 stuff too, keep it up mister! 
Thanks a lot, man. A lot of my sculpting progress comes from reading what you guys say on here about anatomy so your praise means a lot! I feel like a baby trying to work cycles, tho. My brain doesn’t seem to work the way rendering does. Hard to learn.
That´s nice to read man 
You´re doing a great job with your lighting setup I have to say, so Cycles-baby? Not really! 
When it comes to materials, I would approach it by breaking it down into chunks like this:
-Dialetrics vs. Metals: What´s what exactly, what´s the difference exactly, how to create a basic version of both in Cycles?
Then I would dive deeper into their properties:
-Albedo vs. Diffuse: What´s what exactly, what´s the difference exactly, how to represent those in cycles?
-Roughness of Dialetrics vs. Roughness of Metals: same questions (You will notice f.ex. that the roughness slider on a diffuse shader f.ex. is not really controlling roughness like the one on the glossy shader)
-Next step would be to learn in greath debth about layering using the Mix Node. How does layering work? How do Layering Masks work exactly? (The things you plug into the Factor input in the Mix nodes.
When you play around with these terms enough to familiarize yourself with them, your eyes will open to the fact that pretty much everything in Cycles is simply a form of Layering just like everything in the physical world is actually a result of a similar kind of layering.
Then there are constant properties like transperancy, translucency (what´s the difference exactly/phisically?) Subsurface scattering, volume which become very simple once the Layering concept is fully understood.
In short: Every material has constant (nonchanging) and variable (changing relative to external factors) properties. A piece of glass will for exemple maintain its translucency value but its surface roughness value will change if you rub it with sandpaper. So keeping in mind the difference between the properties which will determine the type of material you create and the properties which will only influence/squew the physical appearance of that material is key towards knowing what you are doing when you play with cycles materials.
Loads of great tutorials/documentations on each of these topics across the web; you just have to know the exact terminology of what you´re looking for.
I hope this helps! Keep rocking man!
So here’s a quick question you can maybe help me with? Is there a way to blend two normal maps together that isn’t insanely complicated as anything I google seems to come out? I’d like to be able to mix in some procedural noise, just to break up tiny surface detail like I was doing with the hipoly renders. But now I’m working with Medium generated UV’s and normals and they’re great for making it run faster but I can’t see how to still add tiny procedural detail into there. Like I need a stacked normal map or something?
I would recommend this Node setup. That is if you want to combine two normal maps in Cycles. If you want to add procedural noise on top of an existing Normal map (let´s say you have a game character imported from whatever engine which has a 2k Normal map but you want to make a highres-beautyshot of that model inside of Blender using Cycles and to achieve this, you just want to add some procedural high resolution surface detail to it additionally to what you already have), the easiest way as far as I know would be to add the procedural detail as a Bumpmap. It´s very easy to add any number of bump layers on top of a normal map. This is the Node setup for that:
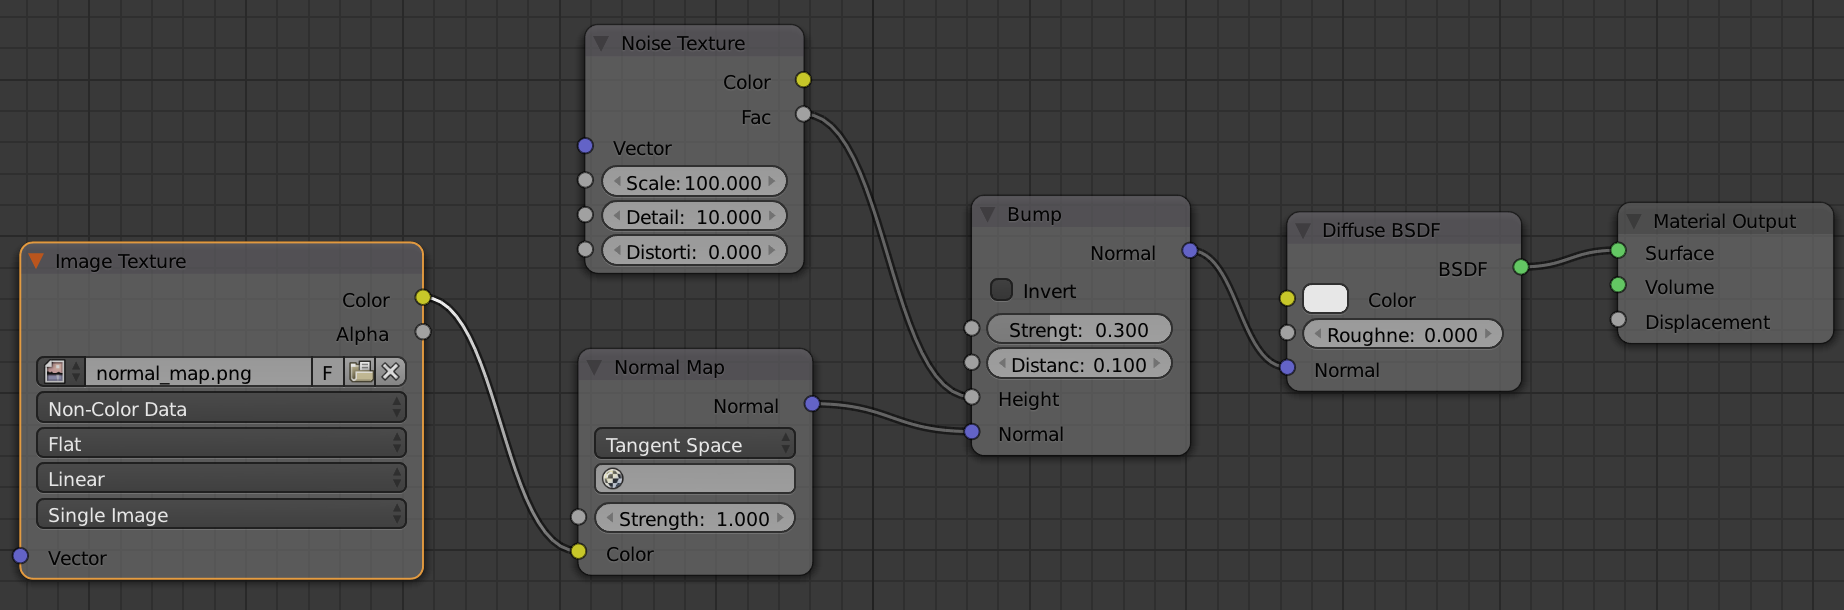
EDIT: Just make sure you use 32bit Float and export at 16bit Color Depth .TIFF or .OpenEXR, not .PNG, .JPG or .BMP to avoid stairstepping/banding.
You can also use the additional bump layer if you bake it out back in most game engines similarly combined with the normals at high LODs (certainly in UE4)
I hope I understood your probelm correctly 
Bump map has a normal input! You, sir, have just told me exactly what I needed to know. Thank you kindly! That musgrave texture is the absolute king of awesome for just roughing up the surface that last tiny bit.
Finally got to the bottom of the - why the eyes totally sucked - question. Pupils were 000-black which totally pops in RT but Cycles treats it as a black hole and no specular is forthcoming. Mixing with a tiny bit of really dark grey was enough to bring the twinkles back.
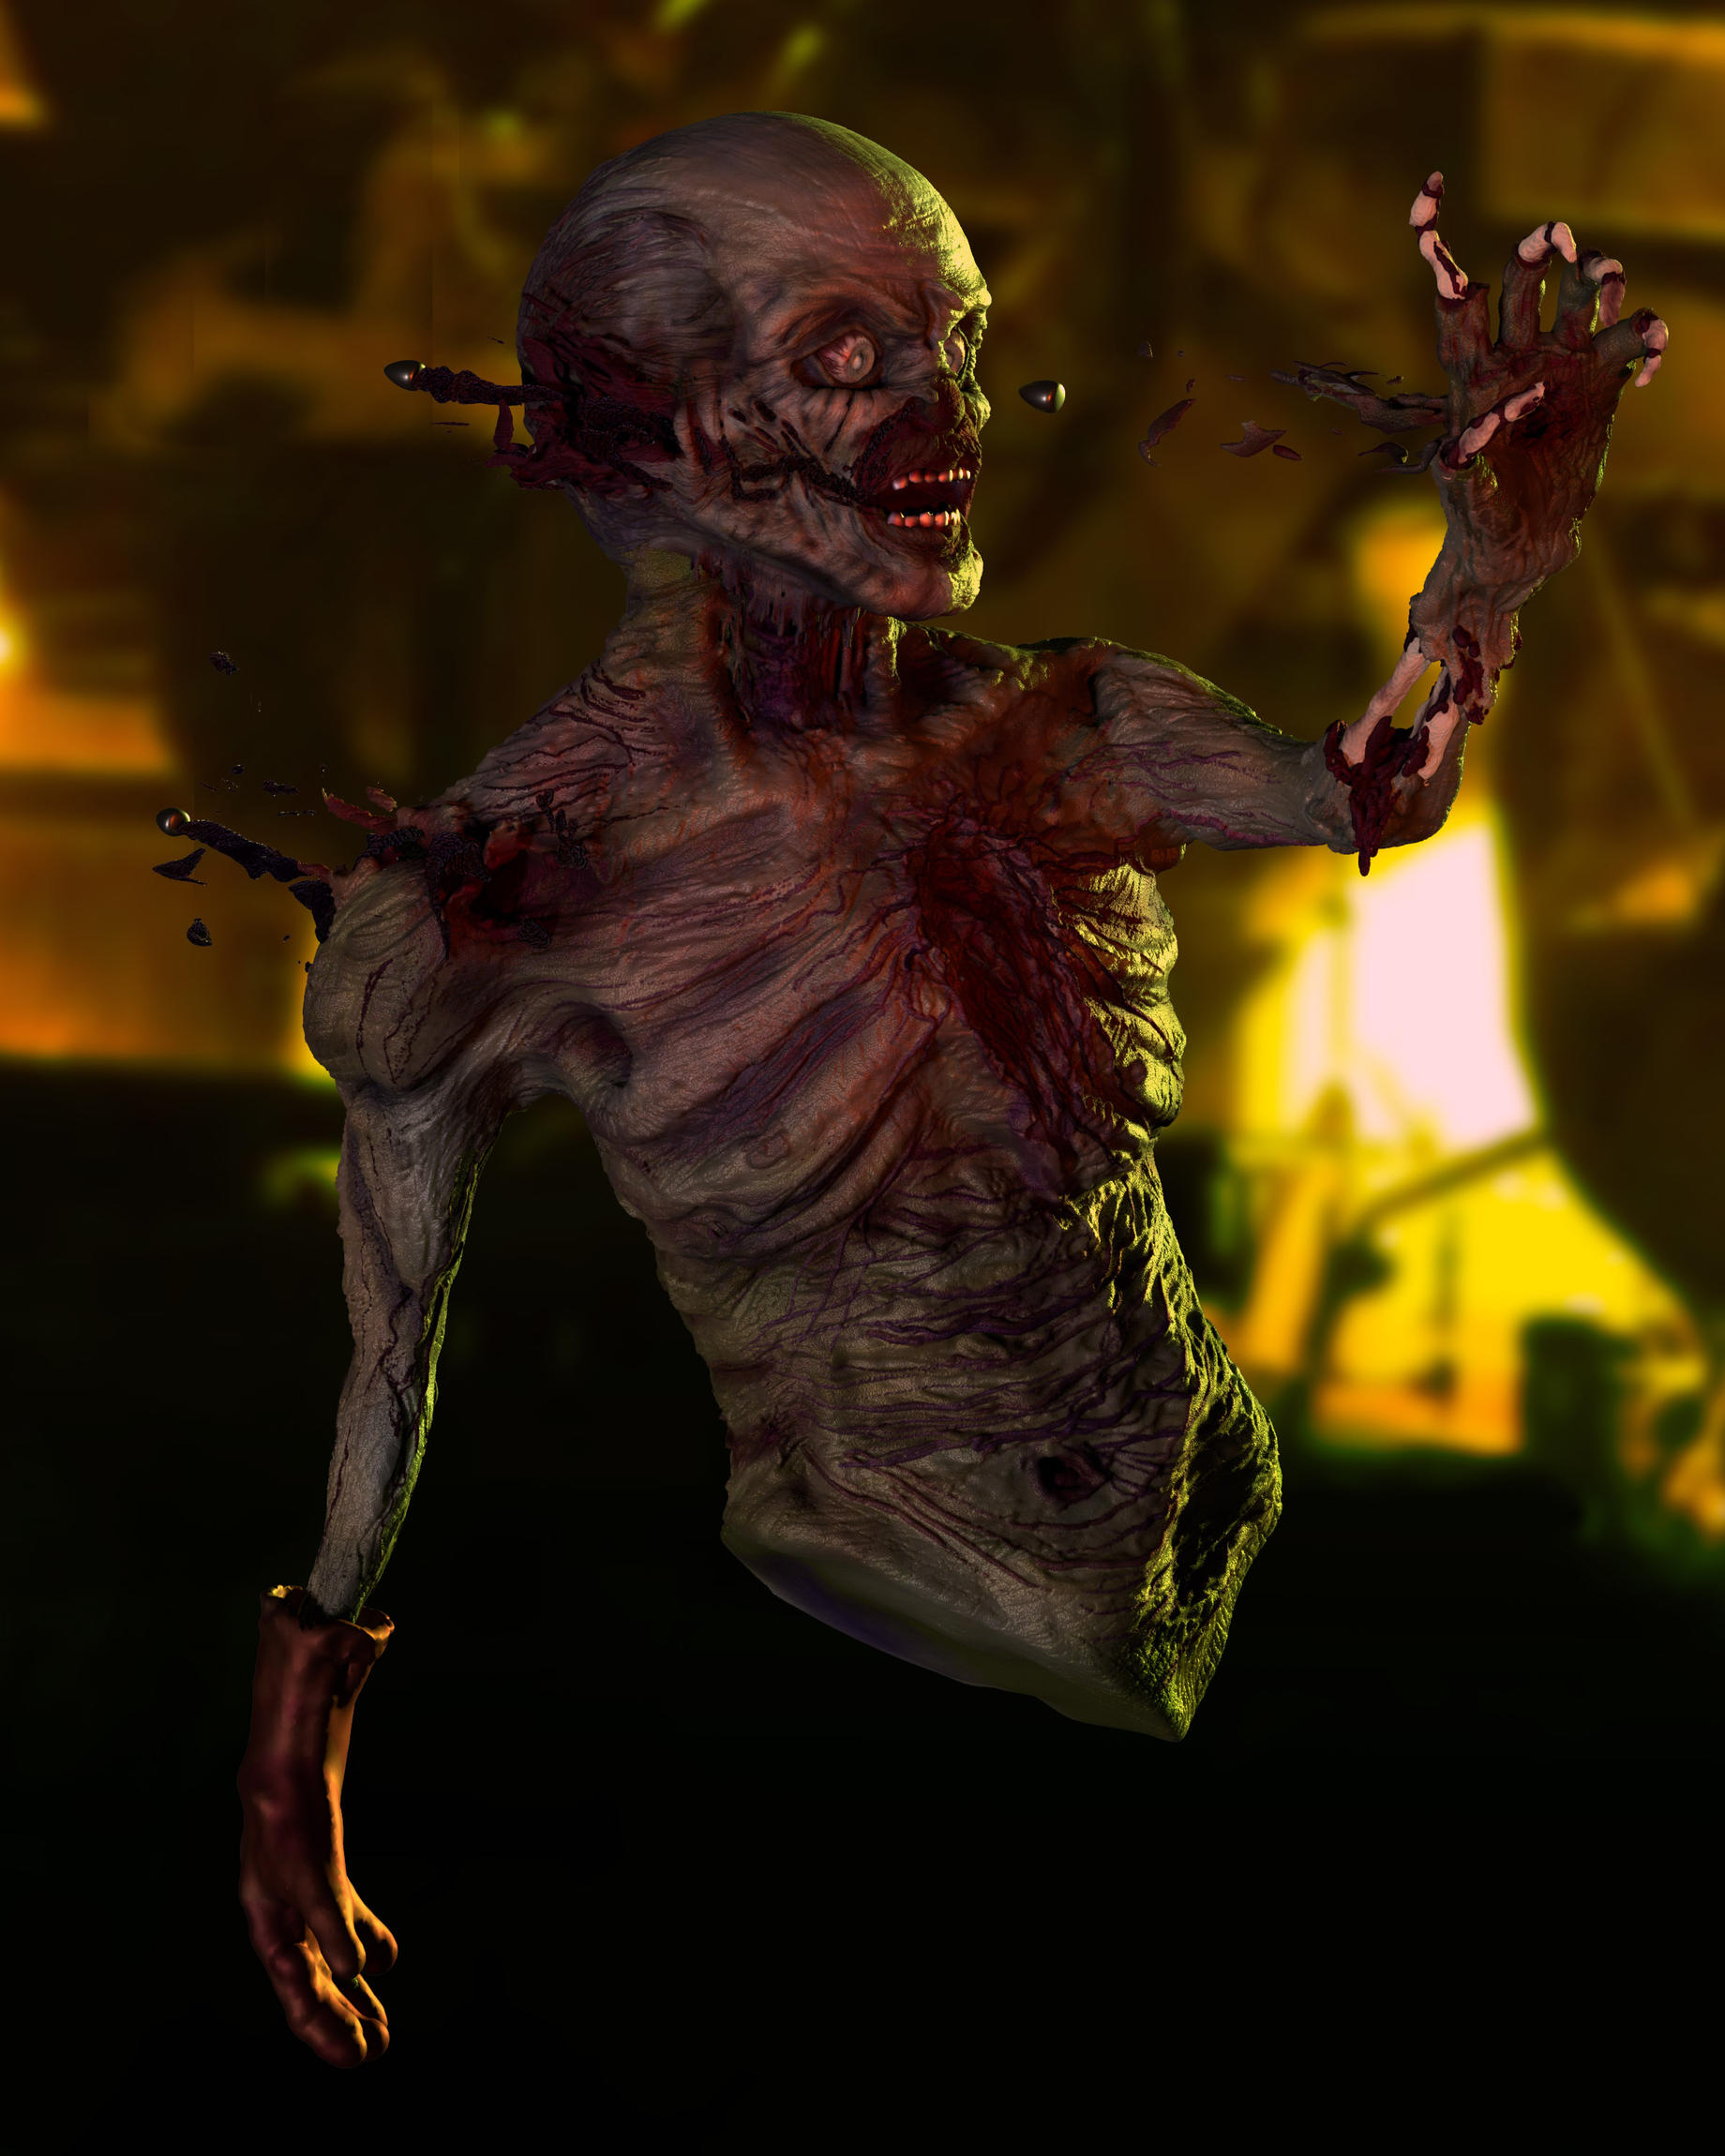
I just forming my own in impression of your zombie art.I think that it would be better as a
ghost.Because it does not have legs or hips.
Thanks, mate. To be honest this was just a project I set myself for a weekend. The original sculpt had legs but I was running short of time so I lopped them off.
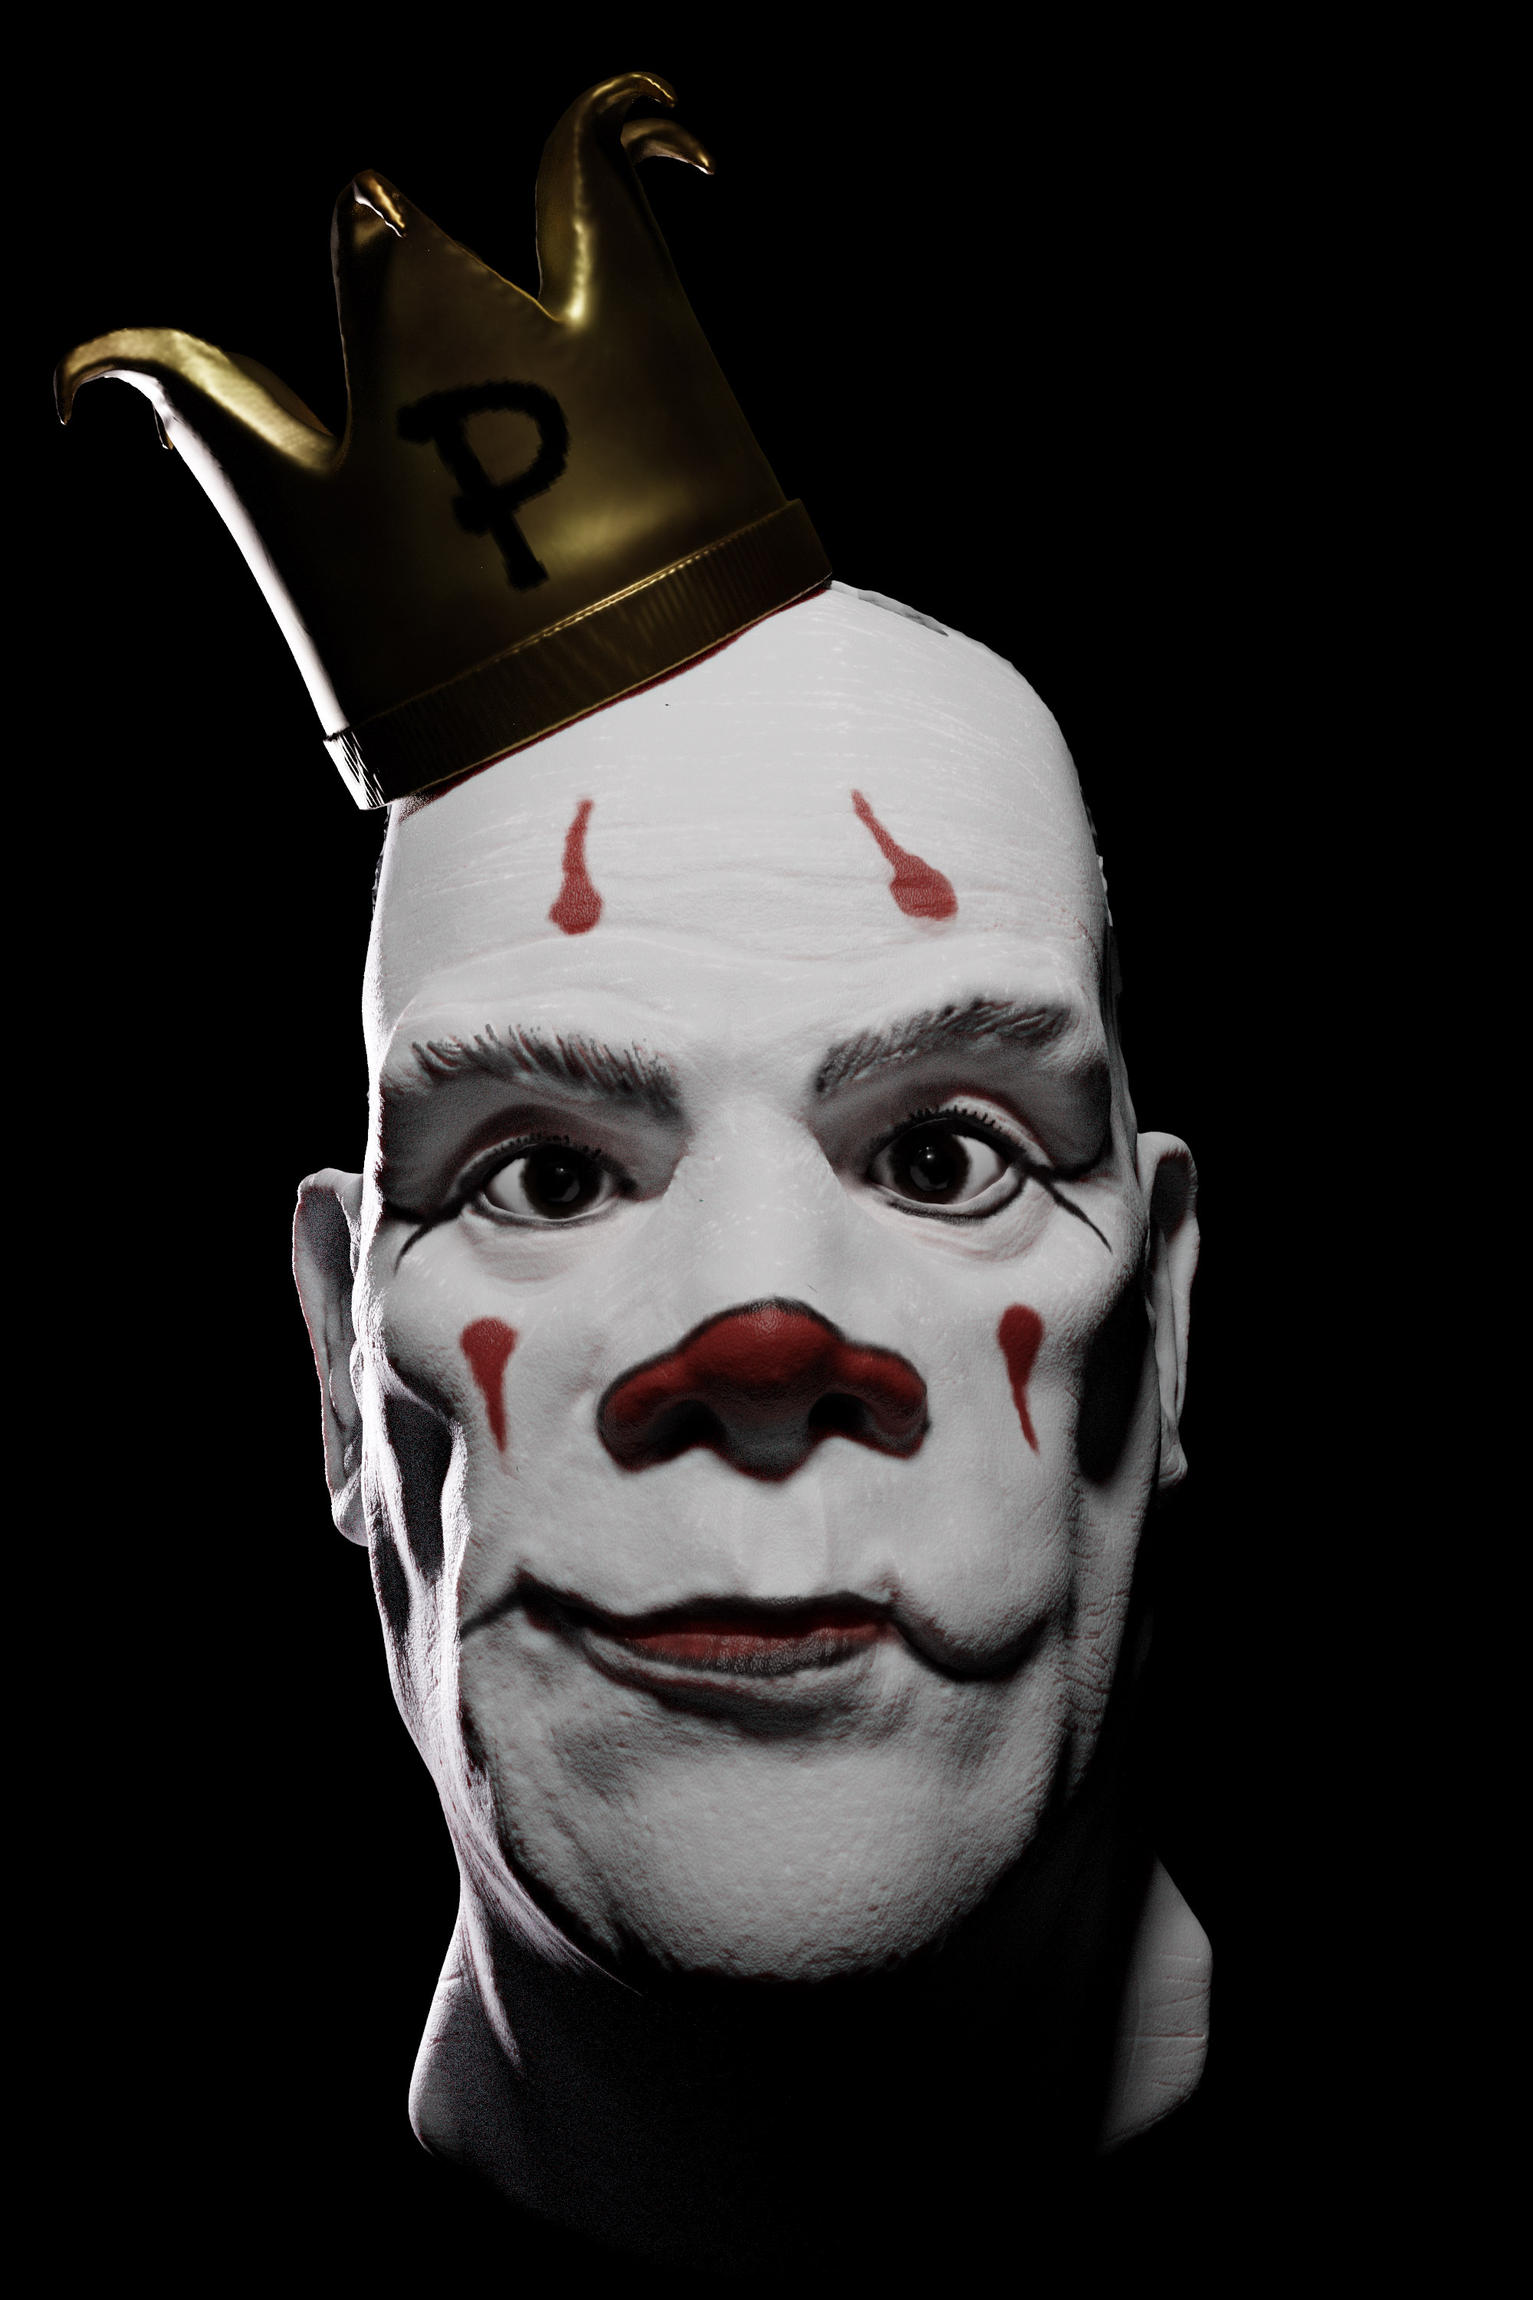
So I’ve been fiddling away with nodes on the dude I’m calling “Goblin Fight Promoter” I’ve detailed the mesh a bit more and it’s my first attempt at volumetric shaders for the smoke.

Looks a lot better.I like the cigarrete effect.
Looks a lot better.I like the cigarette effect.
Thanks. Cigar glow was added in photoshop. Finally got around to item 1 on PixelPete’s list of things to learn - Metals vs Dielectrics. Was putting it off cos “Dielectrics” sounds insanely technical. LOL - so if I’m reading this right it’s a euphemism for “things that aren’t metal”? Awesome! Found a couple of tutorials from BlenderGuru that dive into this and more. Me being me, I watched the second one first so I’ll have to go back and watch the first one but already I’m seeing a bit of an improvement.
This guy was a doodle inspired by the Doom VFR demo from E3 sort of like the kind of skulls you find lying around all over the place in doom/quake games but with a really dodgy jawbone which reminds me I need to dig out some refs and practice more jawbones.

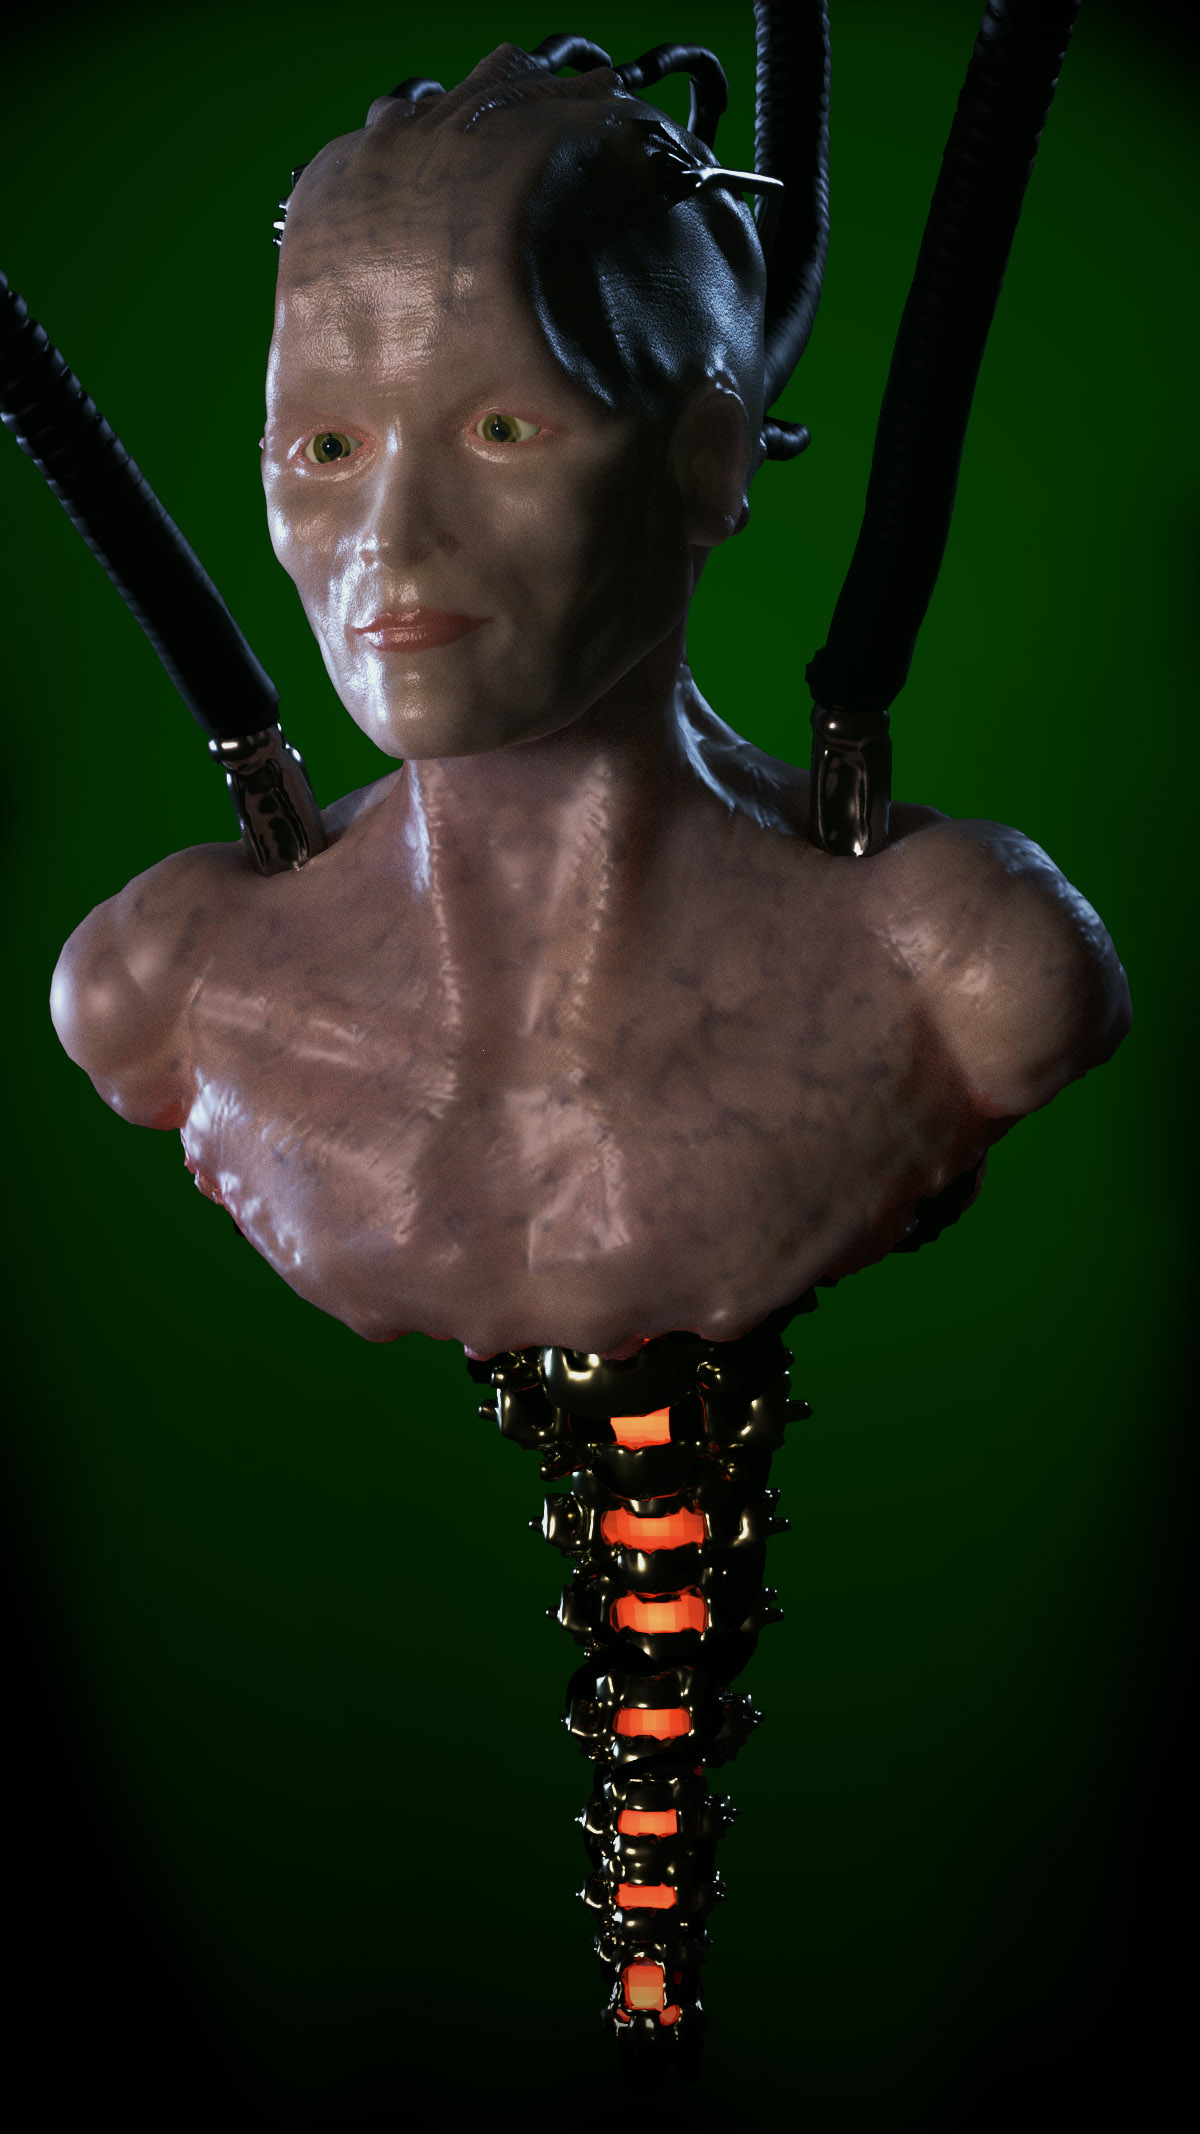
Weekend portrait project - the Borg Queen. Sculpted and painted in Medium, rendered in cycles, post in photshop. New principled node is a dream come true!
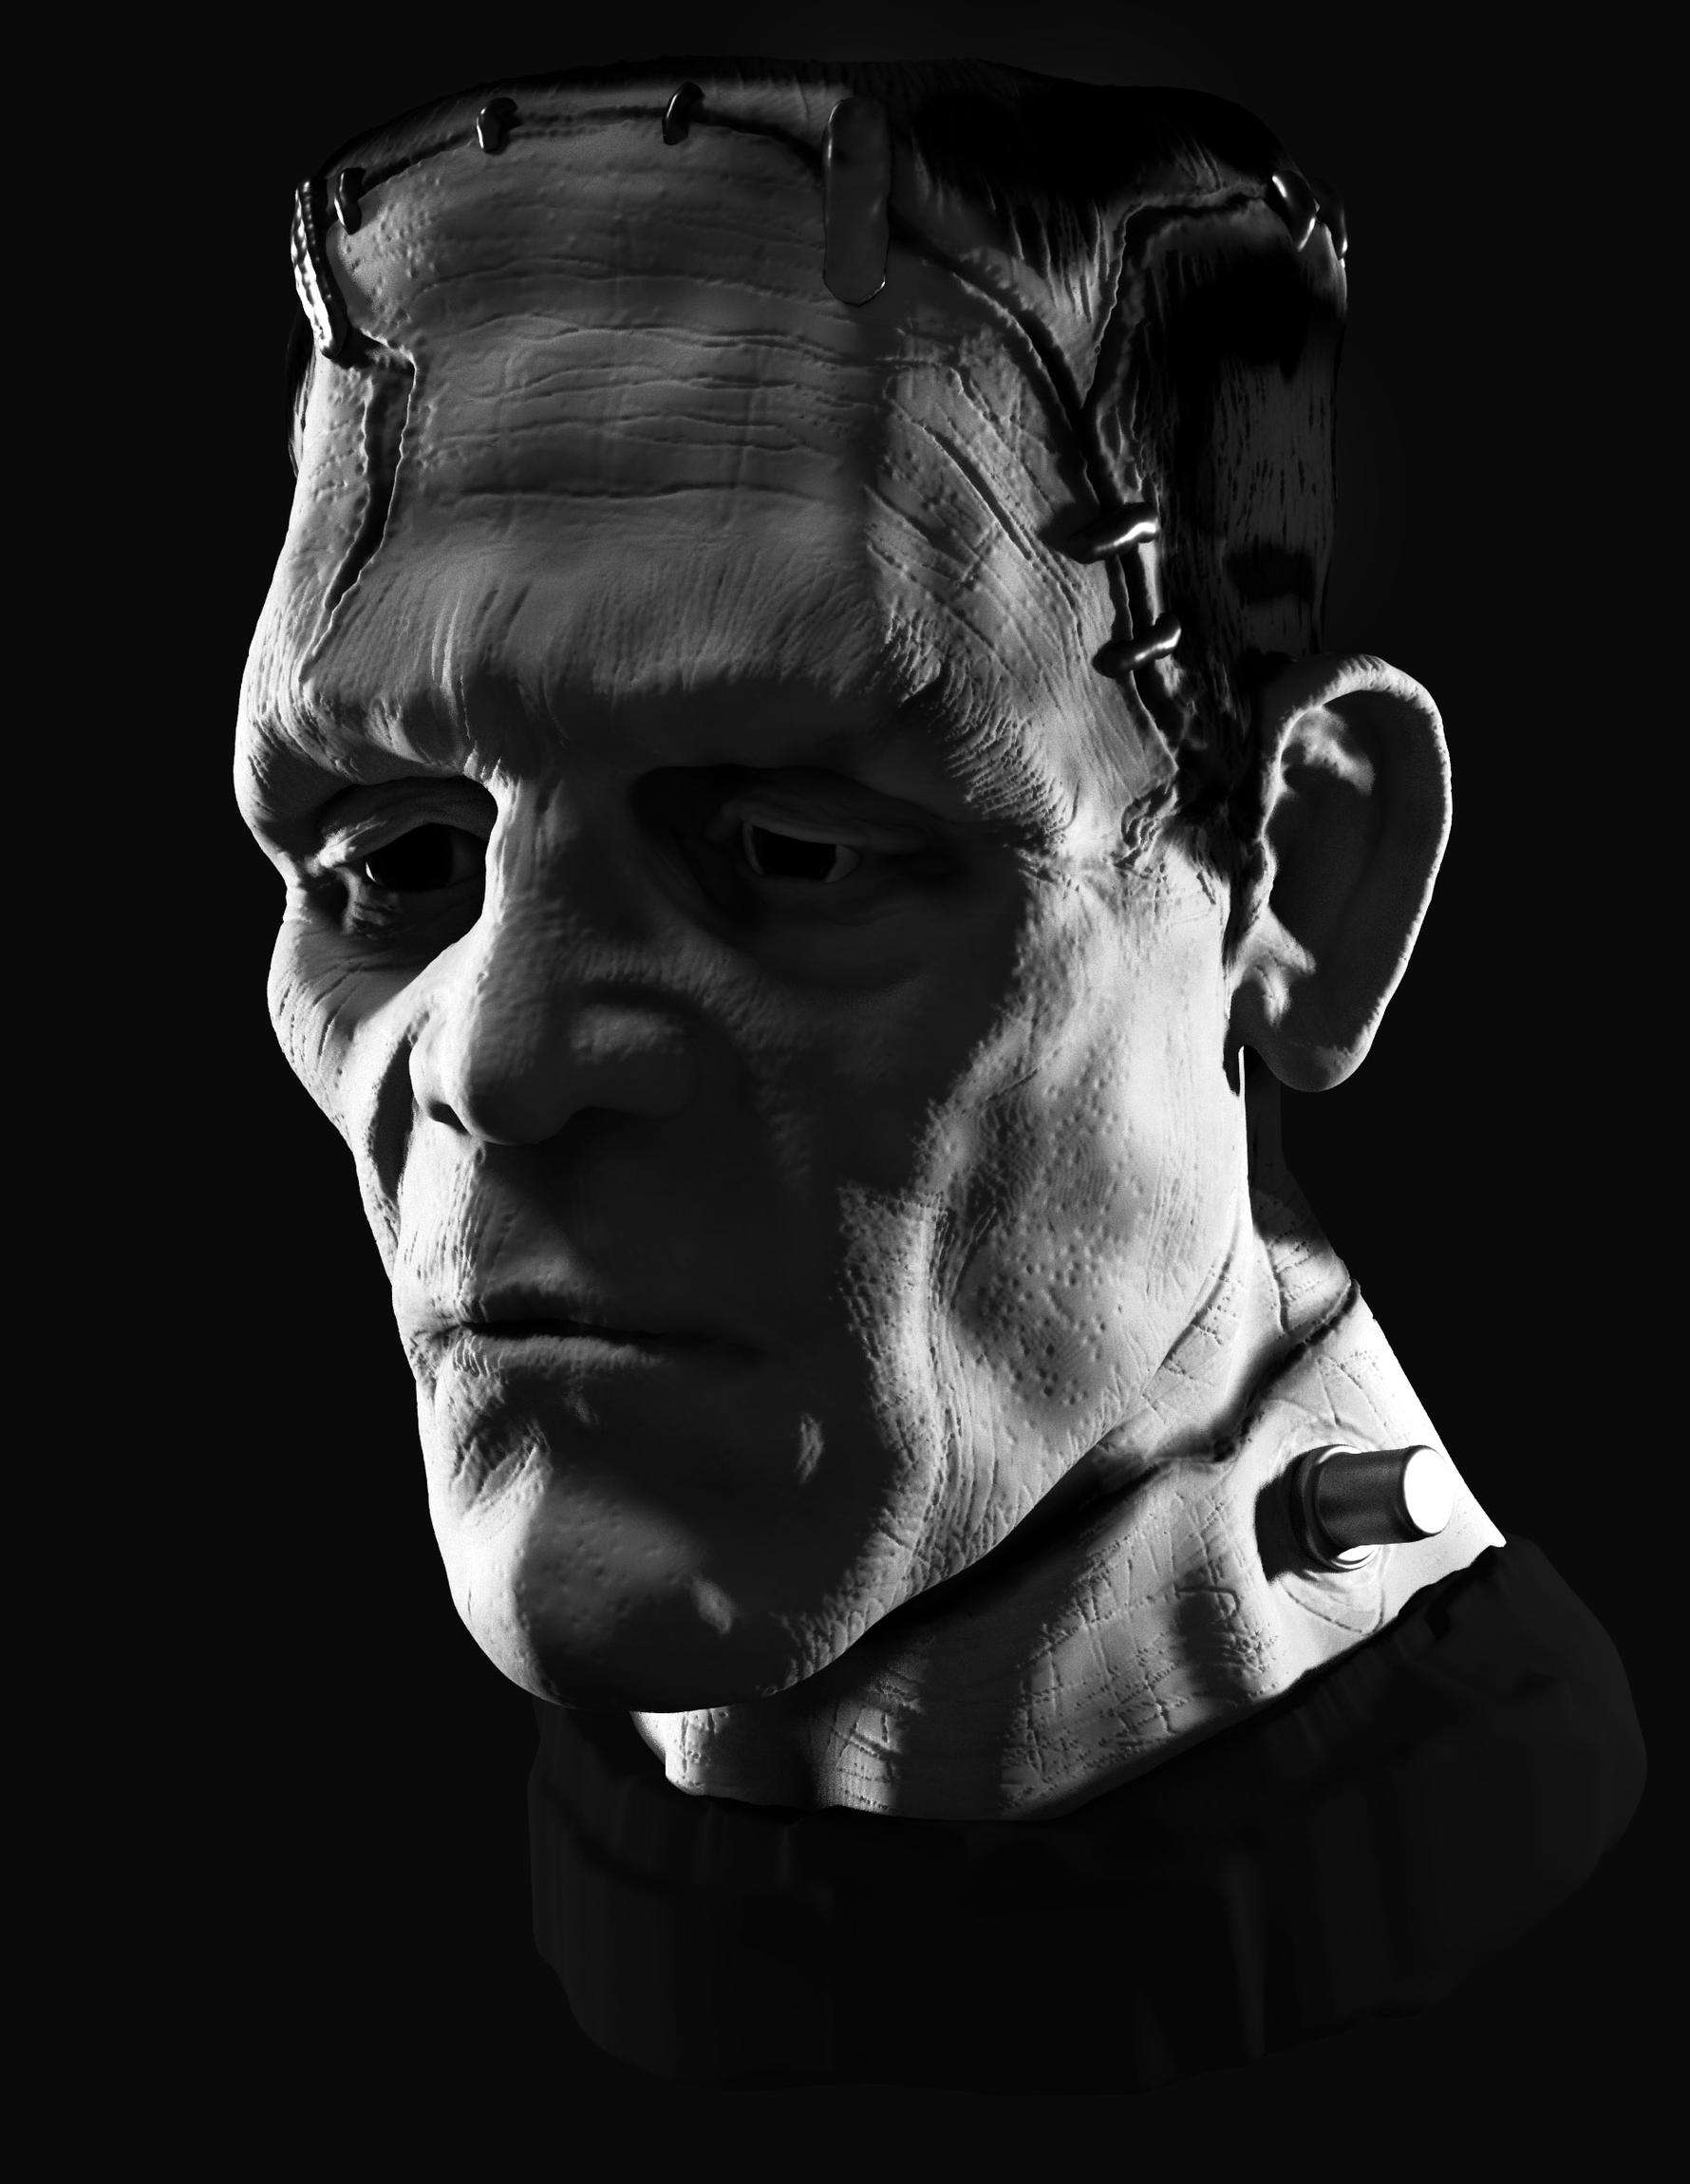
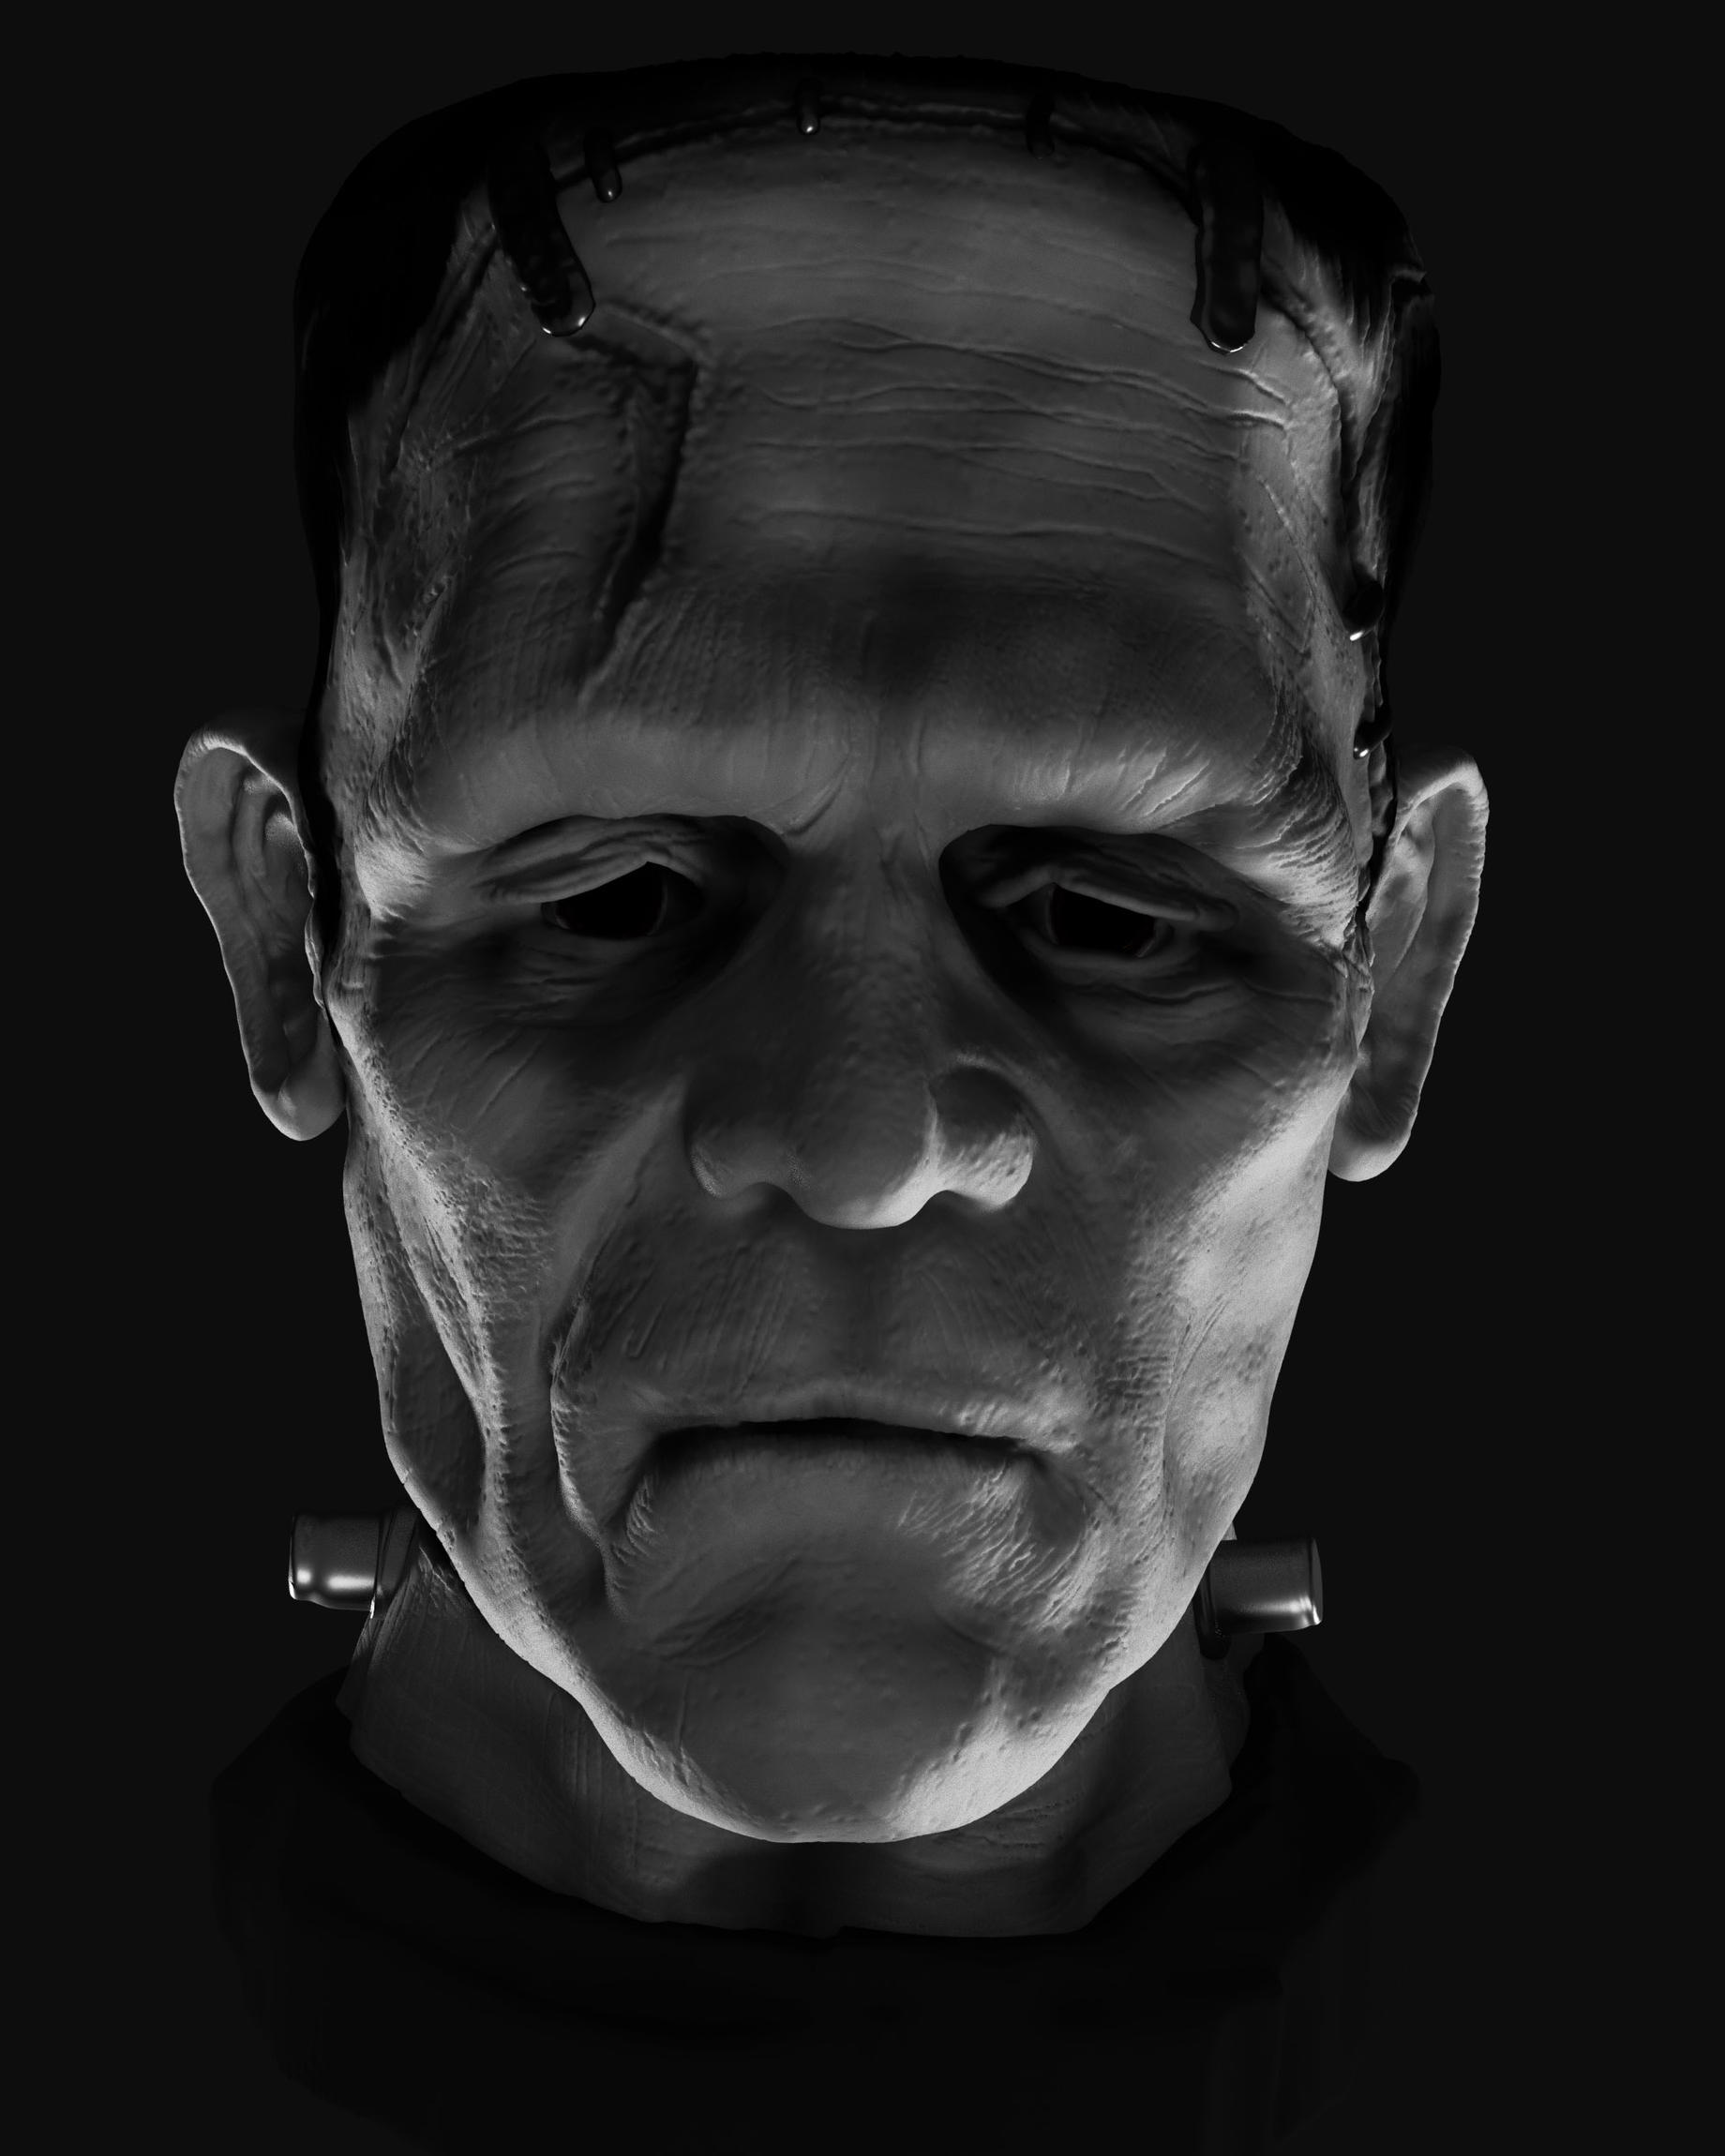
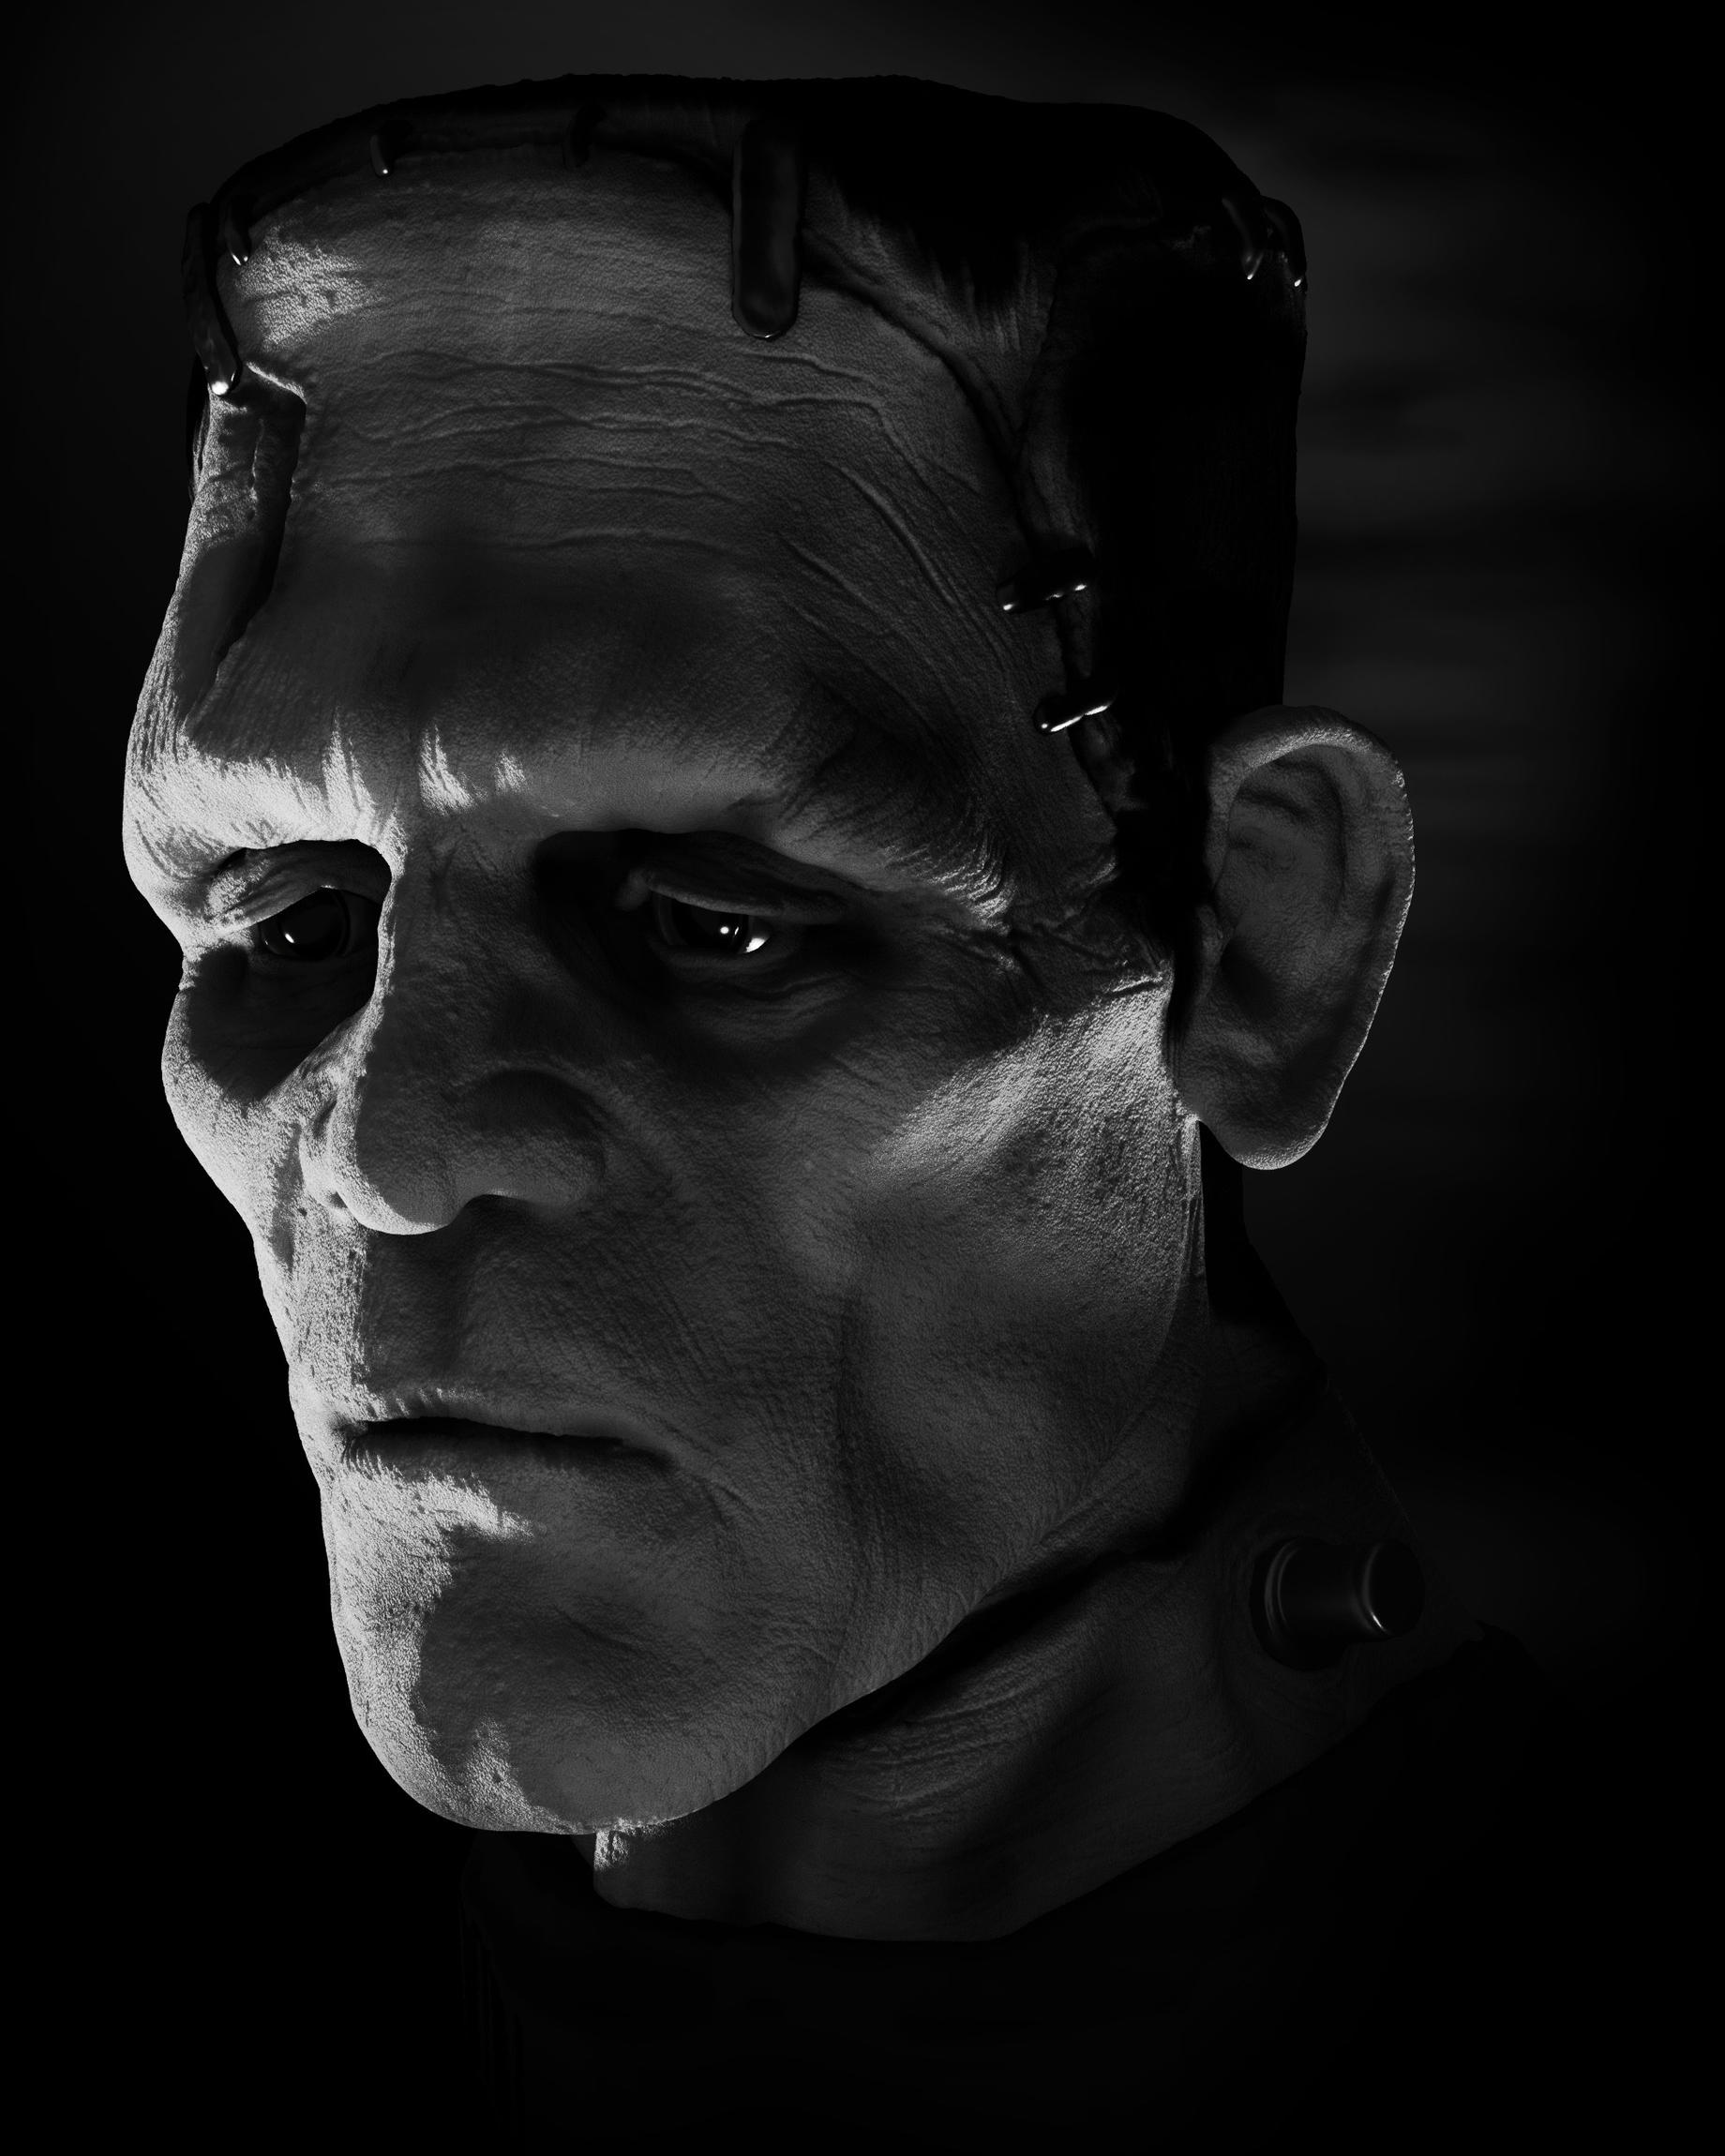
I’m really digging your style. I can tell you really like Horror and sci-fi. The Goblin Fight Promoter and Frankenstein’s monster are impressive.
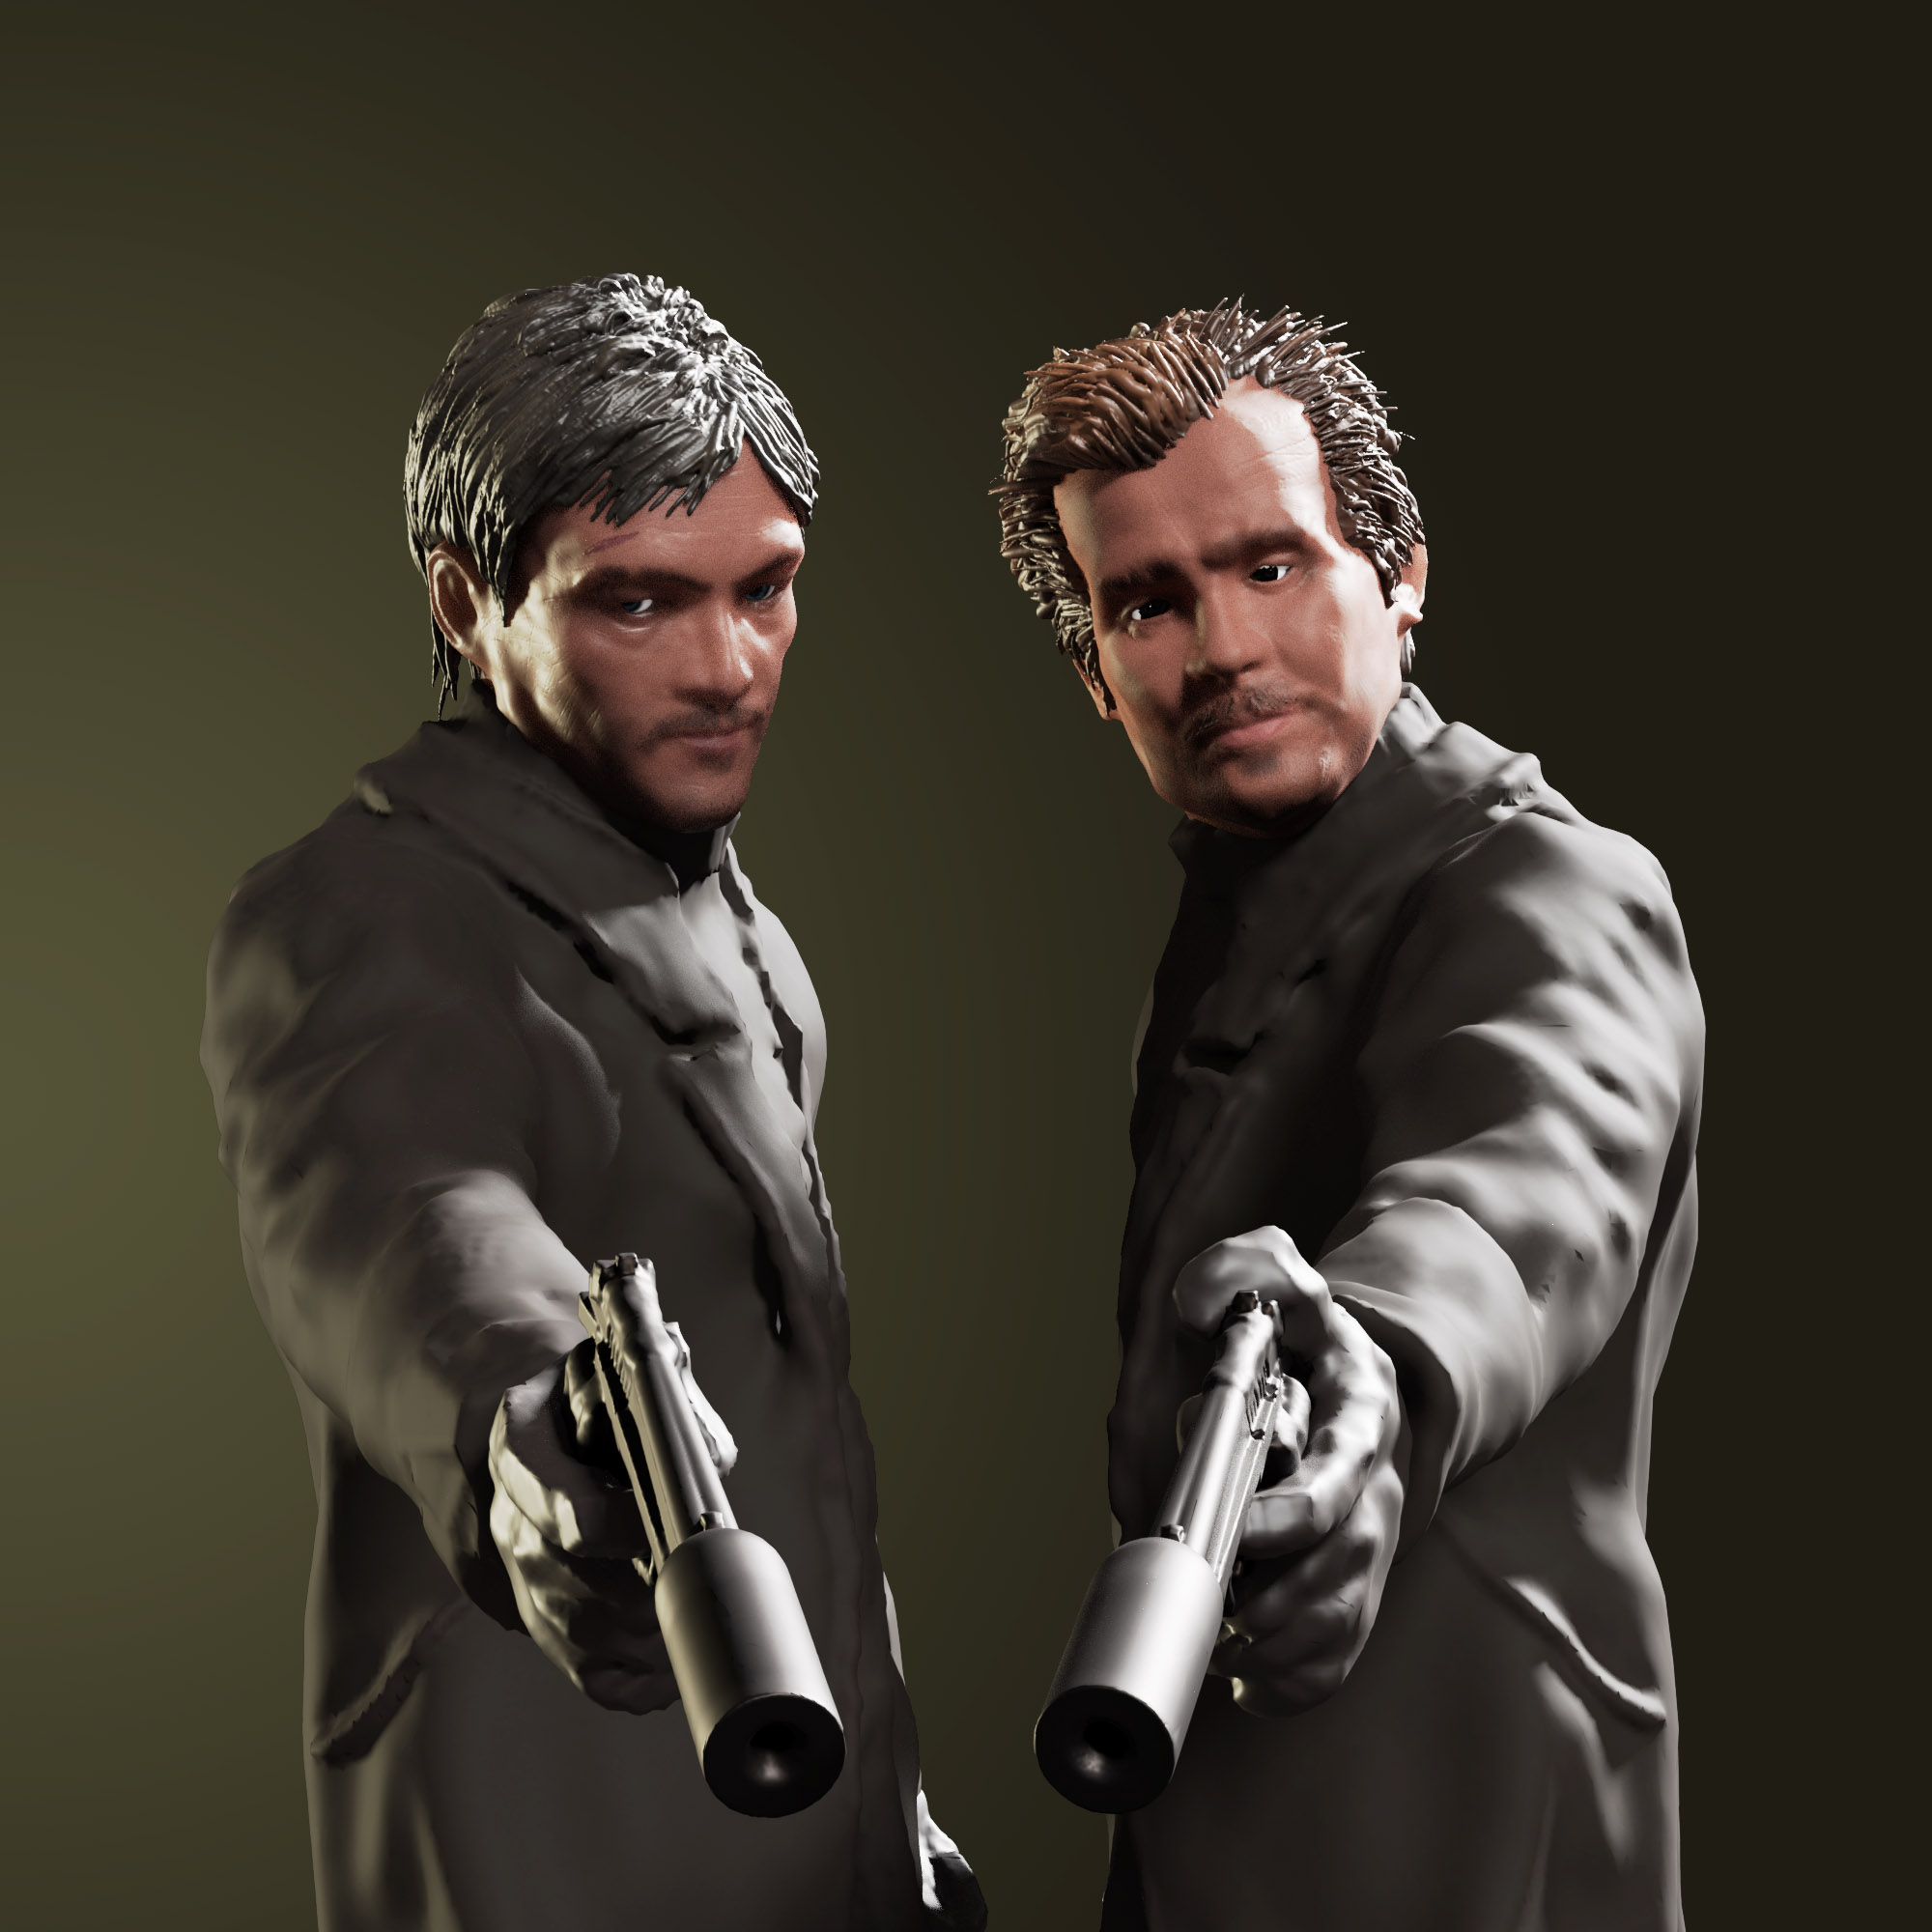
Awesome, thanks! More Medium, rendered in cycles with principled shader and filmic thingybob which I just discovered! Boondock Saints fanart.
cool works i like the bird in page 2
other thing : you know how to setup good lighting
Thanks islara1. Dunno about “good” but I know a tiny bit more about lighting than I did. If you google “three point lighting” you’ll probably know as much as I do within about half an hour.
Speaking of lights this one took forever. Got myself in a hell of a mess with three sun sources and two pointlights trying to get everything lit up right but not throwing a camouflage pattern of shadows all over the place. Ended up with just one point light and one sun on the rim. Looks 100 time better. More like the mood I was shooting for. This was a quick Medium speedsculpt from yesterday but I’m pretty stoked with the way he turned out. I’ll probably go back and scribble in some tertiary detail then back into cycles.