That’s great!
I’m really looking forward to the next version.
Sorry for the late reply, BA hasn’t been notifying me with the lastest thread updates. I mean when I open up Blender, it gives me that error in the notifications in the status bar and would actually slow down Blender’s startup. But your latest update seems to fix that, so thank you for that ![]()
Good to hear that you got it to work!
1 Like
I just wanted to say thank you for this Addon. It’s what I have been looking for for a long time. Good Job @chafouin
1 Like
Update 1.2.0, please read as this will affect your scenes:
- New exposure calculation: previous formula was incorrect, it is now fixed and makes EV stops work is a realistic manner.
However, updating will affect the exposure of the scenes you had already worked on. Sorry for the inconvenience. - New nightly builds have got a fix for extended exposure range (now 64 stops, used to be 20), which allows the addon to work even for exposure that use to be out of realistic range. Feel free to upgrade your blender.
- Fixed bug that would override Color Management Exposure even if Photographer Exposure control was turned off.
- Fixed bug where using Shutter Speed presets would not update the EV guide properly.
3 Likes
What do you recommend for a outdoor scene using sun lamp & sky texture setup, adhering to the sunny 16 rule (iso 100, f/16, 1/100")?
For a high sun with a clear sun & sky setup, the sunny 16 rules is definitely correct.
Yes, but what would be your sun & sky strength settings, and do they match up with physical absolute values?
Sorry I didn’t get your question. Sun intensity is in Watts per square meters, so on a clear day, intensity would be around 1000.
For the sky texture, I couldn’'t find the information to confirm it, but it seems the atmosphere scattering seems to be calculated from the intensity of the incoming light. So if you use 1000 here, it looks pretty good 
Just don’t forget to adjust your clamp values accordingly if you have set them to fight fireflies.
EDIT: What could be more accurate, from this post. Is to use 445 W/m2 for the sun and 1376 W/m2 for the sky intensity, but this is just small adjustments to the ratio between sun and sky at this point, which I would leave to the artist to decide. I do feel the sun becomes a bit dark at 445, or the sky too bright at 1376.
Hey Fabien, two things. When I use the new Addon with the color picker for White Balance it changes my Colors plus the intensity (everything gets overcast, Looks like it falls back to the old sRGB EOTF) for a second and then reverts back to the original. Using the slider is working however.
Also could one of you guys provide a Scene with those sky and sun lamps already set up. I can’t figure out what to do here. When I use those values it’s so bright that I need to pull the exposure value down to -9 or more.
Here is an example:
When you press the mouse button, it reverts the White Balance your may already have (so you don’t double white balance) + switches to sRGB so I can convert the picked value back to linear. Future update would be to use OCIO to convert whatever profile you use to linear, but right now this was the easiest for me. When you release the click, it should apply the White Balancing. I’ll give it a try during my lunch break, to check if anything is broken.
And it’s normal that it becomes so bright, you need to use an EV 16 in the Photographer addon to expose for the sun (which corresponds to -8 in the Color Management Exposure slider).
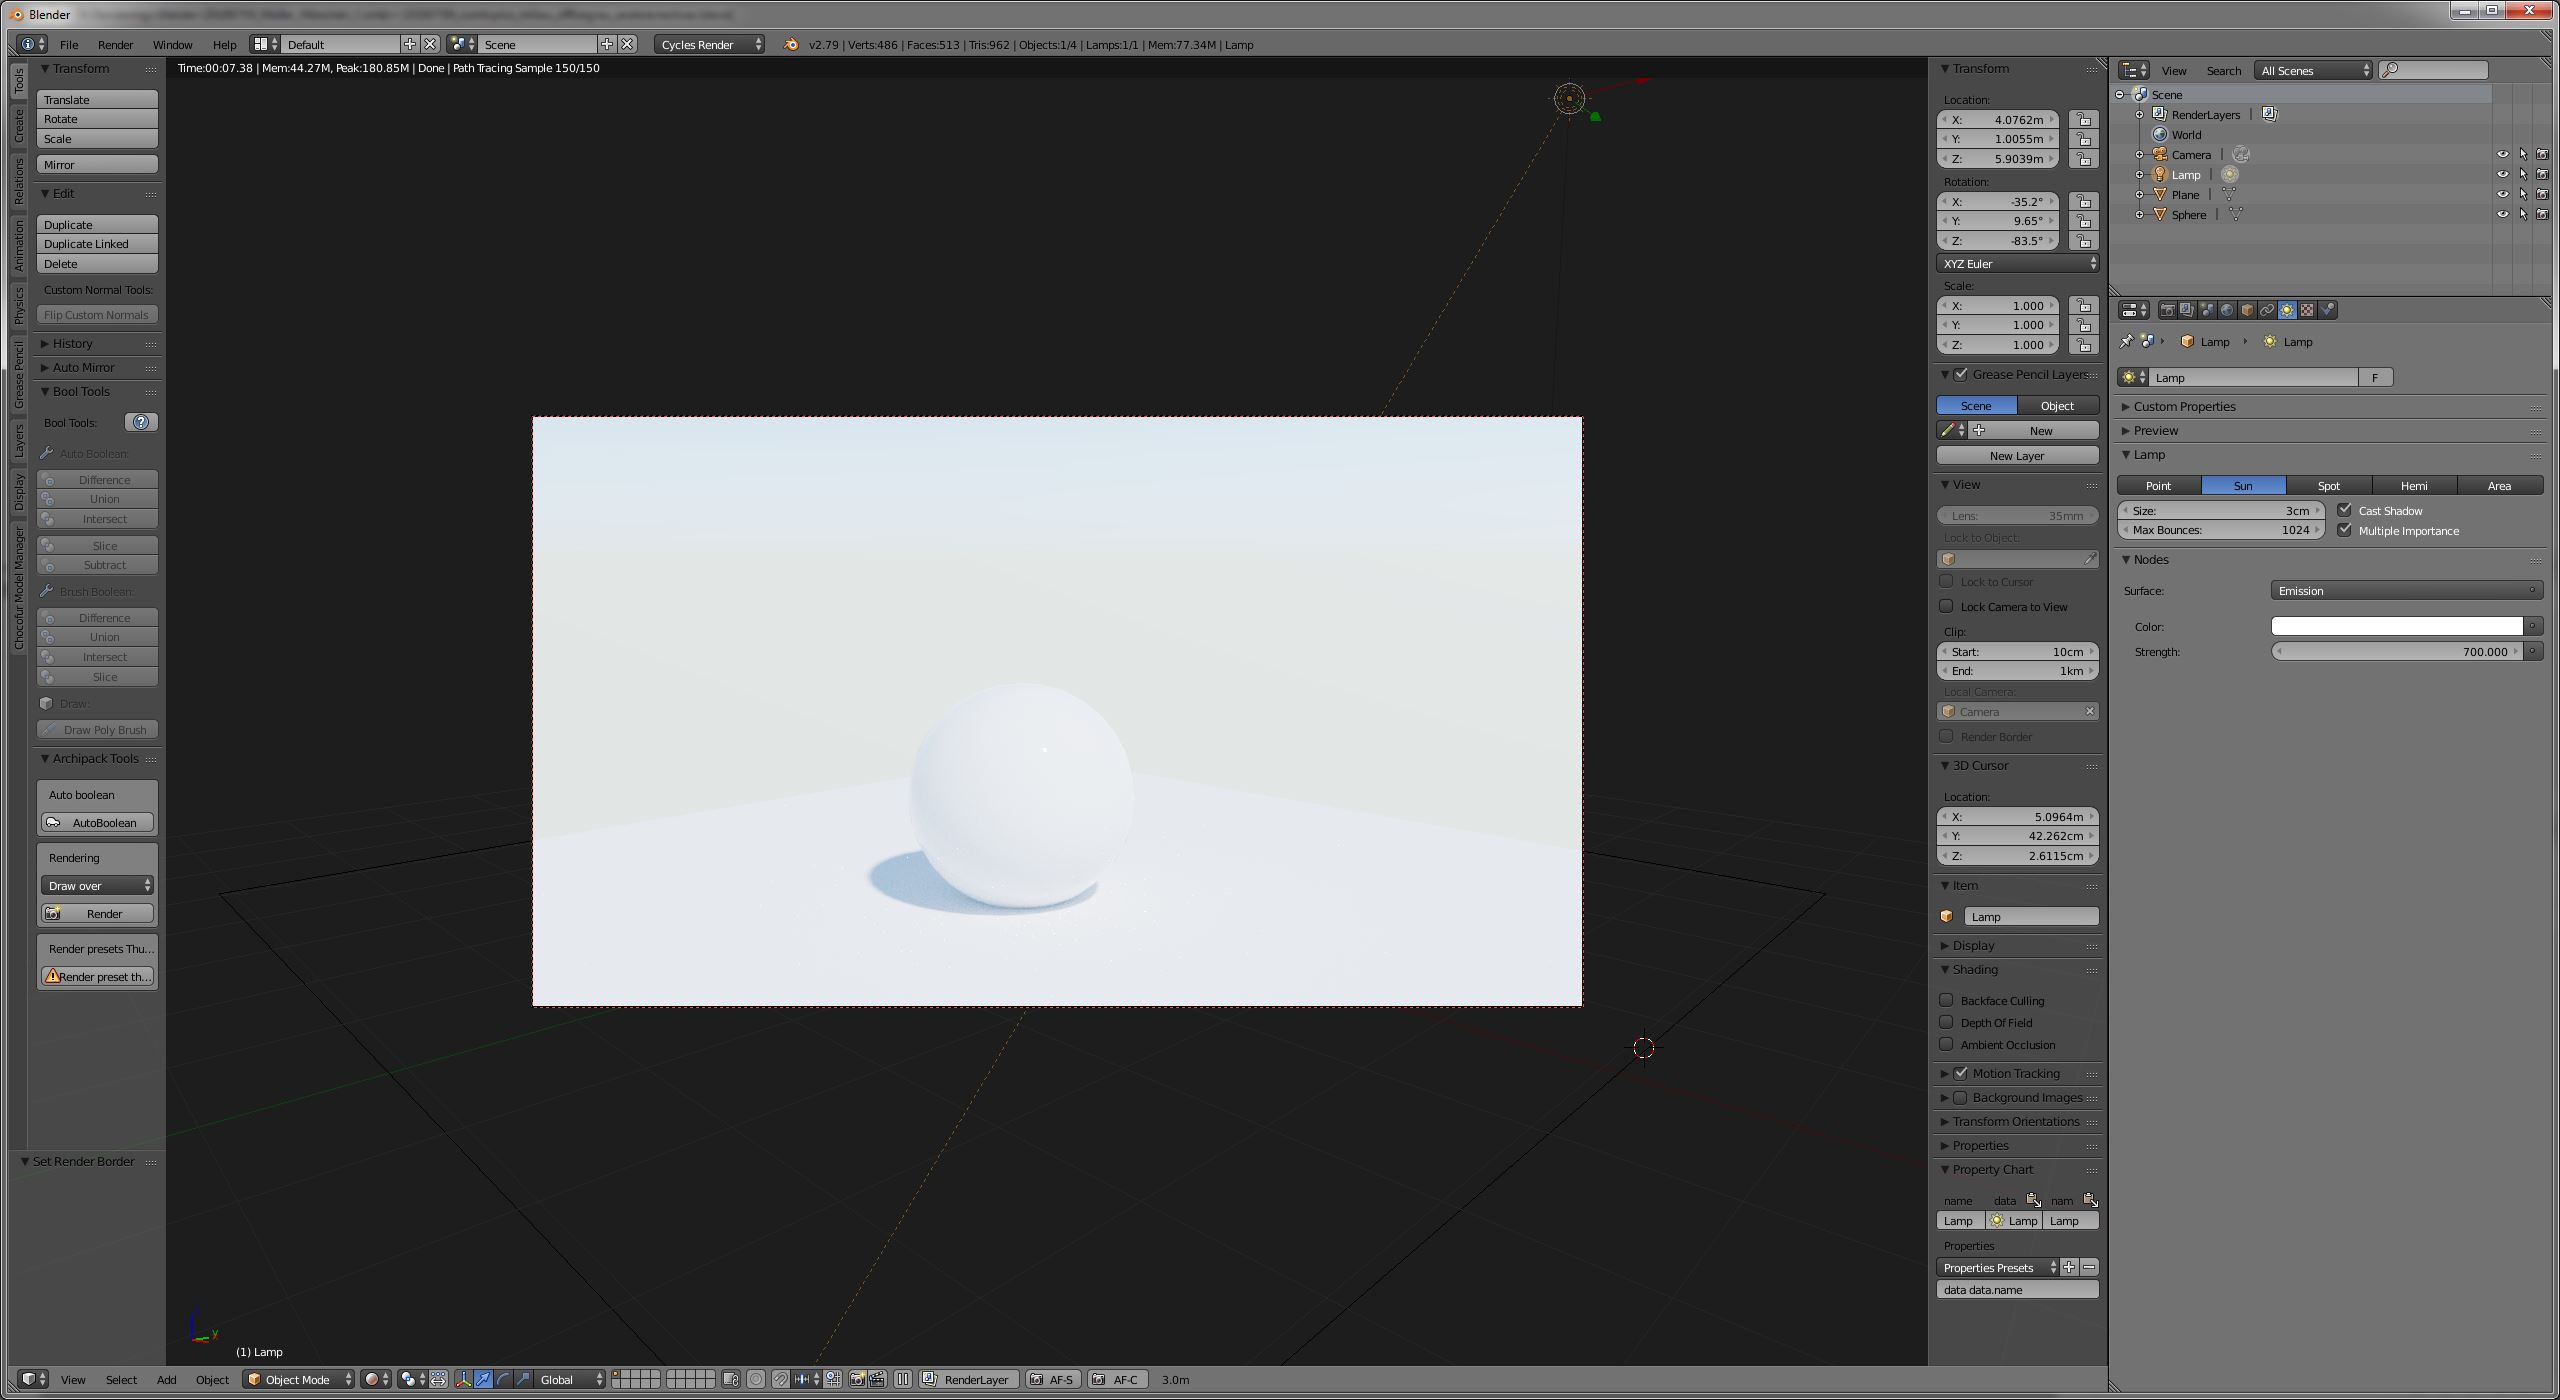
That’s what I did with 1/100s and ISO 100. Sun is at 700 and Sky at 1000. If I set the sun to 1000 too it becomes even more blown out.sunlamp.blend (633.0 KB)
Here is the Scene to check it out. Maybe I did something wrong there?
just a quick feedback: I can’t render with this new version, I had to disable it to be able to do CLI batch rendering over night
Can you provide an error report? I can’t really think of any big change that could break the rendering.
just jump in.if you have captured a hdr image with your real camera,with say 8 stops ,iso 100 .1/100 time for example,at grey level that match the filmic 0.18 grey.
if you addon would use the same settings,and use the hdr for lighting in blender.we should only increase the hdr strength untill its match the grey .18 value on a object with grey diffuse .18 material,right?
if this is the case,it would be nessecary to know, with what settings the hdr was shot at grey .18.not for matching the grey,but for your addon.a hdr setting reader comes to mind.
This is how I fix exposition of my own HDRIs, but indeed the ones that you download on the internet don’t have these informations and it’s a bummer. They should provide one exposure with EXIF data so people can fix the HDR strength to the proper camera setting.
Unfortunately there is no convention for exposure during HDR merging, same for camera exposures across render engines.
thanks,but somehow this addon makes more sence for a sunlight,and skylight.because if you have a hdr with say 8stops ect…at grey,and if you set your addon to 8stops,the real light in the hdr was reduced 8stops before.with your addon the light is even more 8 stops reduced then.somehow it should the opposite to match the light it was capured.i have tryed your addon.its fine to have real camera values.but 8stops hdr+8stops at the addon makes it even more dark,if it makes sence,you have to raise the hdr strength very much to get to the grey matching back.
Not sure to follow what you mean with HDR with 8 stops, can you share screenshots / video / scene?
If you set my addon to 8 stops (I assume you mean EV 8), you get the default exposure of Blender. So my addon won’t make it 8 stops darker, it will just do nothing.
I also rendered an Image yesterday with the addon that looked good in the viewport but once rendered the Image turned out different. I will try to reproduce it tomorrow or so.
sure,not 8stops but 16
first is 16stops ,iso 100,1/100 sek
the hdr needs 100 strength to match the grey roughley (just with colorpicker measured at the greyball)
second is same scene with addon decativated,the exposure value was changed to -6.640,hdr still at 100 strength
last snapshot,i reset the exposure to standart 0,and the hdr to 1


