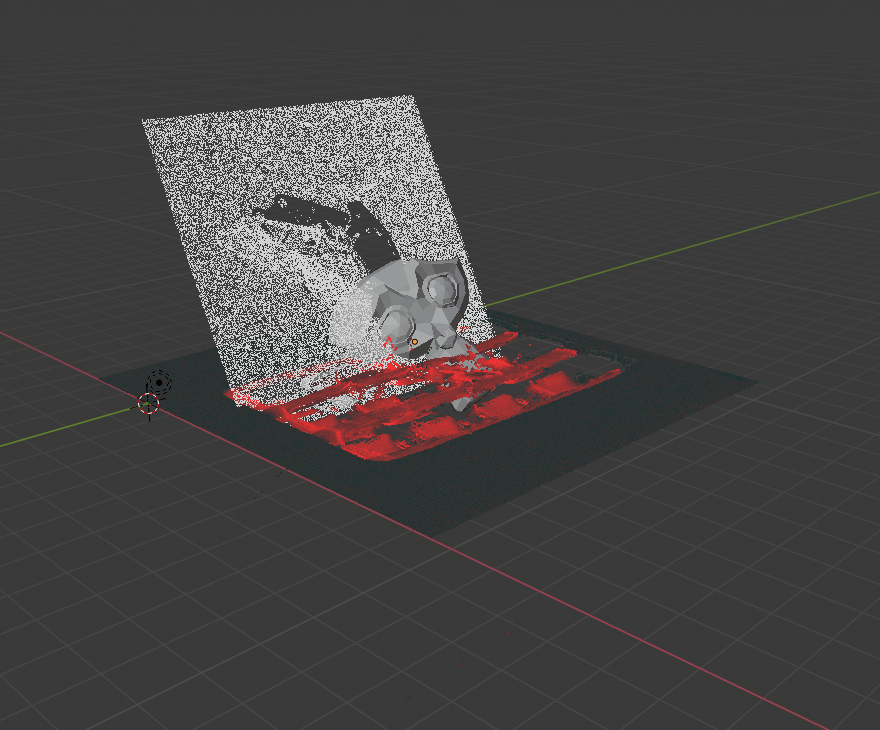
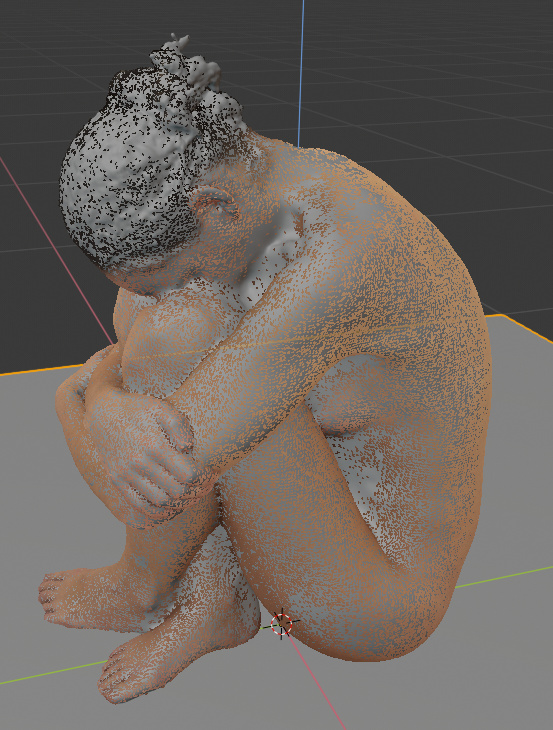
To clarify, what I would like is to produce renders using the standard Blender workflow which behave the same way as the viewport: multiple point clouds, with other objects, properly depth-sorted. You can see all 3 features demonstrated in the image below. For my purposes, it is not practical to use screenshots of the viewport as part of regular workflow.
until blender gets proper point cloud support (doubt it), or useable particle api (might be in close future, at least as i read somewhere), or ability to render viewport without background (just an idea), or ability to handle very large number of mesh instances (i tried, and blender is not much responsive after a few thousands…). there is not much to do… i think (apart from whole new render engine)
you can convert cloud to mesh spheres (cubes, triangles, whatever has least geometry for purpose) with vertex colors with PCV, then render that…
or, you can convert cloud to triangles (with PCV), and setup particle system to emit single particle from each face, and have color inherit from face (it can be done, forget how now) and render particles as spheres (or something else) and hide emitter mesh from render.
Thank you for considering the idea. At present my plan is to convert the point clouds to cubes (spheres would be preferable, but when I tried it I quickly ran out of memory and crashed Blender). I will experiment with particles as well, since even with cubes memory is an issue and a lot of flexibility is lost.
update: 0.9.0 conversion to particles
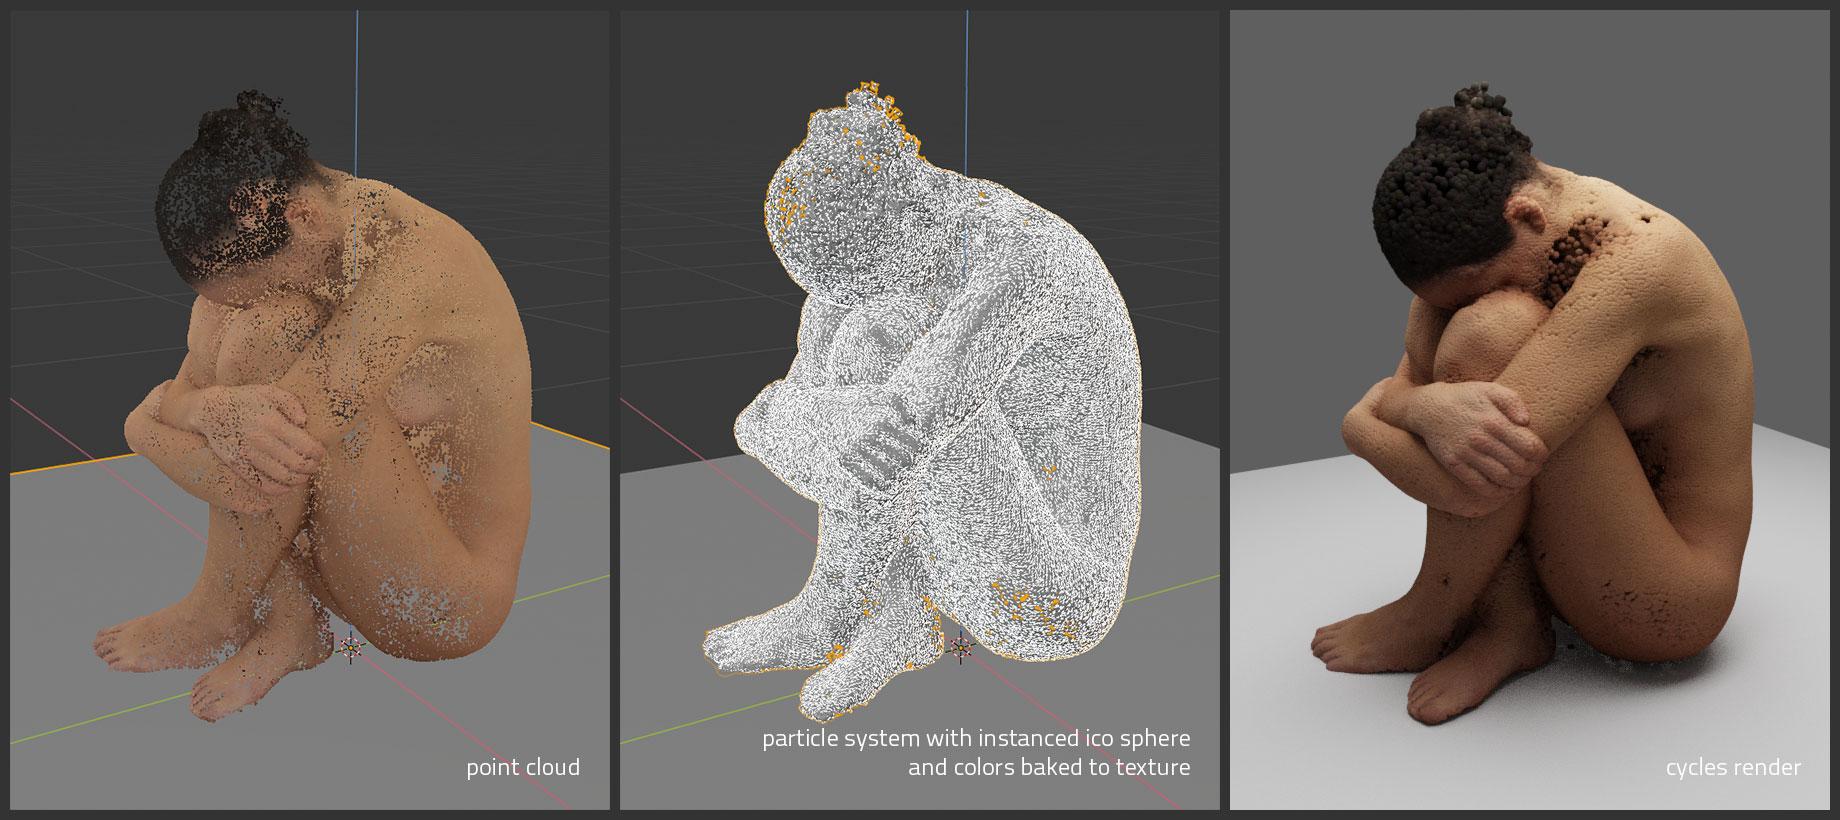
Points are converted to triangle mesh object, vertex colors are baked to texture, particle system is added to mesh with one particle on each face, extra instanced sphere added as child object of main mesh and particle system is set to render that sphere, material using baked colors is added to sphere and each instance inherits color of corresponding face it emit from. Result is regular particle system which can be further edited, e.g. instance mesh changed, physics added etc.
1 Like
Thanks for adding the particle method! I tried it out, and it consumes significantly less memory while giving some different control options that are potentially useful.
updates:
0.9.2 load ply with 16bit colors
0.9.1 all new render settings
Render panel is changed, path and resolution is now directly in the panel, all in one place, can use scene settings or be independent on them, see docs for details
Ply files with 16bit per channel colors can be loaded now, with optional gamma correction applied, settings for this are in addon preferences, i’ve happen to have ply files with 16bit linear colors, so it might be useful for others…
-
Convert 16bit Colors- Convert 16bit colors to 8bit, applied when Red channel has ‘uint16’ dtype -
Gamma Correct 16bit Colors- When 16bit colors are encountered apply gamma as ‘c ** (1 / 2.2)’
2 Likes
Hi !
I’m trying to install this addon but whenever i’m trying to install it from .py files i’ve download here, it geving me this error, if you have any ideas, it’ll be welcome ![]()
thanks
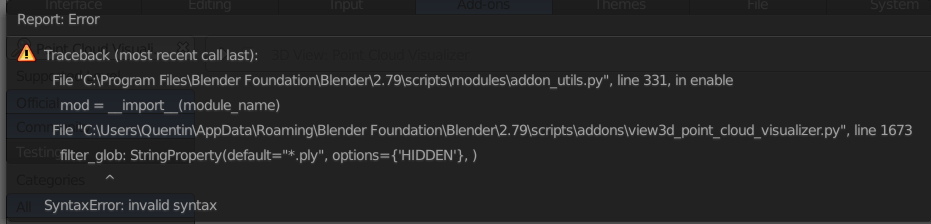
nevermind, tryied to open it on 2.79 
a few updates:
0.9.3 conversion to instancer
Conversion to instancer specifics: points are converted to triangle mesh object, vertex colors are baked to texture, extra instanced sphere object is added as child object of main mesh, material using baked colors is added to sphere and each instance inherits color of corresponding face it is instanced from.
0.9.4 export ply
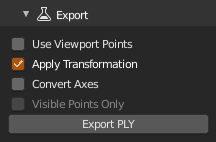
Export Panel
Export current point cloud as binary ply file with several options. It uses data used for viewport diplay, therefore colors may not bu 100% accurate.
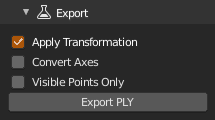
Apply Transformation- Apply parent object transformation to pointsConvert Axes- Convert from blender (y forward, z up) to forward -z, up y axesVisible Points Only- Export currently visible points only (controlled by ‘Display’ on main panel)
0.9.5 simplify and remove color filters
Modify Panel
Modify current point cloud, all changes are only temporary, original data are still intact. To keep changes, you have to export cloud as ply file.
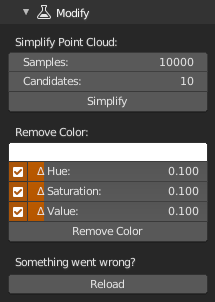
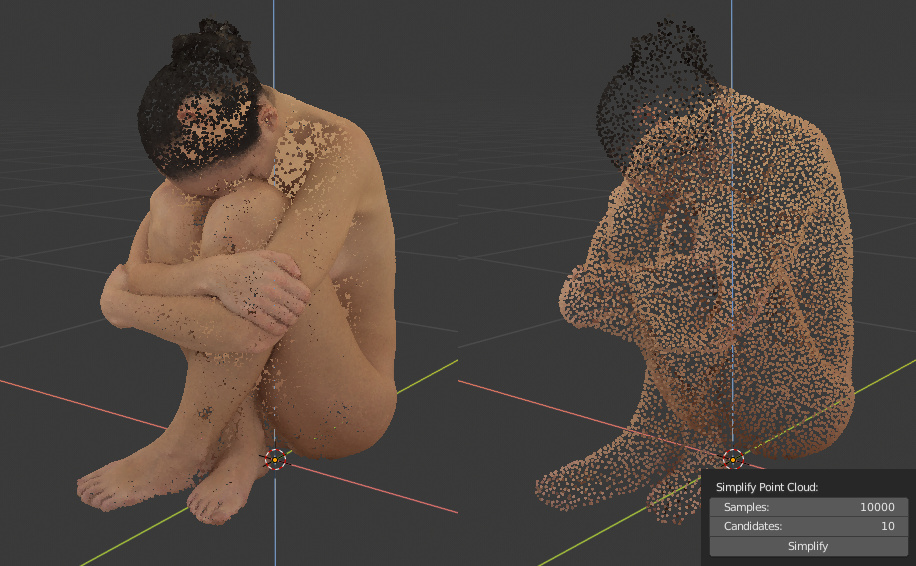
Simplify
Simplify point cloud to exact number of evenly distributed samples. All loaded points are processed. Higher samples counts may take a long time to finish. Surely there are better (and faster) tools for the job, but… Basically it takes some random point and set as accepted sample, then another set of random candidates, measure distance from already accepted samples and stores the one that is most distant as another accepted, repeat until number of samples is reached.
Samples- Number of points in simplified point cloud, best result when set to less than 20% of points, when samples has value close to total expect less points in resultCandidates- Number of candidates used during resampling, the higher value, the slower calculation, but more evenSimplify- run operator
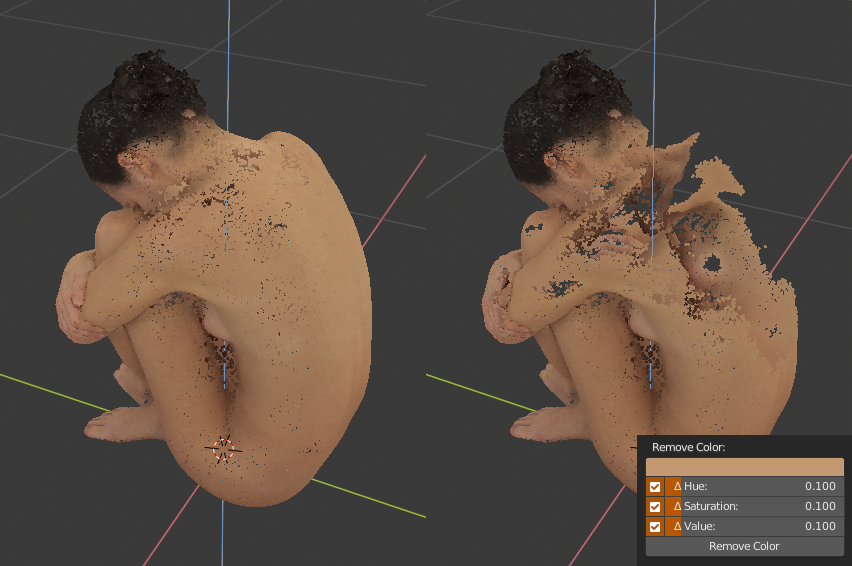
Remove Color
Remove points with exact/similar color as chosen in color picker (Eyedropper works too). Currently i can’t get to match sampled color from viewport with color in loaded cloud. Floating point error, incorrectly handled Gamma (at my side for sure), color management in Blender’s viewport or any combination of all, or something else… Anyway, if you leave at least one delta at hue/saturation/value (whatever works best for given cloud) it should remove the color you picked.
Color- Color to remove from point cloudΔ Hue- Delta hueΔ Saturation- Delta saturationΔ Value- Delta valueRemove Color- run operator
Reload
Reload points from ply file - remove all changes made
Both Export and Modify panels are Experimental Features, in other words, might be slow, buggy and might not work at all ![]()
They are enabled by hitting the big red button… It enables experimental features and debug mode. If you run Blender from terminal, you can check progress of some operations there while debug mode is enabled.
2 Likes
update: 0.9.6 ply exporting now uses original or viewport data
so, basically, now when you want load ply, transform to scale and orientation and save ply as it is, ucheck shuffle points in preferences (to keep data order), load ply, transform and export with nothing checked, but apply transform checkbox. or if you use some filters, like simplify, that you have to check at least ‘Use Viewport Points’ to get what you see in viewport. it’s kinda confusing, but i somehow i have to combine loaded original points with points slightly modified for display, all with ability to modify displayed points and with option to export of each set of them…
Export Panel
Export current point cloud as binary ply file with several options. If exporting modified (filtered) points, check Use Viewport Points, otherwise you will not get modified points. If exporting viewport points colors may slightly differ. Transformation and axis conversion can be aplied on both loaded and viewport points.
Use Viewport Points- When checked, export points currently displayed in viewport or when unchecked, export data loaded from original ply fileApply Transformation- Apply parent object transformation to pointsConvert Axes- Convert from blender (y forward, z up) to forward -z, up y axesVisible Points Only- Export currently visible points only (controlled by ‘Display’ on main panel)
Addon Preferences:
Shuffle Points- Shuffle points upon loading, display percentage is more useable if points are shuffled, disabled if you plan to export ply and you need to keep point order
1 Like
0.9.7 project point cloud on mesh surface
also fixed some bugs and changed ui a bit…
Project
Project points on mesh (or object convertible to mesh) surface. Projects point along their normals until it hit surface or Search Distance is reached. You can choose between Positive (along normal direction), Negative (vice versa) or both. Optionally you can Discard Unprojectable points that was not possible to project and after projection Shift points a fixed distance along normal (positive value) or the other way around (negative value).
Object- Mesh or object convertible to meshSearch Distance- Maximum search distance in which to search for surfacePositive- Search along point normal forwardsNegative- Search along point normal backwardsDiscard Unprojectable- Discard points which didn’t hit anythingShift- Shift points after projection above (positive) or below (negative) surface
2 Likes
a few more updates:
0.9.10 ui - all experimental stuff is directly accessible now
0.9.9 point cloud global alpha - controls transparency of displayed points
0.9.8 basic editing - edit mode, see below
Edit
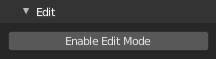
Quasi point cloud Edit Mode. Hit Start and all points are converted to helper mesh with vertices and entered to mesh edit mode. You can transform, delete and duplicate vertices using regular Blender’s tools. If you want update displayed points, hit Update, when you are finished editing hit End to update points for a last time and delete helper mesh. If something went wrong, select main object with cloud and hit Cancel to reload original points, return interface to regular mode and attempt to clean helper mesh if it is still available.
- To save edited point cloud, you have to use
Exportfeature and checkUse Viewport Pointsbecause edits are only in memory, if you close Blender, edits will be lost. - Point normals are not changed (at this time), if you rotate points, normals will be still oriented as before.
- New points can be reliably (for now) created by duplicating existing points. If you create new points, they will all have the same random normal and random color.
Start - Start edit mode, create helper object and switch to it
Update - Update displayed cloud from edited mesh
End - Update displayed cloud from edited mesh, stop edit mode and remove helper object
Cancel - Stop edit mode, try to remove helper object and reload original point cloud
3 Likes
and one more update: 0.9.11 merge filter
Merge
Load another ply and merge with currently displayed. Hit Merge With Other PLY, select ply file and load. New point will be appended to old, shuffled if shuffle is enabled in preferences.
-
Merge With Other PLY- run operator
Been following this project for months and you just made it irresistible. You have just made cleanup more enjoyable.
THANK YOU.
Also, Q:
Have you used Meshlab?
not much, not for something serious, i use it like file viewer… why?
I was just wondering if some inspiration for your tool was from Meshlab, and if you had used it yourself for cleanup.
Like your newest features, it’s quite powerful for cleanup and can perform meshing (i.e. Poisson Reconstruction). For cleanup, many options allow one to visualize points being filtered by selection.
I like your new addition that enables points to be trimmed, based on color, and thought that if it would allow these points to be visualized before trimming, it would be helpful, either by creating a selection or a heatmap.
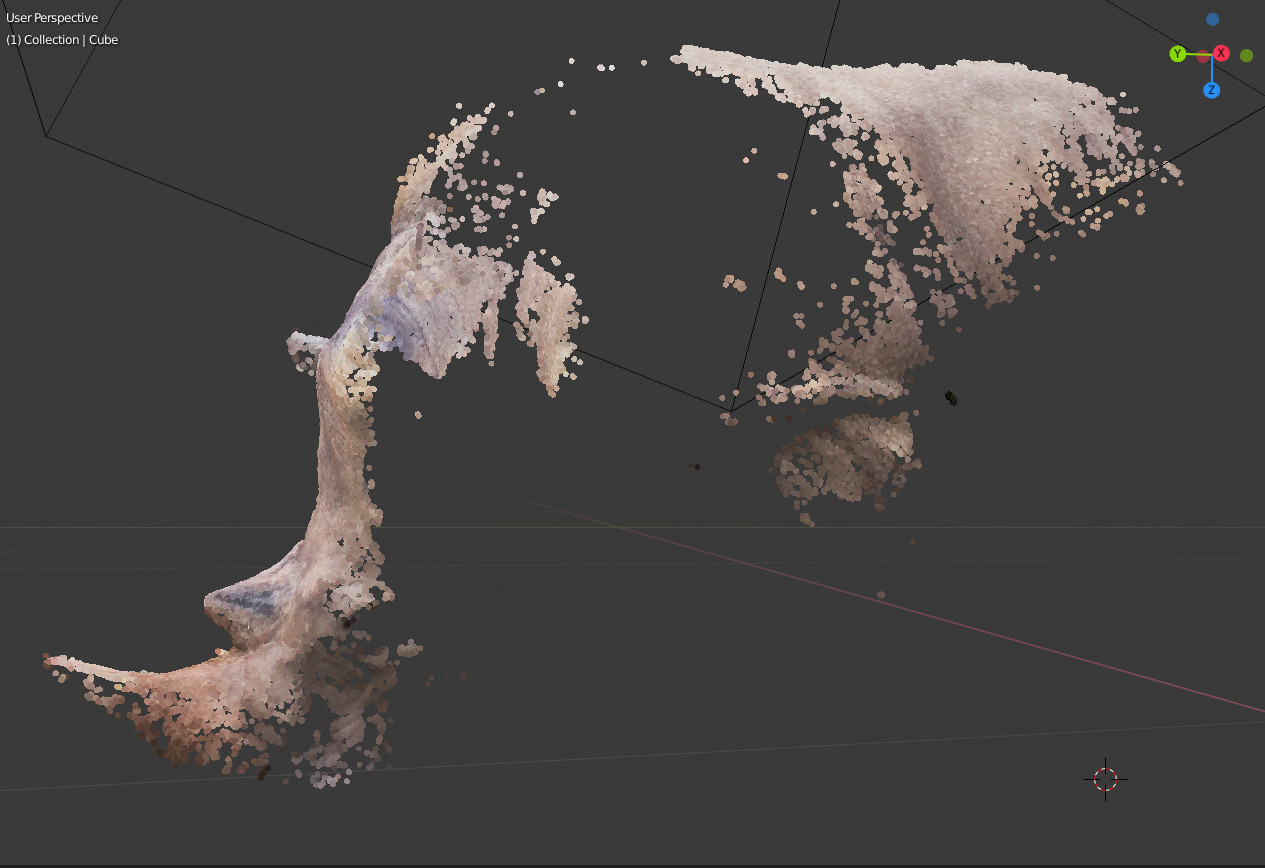
Here’s an example:
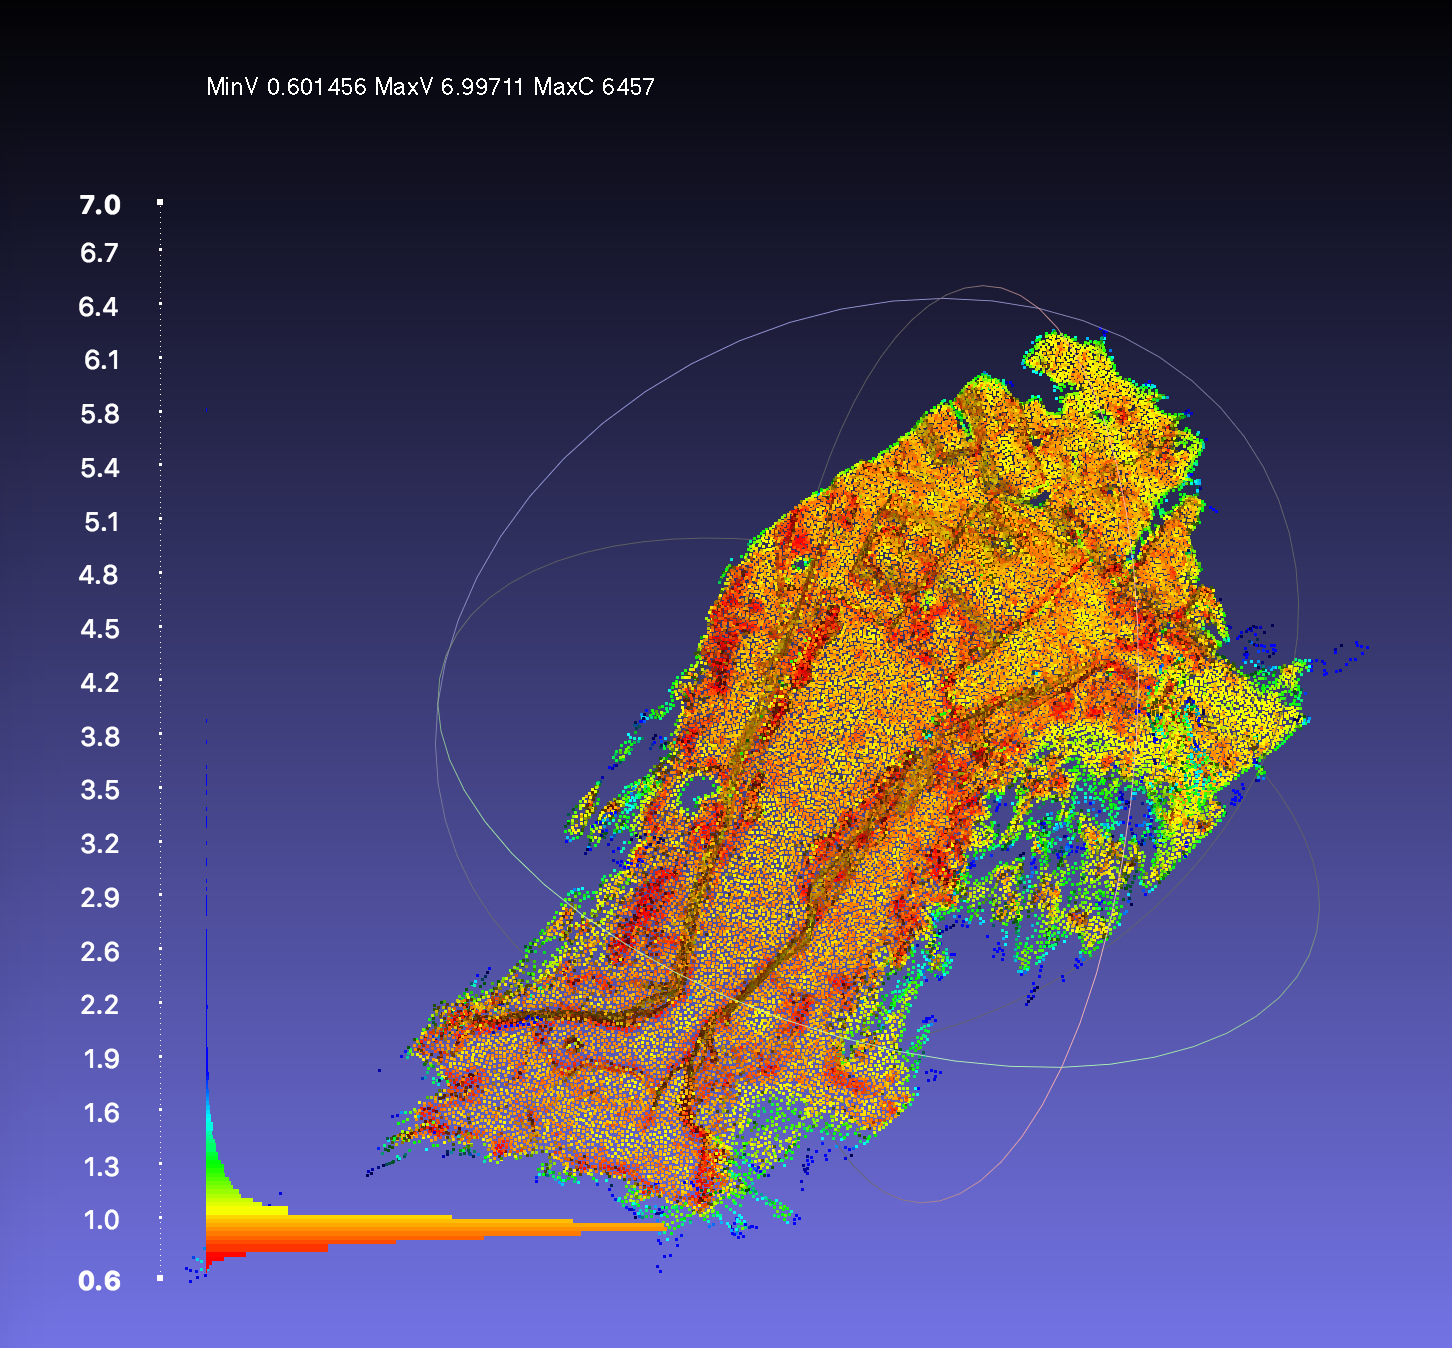
more info here: https://stackoverflow.com/questions/42096988/how-to-measure-average-distance-between-neighbors-for-a-point-cloud-in-meshlab/42108142#42108142
I LOVE the fact that (thanks to you) I can use Blender’s selection tools for cleaning up points and exporting back to PLY. I’ve tested this and the PLY imports back into Meshlab perfectly. From here I was able to mesh the point cloud and project textures onto the mesh.
Once again, just sending over a thanks and (hopefully) provide some inspiration for future. I will keep playing and when I get client approval, I will share some of our scans… when viewed with your tool.
1 Like
btw… I just noticed your art portfolio. GORGEOUS.
Also checked out more of your scripts, particularly like your OBJ export where “Only active mesh is exported”. Oh my… how much time I wasted because the Export OBJ “Only Selected” option was unchecked.
You’ve got gems scattered all over the place!
As you do photogrammetry yourself, you might find something useful in a paper I released this year. As with most things… it’s quickly become outdated, as many of these processes have been updated quite… but… here it is (on page 54) : https://www.clir.org/pubs-reports-pub176/
We started with Reality Capture (and still do), but I primarily use COLMAP as the results are… sometimes just as good, depending on the conditions. Primarily forcing myself to use it as it’s open source, and I can use the Blender NVM import addon for grabbing cameras and am building some workflows for using these photos for cleanup. Getting to the point where I may have to get myself into some Blender Python (finally).
1 Like
not really, i use Agisoft PhotoScan/Metashape for cleanup, but i like to take intermediate clouds and do art stuff with them ![]()
yes, some selection preview before execution is a good idea, not sure is how to implement that in blender, calculation is not as fast to allow operator with properties you can change afterwards… also things are more complicated with custom drawing on screen. wanted make it somehow better anyway, thanks for suggestion. i meant it mainly for cleaning up white points from overblown background from lights…
thanks!
wrote that because blender internal is painfully slow and when i process scans i jump between blender and zbrush quite often
1 Like
Incredible…I make my living at reality capture. Lots of 3D scanners (Terrestrial, UAV, and Mobile platforms) large projects where we may capture 10 miles of city streets on any given day. One of the big selling points is showing videos of the data we capture. Letting people see what the possibilities are… Often I have to mix many software packages to show the final models, vectors, or other data intermixed with the pointcloud data captured. You have removed that final step for me…! In the past year I have taken several Python courses and I have been reviewing Numpy all for the concept of creating a pointcloud engine for Blender (Autocad, Microstation, Navisworks, Revit, 3DSMax and on and on all have a pointcloud engine) you have added an excellent tool to the already super powerful Blender. People like you continue to push Blender to the top of the pile even in the “Professional” application sets. Great Job! Thank you!
1 Like
Thanks for kind words!
1 Like