Product rapresentation | Looking for suggestions to improve

I’ve been tying to copy this lighting setup and after many trials the result has been this.

Then I decided to use a vertical view, replace the left light with an emission rectangle, use noise texture instead wave texture and add a soft backlight. Then this happened

But still I don’t feel happy with the result so that it looks pretty far from the original one and I’m trying to guess what’s not working.

Do you have any suggestions? I will post in this topic eventual upgrades and the cilindre is just for reference.

Thanks

Edit_1 | I’ve increased the contrast of the Color Management and it’s more vibrant like the reference:

1 Like

One option would be to test other images in the environment texture. And who knows, use some objects with emission material to light. But your image is already beautiful. The reference used a lot of photoshop to look like this.

1 Like

Thank you for the tip, in fact I’ve tried to use a rectangle to emit lighting.

Try passing the noise texture through a bump node to the normal socket of the principled BSDF. Might give a better result.

Thanks for the tip but I’m already mixing the noise with the bump

Hi Roy.

I think it’s a great exercise that you are trying to replicate a photo. It’s a great training tool!

One thing I teach people is to put the images side by side, and try to find what are the differences.

Some quick things. The “wave” in the background has a nicer curve to it, and it frames the product very nicely and separates it from the background. Also I’m not sure if it’s a hair product or not, but I feel like the “wave” has a hair like feeling, the wait it shines and catches light.

The reflection is much more clean and controlled. I don’t recommend using HDRI for product images, too difficult to control the shape of the light. I recommend you try something like Leomoon light studio.

For lighting I also recommend studying product photography. Photigy.com is a great resource for that.

@lumrp is right, this kind of image usually involves a lot of retouching in photoshop, but you can get 90% of the result if you try hard enough.

And if you want to have a really accurate exercise, you should model the bottle yourself, it will take you 1 hour. At the end of the day no matter how nice your lighting is, it will still be just a rounded cylinder. Also adding the label usually brings the image together, and makes you understand why your current lighting is not great, and will make the label very hard to read.

2 Likes

To get good results, you probably need to combine multiple renders with different lightning, that is how it is also often done in real photography. Here is an excellent YouTube channel showing the process in product photography, even though it is about real-world photography, most things can also be directly applied in 3D: https://www.youtube.com/watch?v=5foA1NDbNEo

You can combine the renders in photoshop, but Blender also has some very powerful tools for this in the compositor: https://www.youtube.com/watch?v=33DJUiekcGg Future versions of Blender will include light groups and light linking, which should make this process a lot faster and easier.

1 Like

Thank you for the help Sergio! I’m trying hard to make happen in Blender since if I’m able to make it, I’ll need less post-production after like in photography.

I believe that too because you cannot control the lighting at the best. Leomoon light studio seems a handy tool I’ve never heard that reminds me lighting in Illustrator! And about Photigy.com are you suggesting to follow their socials? Because I’ll definitely do!

I don’t find it worth to remake the bottle since I’ve already made few before just for practice. In this case the focus was on the shape and the lighting against the “hair” like wave.

Thanks for suggesting Workphlo, he looks so pro and direct with product photography. I’ve never thought to consider “bracketing” in 3D like for photography, it’s a tricky technique that sometimes may fall in fakeness.

Light inking is a great tool to evaluate the lighting setup for a product photography. I’ll surely consider it for more complex projects. But in this case the objects are just two with the plain background, so I consider more useful the tools suggested by Sergio.

To all the comments about the HDRI, I agree. kind of. they have HDRI’s that ARE lighting studios and produce a really nice image. just need to tweak the rotation of the image accordingly and maybe add a physical 3d shadow catcher like in real life.

Also as a recommendation to the creator, I would at least try Photoshopping the bottle into your scene so its not so jarring comparing the 2 as they will always look off in that regard considering its the main focal point, plus you can see if that lighting looks natural in your scene. good work

In real life, it’s so much harder to control lighting. It’s very difficult to control the shape, size and falloff of lights, sometimes the light you want to place will block half of your shot, plus it takes ages to move a light on a stand.

That’s why it’s so practical to combine multiple photos. In 3D, you can place a tiny light at just the right intensity at just the right place, without it affecting anything else, so it’s less necessary to do so. Depends a lot on the shape and complexity of the product you are shooting.

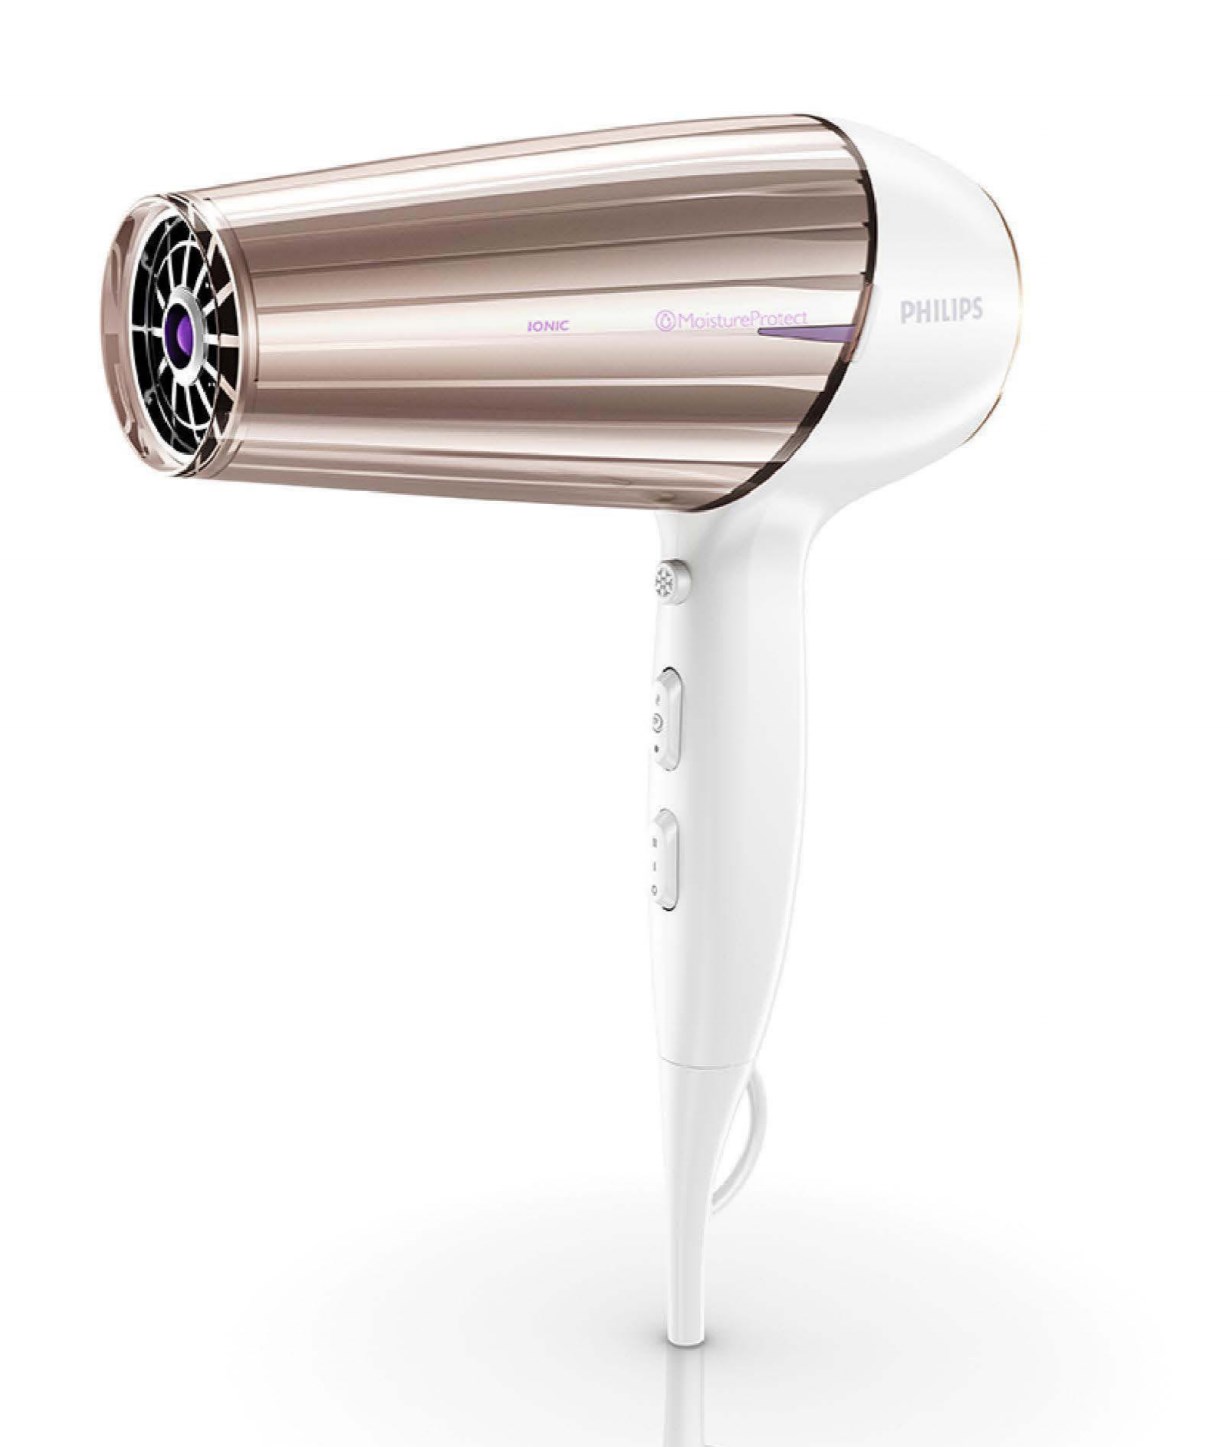
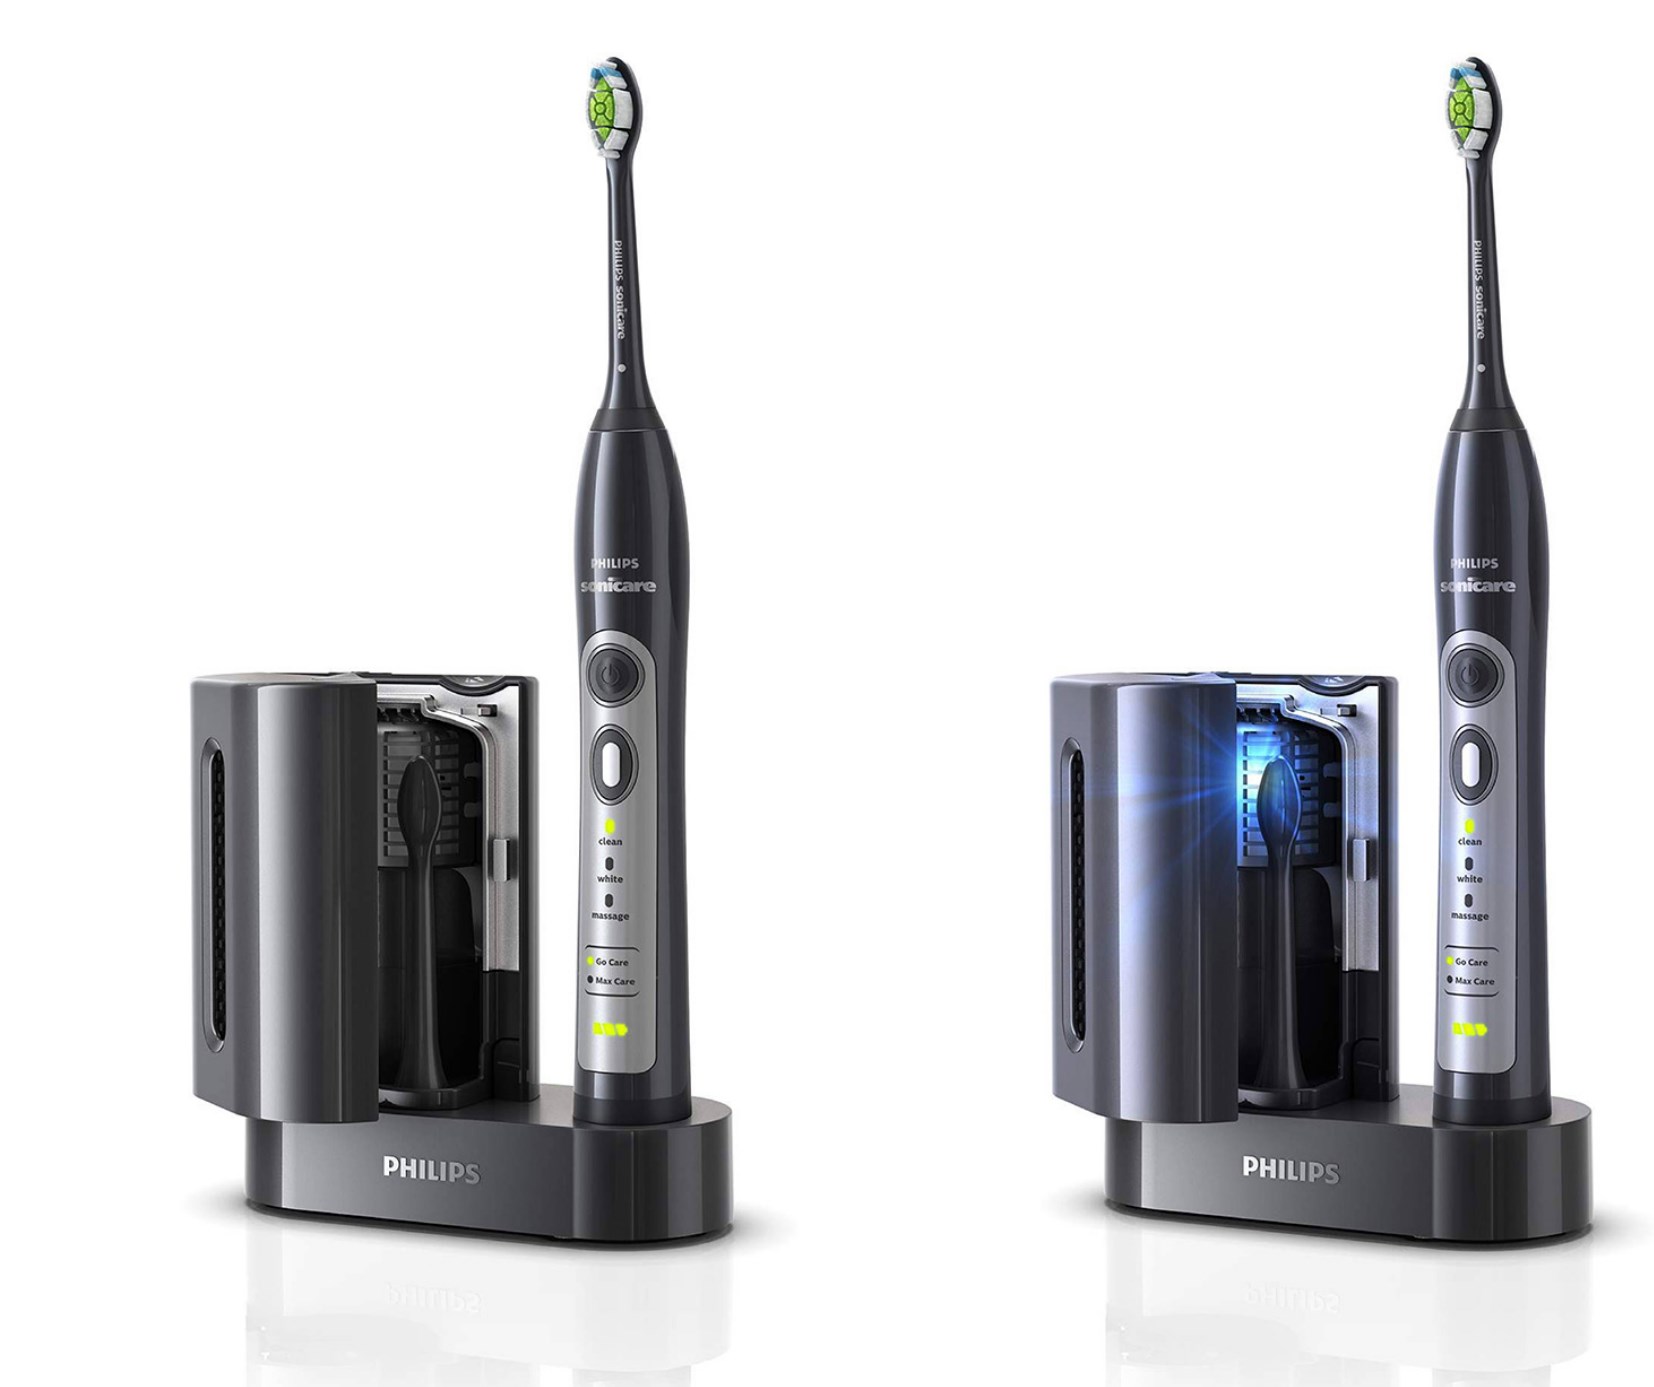
Back in the day working for Philips, we would make a lighting setup with planar lights, then use a script to automatically render around 18 different lighting variations, using HDRIs that would be rotated. We would use the render and mix and paint in parts of the HDRI to make the image nicer. Add some interesting reflection for buttons, or add an extra refraction for the glass.

We would end up with photoshop files with hundreds of layers, difficult to work with, difficult for beginners to learn, and very easy to make fake looking renders.

Eventually the client’s taste started changing, wanted to get more realistic images, so we stopped doing that and focused on more simple lighting.

Regarding HDRIs, they are great for personal projects, testing lighting, environment work, or as a fill light sometimes. But for professional work, where the client will tell you can you move the reflection on the handle 2cm to the right, if you use HDRI and rotate it 5 degrees, everything else will also change, and the client will be pissed because you are not listening to them, and everything else was already approved.

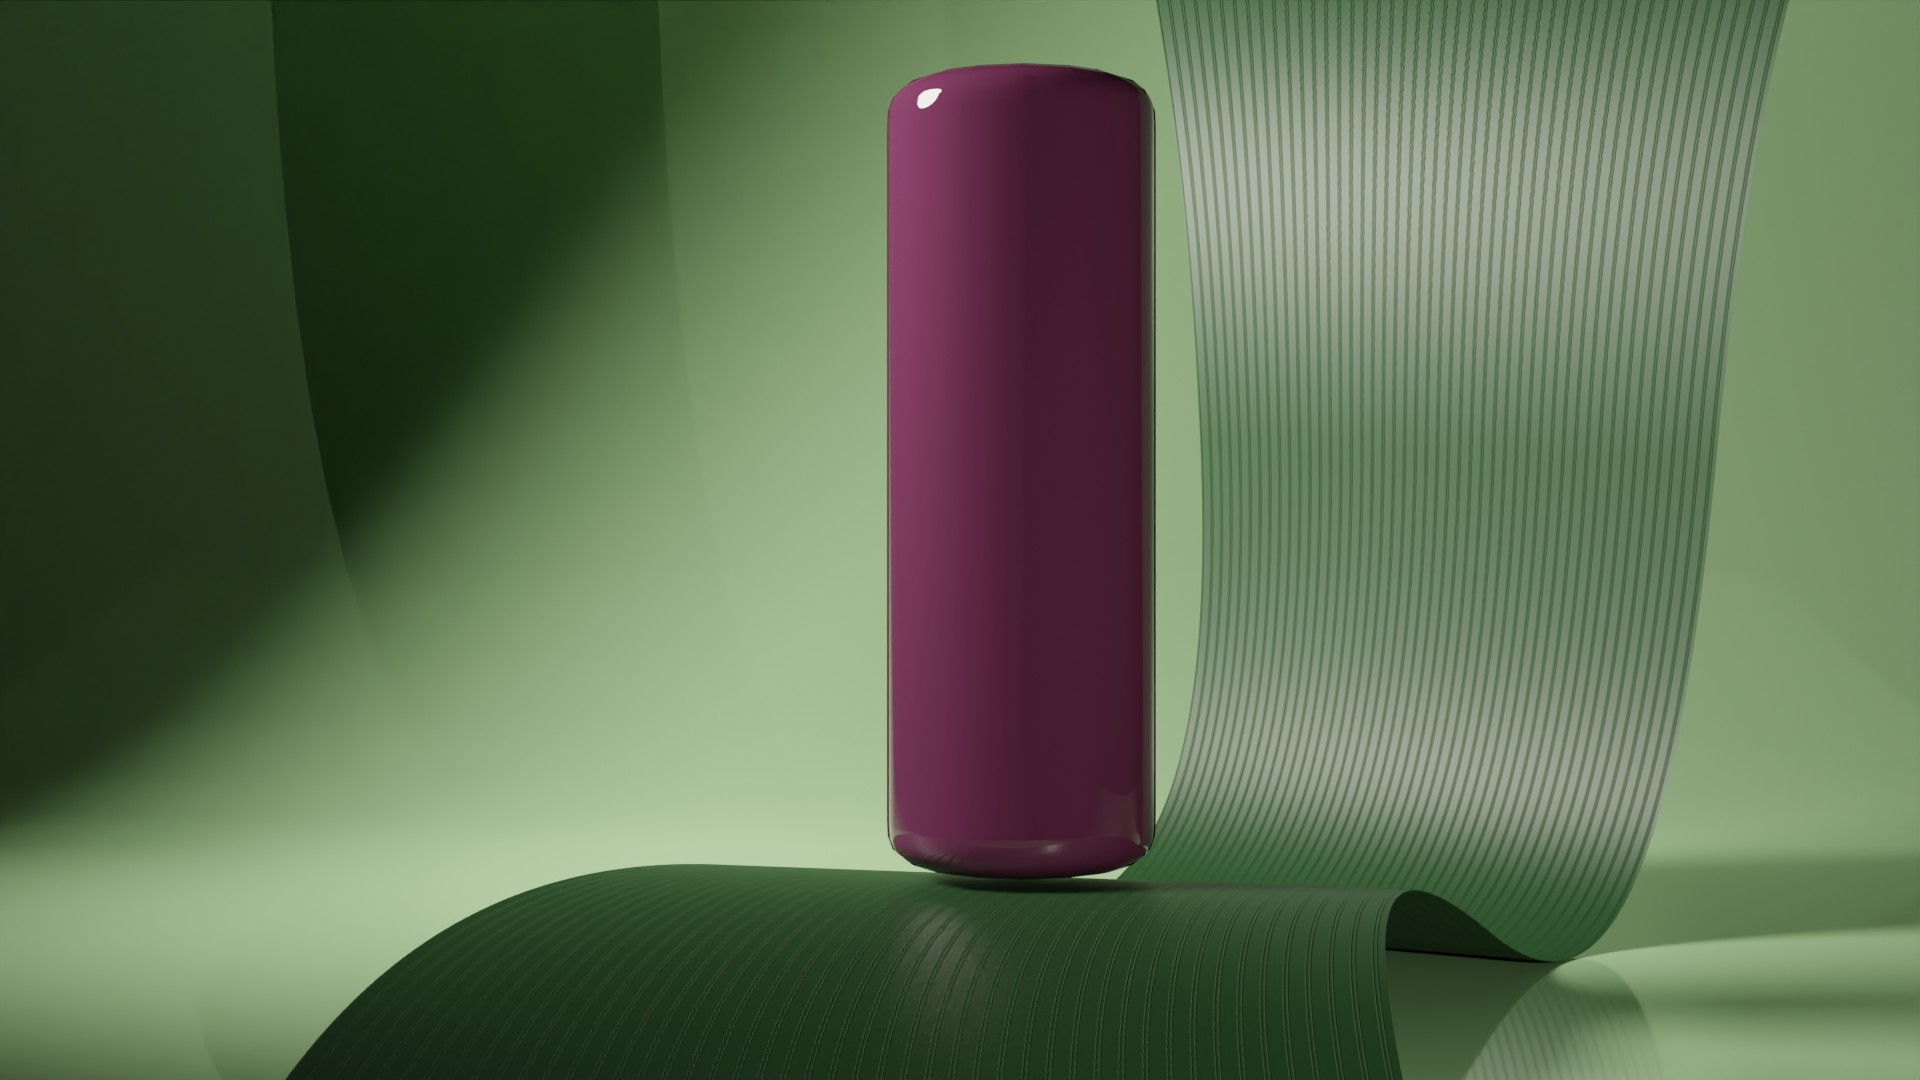
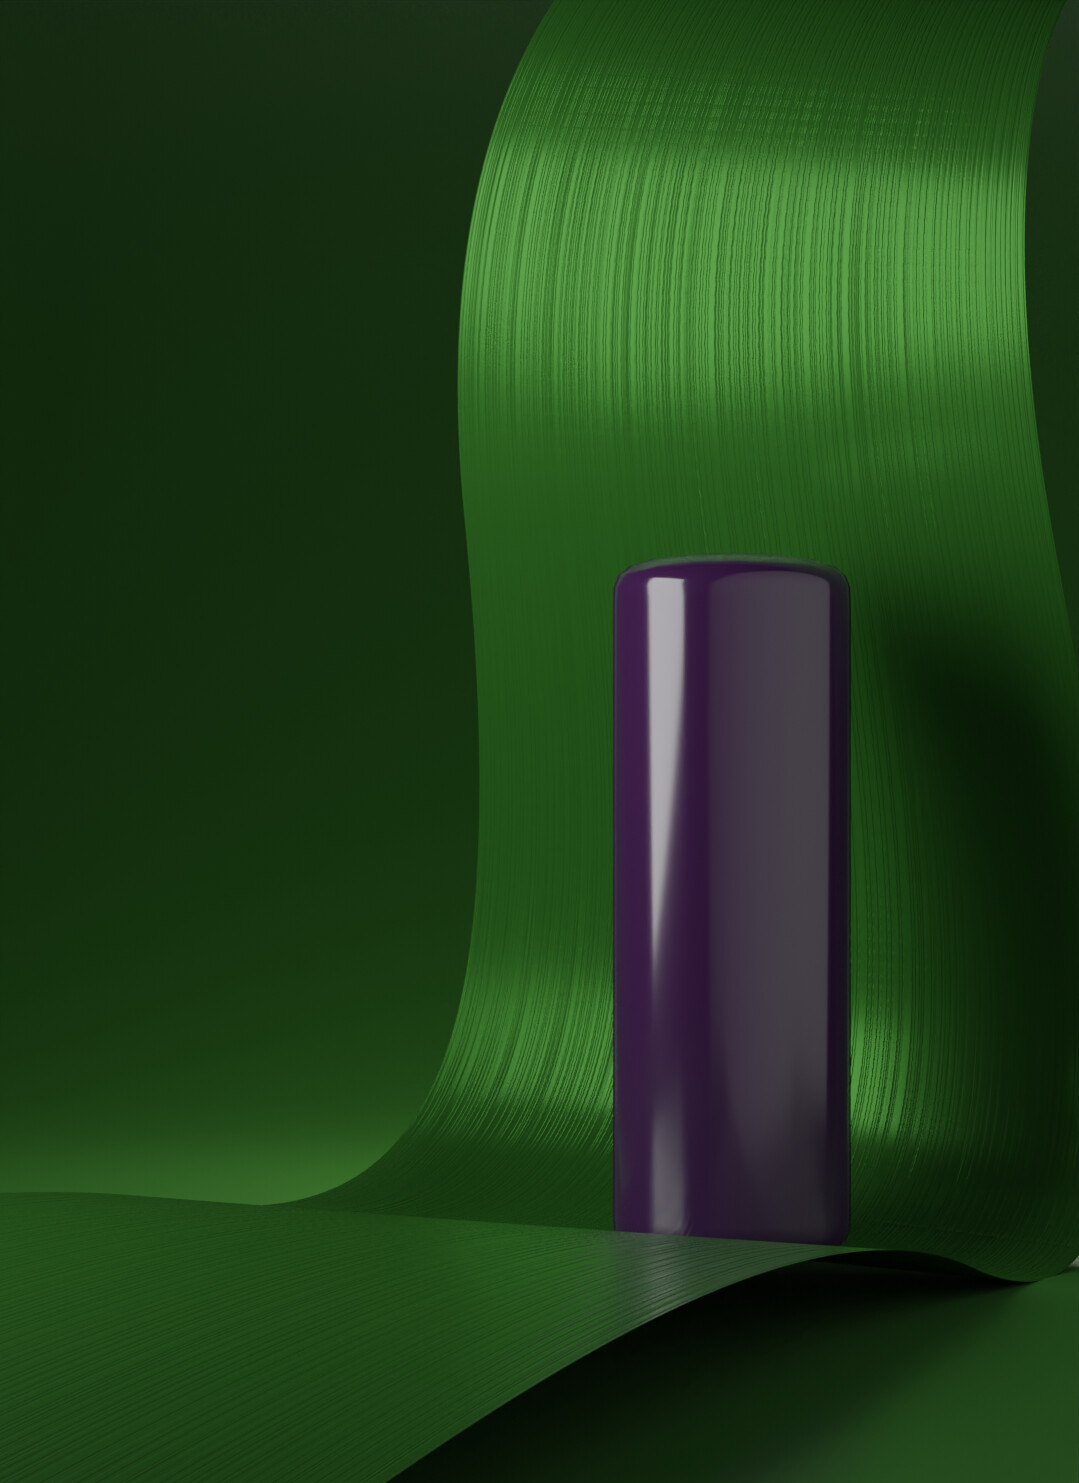
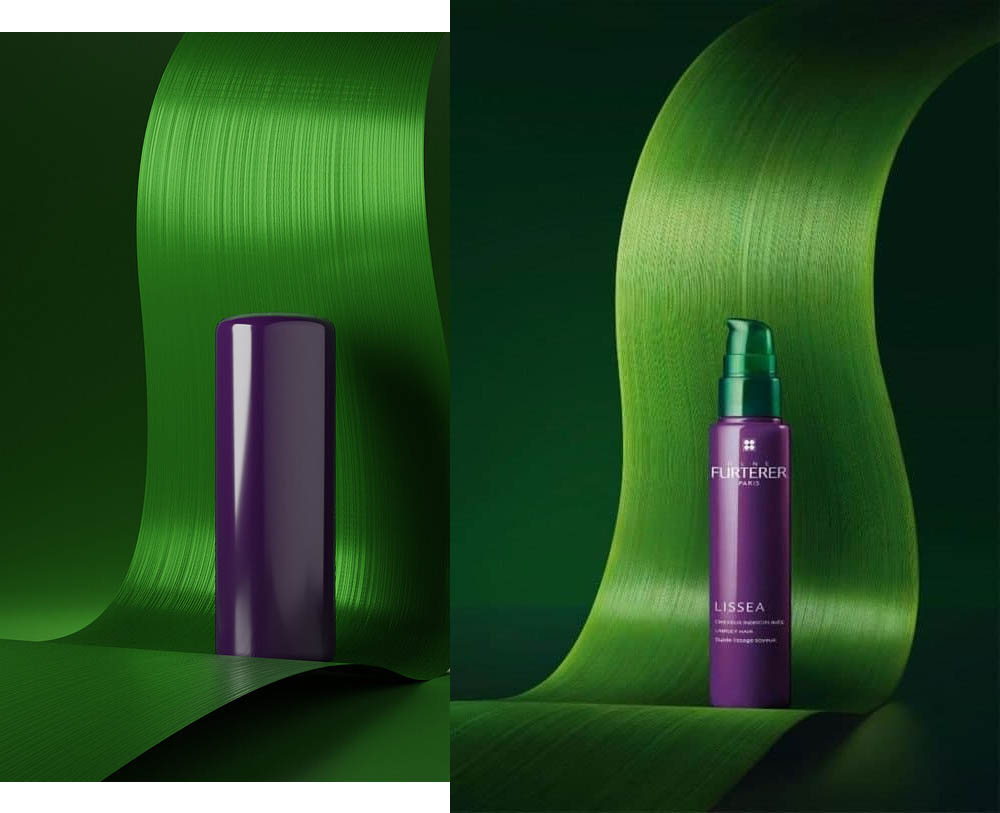
Here is some old work so you guys don’t think I’m talking from my ass


I featured you on BlenderNation, have a great weekend!

Bart, I think you featured a photo. The image above is not by the post’s author.

1 Like