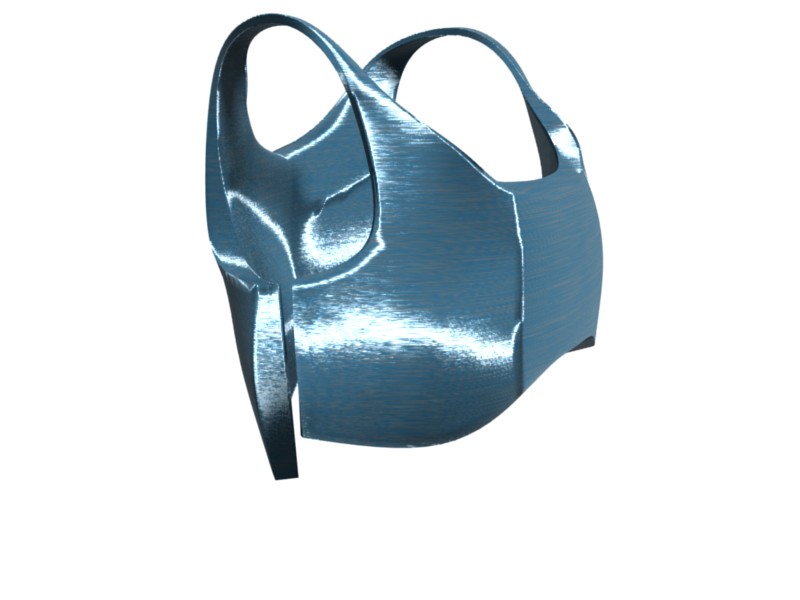
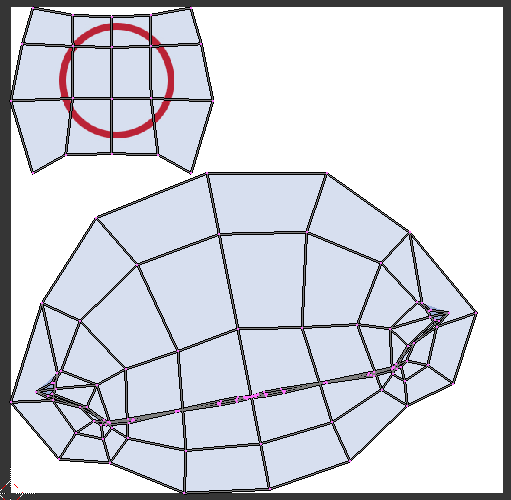
So I have this chest piece, with a brushed metal material on it. I want to put an emblem or symbol on the front of it, right now it’s a red ring. I just want the red ring superimposed on the metal texture. I can’t seem to get it to work, and I’m having trouble finding a solution. From searching the internet for answers, I believe I need to do something with alpha channels on the material.
No, you’d just need an alpha channel on the texture. If it’s a procedural blend texture, set the alpha in the colorband, if it’s an image, use gimp or photoshop and convert white to alpha 0.
Shnitz: Thank you for the quick reply. Unfortunately I’m not versed enough in Blender to know exactly what you are talking about. I’m going to try and explain what I’m trying to do a bit more.
So I have the chestpiece, and I unwrapped it then inserted the image texture I wanted. I just want the red ring on the chestpiece, not any of the white. That way I can keep the blue metal texture, I worked so hard on :p. Right now when I put the two together, I get the last image, the white is covering the blue. Shnitz, you mentioned using Photoshop to edit the file and make the white area ‘alpha 0’. If you could explain that process a little more I would appreciate it.
Yay! Thanks so much :D. It’s funny, I googled every other synonym for the word ‘decal’ and got nothing useful, so thank so much for linking that turtorial, very helpful. Unfortunately I’m still having one problem with it. The decal is appearing on the back side of the object as well. Any ideas of how to fix this?
Instead of using the decal method in the tutorial, I just used the unwrapping method and textured it normally putting the red ring where I want it. Unfortunately now I have a nasty white border . There is no white border around the actual .png file, so I’m not sure what’s up with it now. Any suggestions?
Basically I couldn’t use the decal method because it displayed the ring on the front and the back, and I didn’t want to texture it normally using UV mapping because it left a white ring around the decal. SO… I did a quick fix to solve the whole sitch: I separated the chestpiece into two mats, with the front one having the decal texture. Using the decal method helped to get rid of the white outline, and separating the object into 2 got rid of the decal showing up on the back. Thanks to everyone for helping me solve this
The penetrating decal problem can be fixed.
In the Map Image pane [F6] http://wiki.blender.org/index.php/Doc:Manual/Textures/Types/Image
make sure the ClipCube button is pushed.
Now, with the Empty object that you are using to position the decal, the length of the Z arrow determines how deeply the decal penetrates the object. The decal will penetrate a distance back into the object equal to the length of the Z arrow forwards from the object.
You have to select the Empty, and scale it along the Z axis so the Z arrow is short enough that the decal will not penetrate back to the rear plate of the chestplate.


 . There is no white border around the actual .png file, so I’m not sure what’s up with it now. Any suggestions?
