I wanted to post a quick workflow for generating terrain using the ocean modifier and then applying a base texture and a detail texture to help hide tiling. I must admit that this tutorial is based on two different videos I have seen on youtube. I am just combining them into my workflow. If you havent already messed around with the ocean modifier then I think your going to be excited about its capabilities to support terrain also.
-
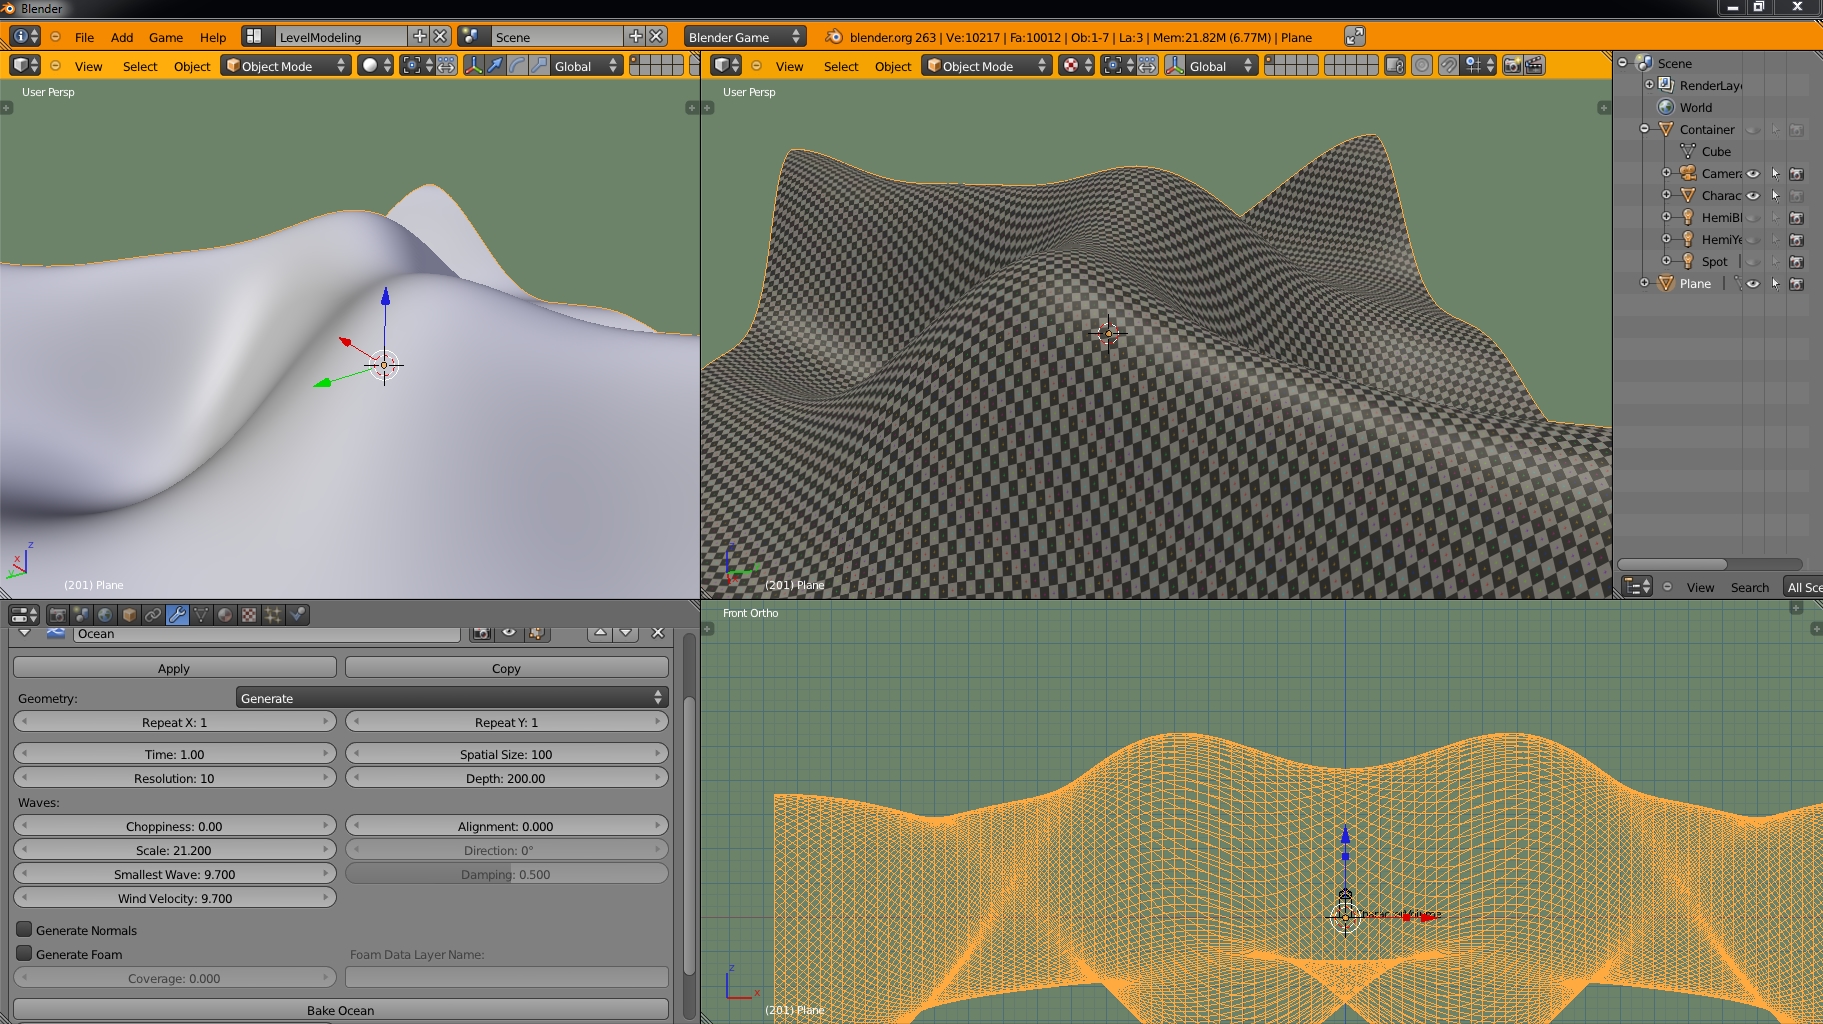
I have a default plane comprised of a single face with a materail containing blender’s generated tiled texture. At this point I can apply the ocean modifier and get this.
I have the texture set to tile x and y about 8 times.
The applied ocean modifier is at its default setting. -
Now we can start experimenting.
So far I have changed the resolution and spatial size. As you change the resolution you can see your faces update on the info panel at the top. The spatial size will expand the over all size of your mesh.
Next I adjusted the scale and the wind velocity. The scale will produce taller peaks and deeper valleys. The wind velocity will affect the the shape and crispness of your peaks.
You can adjust these and also choppiness and smallest wave to get a look you desire.
Take notice that the original texture remains to be mapped with minimal distortion.:eyebrowlift: -
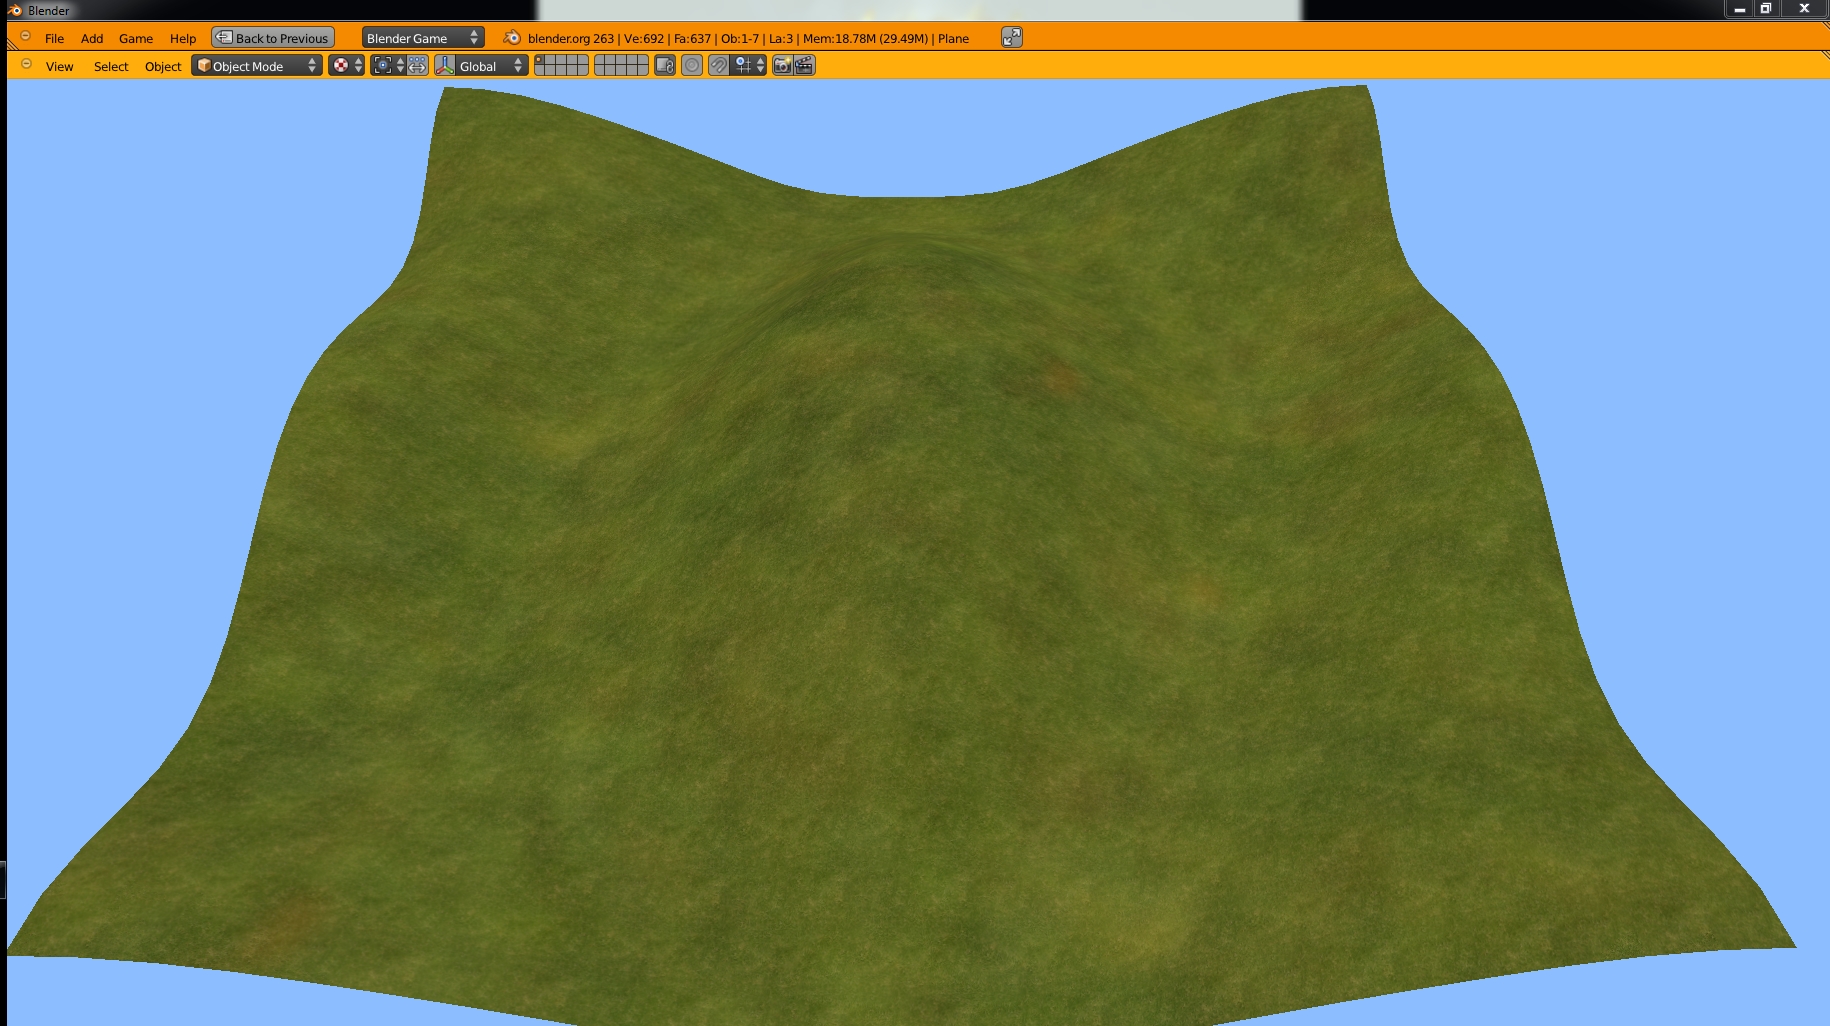
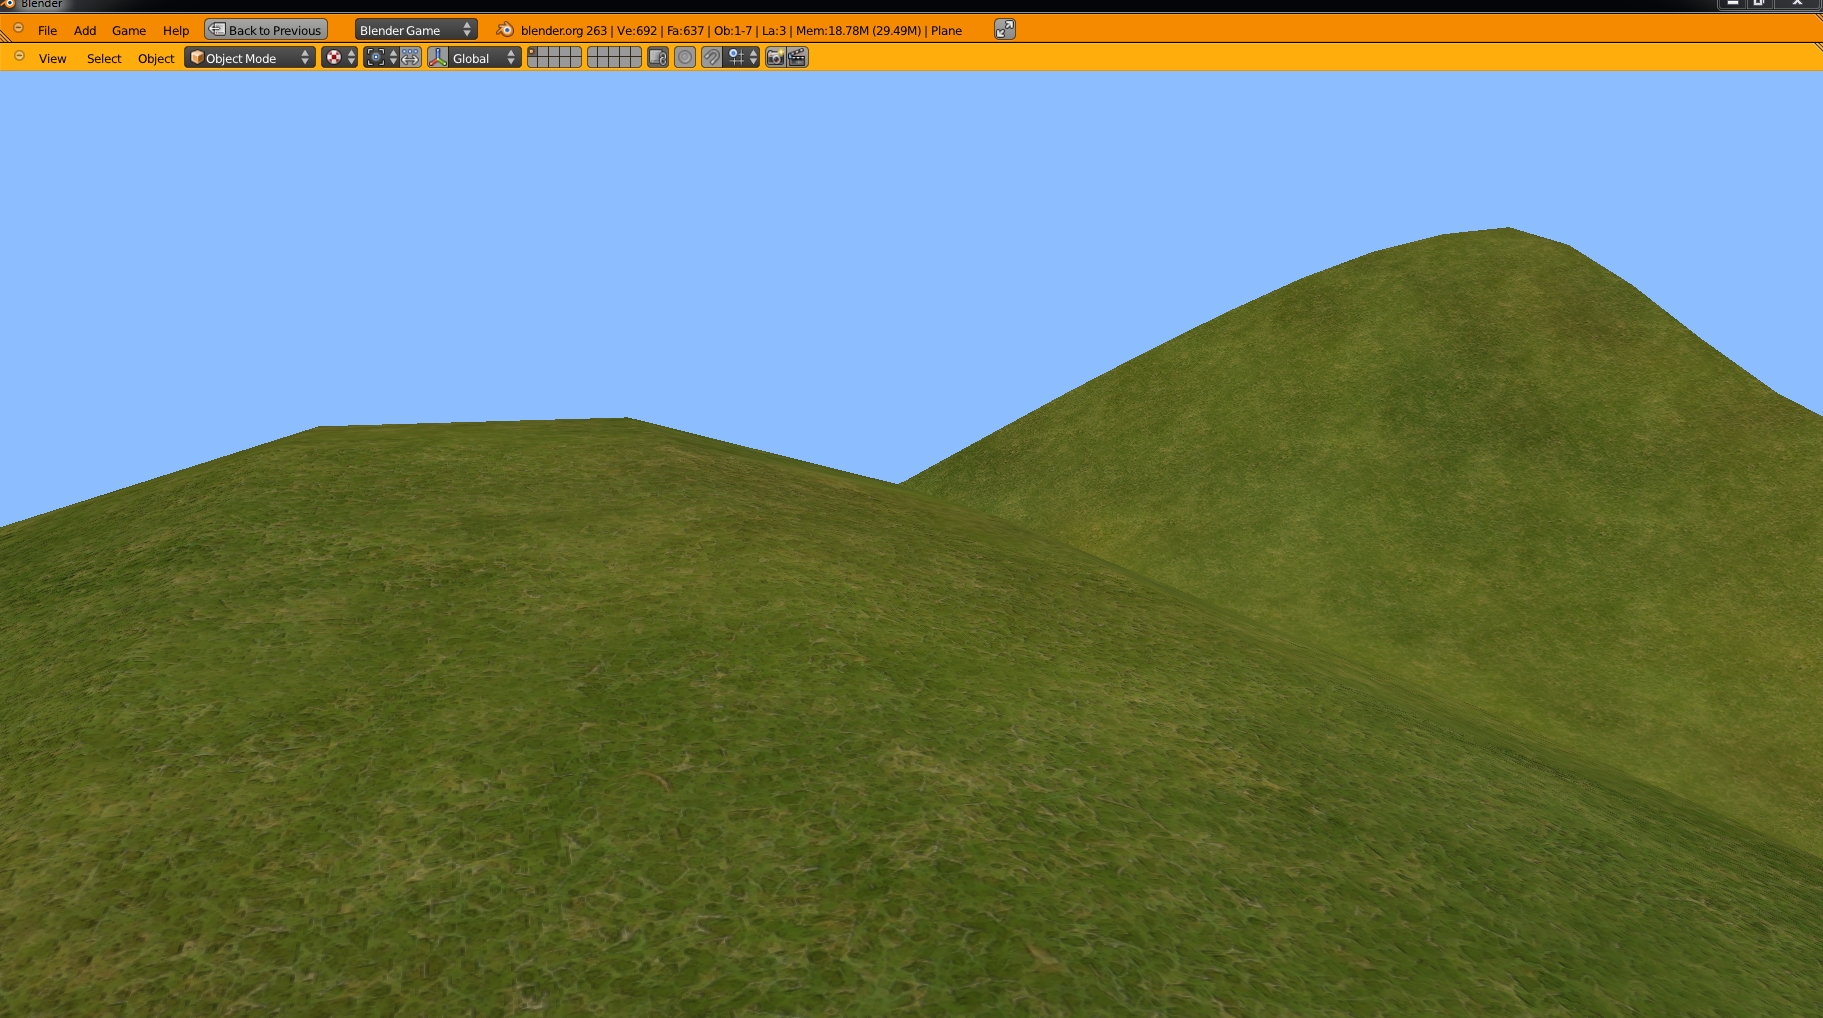
So now for a rolling hils kind of terrain.
This step I basically adjusted smallest wave to get a really smooth surface. Then I reduced the resolution for a less dense mesh for the next step.