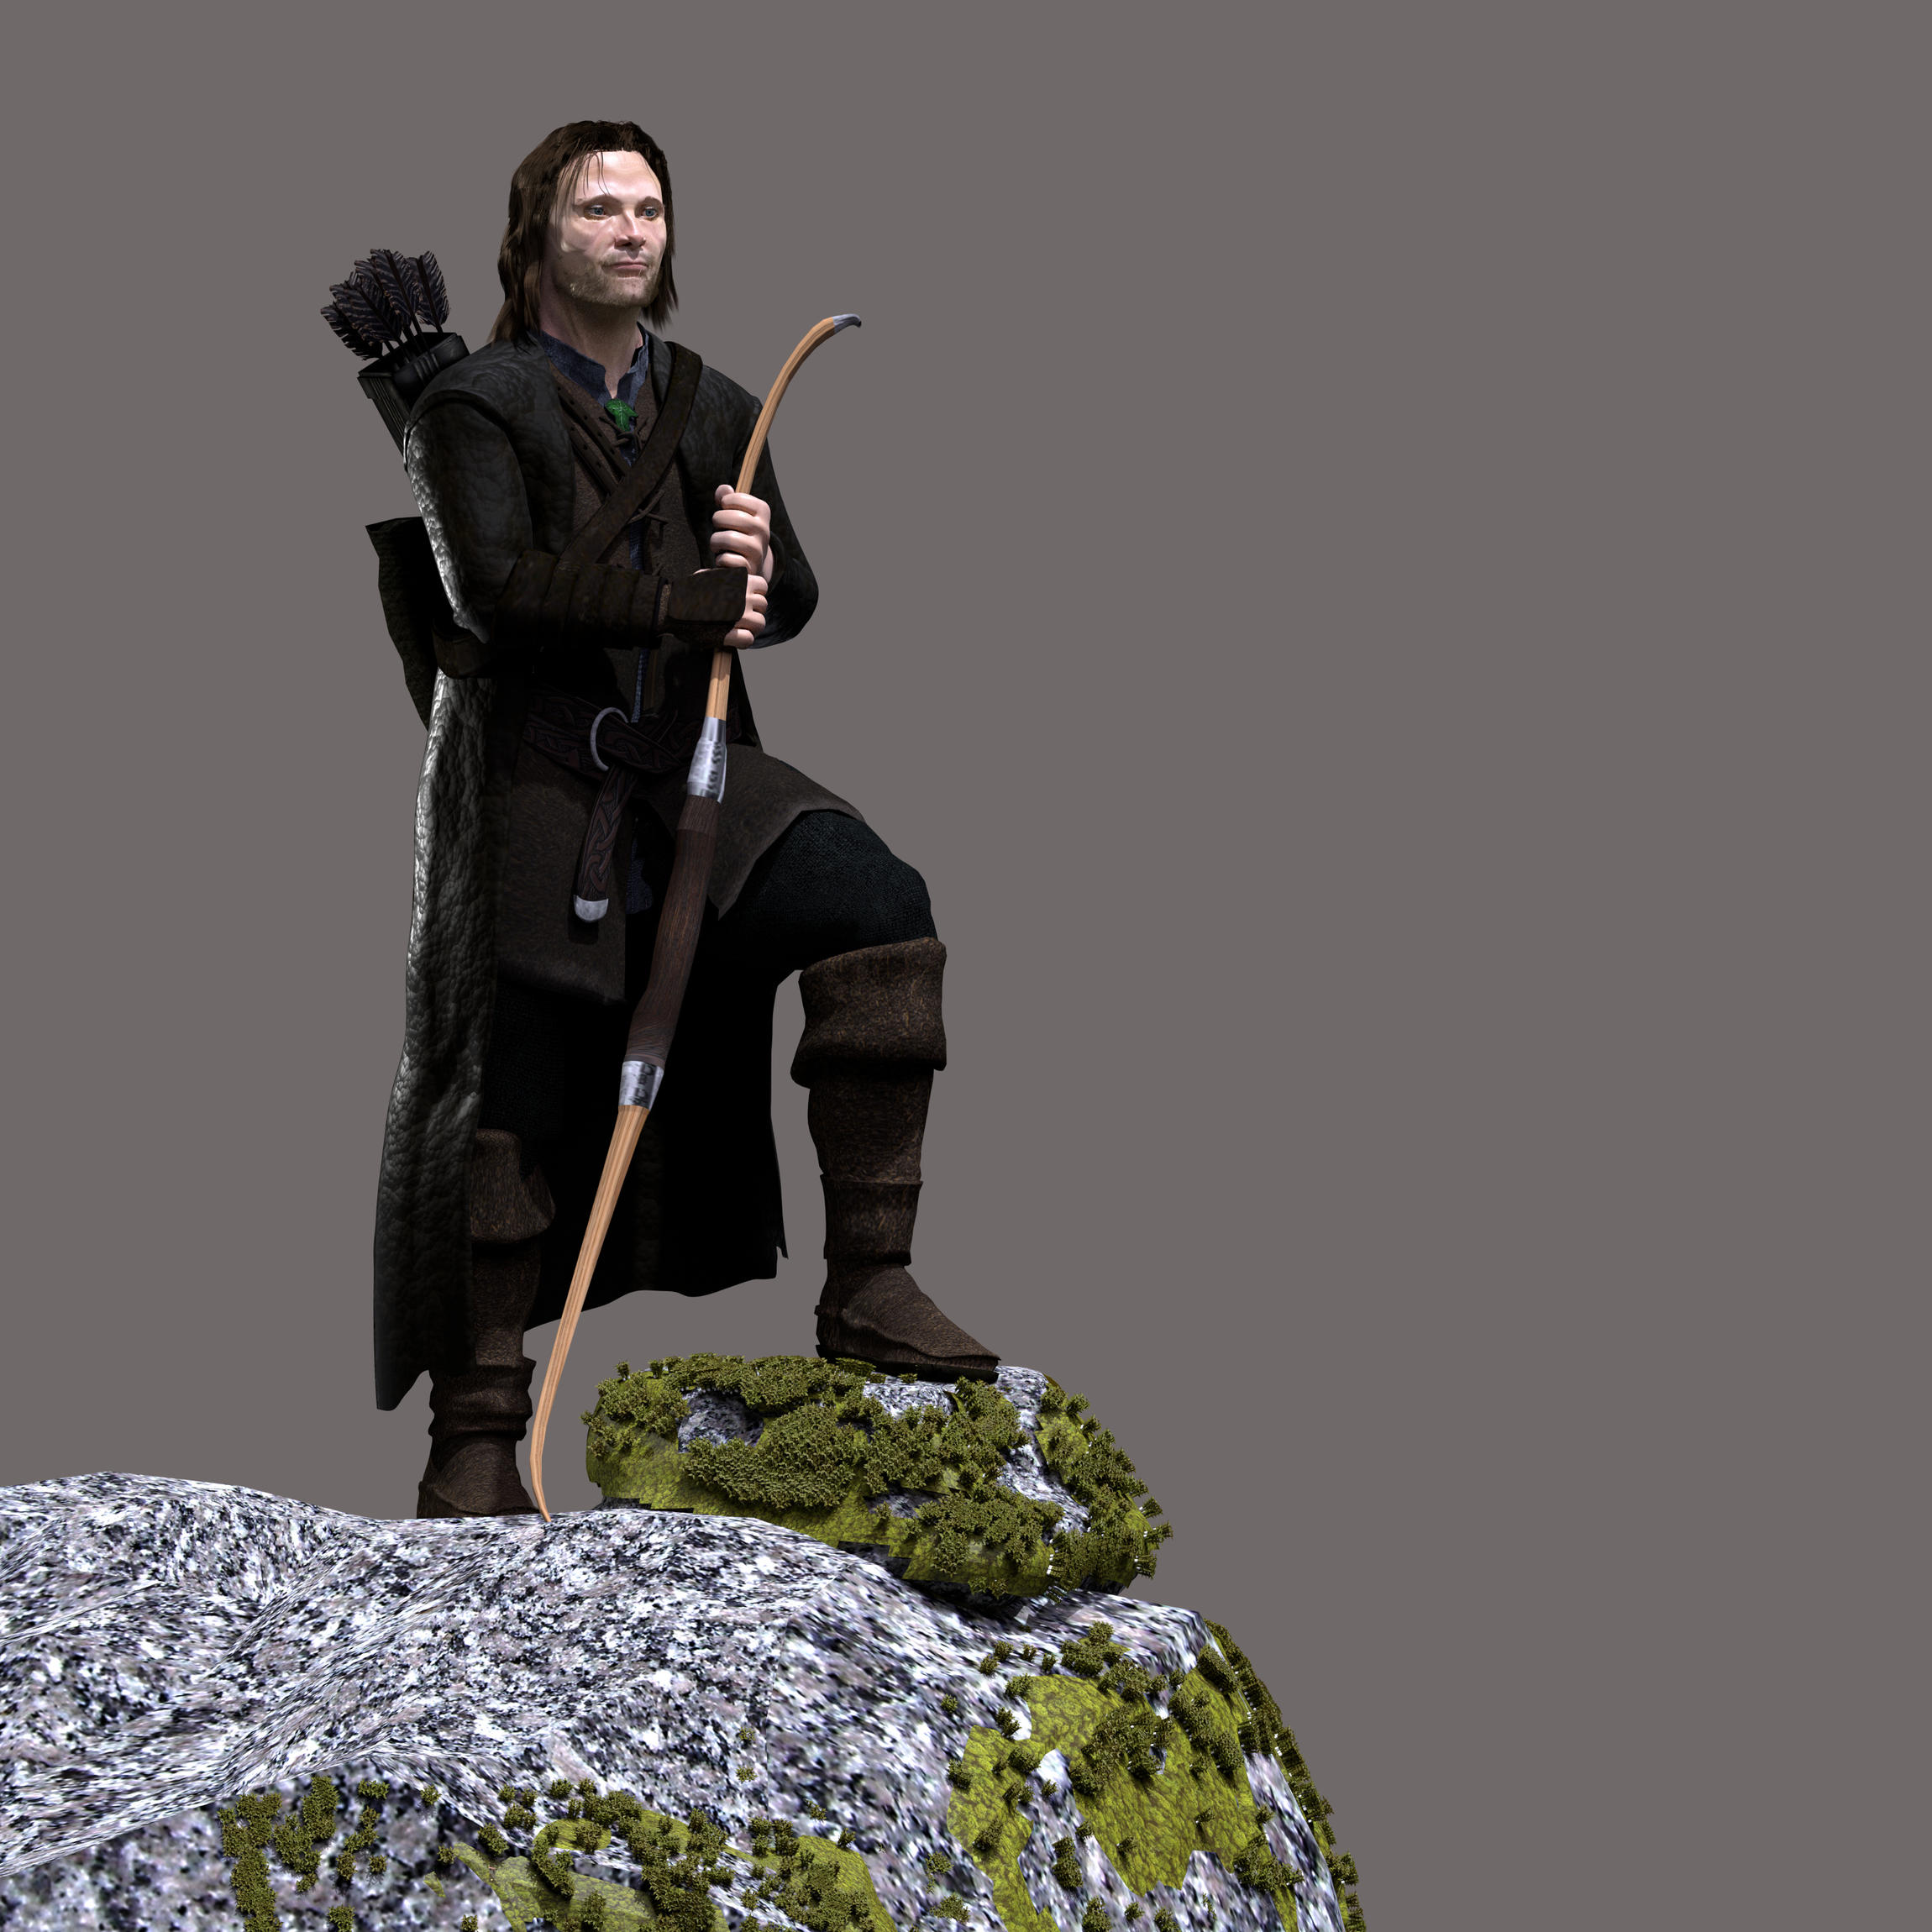
testing low budget moss on rock and tweaking stuff. The moss still needs more variation of chunks.
Boots need better texturing with stitching. The boots should look like American frontiersman’s. In fact, Tolkien once said that was his inspiration for the style and manner of the rangers.
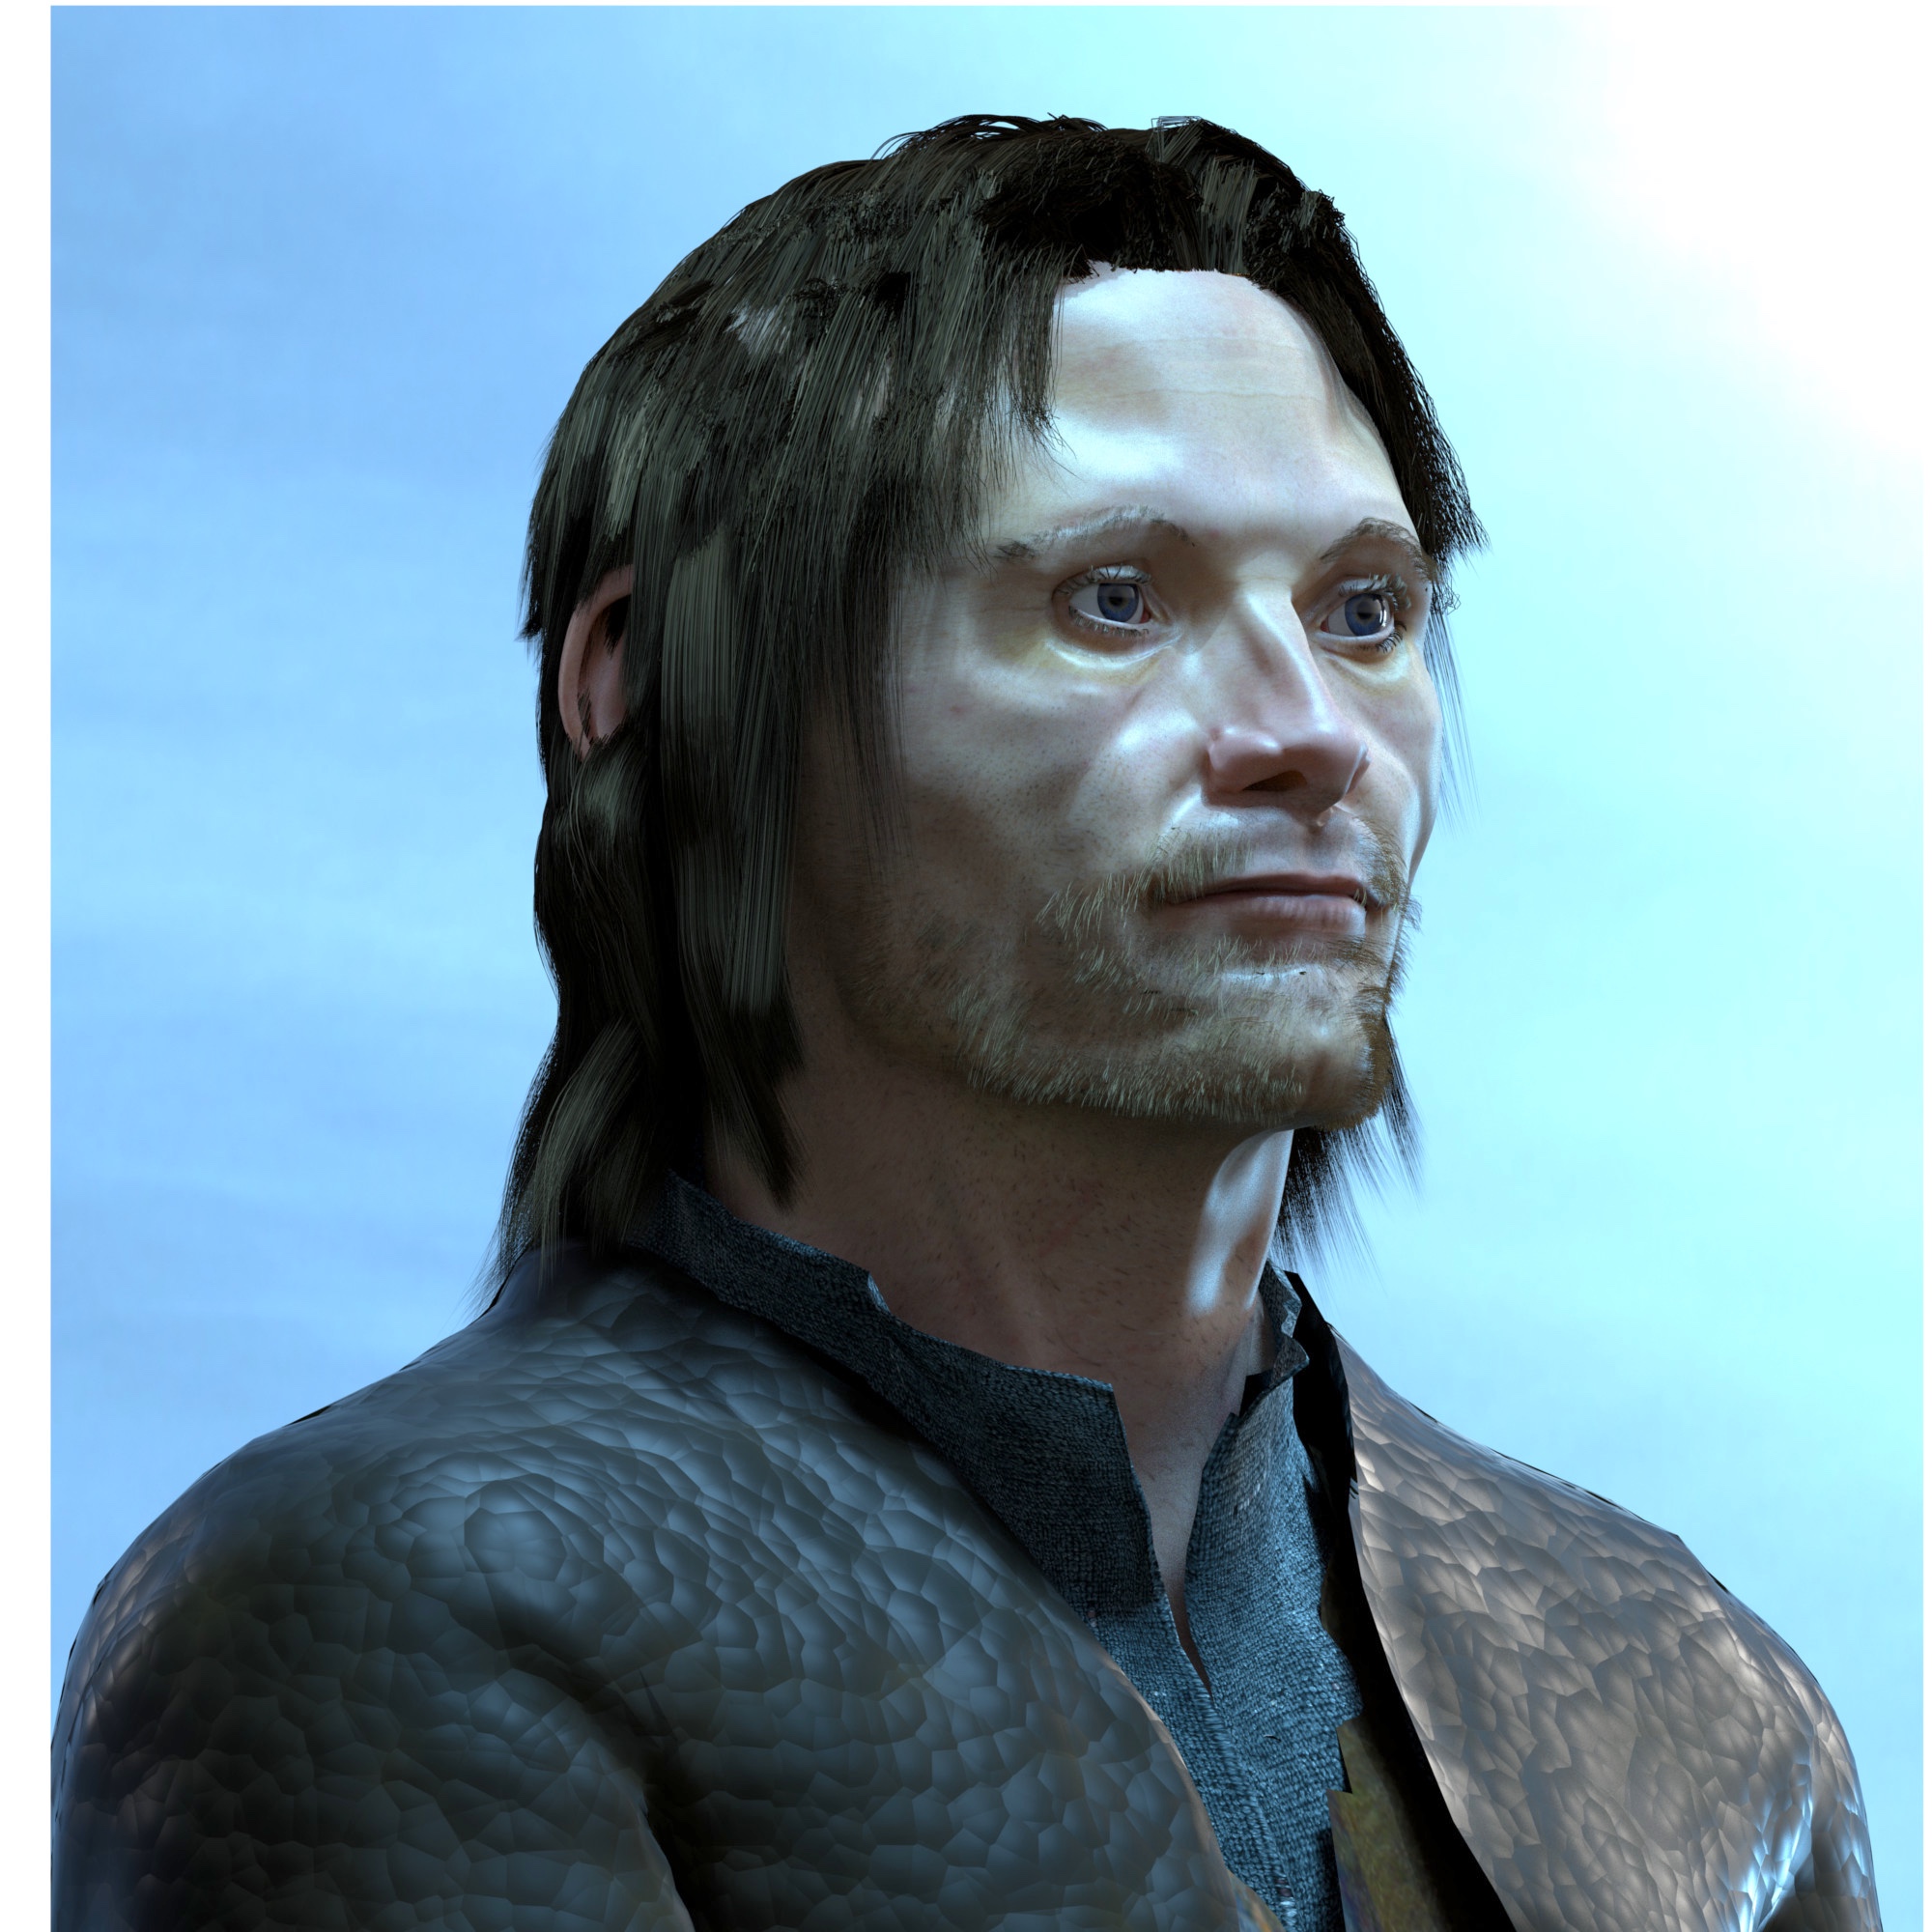
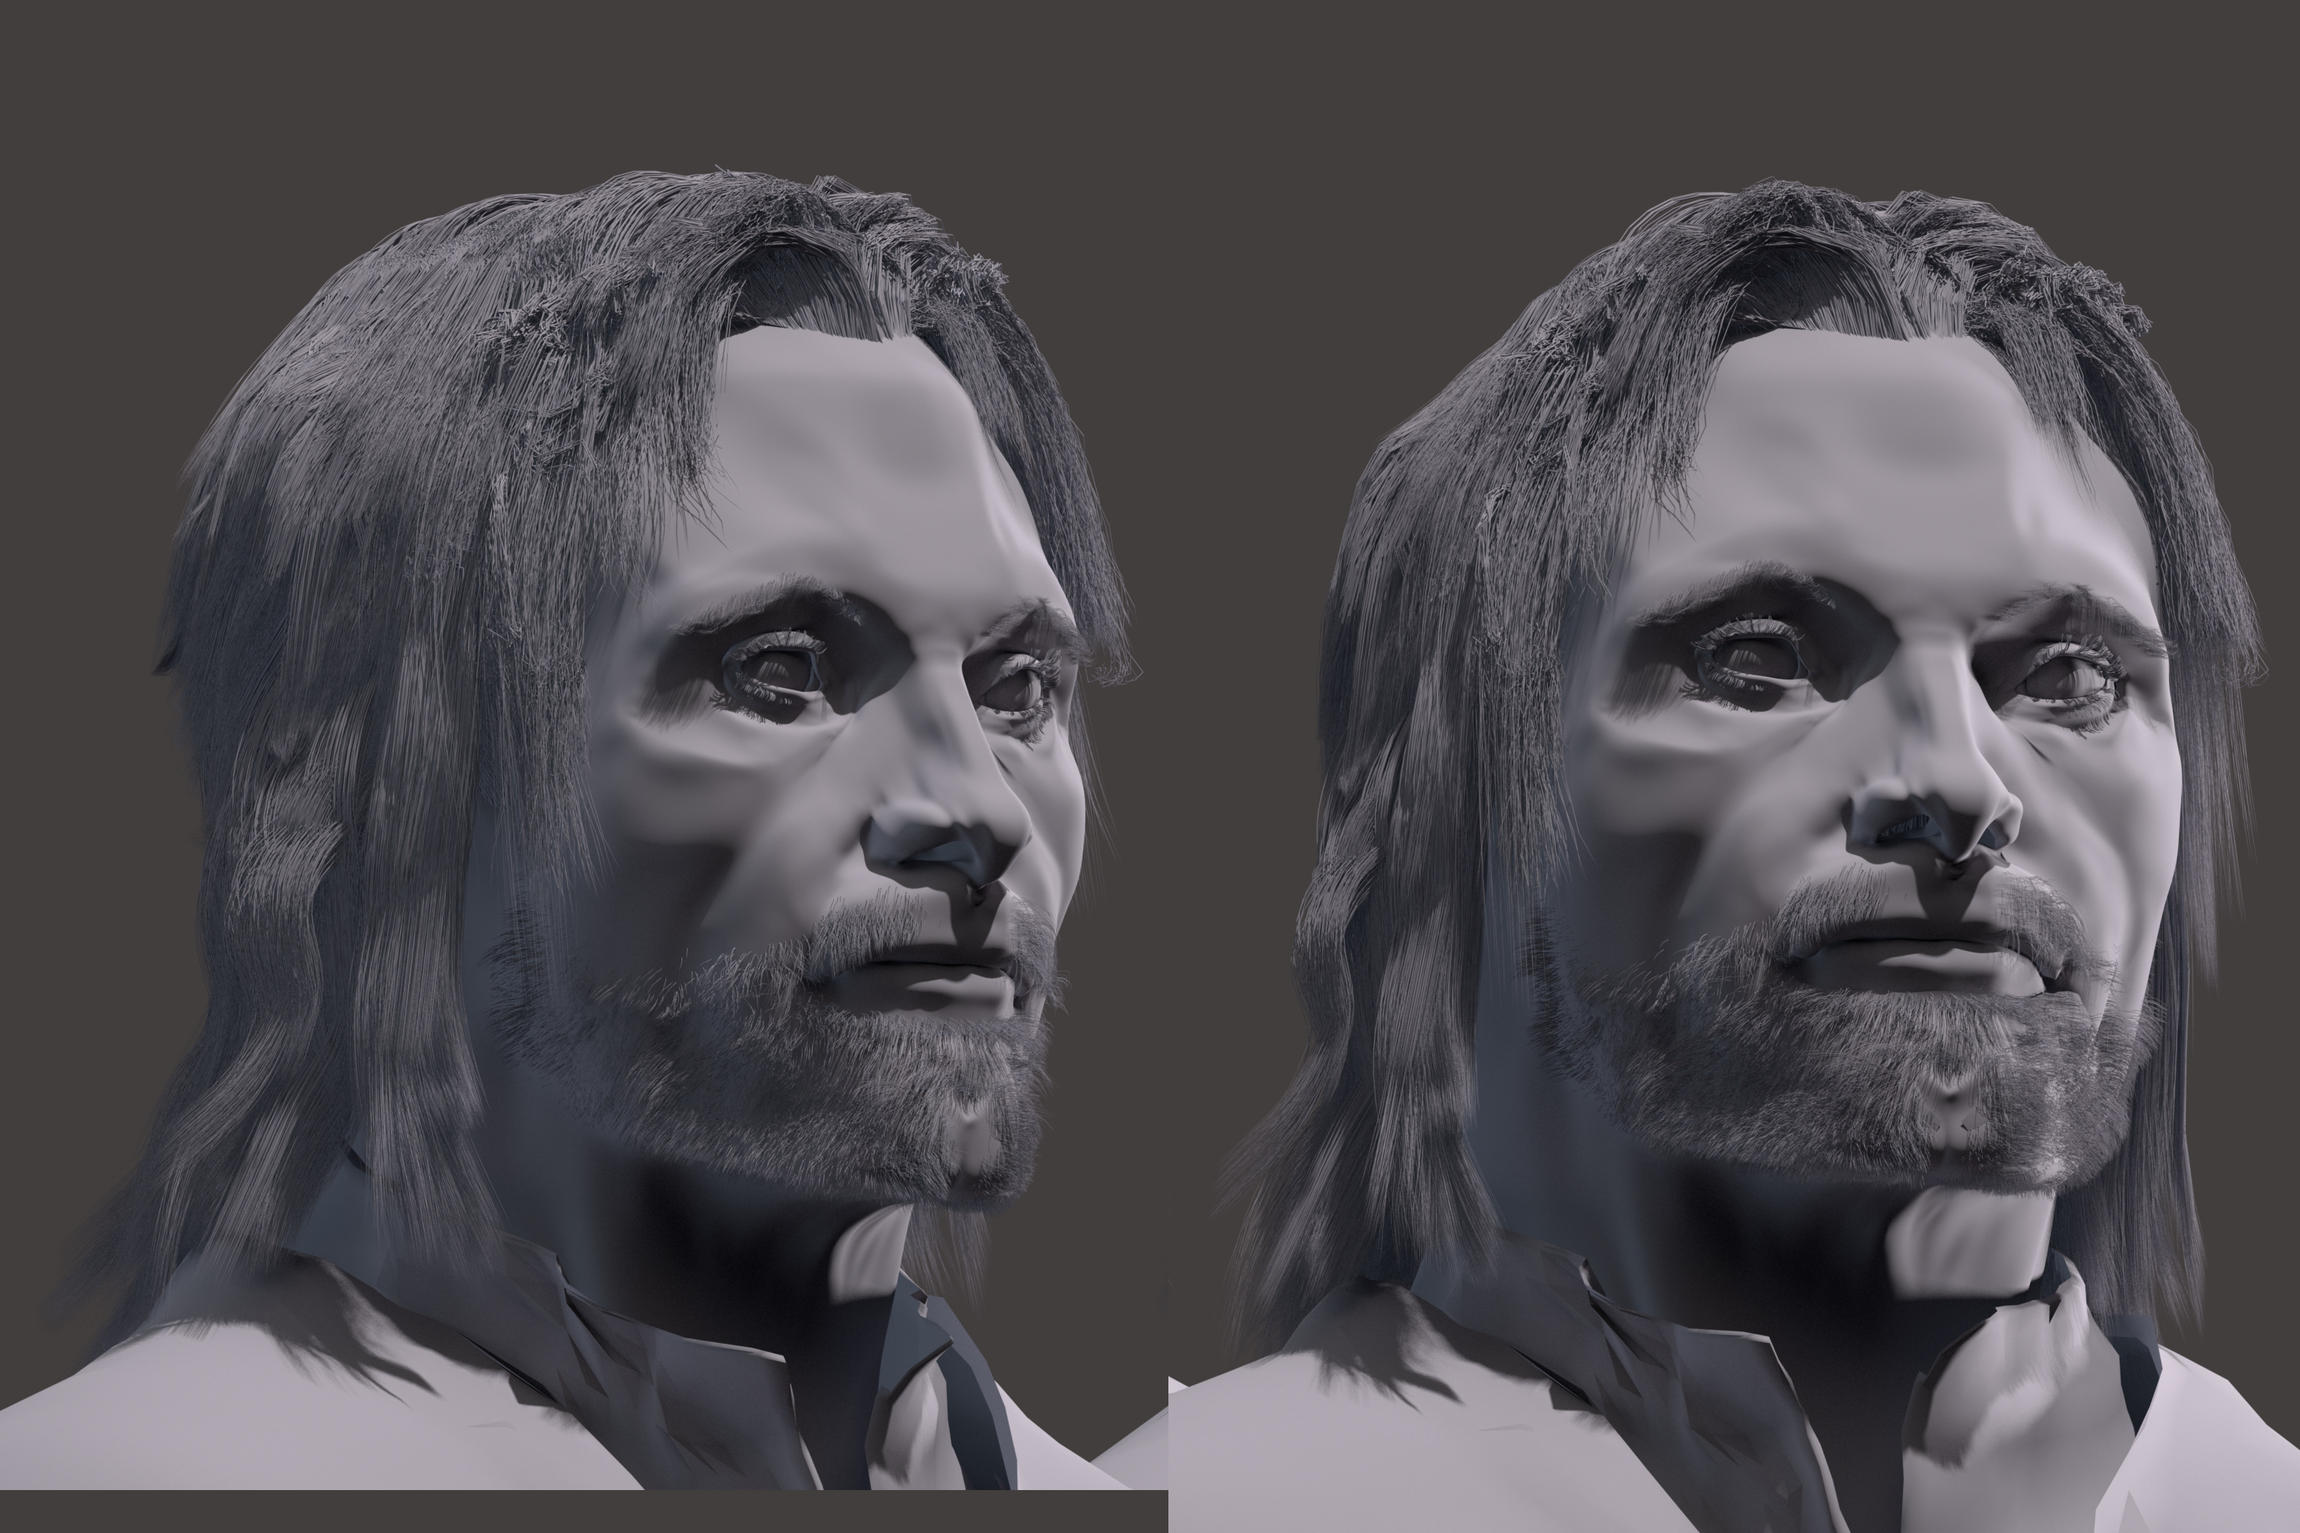
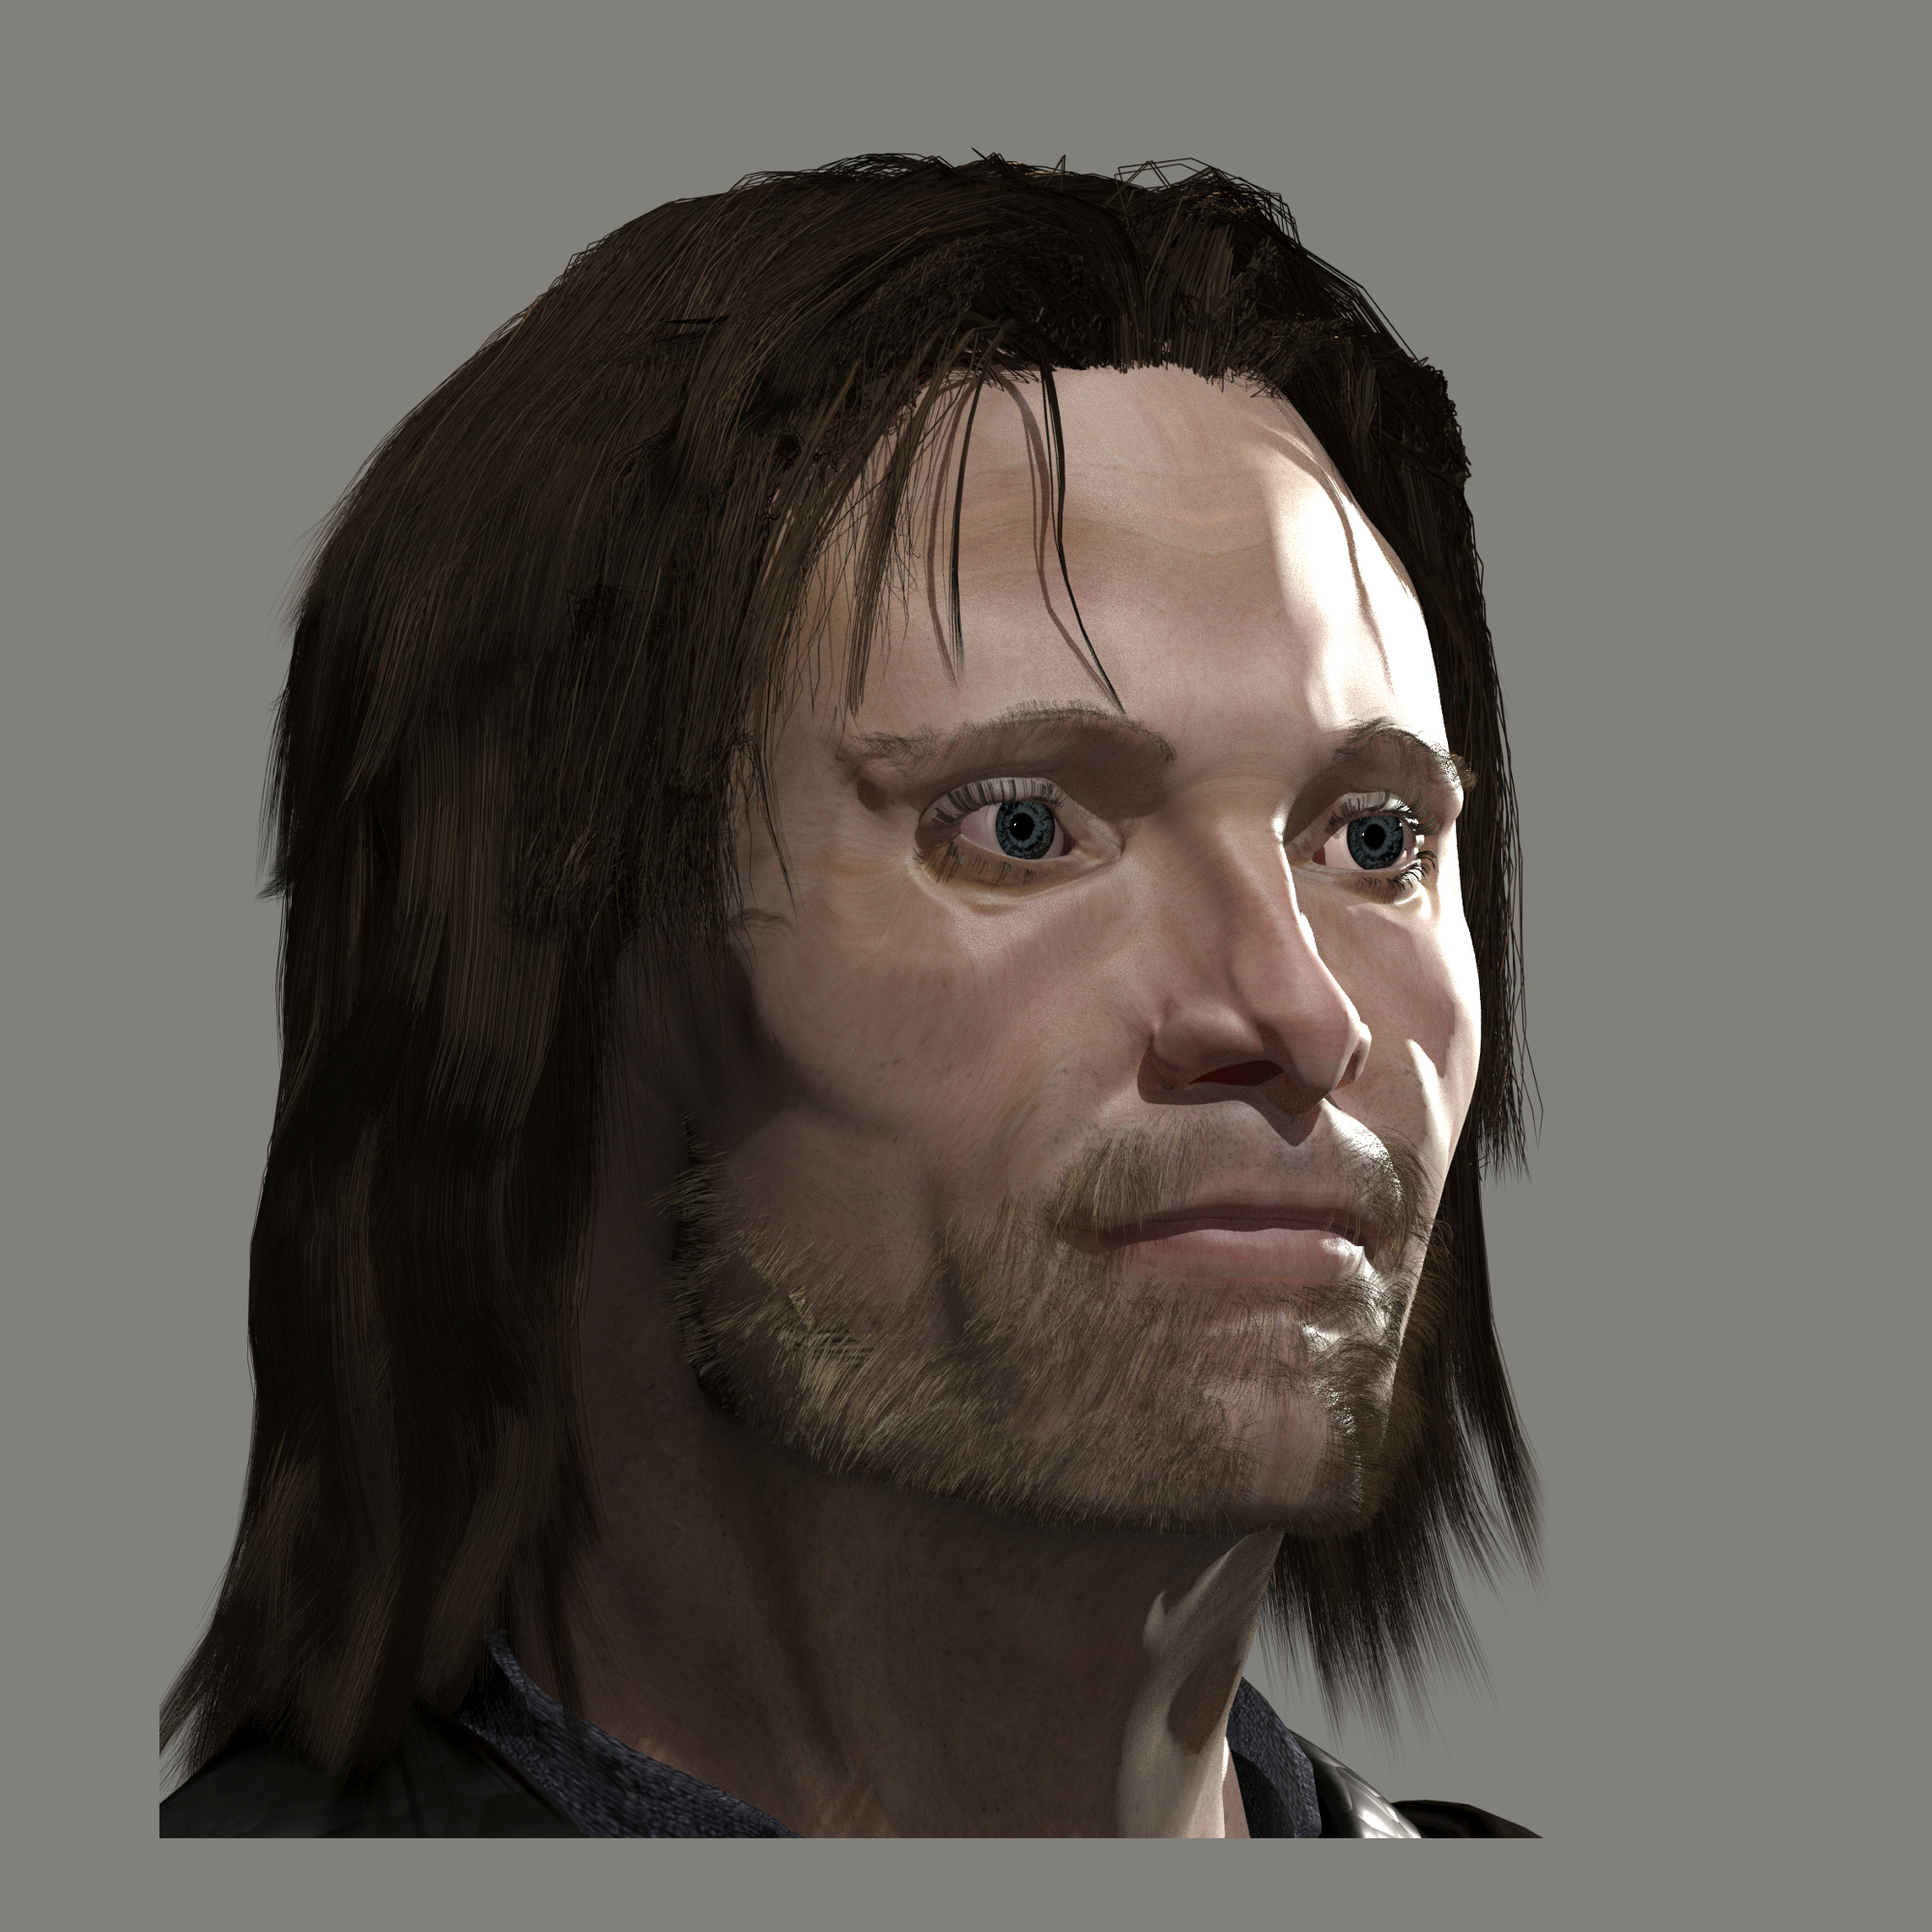
Lighting washed out some of the sharpness of facial features. as well made some sculpting changes that make him look more snoozy than alert
Next goal is is tightening the eyes and thinning the lips into more determined look
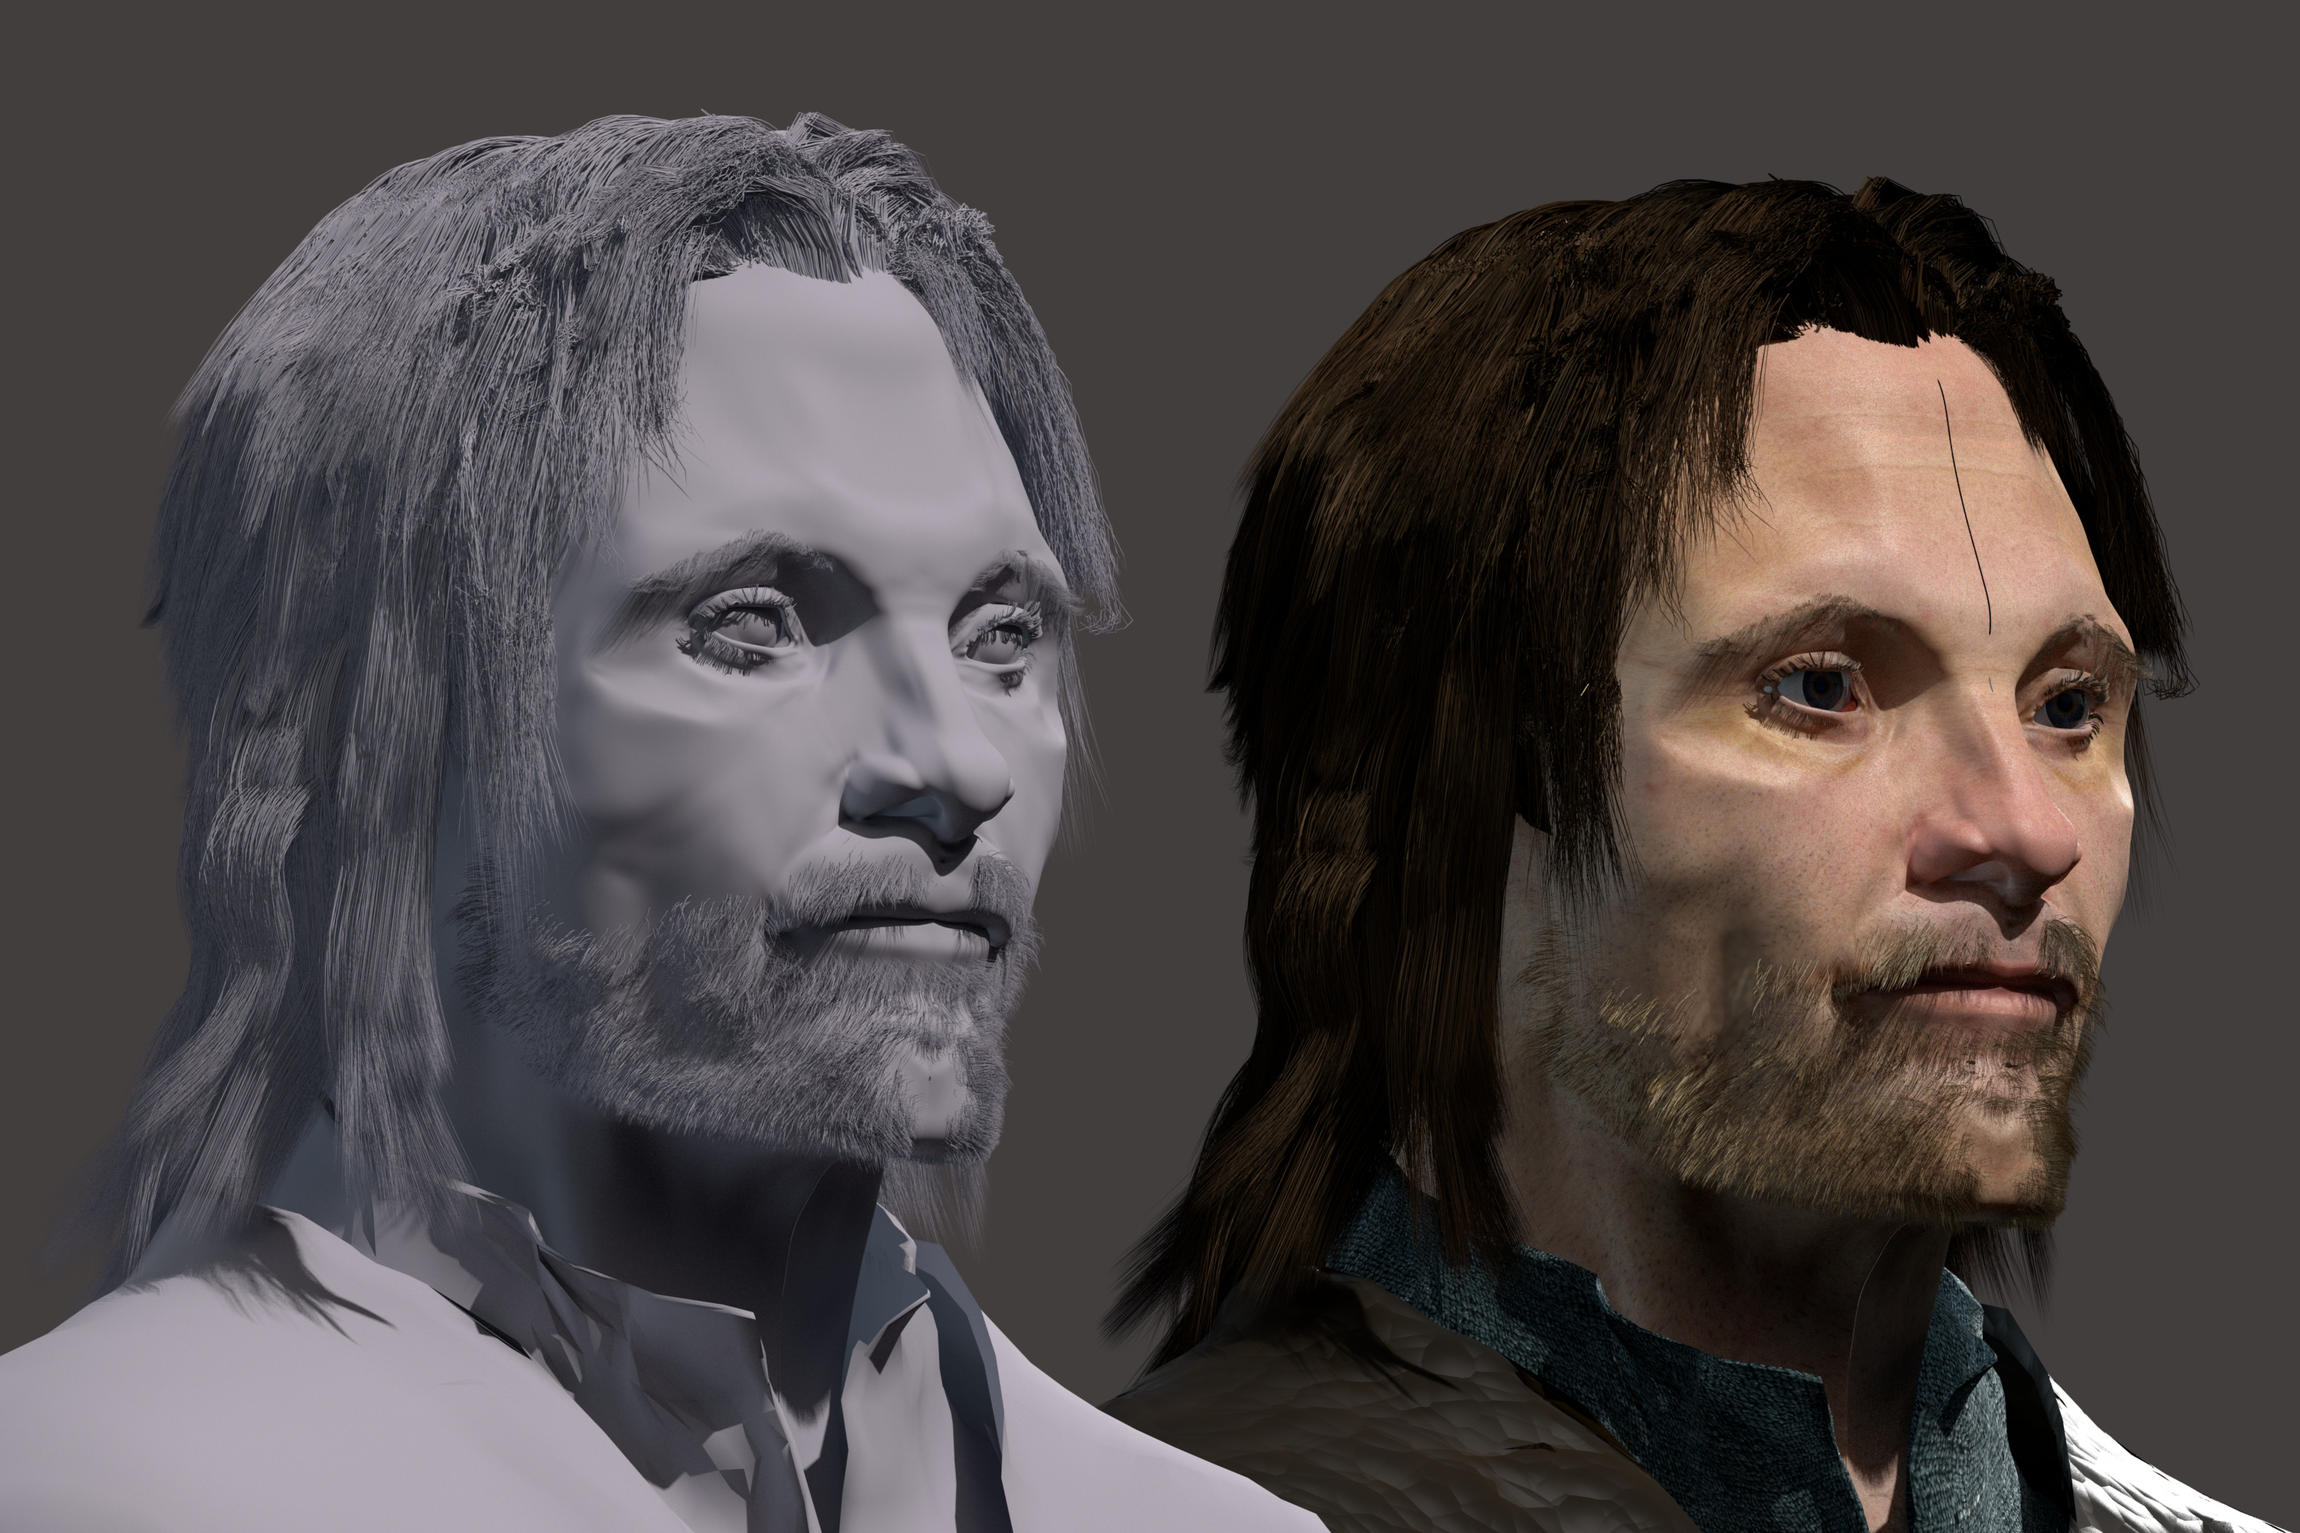
reworked face. the eye sockets and outer brow, the nostrils, forehead, a bit, lips, and eyelids. You know, stuff.
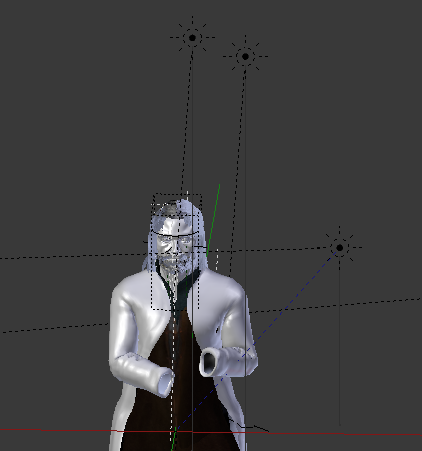
Striped down gear, to concentrate of head, face, lighting. Used preset “Clear Blue Sky” setting for each of 3 suns. Also used World lighting for general illumination. Currently its too bright.
Hey! Looking pretty sweet! You’ve put a lot of work into this so far.
I think you’re hitting all the major shapes of Viggo’s face, which is awesome. I think it needs to be a bit longer, though. His chin drops down a bit further than what you’ve got going on. Quick paintover to demonstrate.
I appreciate if you’re trying to do a painterly style, so it’s up to you, but I do think the skin is just a little too shiny? also, it looks like you’ve got a couple phong shader issues around the nose. it might be easy to fix that by adding a multi-res modifier and doing those fixes in sculpt mode.
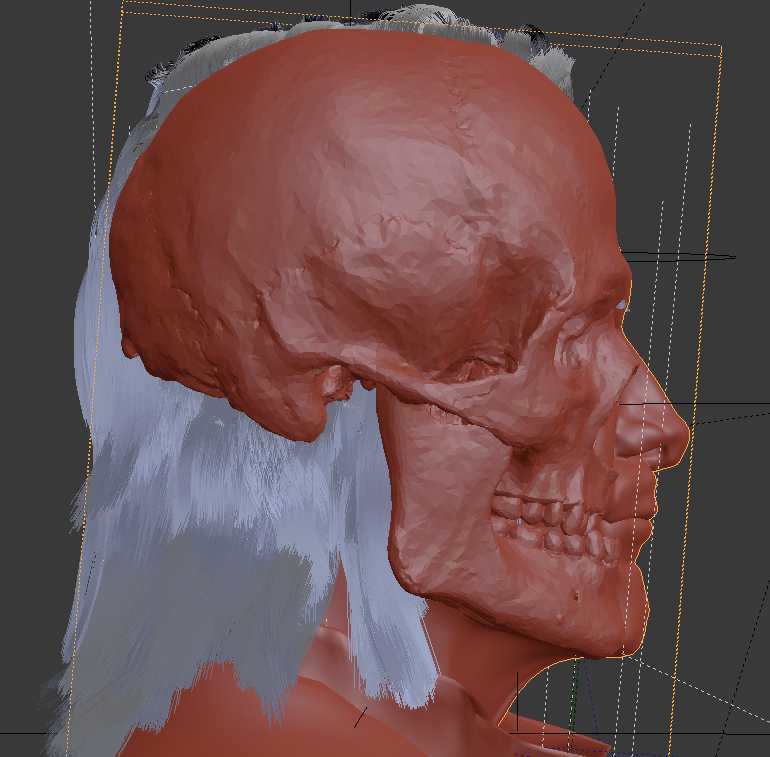
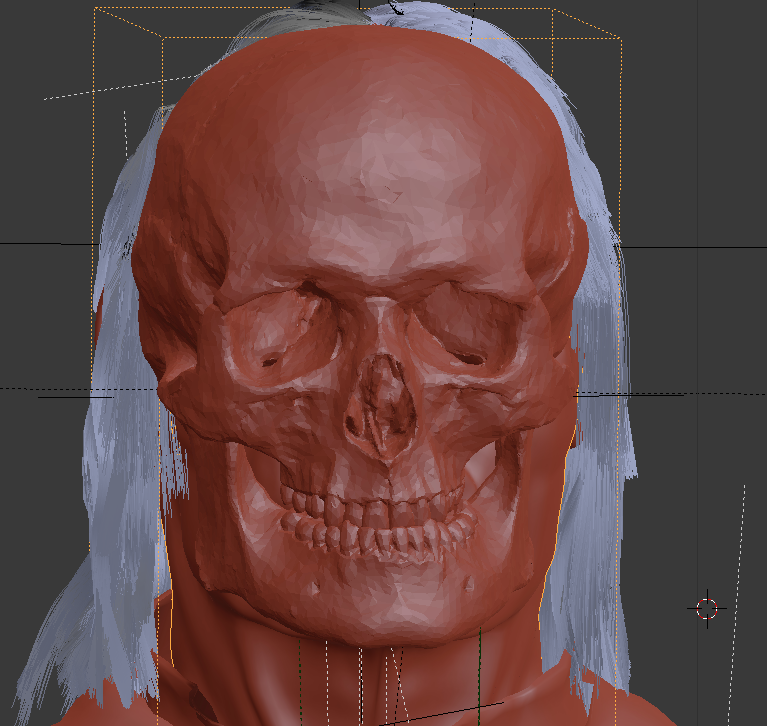
dude, that’s freaky. But, good artistic eye. I think yo’re really seeing the inclination of the skull. His head is modeled much from the European skull, so the facial forms are following the line of the major bones.
I already tilted his head forward once. Likely it needs rolled forward more. Appreciate the feedback. Lucky I popped by and looked today
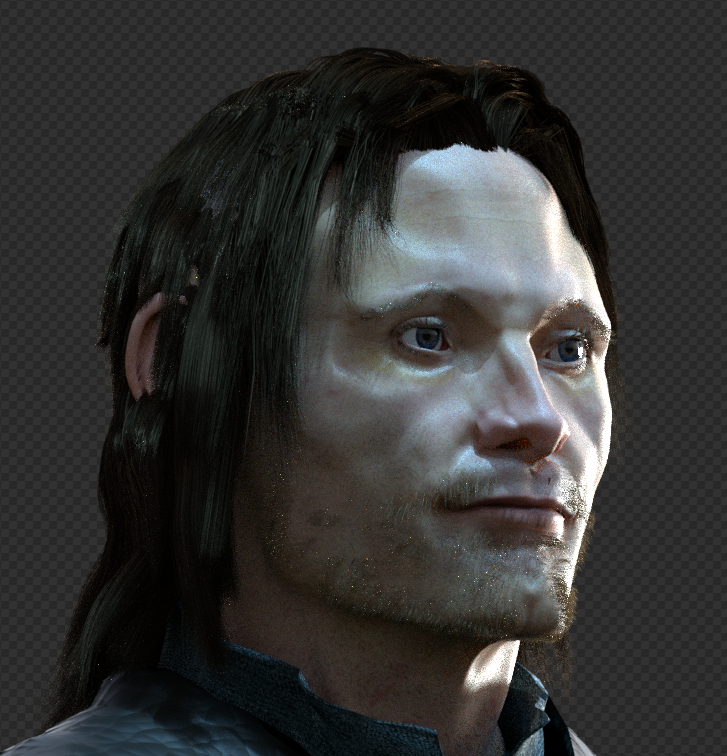
Again, a little rough. Just a quick working window render with head inclined about 5 degrees more forward. knocked the shine down a bit. He’s got a bit of a puff face
Smoothed otu faical regions and transition areas. moved center forehead down. Smothed brows more. reduced nose tip. Adjusted upper lip to have more overlap. and emphasized the indentions in the cranium on either side of the forehead more.
narrowed the nose bridge. smoothed the wings to either side of the septum bone.
And lifted the jaw heel up more, as well as the jaw muscle cluster. Plus flattened the chin and broadened it.
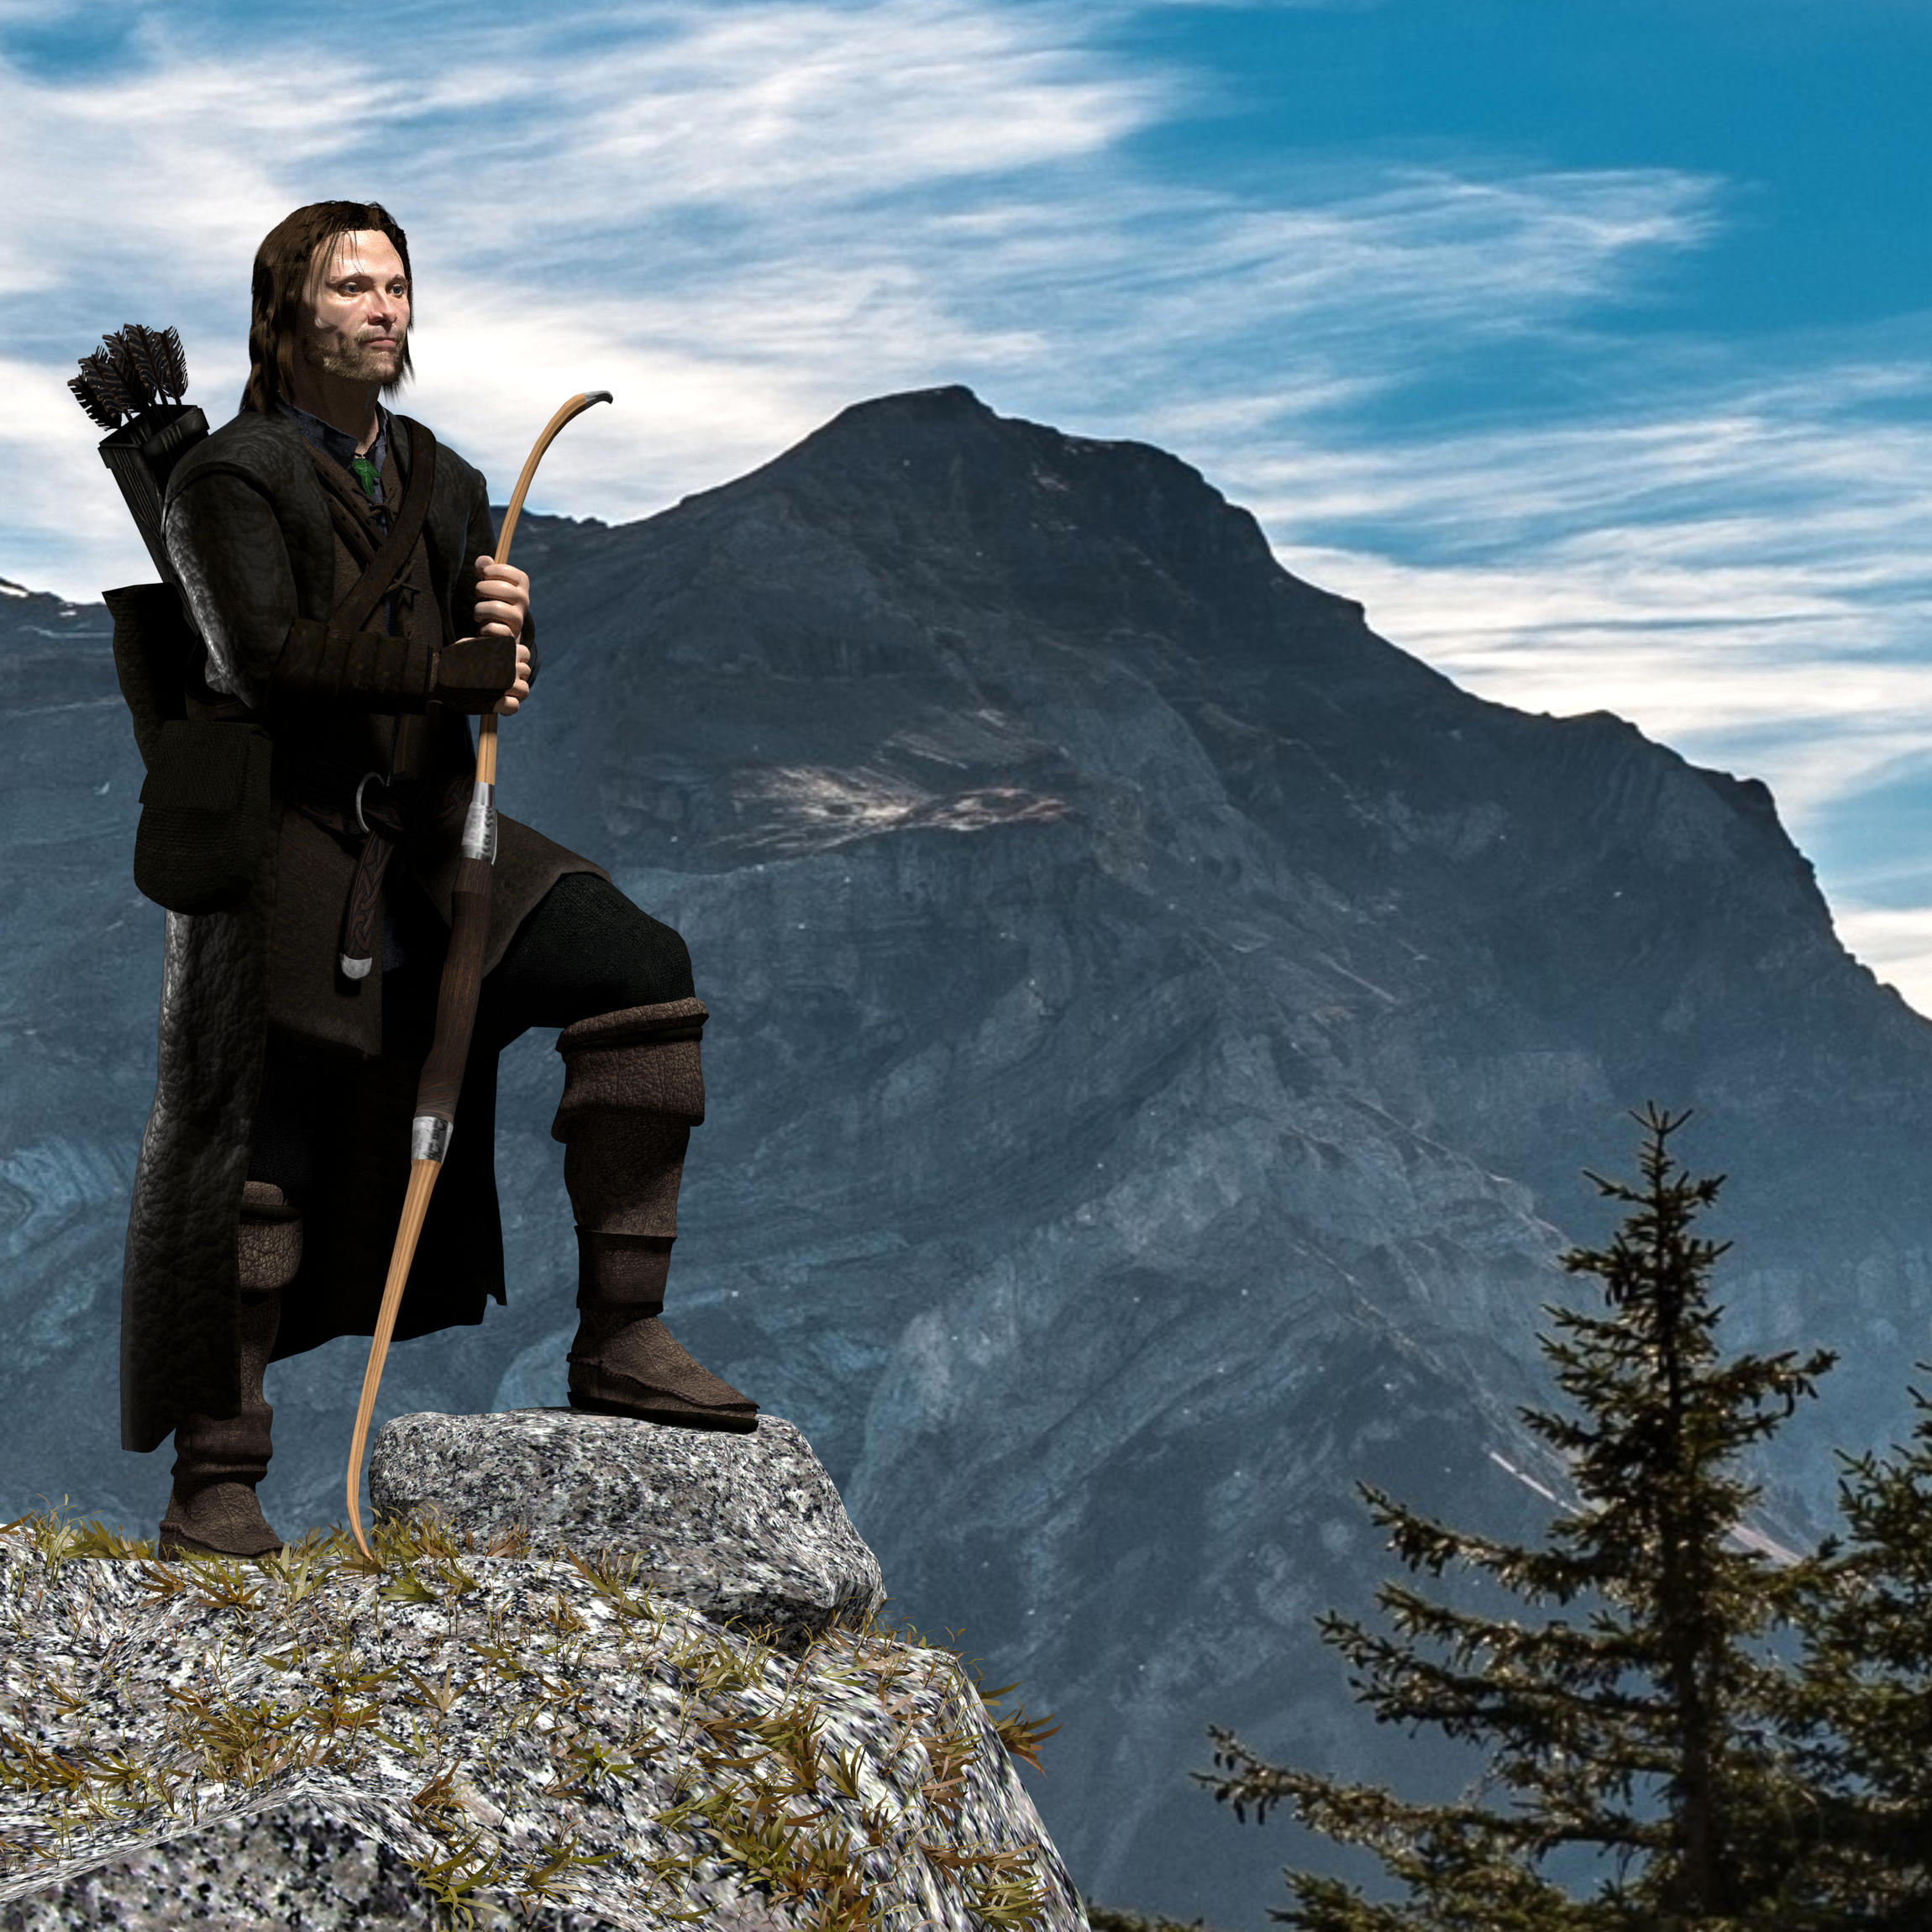
with this last background I find less convincing the ligth received by the cloak and upper right arm from the left
the main light is shining in the ranger face. Where that contrast light come from?
good one blurred pixels! However, while I understand that the brightest lighting is coming from the left (key light?) I don’t know what a contrast light is.
Arag is lit from 3 points, plus a world illumination at a power of 4. the lighting blows. one overhead sun is for sharper shadows, and the other is for wider broad illumination of the face. Also the suns are using the “Clear Blue sky” preset
I’d really like to see a good GI illumination setup
Attached is the lighting and a quick render of 60 samples. Using the larger scene back drop sky. I understand the two don’t match, up front.
I’m hardly an expert but I’d start by choosing the background (and position the sun/light) OR where the sun should shine (and choose a background thereafter)
If you look at your backgrounds they show pretty clearly where the sun is.
In a natural open environment is pretty unlikely to have two strong light coming from different angles so I’d reduce the light from the left and put more light on the right side (shoulder and rised leg should receive direct sunlight if face is bathed by sun himo)
Just my 2c
Holy crap! Funny, I just chimed in with one of your posts about GRASSVALD! And closed it with “My two cents” crazy, man! Some synergy going on I guess. So, anyway, back to your reply …
.
Yeah I agree. The intent of the left sun was to be a rim light. The main light, key light (I think the term) was to be the overhead sun. But my problem is shadowing. Using this approach creates deep hard shadows which create sharply defined facial features, cheekbones etc, but makes too dark a look under the brows. However, when I try to use like a broad shadow less area light to illuminate the face and clothing, it washes out detail and creates a cartoony texture look.
Then I tried adding world illumination lighting. Which works but washed out detailed shadowing.
In compensation, i dropped the world illumination and resorted to trying a second sun overhead, with a much broader angle and softer shadowing effect to better illuminate, chin, cheekbones, and lower portion of eyes. And that’s as far as I got …
So I’ll try concentrating more direct sun from the front, overhead, as per your advice. That’s my two cents back
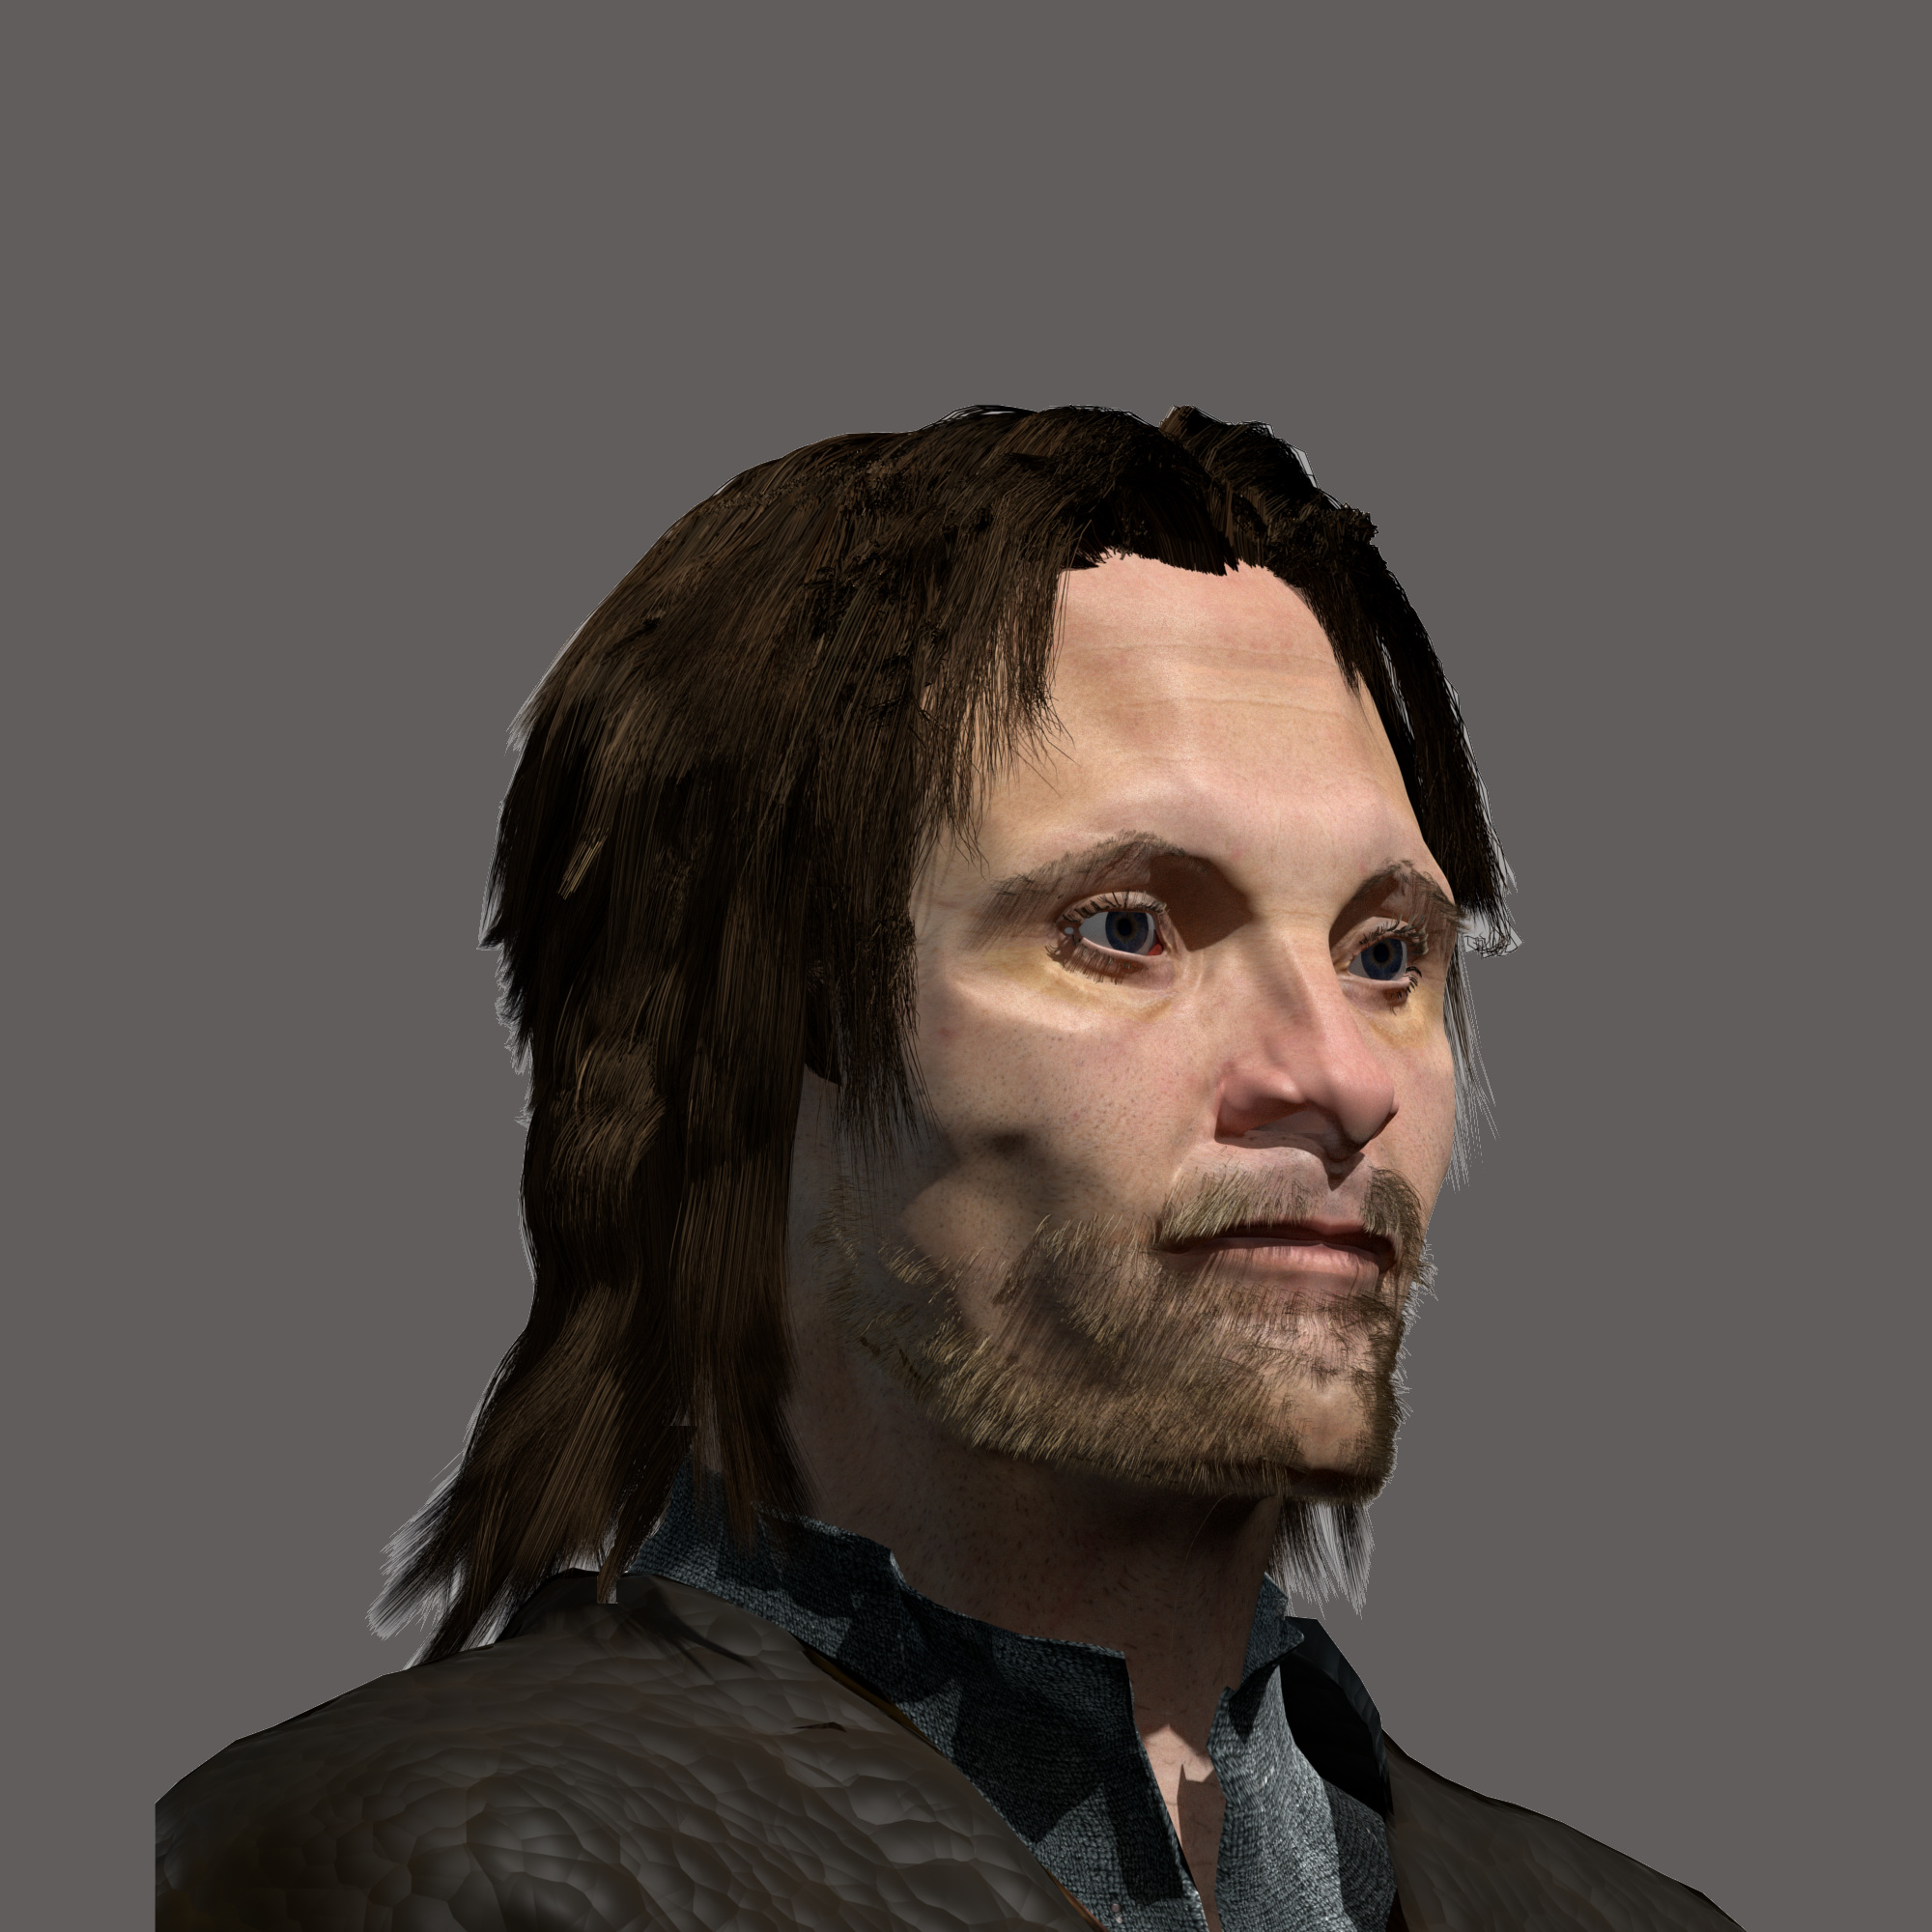
First pics are the rougher facial features. In the second I pulled the lower face back, mouth and chin. I also carved down the chin mass. Als smooth out the forehead and brows a bit.
Every time I knock out a render which seems pretty good at the moment, I realize later its off the mark. But I thin the last variant is actually on the mark. Except - the mouth.
 well, strolling around…