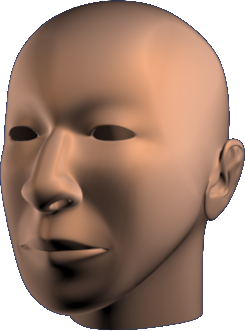
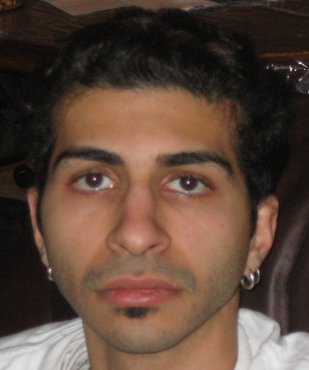
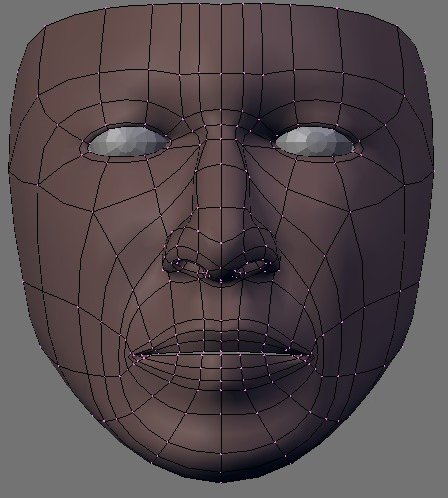
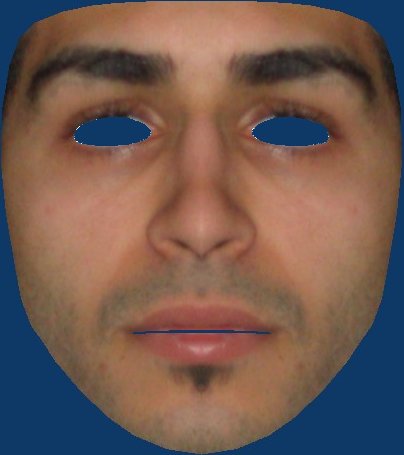
Here’s a new head mesh using Torq’s tutorial in response to a challenge from my buddy Raymond (see reference image). Total time up to this point is 3 hours.
pretty nice start. Not much to crit (Im no topology expert) it looks great so far.
I would say that the lips arent wide enough, and your missing that bump about halfway down the nose…
you’re the one dat taught me how to model the ear properly =)
the topology looks fine
unless you plan on animating him, you can always merge some of those polygons around the back of the head and reduce the poly count so that you’ll have only the amount that you need for the neck. I’ve been advised by a professional modeler (video tut) that keeping the back of the head as simple as possible is a good thing.
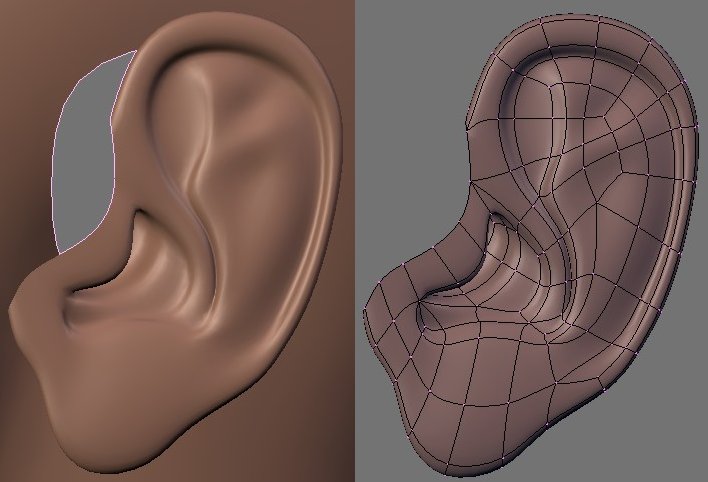
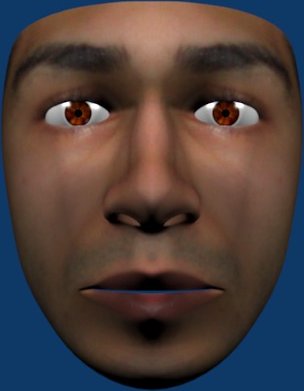
There are some obvious problems with that ear but the basic shape and structure should match the reference. It does require more tweaking and it will be tweaked till I’ve pulled the rest of my shiny black hair It is also quite different from the Joan tutorial which I’m not referencing for this project.
As for the loops on the back of the head… I don’t think that the number is high. There is enough to provide the shape & will be posed (maybe not animated) if I ever complete a body for him.
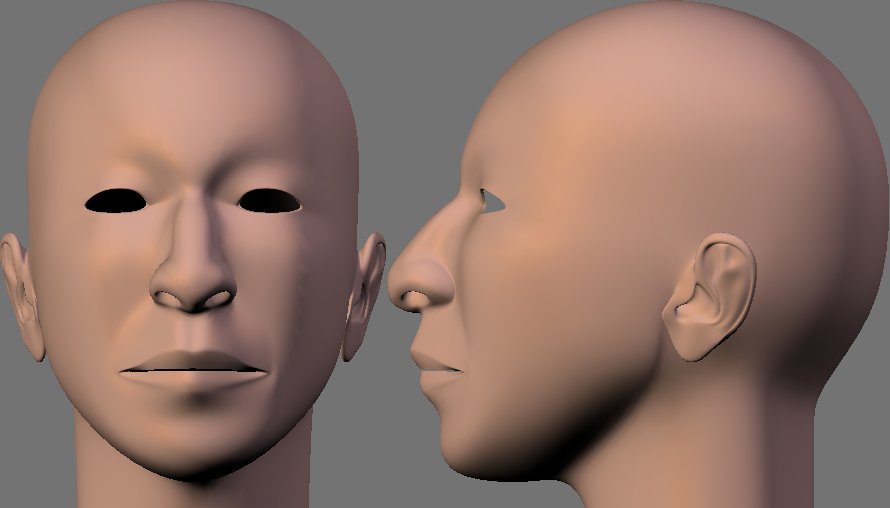
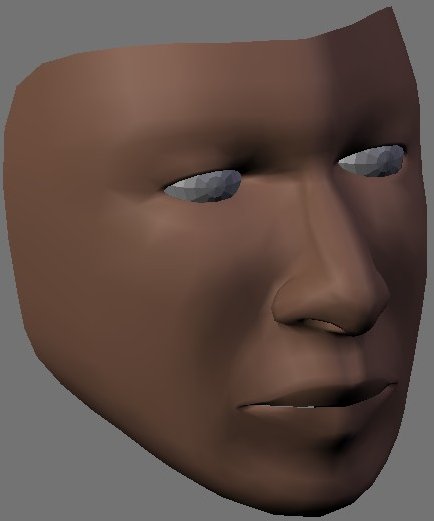
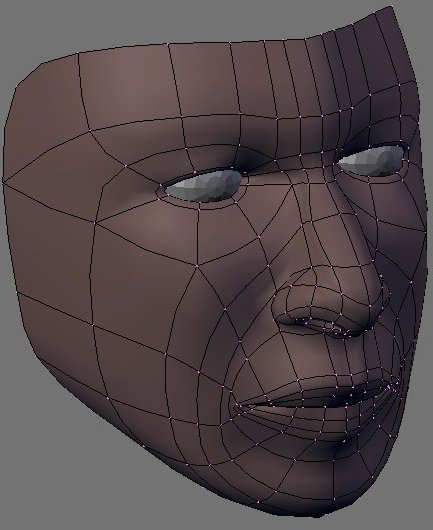
One last update before I leave for holiday season. The orthographic view looks more like him now. The perspective view ain’t that great (don’t know why). I was also messing with the SSS effect with shadow buffers mentioned in some post on this forum. And, the ear sucks


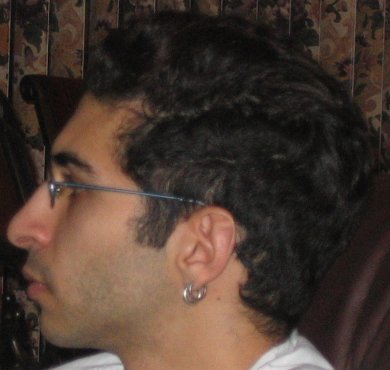

 I just used the front reference image! I might do one by hand later. I want to create the character first.


 It is also quite different from the Joan tutorial which I’m not referencing for this project.