I think what you really want is a sort of node-based dependency graph, where each node is basically a task in the render/run-third-party-script-or-tool/composite/more-compositing/etc dependency chain. So you can basically re-create your final images by just running the whole graph, or disabling nodes that don’t need to change and running half the graph.
I just think that a linear layer structure is not powerful enough. At least working in feature animation, we had a lot of different layers and a lot of different steps that need to take place before the next step can happen. For example you might want to run a script to bake out a pointcloud which will be used in a render later down the chain. And you might not want to re-bake some data if stuff before it in the chain doesn’t change. Especially in an Effects workflow (which is what I did) you need full control of what happens when and what tasks depend on what.
For example, lets say DW want’s to render out a 4k version of Madagascar3, Ideally (though it rarely if ever happens) because of their use of dep graphs you should be able to go back to a shot, change the resolution setting for the shot, then simply run the dep graph and you will get a 4k image that looks hopefully visually comparable or close to when it was rendered at 2k, even though it probably went through a graph of hundreds of nodes from various departments including baking out models, shadow map generation, rendering layers for each character separately + bg layers, volume renders, baking for subsurface scattering or GI, rendering cutouts, compositing, etc. Though technically speaking, you’d have to also go in and increase resolution of shadow maps and point caches… but I digress.
My point is that although it would be a good feature to allow a different renderer per layer, at least in my opinion, it would be a better feature to have a node based dependency graph that would allow you the freedom that you want (renderer per layer) but also allow more powerful usage such as running command line tools or python scripts, baking, etc. Alas, now I’m way off topic, haha.
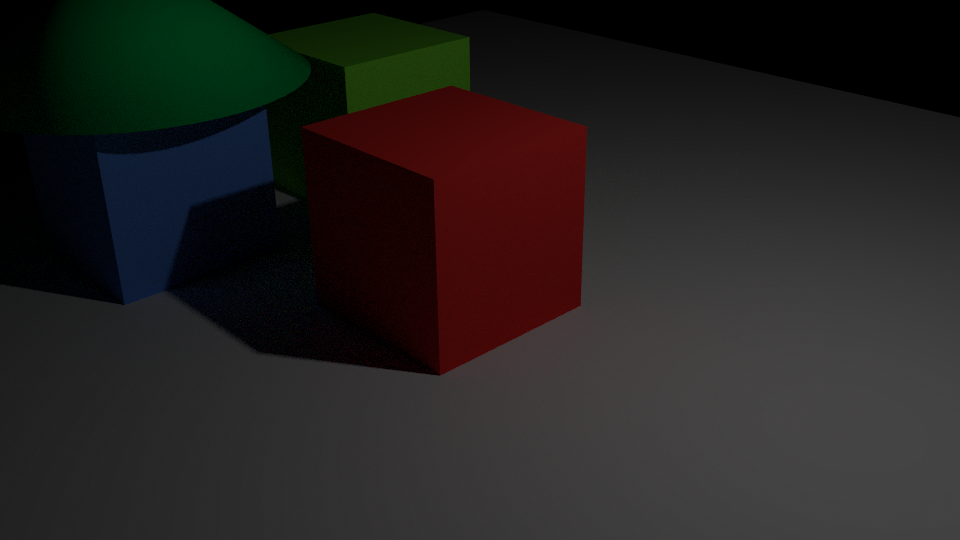
Basically you just need to go into the environment tab and turn the background color to solid black since all background colors get reflected on the objects.
LOL, found a checkbox on layer settings, and ahh yes, I missed that color setting, thank you. It looks very close to my 2 bounce version but darker and renders in 3.5% of the time.
Yes, that would be more powerful and may be something can con be done eventually with Pynodes. I don’t know if you know about Pynodes or not but it’s a way to define arbitrary node graphs with Python for use in your scenes. So like, a particle graph or procedural modeling environment.
What I was thinking of was just a simple solution though. Basically, I would love to have different parts of an image to be rendered with different renderers. I can actually do this right now by simply parting out all the different pieces into separate scene layers and then into ‘Render Layers’. After which, I can simply switch the renderer at render time before rendering the specific render layer. But it’s kinds of a hassle to keep track of what renderer is supposed to be rendering what.
I just want a way to have this happen automatically.
Let’s just do Maya-style layer overrides and be done with it. Where you can just flag a property as being “overridden” and it then can have an alternate value on that render layer. Override the render engine setting for that layer, change engine, render!
It actually can be automated: once you set different scenes and the renderlayers you need, go to the compositor and arrange your nodes. Notice that when you add a renderlayer you also have the ability to set a different scene, and each scene can be rendered with a different engine!
This is how, not long ago, people mixed hairs and/or volumetrics with cycles renders
So, each bounce is a sample multiplier? Real final samples = samples*bounces? This would explain why i got stuck when i set 8 bounces (to make a cycles comparison)
Note that if you want to compare with cycles, you should set cycles to squared samples to match BI, I believe I saw a checkbox for that somewhere but I can’t find it at the moment. If you don’t check that, it’s not a true comparison.
With bounces you have to be even more careful with raytracing, and also why I feel it needs a bounce sample factor setting…
(samples*samples)[SUP]bounce[/SUP]
so with 8 samples at 2 bounces you are doing 4096 samples per camera ray sample
at 3 bounces you are looking at 262144 samples per camera ray sample (exponential growth)
with a bounce sample factor the formula would be
((samples*samples)[SUP]bounce[/SUP])*bounceSampleFactor[SUP]bounce[/SUP]
if bounceSampleFactor == 0.5 the sample count for 8 samples with 3 bounces would be 32768 per camera ray sample. It makes quite a difference as you are somewhat counteracting the curve of exponentiality.
(if I am doing my math right… math is not my strong area.)
I haven’t visually tested it, but I do know that with more than 2 bounces of indirect light, the changes in the final look are pretty minimal. So I imagine it would look roughly the same with a LOT less samples. If you imagine turning down your samples, you get some grain right? but if you average the grain together, the color would probably look pretty close to what it would have with a non-grainy grouping. Just a hypothesis of course.
Because cycles does not by default do squared samples, you can do a lot more bounces for cheap (no exponential growth). And again, I am not sure why BI decided to go with squared. I can’t say I’ve seen that anywhere else. Maybe I should put a toggle in there for that, enabled by default so the default behavior matches the older versions?
This should have been done a long time ago in my opinion, nice work! I’d like to see this working with a real interior like this one which was done in BI with only Direct Lighting:
Ahh man, don’t make me review my algebra and merging powers of… you know squared is x[SUP]2 [/SUP]right? and squaring x is also x*x right?
so it is number of samples to the power of 2bounce
or shortest form would be: samples[SUP]2bounce
[/SUP]which is also the equivelent of: samples^(2bounce)
if you like that notation better…
this is the current behavior of BI samples, so if you have no bounces, say with plane ol’ occlusion, that is the same as 1 bounce, or simply samples squared. but with each bounce, you get a whole new set of samples squared to evaluate the bounced sample properly.