Hello,
For a university project I am aiming to create a 3D scene in UE4 and Blender as close as reasonably achievable from a beginner/intermediate standpoint. Having more experience in UE4 I was able to create the scene quite quickly.
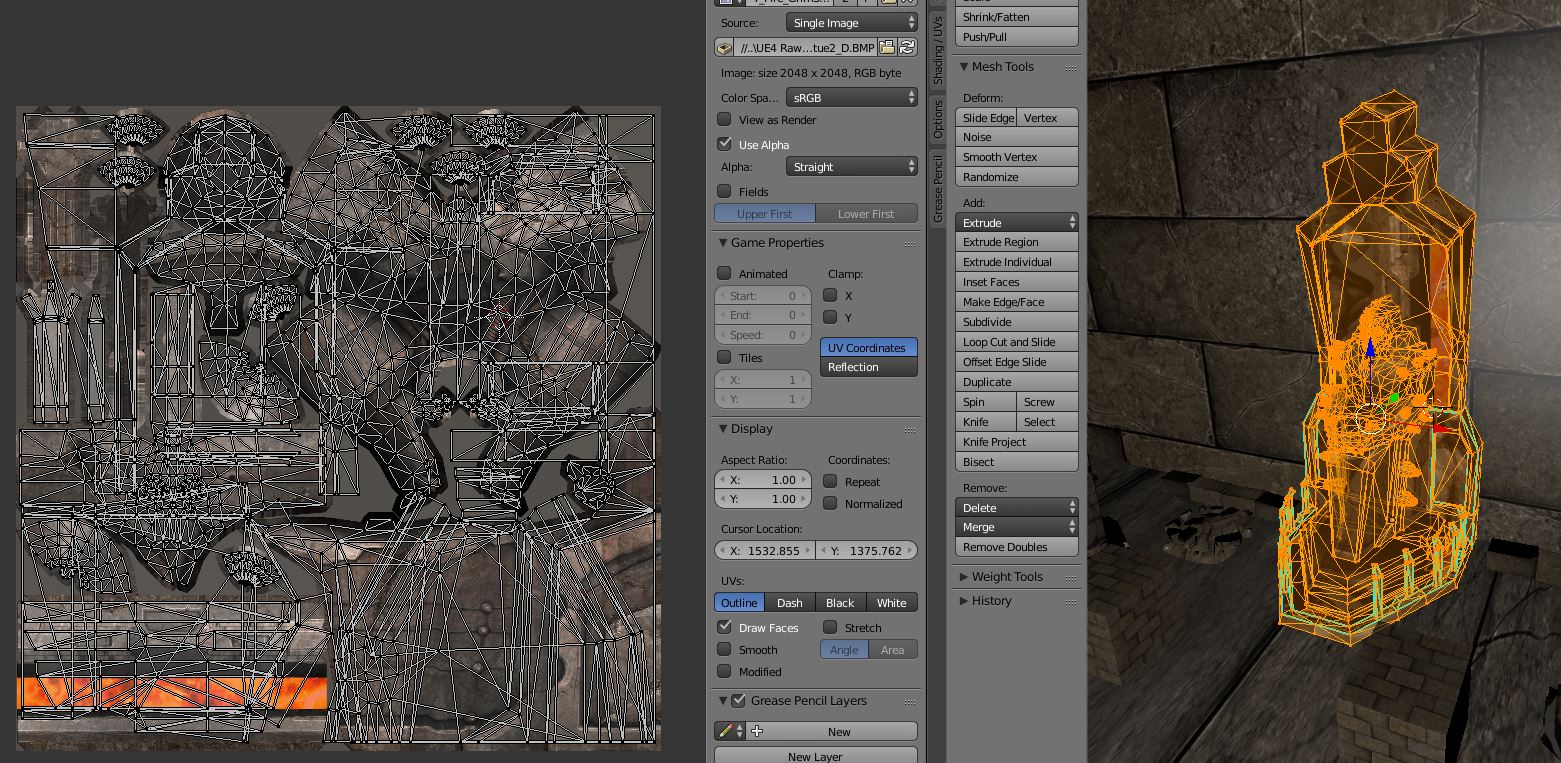
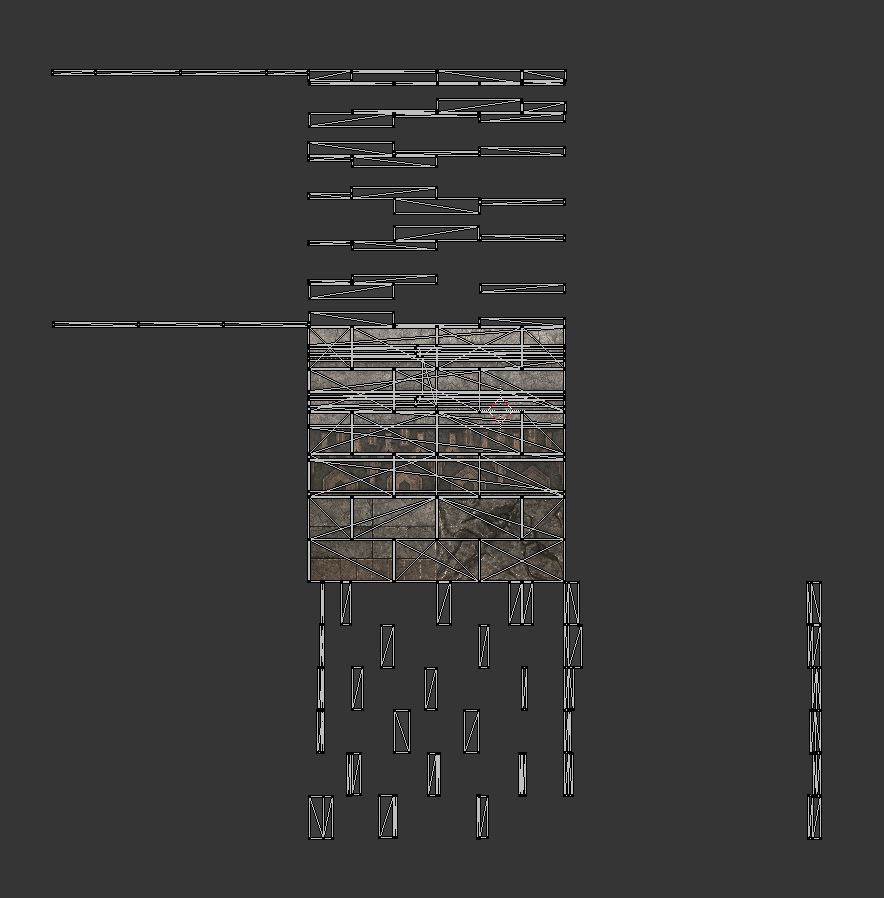
In Blender, I did look up some basic tutorials regarding the UI and object manipulation, so I was able to drop and place the static meshes quite nicely. Now however I am struggling with materials and textures, as I’m used to using the blueprint system UE4 uses, but no other software seems to (That I can tell) to the same degree.
On most objects, simply dropping the texture on is fine (I have yet to figure out how to apply a normal map but that’s another topic), but on certain, more complex, objects the textures don’t display properly. Worse still, on certain objects it’s clear a mix of textures/materials has been used for different parts of the mesh. UE4 somehow combined these together without much difficulty (I have examined the object material blueprints but they don’t give me any hints), but in Blender I can’t figure out how to point different parts of the UV map to an entirely different set of textures. Not to mention I can’t really unfold or make drastic adjustments to the UV unwraps or textures, as I am using pre-made assets from UE4 (This is a project for testing game engines more than my skills as a 3D artist, even though the latter is what I’m interested in. Starting to kick myself for not taking up a modelling project but far too late for that now, but I digress).
It’s a bit hard to describe, so see the following gallery for examples and comparisons of what I mean: http://imgur.com/a/DBIzL
Now I’m not expecting a thorough step by step guide on how to fix this (As I’d have to at least upload the project and all the source files) but some general suggestions as to what to look at (Whether certain settings/features or some tutorials that cover the topic that you would recommend) would alone be immensely helpful.
Textures have always been my absolute bane in 3D modelling, and it doesn’t help that my experience in Blender is incredibly bare bones. And even then, making, editing or just dropping in static meshes is one thing, making, applying and tweaking textures and materials is an entirely different skill altogether. And it’s something that I just haven’t had time to cover in decent depth in the last few years.