Realistic Car Crash Animation Finished

UPDATE:
The shot is finished and i have a video for it. I made everything except the explosion that was made in houdini. Rendered with the New Object Type branch and when you have questions ask. I made it for an assignment for the university, and we wanted something challenging to learn a lot.

The Video and only some shoots i made. Thats not the final color grade. I redone it to practice some things so i hope its cool…

Really helpful Tutorial about it is from Albin Merle. The best stuff about destruction. https://www.youtube.com/user/albin3010/videos

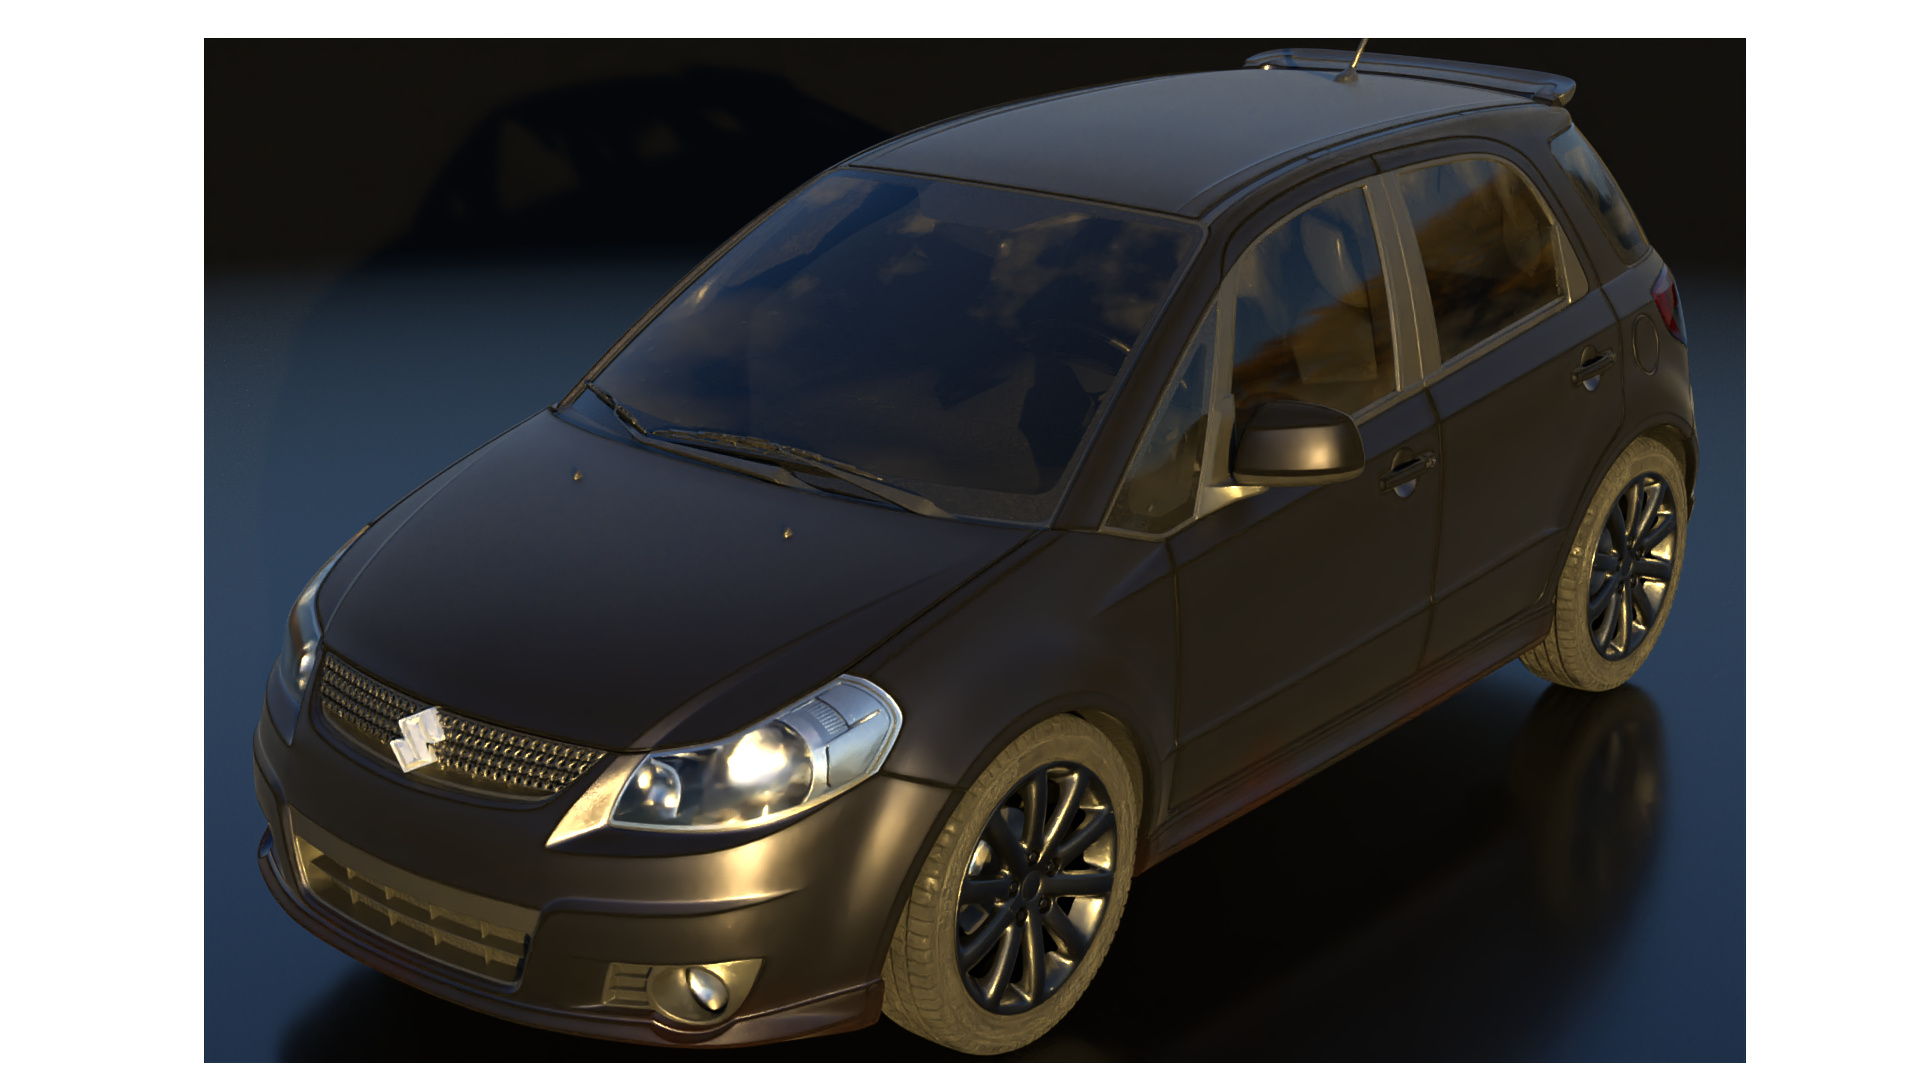
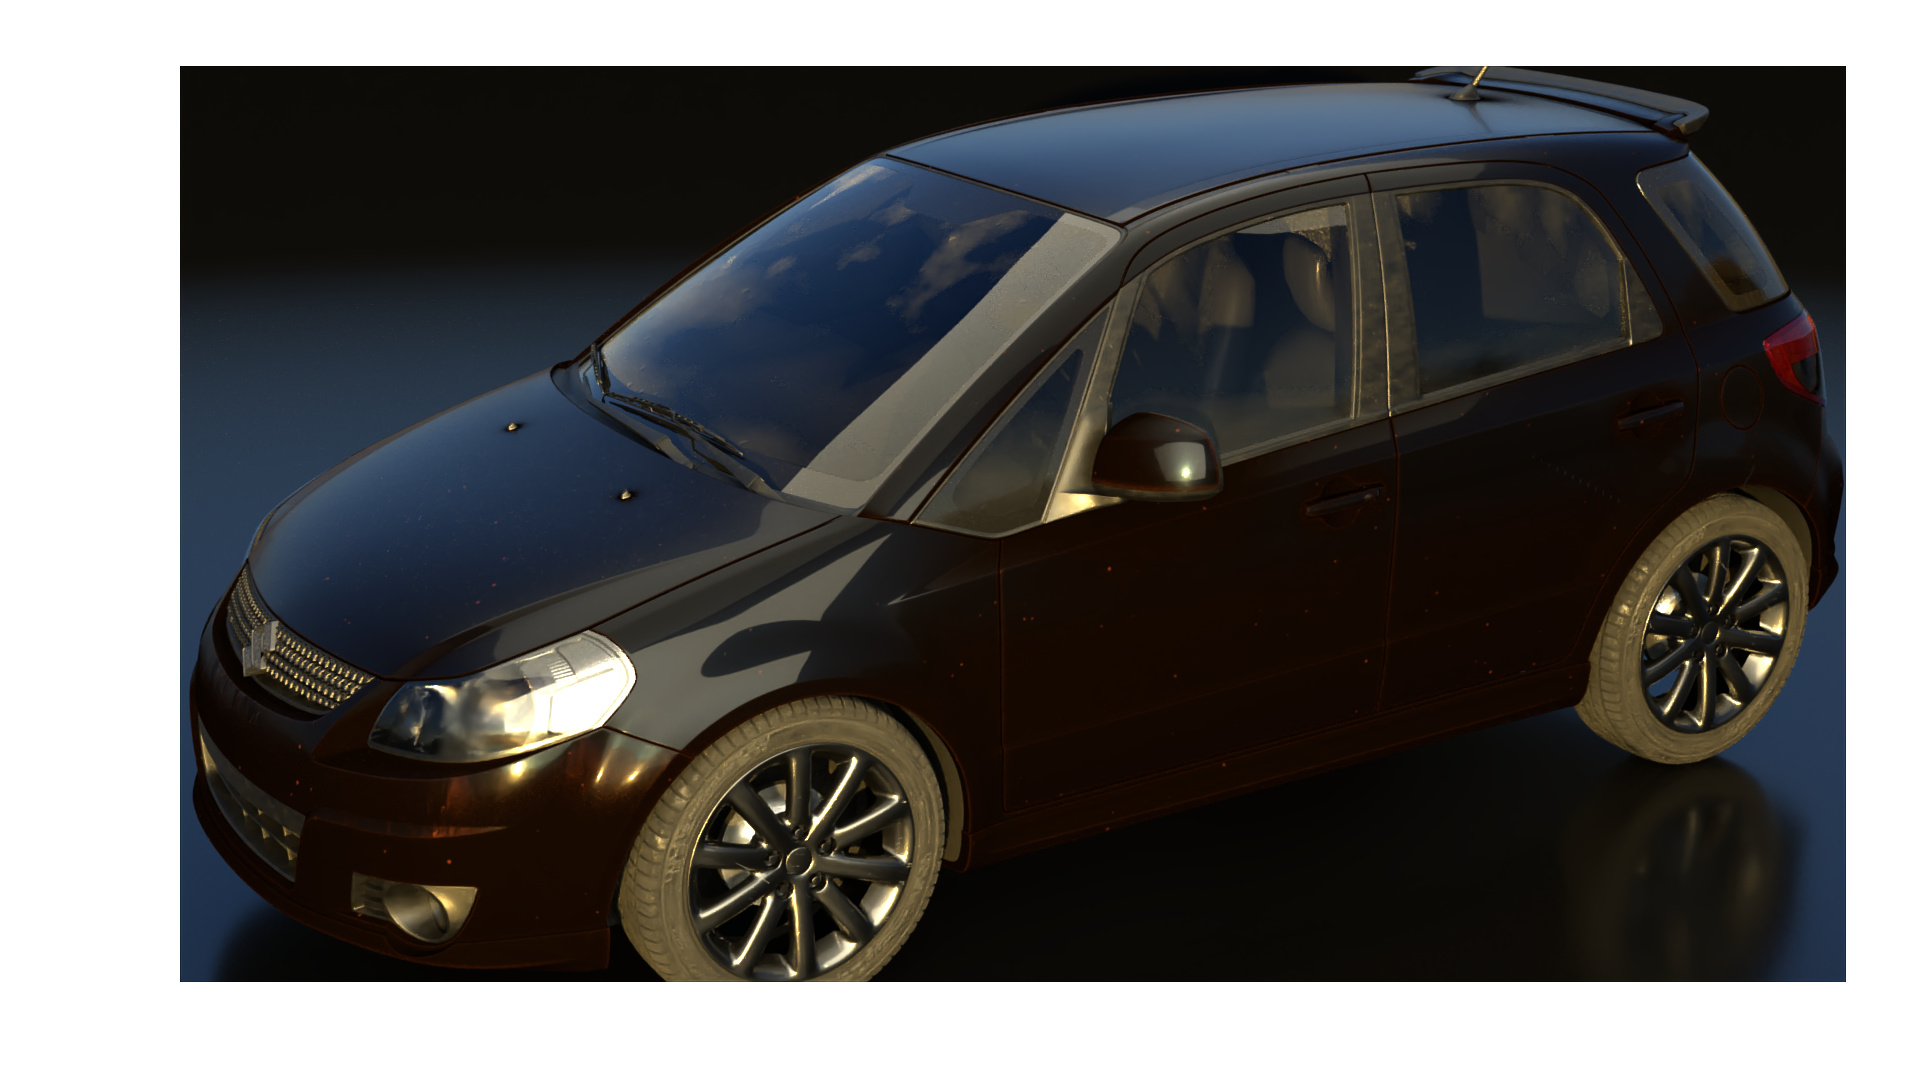
I am currently texturing a car for a VFX Effect and the goal is to be realistic. I have first made a clean version, might come in handy and now the dirty version for more realism. Any tips for scratches and used look things are welcomed.

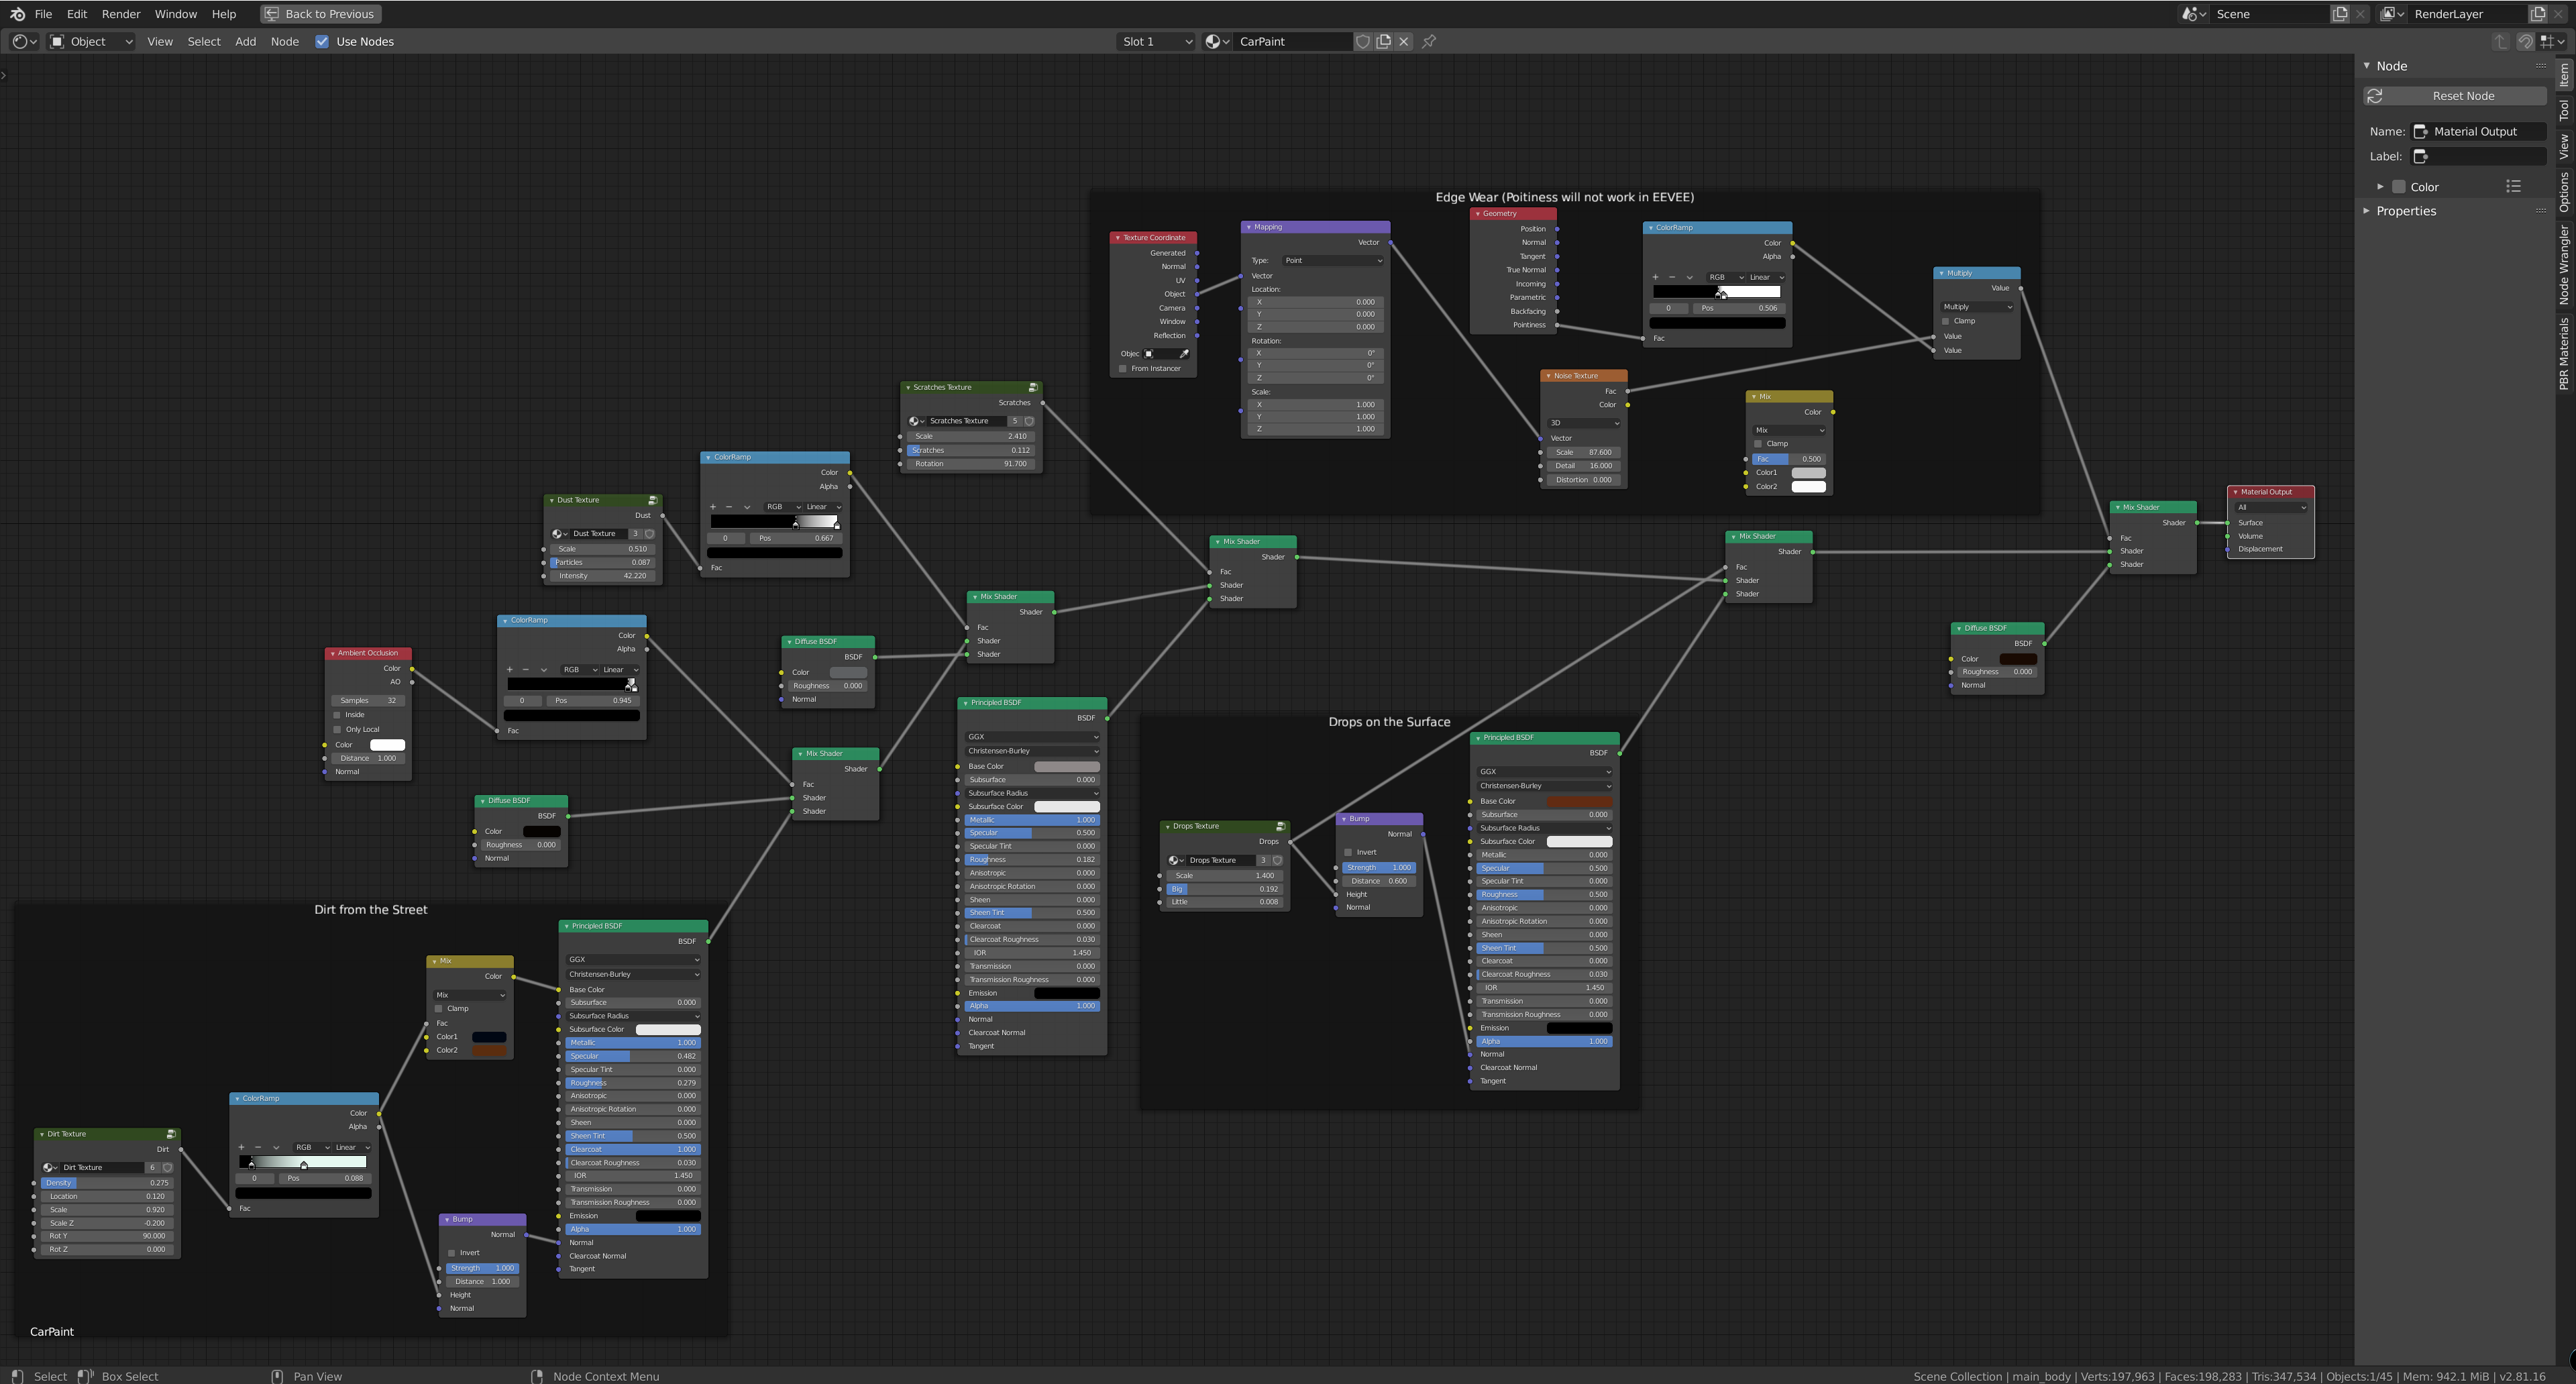
The nodes are basically a car paint shader in a ground. The rest is very basic just mixing two shader with scratches node as the fac input in a mix node.

Newest Update:

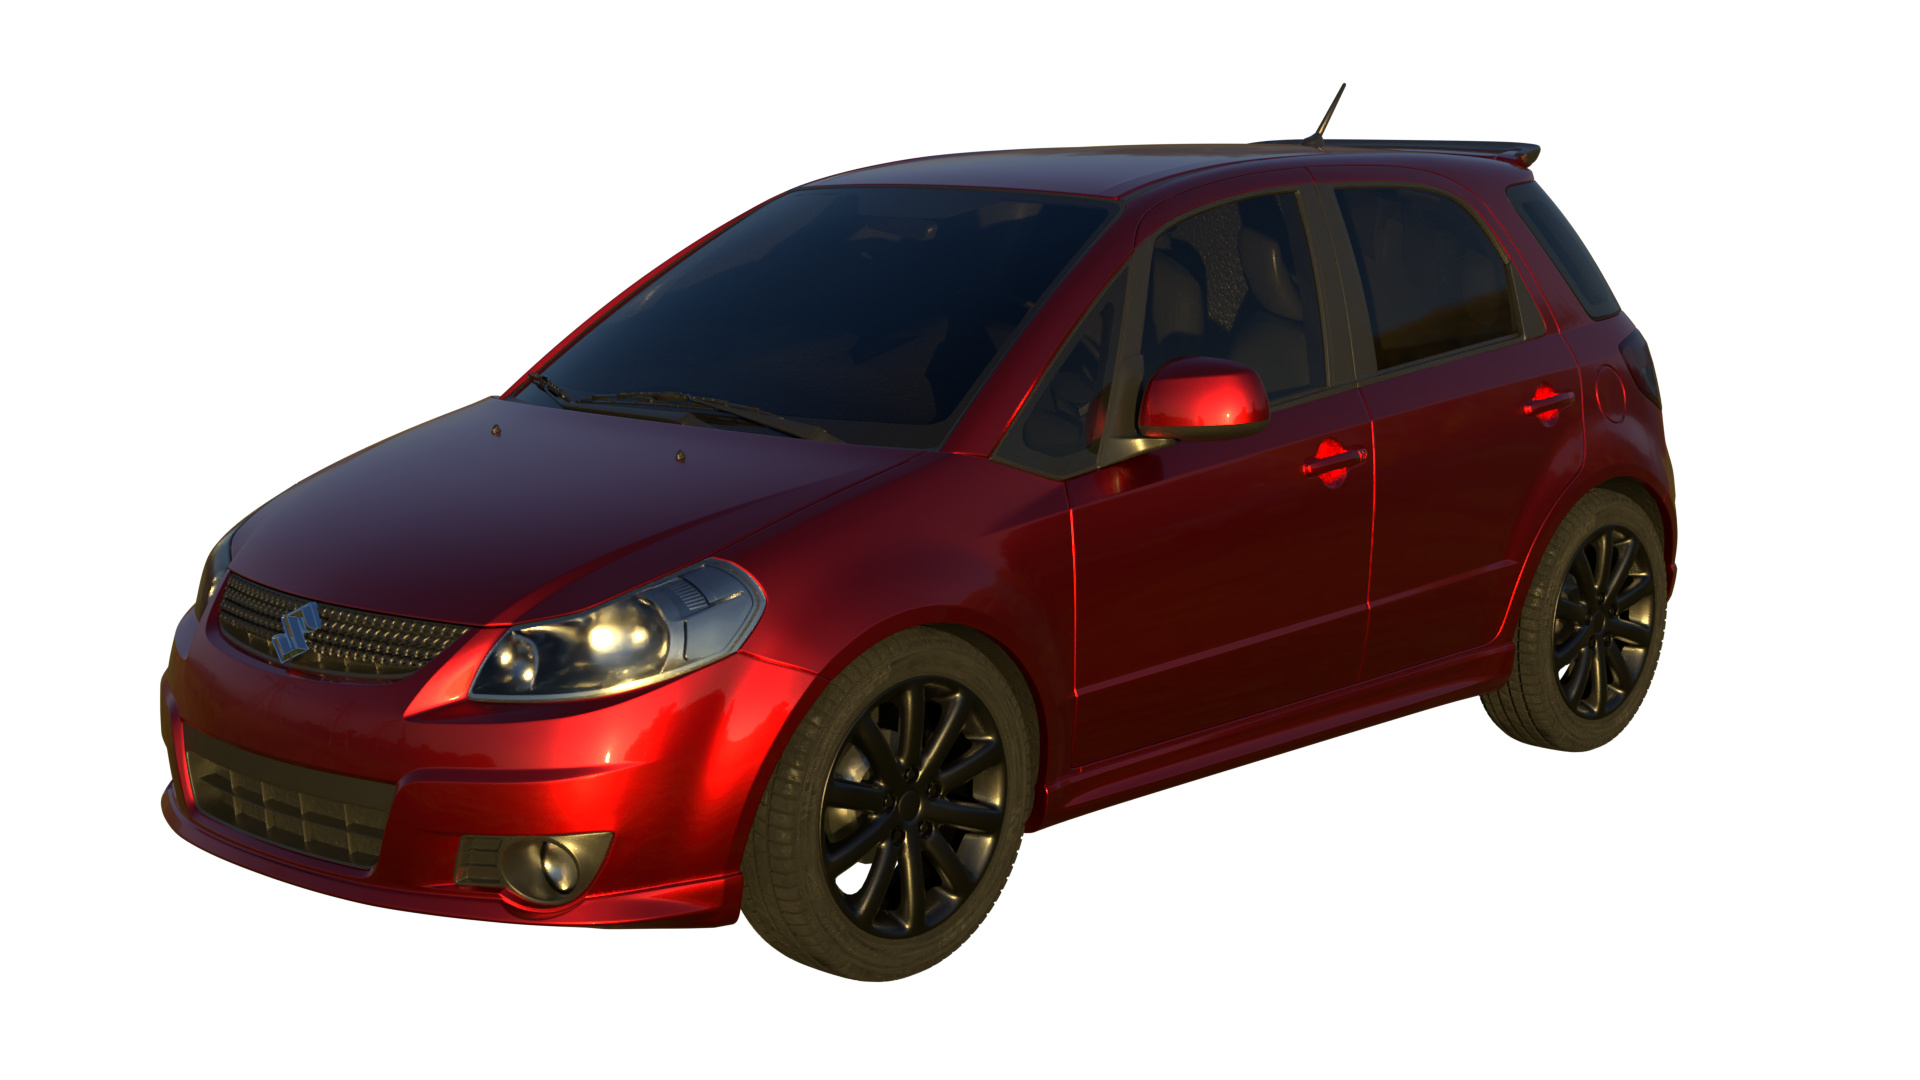
New Version Clean one

Dirty Boy


This is the clean version

The WIP dirty version

1 Like

In last picture it looks like the car has been dropped into a mud pool since the dirt has flown upwards. Normally dirt goes more like in a 45 degree angle and concentrates most on the front and just behind the front wheel (assuming your car is front wheel drive).

1 Like

Yep still getting used to the node system since I haven’t used it that much. I tried to first apply some dust and general dirt on to the car and am now detailing some things on the edges and so.

Update ist coming in the next days. Thanks for the comment!

Had to change the color but i am still struggling with the node setup. Hope to get some progress soon…

I reworked the shader to be simpler and here is the setup with the current look.

Some node experts out there? The groups are from an addon called PBR Materials from 3d-wolf.com

  1. Procedural generation of dirt, dust is an okay start, but to do this right, you need to be doing hand-painting. That doesn’t have to be hand painting of the actual dust, it can be hand painting of masks, but you have to do something. Trying to do it purely procedurally is usually a bad idea.

  2. Get a reference pic (like a photo) to aim for. Right now, we don’t know how dusty, what kind of dusty, etc. Not washed for a week dusty? Running a rally dusty? “Wash me” fingerpainted in the rear window dusty? Sitting immobile in a garage for a year dusty? Unwashed in a rainy clime? Unwashed in Arizona? There are a lot of different kinds of dustiness, depending on use. Those aren’t just differences in degree, they’re differences in the nature of the dust. (And especially scratches.)

  3. Comments on what you’ve shown so far: dustiness is material specific. It’s different on windshield, grill, headlight cover, metal body, tires, not uniform. It’s different depending on direction of motion: windshield dust is different than passenger window dust. Think about function and use. Is your door handle going to have the same dustiness as the hood? What about your passenger door handle vs your driver door handle? Think about angle. Are the sides going to be as dusty as the hood? Depends on the reasons for the dust.

3 Likes

Thank you. That helped.

The shoot is finally finished and thats just a push so its again on the front page. Might be useful for someone…