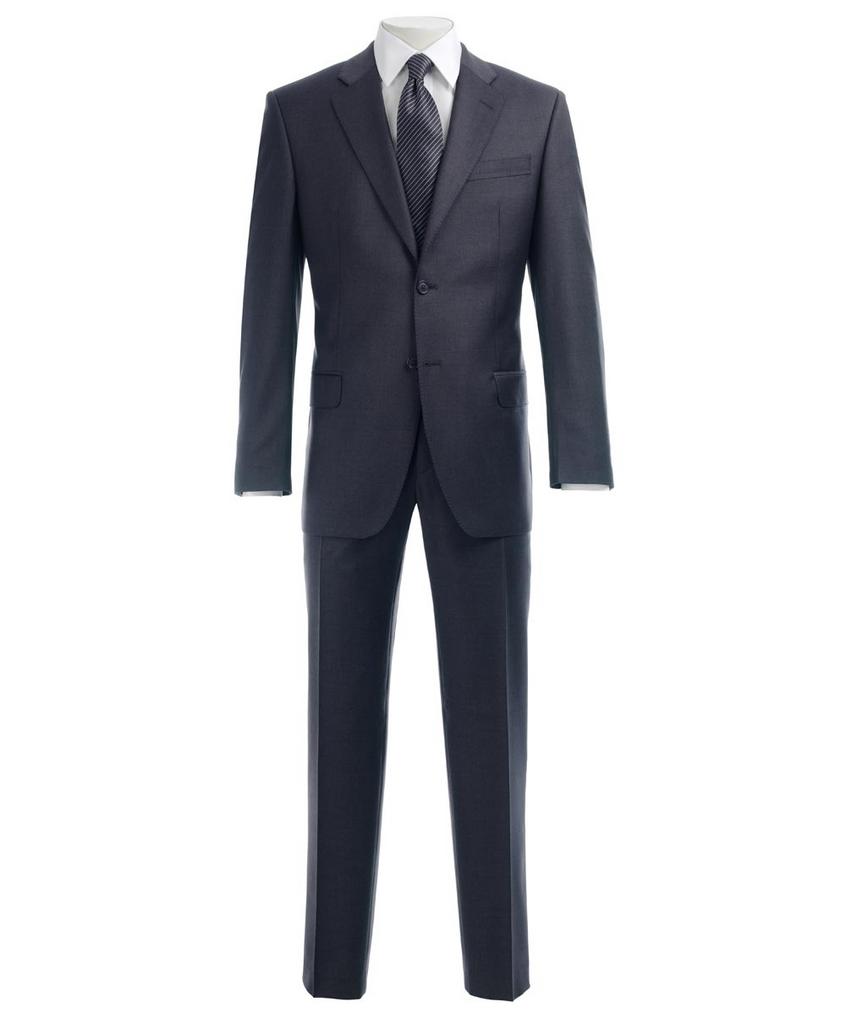
Which tools of blender would you use to get results closed to these ones ?
the aim is to show the suit with different fabrics and textures,
so it needs to be quite photorealistic results…
But I don’t know which way I should use to manage it (using clothes modifiers or softbodies, or displacement and bump maps…).
For rendering, i’ll use yafaray that I often use. I’m not afraid with his lighting and scene setup,
but for modelling/texturing, every advice is welcome…
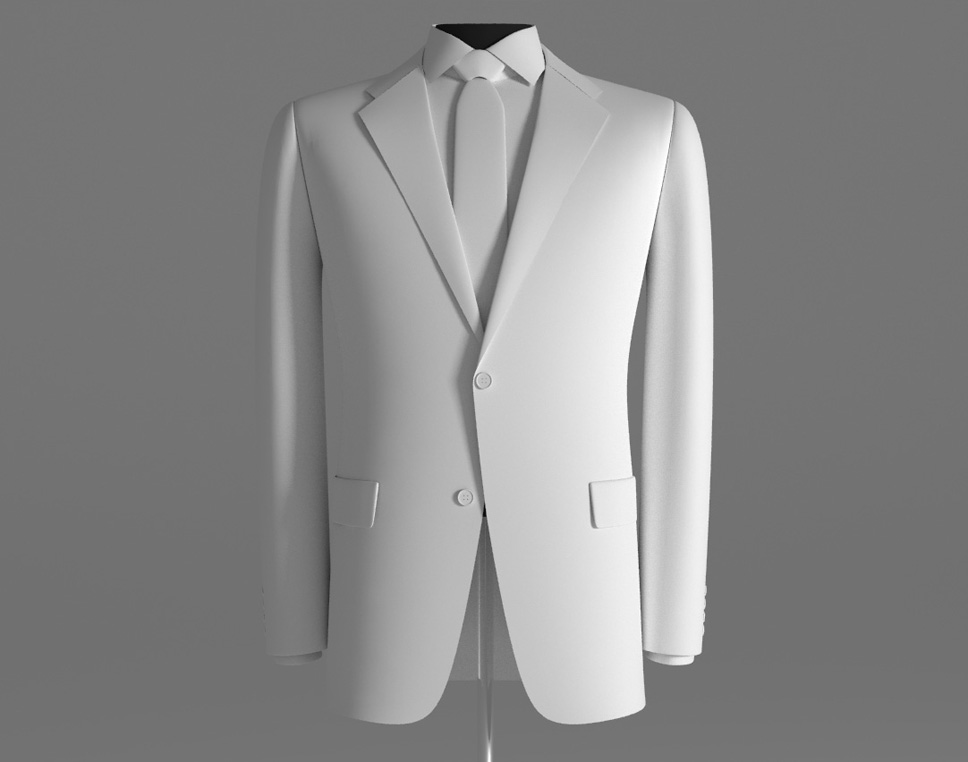
Well, unless you’re going to animate the suit, there’s really no need to use Cloth or Softbody simulation. Just model it like you would a character’s body, and maybe use the Sculpt tools for wrinkles and such.
Texturing something like this can be tricky. If anything will show texture alignment/distortion problems, it would be a pinstripe pattern on ‘deformed’ clothing. I’ll let you know if I think of any tips for that part (researching a related idea I thought about before).
I don’t have to animate it, but texturing will be important because I have different versions of patterns to do… and to communicate quality fabrics assembly, it needs to be really clean…
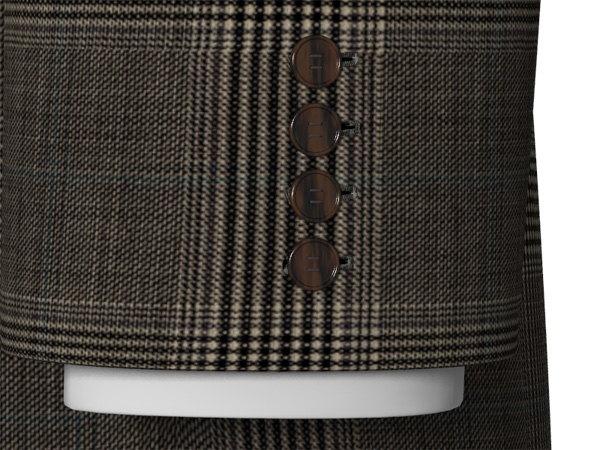
I think the button should “pinch” the suit. In real life (and in your reference photos there) you can see that the jacket front is pinched together when you button it shut. Right now it just looks like the left side of the jacket is laid over the right and the button belongs to the left side instead of poking through it and clamping it shut, you know?
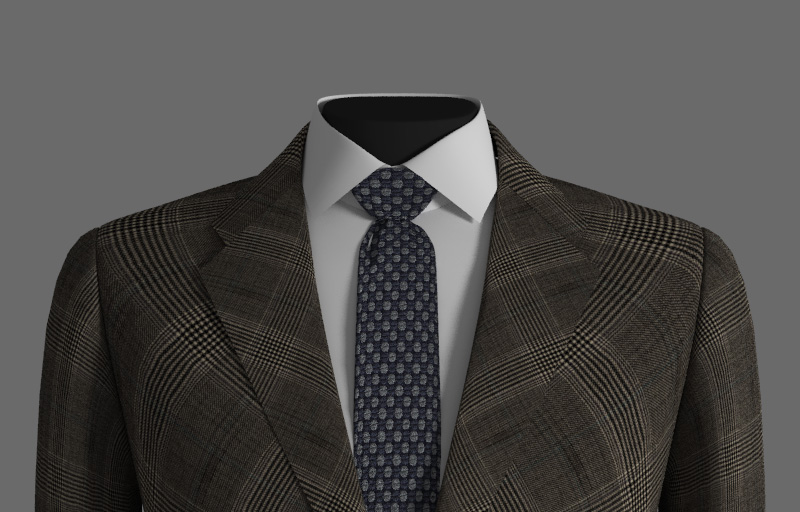
I’ve made a try on the top of the tie to test a displacement modifier by texture. And it seems to work quite good, so I will use that to correct the default on the buttons and don’t have just an overlay effect.
it’s the first time i use UV mapping on subsurf, and there is still a lot to do to don’t have stitching problems.
Anybody knows tutorial/functions about diplacement maps and UV mapping to control the effect in real time ?
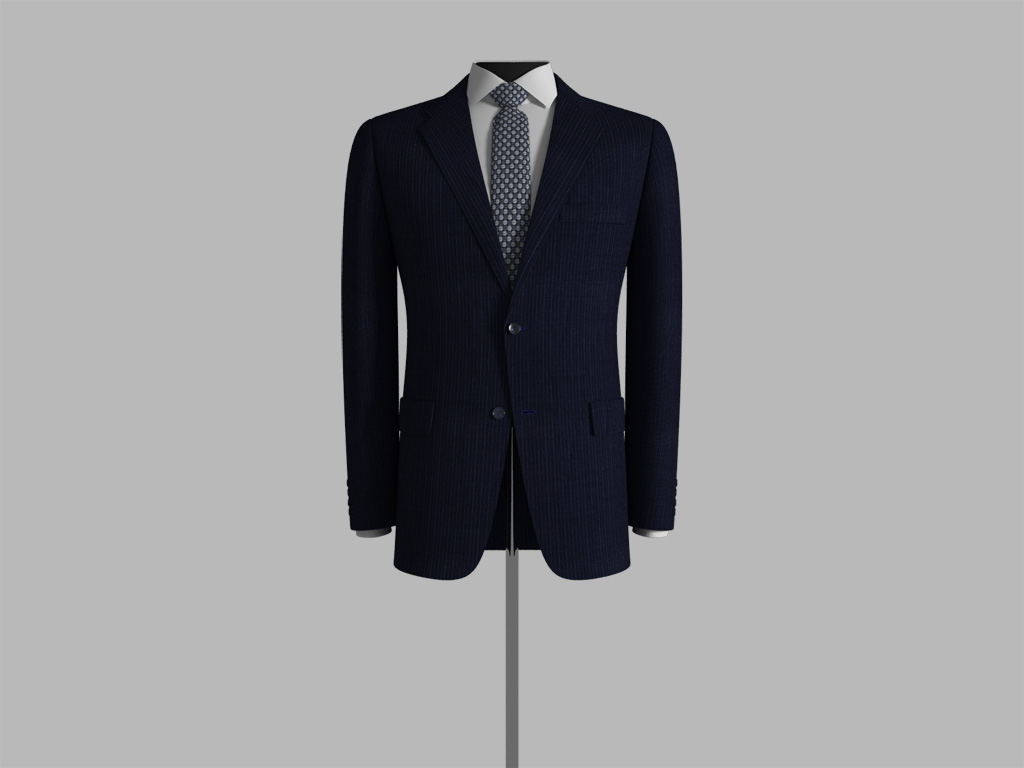
Here is another render, and the wire (i’ve found the function i was looking for, -textface- ). I’ve done again the Uv unwrapping, with trying to have the seams edges at the same place than in the real model.
But there are still a lot of distorsions
maybe I should have more vertices to control the shape around the shoulder and the neck .
There is something I don’t understand too : in the UV/image editor window, when I wan’t to move a vertice which is on a “seamed” edge, it is selected 2 times and I don’t know how to control the left and the right of the sewing independantly.
Thank you for the advice,
I’m still a newbie with Uv mapping tools, but this is an interresting subject to learn…
I will change a bit the mesh to have armpits lower, and with more vertice there will not be such a strech effect.
Once it will be done, I will try to draw in blender the modifier texture to have something more realistic…
Here are my last renders.
I’ve changed Uv map and add some details such as holes for buttons.
Still to do : painting the displacement map.
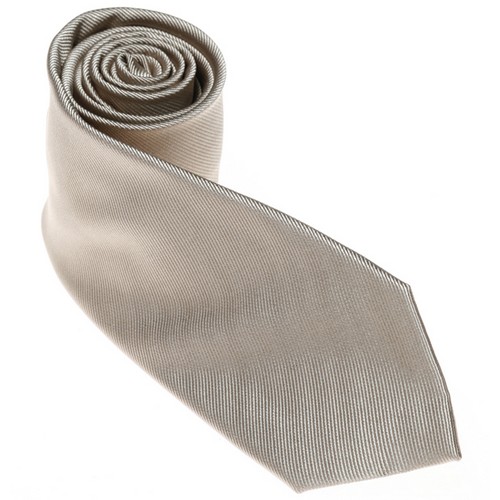
In yafaray, What kind of material would you use to simulate silk ? ( same effect as the tie below).
it 's like if there was specular linked with the texture, but i don’t know to do a specular material in yafaray…