and here we go…be patient with me the cybernatic suit is still been worked on plus the gun as well, needless to say I am not going for a head staring off into the vast emptyness of space type of thing. Half a sexy cyborg in a deadly pose is oh so cliche but hellva fun compared to just a head.


Looking good so far. Nice clean mesh.
Thanks ben, that pirate of yours is keeping on my toes I gotta heat things up in order to be in with a chance. I had to stop and think a bit I had more of this done over the weekend and was going to start working on her ears but than it dawned on me that things that were looking good in ortho front and side view looked bloody horrid in perspective. I deleted a lot of it and started again.
I came up with a solution I rigged a camera to give me a 3/4 perspective view. As I tweak in front view or side view I can see how it looks in perspective. Things are now back on track I will delibrately slow things done here if I get the front part of the face wrong than I ruin any chance I have in this comp.
There is plenty of time left, so I would rather get this important part of the face right and rush through the less important bits here is wip screen grab.
I will put up some updates this evening as am still working on this, I should than post a front and side view as well
Attachments

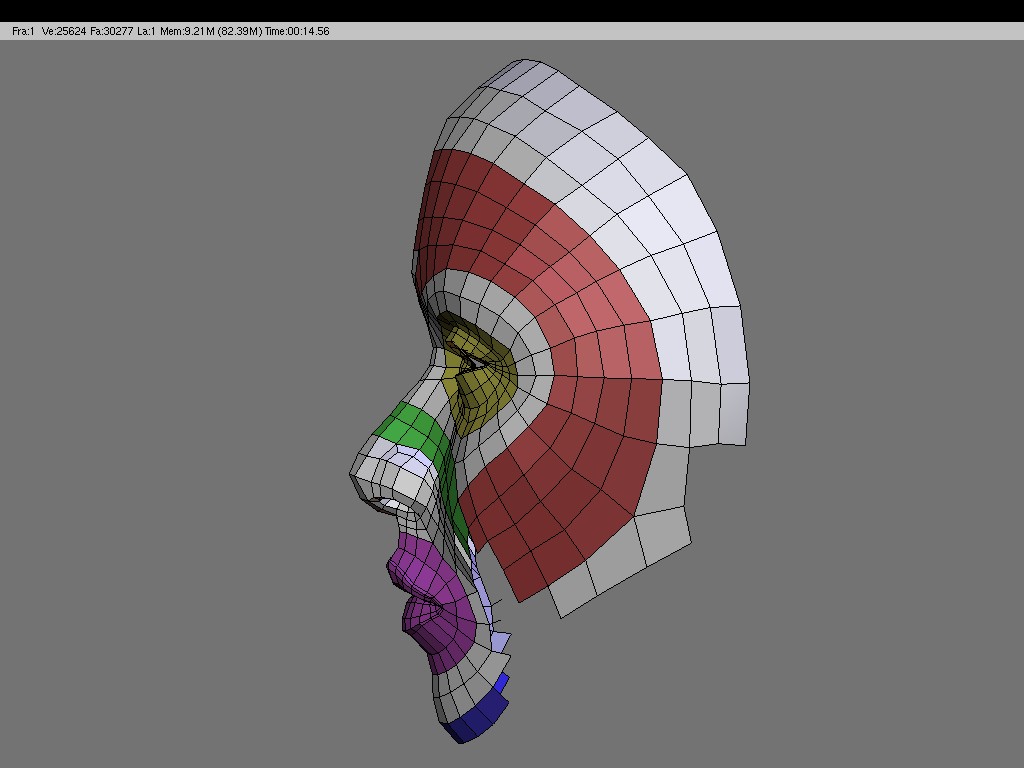
Things are going relatively well for the face. I have put down most of the complicated loops but its now time for some cosmetic surgery. Each of the main edgeloop flows are coloured. The nasal labidal folds in green just have to be looped around the chin and they should be done. My main problem is that the are too many loops so its time to remove some edges, tweak the geometry some and rewire some of the loops a bit nothing major.
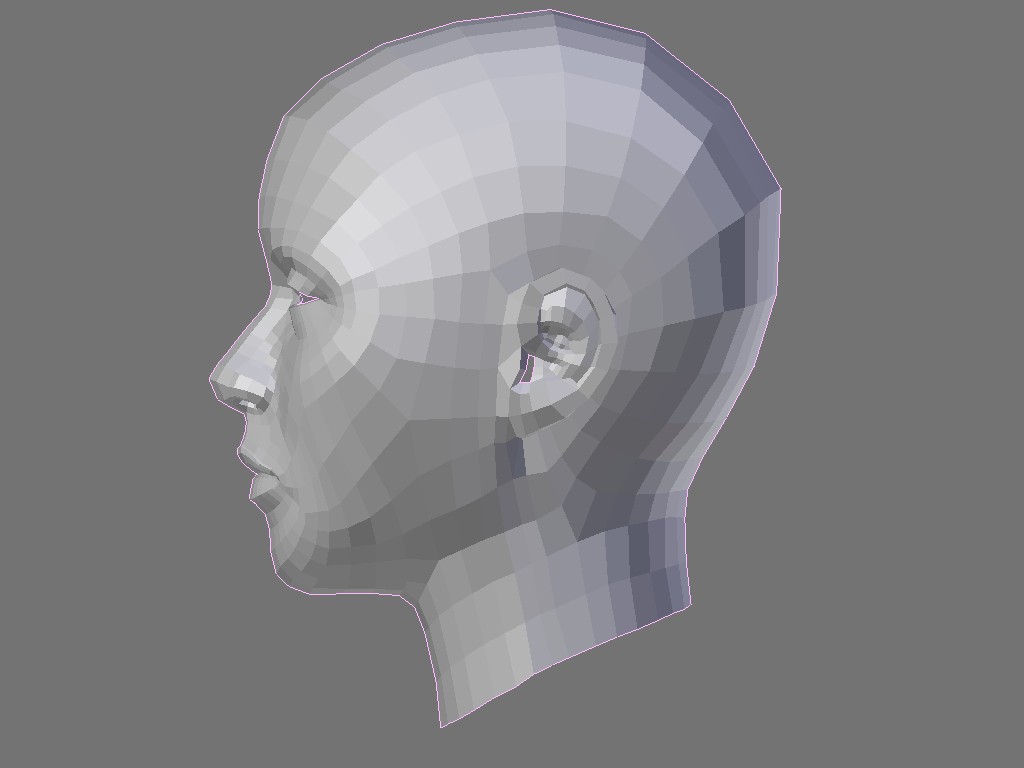
Three views front, side and 3/4 all shot through 90mm perspective camera to see how the model looks in perspective.
Attachments


Looking good. Edgeloops are well done.
I have finished my mesh, now its time to bring out the sculpting tools I plan to put in about 24 hours of sculpting work and will post my progress every time I have done about 4 hours worth of work.
I also think I have reached the point where I can’t ignore 2.50. The are just too many goodies in 2.50 for me not to use it; color management, deep shadow maps, speedy sculpting and solidify modifier. The solidify modifier is the deal clincher for me, the next part of my project creating her cybernetic armor will probably make heavy use of it
I hope this decision doesn’t bite me in the a**.
Attachments

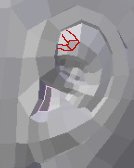
it seems to miss a hole inside the ear on top
here:
very good work so far
Looking excellent! Interesting to witness the mesh construction as well 
Looking forward to seeing this develop…
@eddy I haven’t missed that loop I deliberately kept it simple there because I will be sculpting this mesh, the whole ear has got a pretty simple loop structure compared to what I normally lie down there.
Having said that your little loop sketch has given me some ideas for the final mesh which I will retopo over this one. thanks for that one mate.
@yoff thanks man I hope not to disappoint. I will post wires of the final retopoed mesh the are several things I want to clean up around the ear, jaw and neck nothing major but as it is right now am not 100% happy with it.
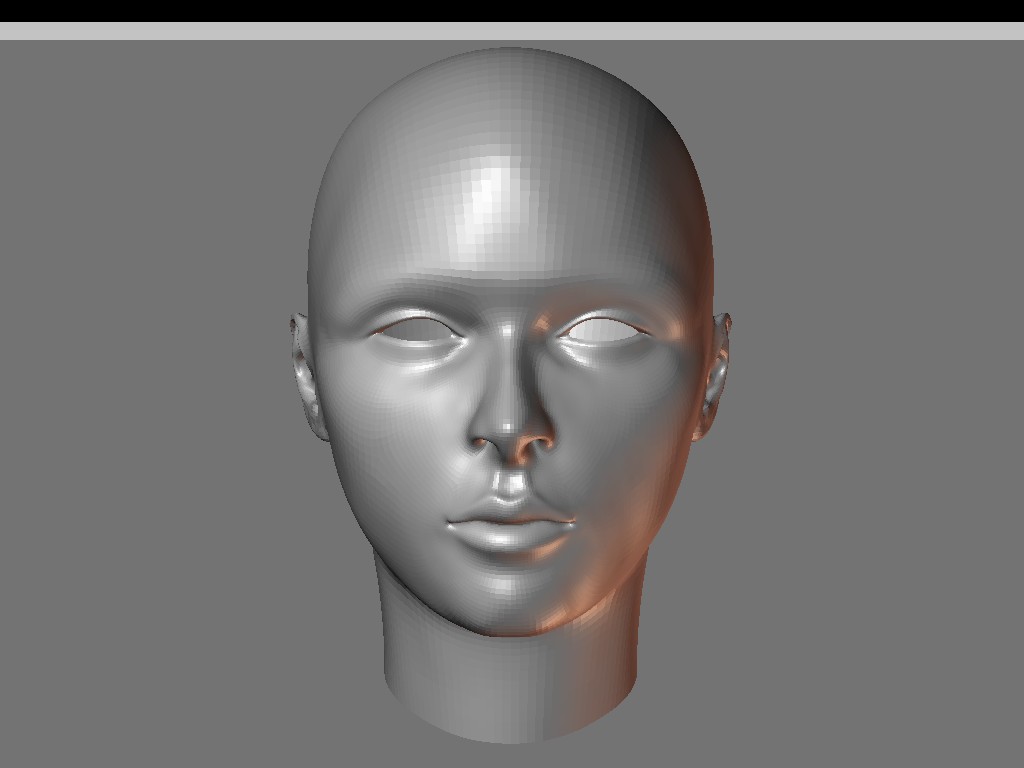
the first four hours of sculpting are done and am pretty happy with laying down the overall proportions its time to move up a level I plan on work at least 5 hours on the next level
edit- I added a 3/4 view just to show my sculpt from a different angle.
Attachments


I was afraid it was going to happen and it happend 2.50 has bitten me in the a**. I discovered just how buggy sculpt mode currently is when my grab brush decided to contact its sculpt brush union rep and go on strike. It doesn’t work, I have major proportion changes to make on my head and the damn thing won’t move a vert. At times it causes slight ripples on my model which result in huge distorntions on my mesh when my pen moves a tiny bit.
For the bodysuit I needed to build a basic body in order to be able to retop the main cybernatic suit over it so I built a basic sculpt mesh and sculpted it in 2.49 and boy was it fun. So much so that I have had to bite the bullet and stop myself because you won’t actually see much of the body as it will be covered in armour. This what I have now should and it should be enough to build over.
I would love to hear any crits and thoughts.
p.s the one bug or issuse I had in 2.49b was that when I got to a level 3 subdivision some normals on my hand flipped over so the do the opposite of what I sculpt on hand is on this model is correct and the other a bit distorted.
Its a man? sorry if I am wrong but it comes across as a man, unless my recognition is not working properly
Hi, tyrant monkey. I do a lot of Sculpting, especially on shape keys made from cloth sims, and have also found that sculpting can mess with the mesh normals in some fashion – it isn’t consistent, and it doesn’t happen in any regular fashion, but occasionally brushes will start to work backwards (expand becomes contract, that kind of thing) and with some tools, how a vertex is affected will depend on where it is in the mesh and which side of the vertex the tool icon is located. Squirrely, in other words. The only remedy I’ve found, and it’s not a perfect one, is to select all in Edit mode and use CTRL+N (Recalculate Normals Outside), sometimes repeated often over a sculpting session. I’ve learned to use Edit mode to check normals orientation (inverted areas usually look darker) before starting to sculpt.
This is in 2.48 or earlier.
Hope this helps.
@Frank Thanks for the crits dude much apperciated. I just need a little more detail to help me out. Which of the two are you finding looks like a man the body or the face. And which ever is the two can you be a little more specific, having fresh eyes looking at this helps but I need more info to know which one to tweak and work on I certainly don’t want to make a man or an androgynous figure.
thanks for the tips chipmaque, I will keep them in mind. What I have found at times is that even when I recalculate them a jump in levels back and forth or stroke with the brush and the are flipped again. It also always seems to be the same bunch of faces that the are problem the childs. This is happening for the body in 2.49a, the head in 2.50 has suffered no such flipping problems as of yet.
I have learnt my lesson and have put as much distance between myself and 2.50 sculpting. I rebooted my sculpting attempts in 2.49b where I also had my fair share of drama. Who knew that if you hid part of a mesh with ctrl+shift +LMB and happen to sculpt part of a mesh with symmetry on, the the other half does not get updated e.g if you hide the left ear and sculpt the right even with x-axis symmetry on, the left ear will not get updated.
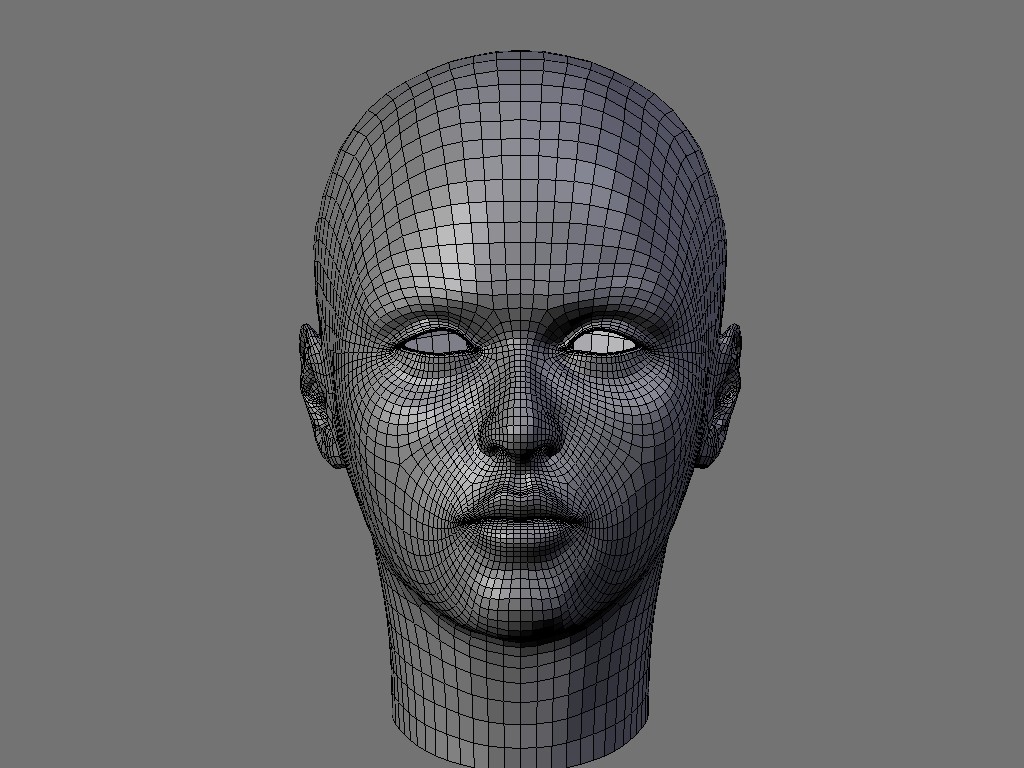
Here is my current effort I hope its looking more like a girl than a dude if you see any manliness in her please leave a comment. It always help to have extra eyeballs to spot problems you can miss.
The subdivision level is still low so problems will be easier to fix now rather than later. so please comment now instead of later if you spot any big glaring mistakes
Attachments


amazing model dude keep this work up!
well done …
I especially like the detail on the mouth. They look great, especially the philtrum (I had to look that up, but I won’t spoil it for you  )
)
really nice modeling work
regarding the 2.5 sculpting issue- did you try applying loc, rot, and scale in object mode with ctrl A?