Daccy you’re the man to do the tut! My node knowledge is just the basics, but I’m really keen to learn more, esp on this topic. This elliment of blender is so so important I think (camera tracking), lets face it most modern films use it and where’d we be without a bit of reflection to add to the shadow pass?
I guess Sebastian’s pretty busy with more complicated stuff right now, so I doub’t they’ll be much from him for the time being sadly.
Cheers for looking into this though
I wonder whether they’ll be much response from this post though as it’ll probably get lost in the nether.
I’ll see if I can find some time next week, since I won’t be available during the weekend. It would be my first tutorial, so in the meantime you (or anyone else) might want to think of any specific areas regarding tracking/compositing I should cover.
Daccy Good job on the tutorial. It works well. Currious though it seemed to you were able to do something to straighten out the nodes and align them better with each other if so how do you do that? Again thanks you should make some more.
Thank you! To straighten out the nodes you just select them, hit ‘S’, then ‘Y’ and ‘Enter’. It’s basically the same thing when you want to straighten a bunch of vertices in the viewport. In the PM you asked me something about a green screen? Could you please elaborate on that, because I sure didn’t use one. The process was pretty much like this:
And yes, if there’s something worth covering I’ll certainly do that in the future. Currently there seem to be a good stream of quality tutorials out there, so I wouldn’t like to “reinvent the wheel”, so to speak.
@Jay: No problems! I hope it answers your previous questions.
The reference to Green Screen. Was that the Green papers you used to track it could be taken out like a green screen and I was just thinking about how you could possibly use a still image for texture or something to replace those parts. I was just wondering if that was your thought. I know how you did it. I also did a Tracking where I purposely placed marks. Oh and remember when it comes to Tutorials its not reinventing each person because of there personality and thought process will go about making a tutorial a little different so your way may click with a certain group of people more so then someones else’s. Again thanks.
Oh! I didn’t actually thought of that, but it’s a good and relevant point. I suppose I would do it in a similar fashion as with the shadow/reflection catcher. Simply add a few planes to cover the post-it notes (yes, they’re actually post-it notes, with hand drawn markers. :P) and add a wood texture (preferably an image of the actual table) to them and composite everything together in the node editor. An issue that comes to mind is that the planes must be properly lit and shaded in order to match the source footage. I’ll probably explore that, thanks for the tip.
Daccy, I finally got Vimeo to play all the tut. What a great and clear job you did. Thank you so much it was very informative. Your manner is calm and engaging too, so its easy to listen to for a long time.
Regarding the track markers. I guess you could shoot a clean static frame from the camera POV and UV map that to the sticky note spots. I was going to do something similar with a street shot I took that had lots of people in it. Shoot the motion plate then some clean photos from that position, track the matte shapes and UV matte them over the people.
Then we were referring to the same thing. But again, how would you compensate for light changes throughout the shot? Obviously a still image would look rather flat compared to the rest of the footage without proper lighting and shading. If you have an idea of how to solve that, please share. Otherwise it would be an interesting subject to explore.
Yes Daccy you’re right spec change would be an issue. Perhaps you would have to replace a whole surface not just a part of it. Then you could apply spec to image map with a clever node setup.
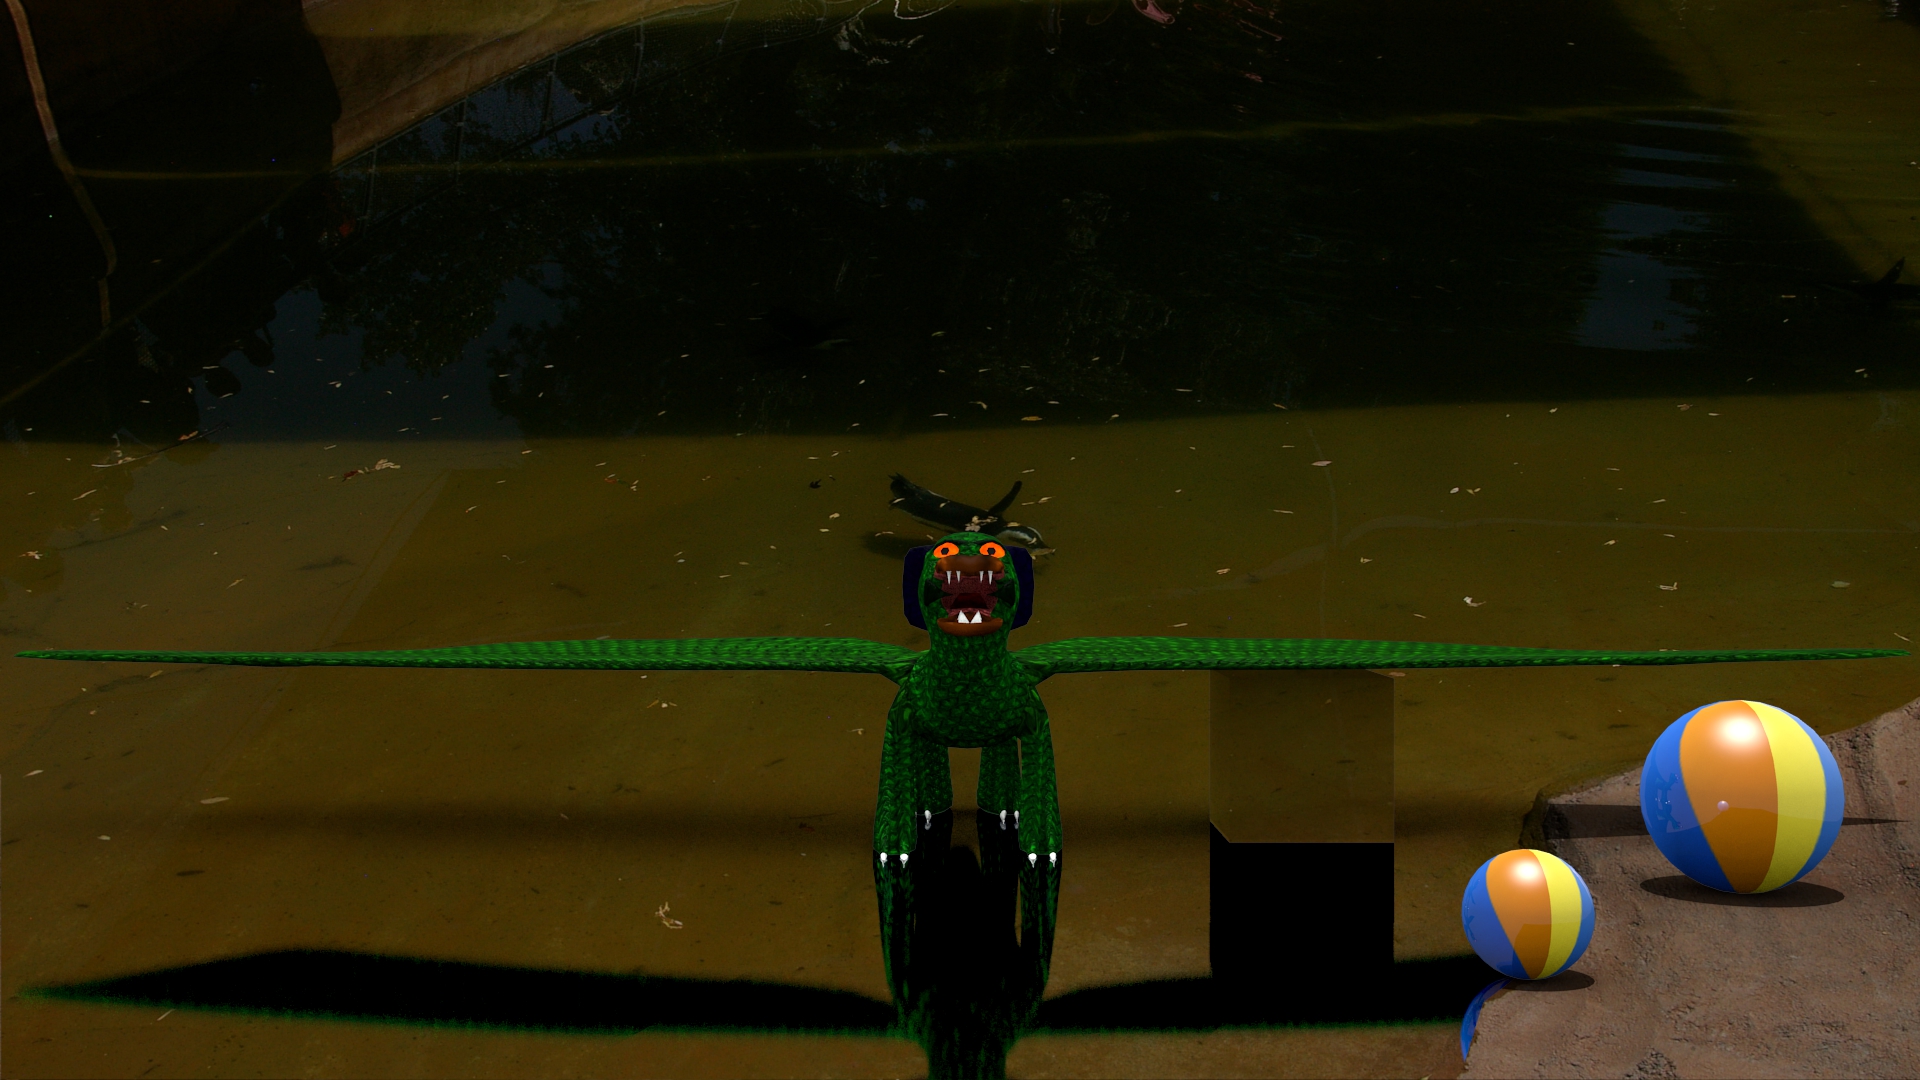
Idea for you guys to try. I have been messing around with this. If I had a floor that was reflective and a rug on it that was just shadow and then a wall behind that was just shadow. The Reflection on the floor seems to reflect black for anything else I put that has a shadow. Try it and see. I know you can see the cube but this is just experimenting.