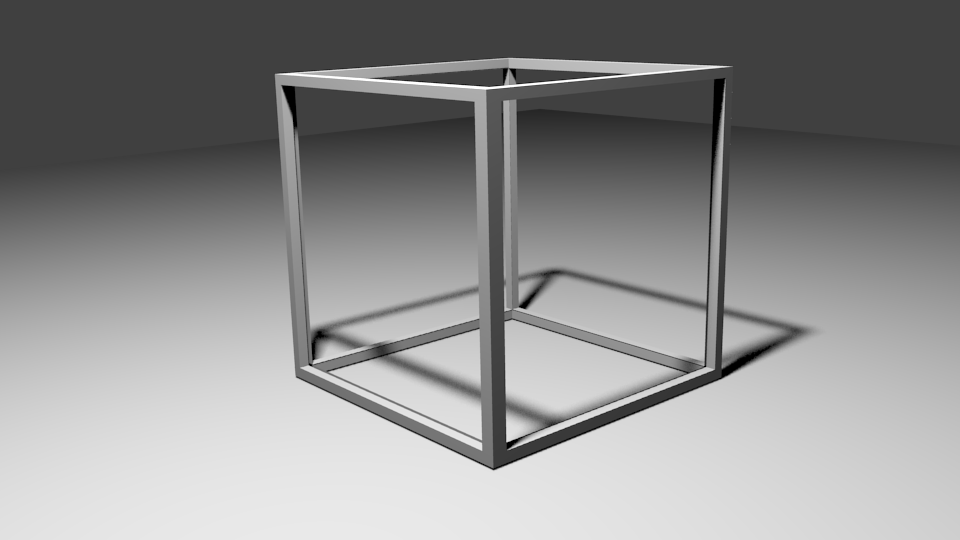
I’m pretty new to blender, I used to use LightWave and C4D … and there is something I’m working on that requires a “metal frame”… if you know what I mean… I think I found a close way to do it inside of blender.
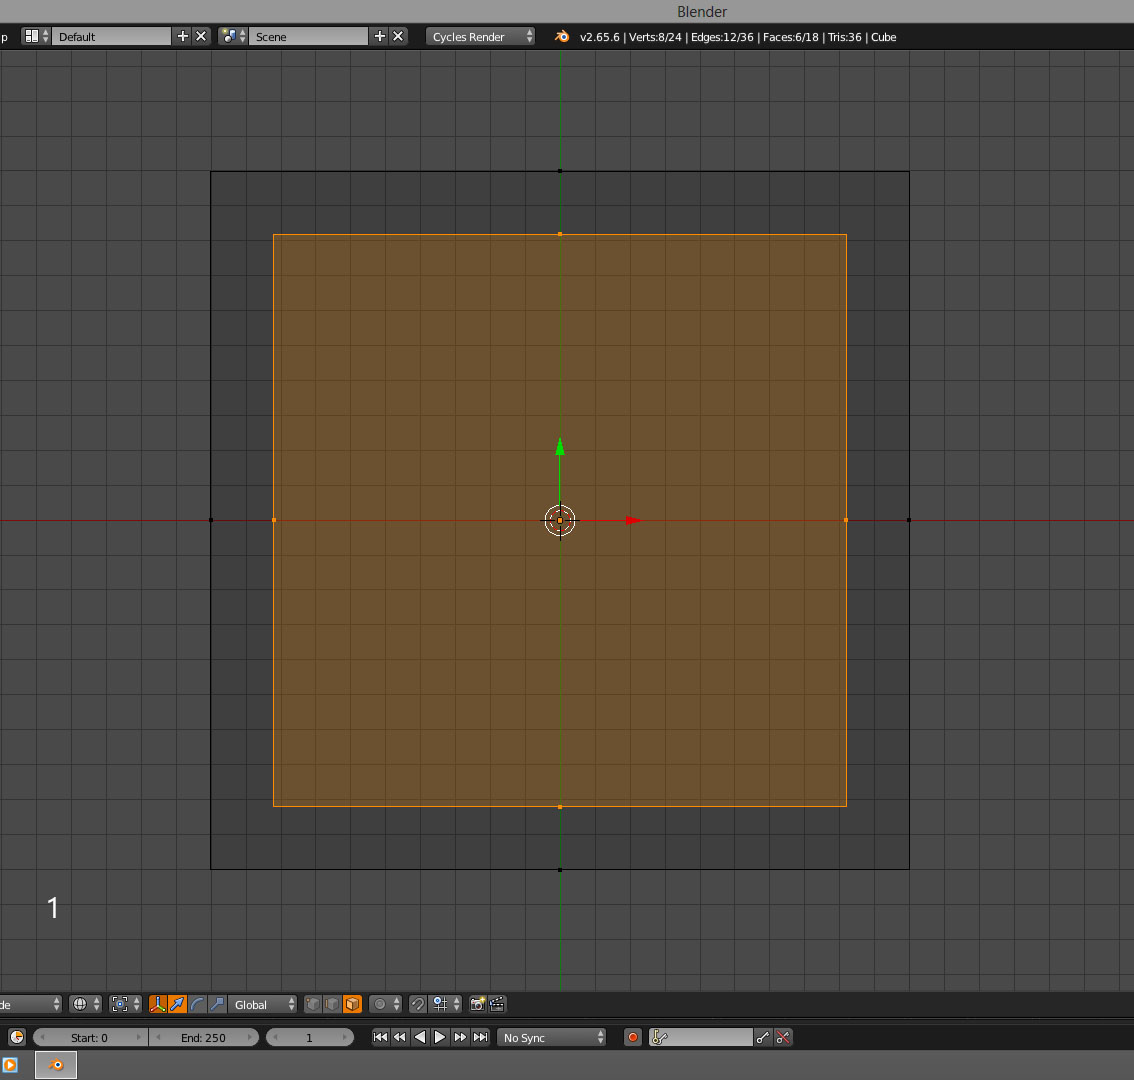
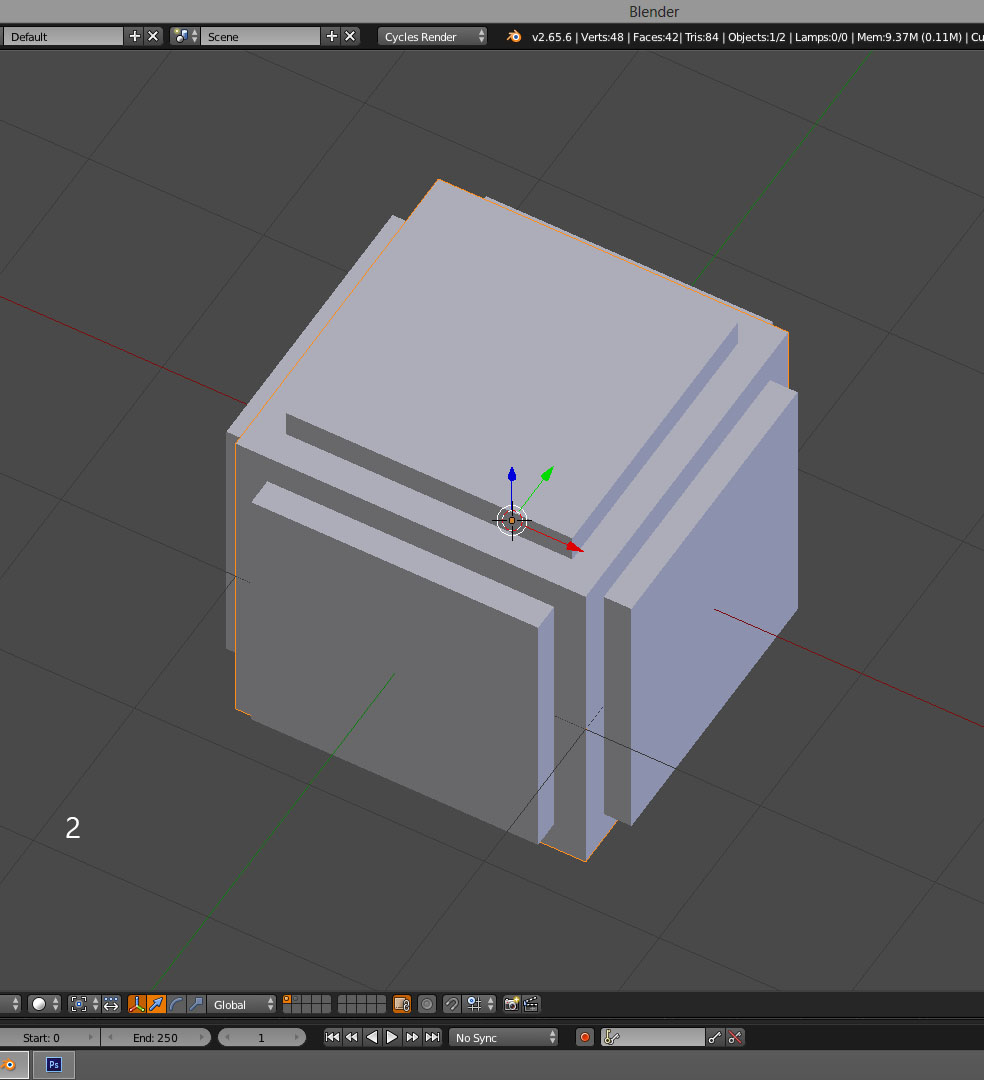
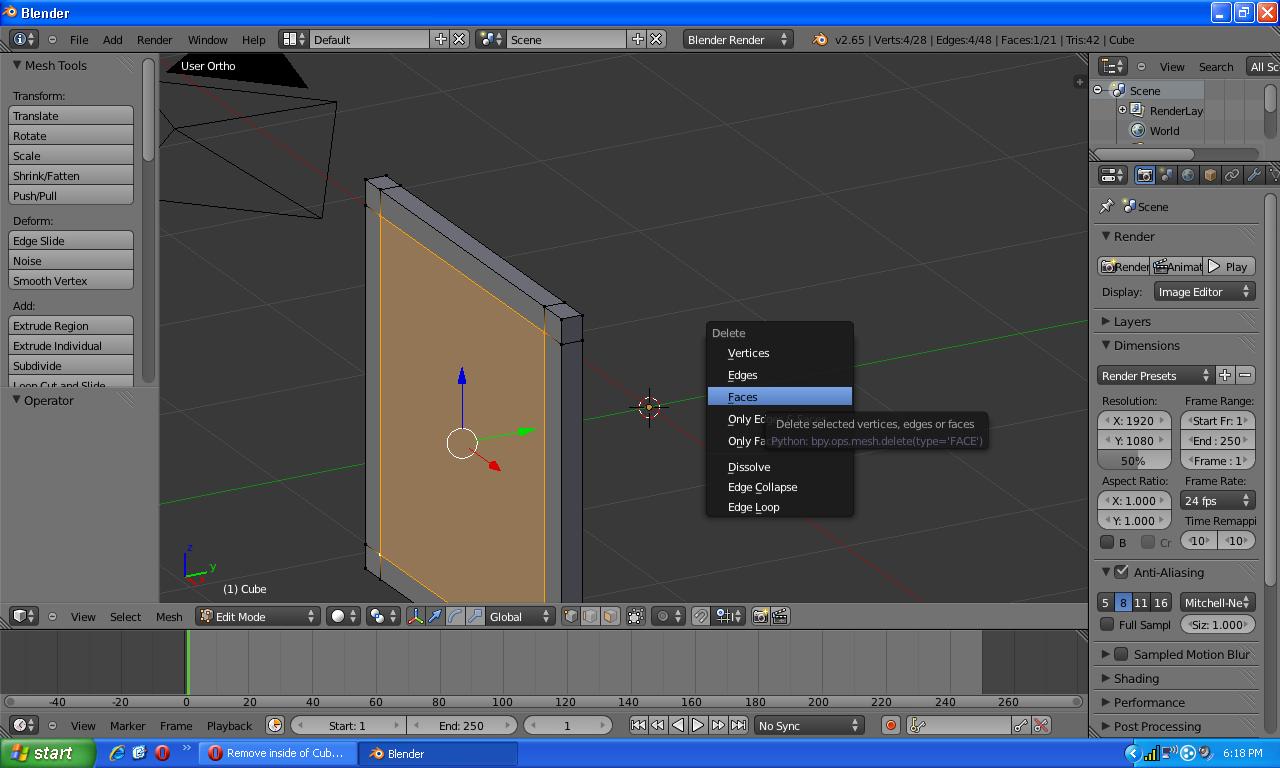
I create a cube, Make several cuts in the faces for the internal faces I need to dink with, do a 0 point extude to make the edges… then I do a shink to create the inner part and delete the faces… however, when I do that… you can see some face errors in there… ie: there’s a partial face in there…
Does anyone have a better way to do this? I assume I could probably do boolean options too if blender has those, but if I did that you wouldn’t have the inside geo…
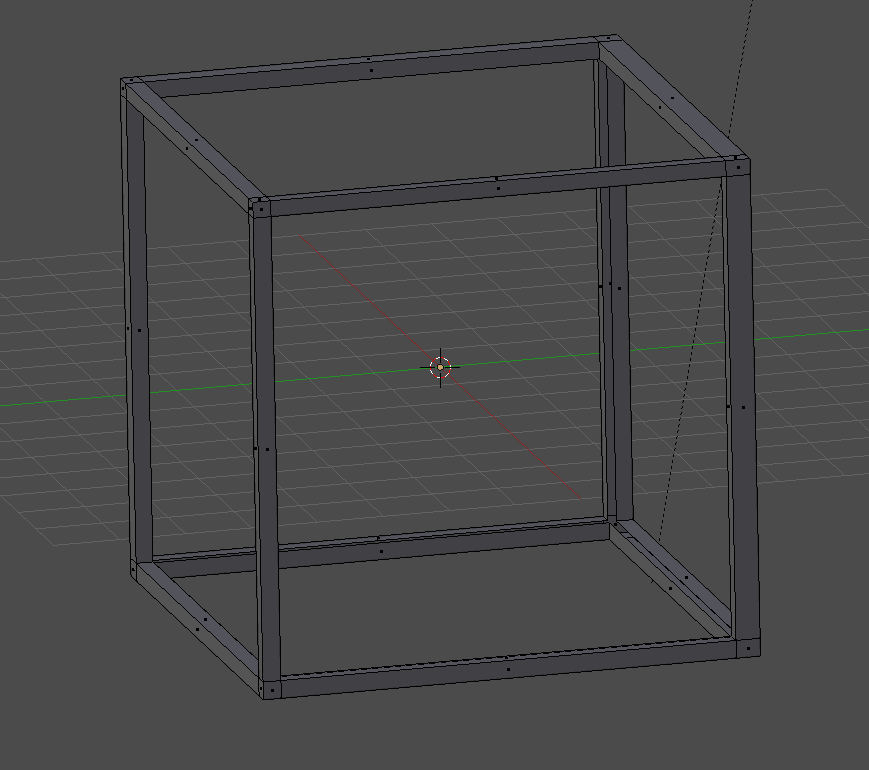
I don’t quite follow what you did. But here is one way to approach it with Blender. This method is useful if you need accurate geometry:
A. Start from plane and subdivide it to layout the bottom face. This way you can start to create exact dimension of the frame/ tube if you need it.
B. Delete central face and extrude the frame up; exact height if you need to.
C. Duplicate and translate the upper frame up.
D. Use Bridge function to connect the upper and lower frame with tubes.
Yeah that was my next thought was to make the “sides”… in fact, in C4D when I did the same tests, I think that’s how I did it… but I was looking for an “Easier” way to do it… might just have to roll up the sleeves and build it with a little more work…
Still, any more ideas would be awesome, thanks ridix for the info.
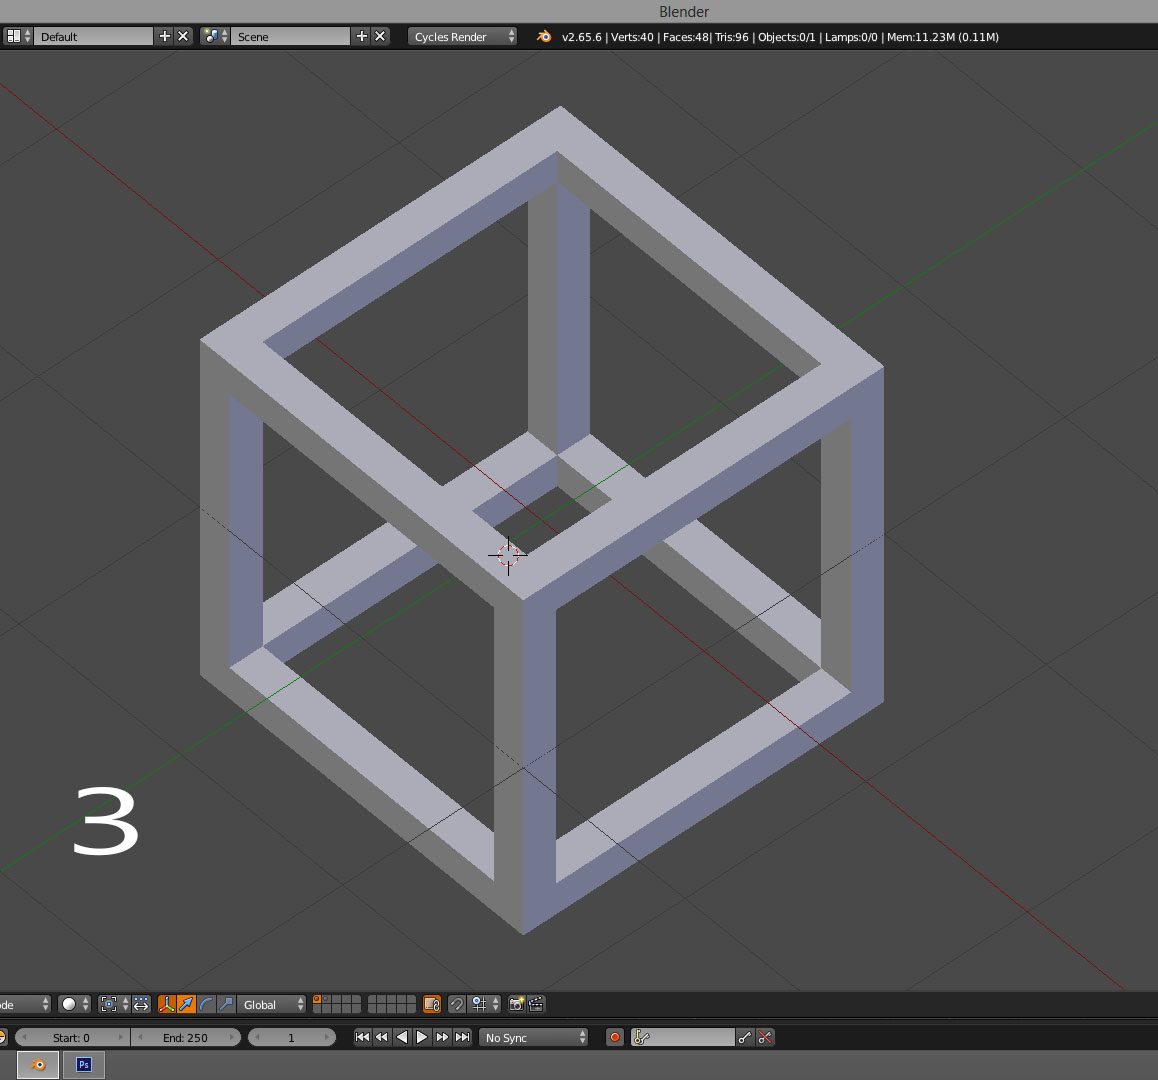
just to point out, while Ridixs method works and is probably an easier workflow, the method you used should have worked, it seems that when you cut your cube you somehow managed to duplicate some vertices which is why it messed up on some edges. you could simply go around and delete all the bad faces and replace them
oh and you can use booleans to cut the cube but they generally make an obnoxious mess of your topology
What I did was make a cube, in edit mode duplicate it and scale it down. Alt-E extrude the faces outward and select the newly created faces as well and separate it, Boolean difference the new shape from the original cube, apply the modifier, delete the cutter object and you’re done.
Okay so I think this is the reason I screwed up with the “Shrink”… when I did hte Cuts (CTRL - R) … obviously I was placing them where it looks like they are hte same… is there an easier way to make the cuts so they are uniform… other thank doing it by numeric … I’m still a newbie with blender, so any learning is good learning…
There is a new addon in testing for objects called render wireframe, which makes nice cages. To clean it up, just select interior faces and delete only faces.This is an odd example


 Still, any more ideas would be awesome, thanks ridix for the info.