I’m trying to re-model the feet of this T-Rex model from Thingiverse:
Basically I want to get rid of the clip on one of the feet as I don’t need the model standing when 3D printed.
I imported into blender and though I could just sculpt that clip into something that looked like one of the other bones but that didn’t turn out so great as I didn’t really know how to approach that at all.
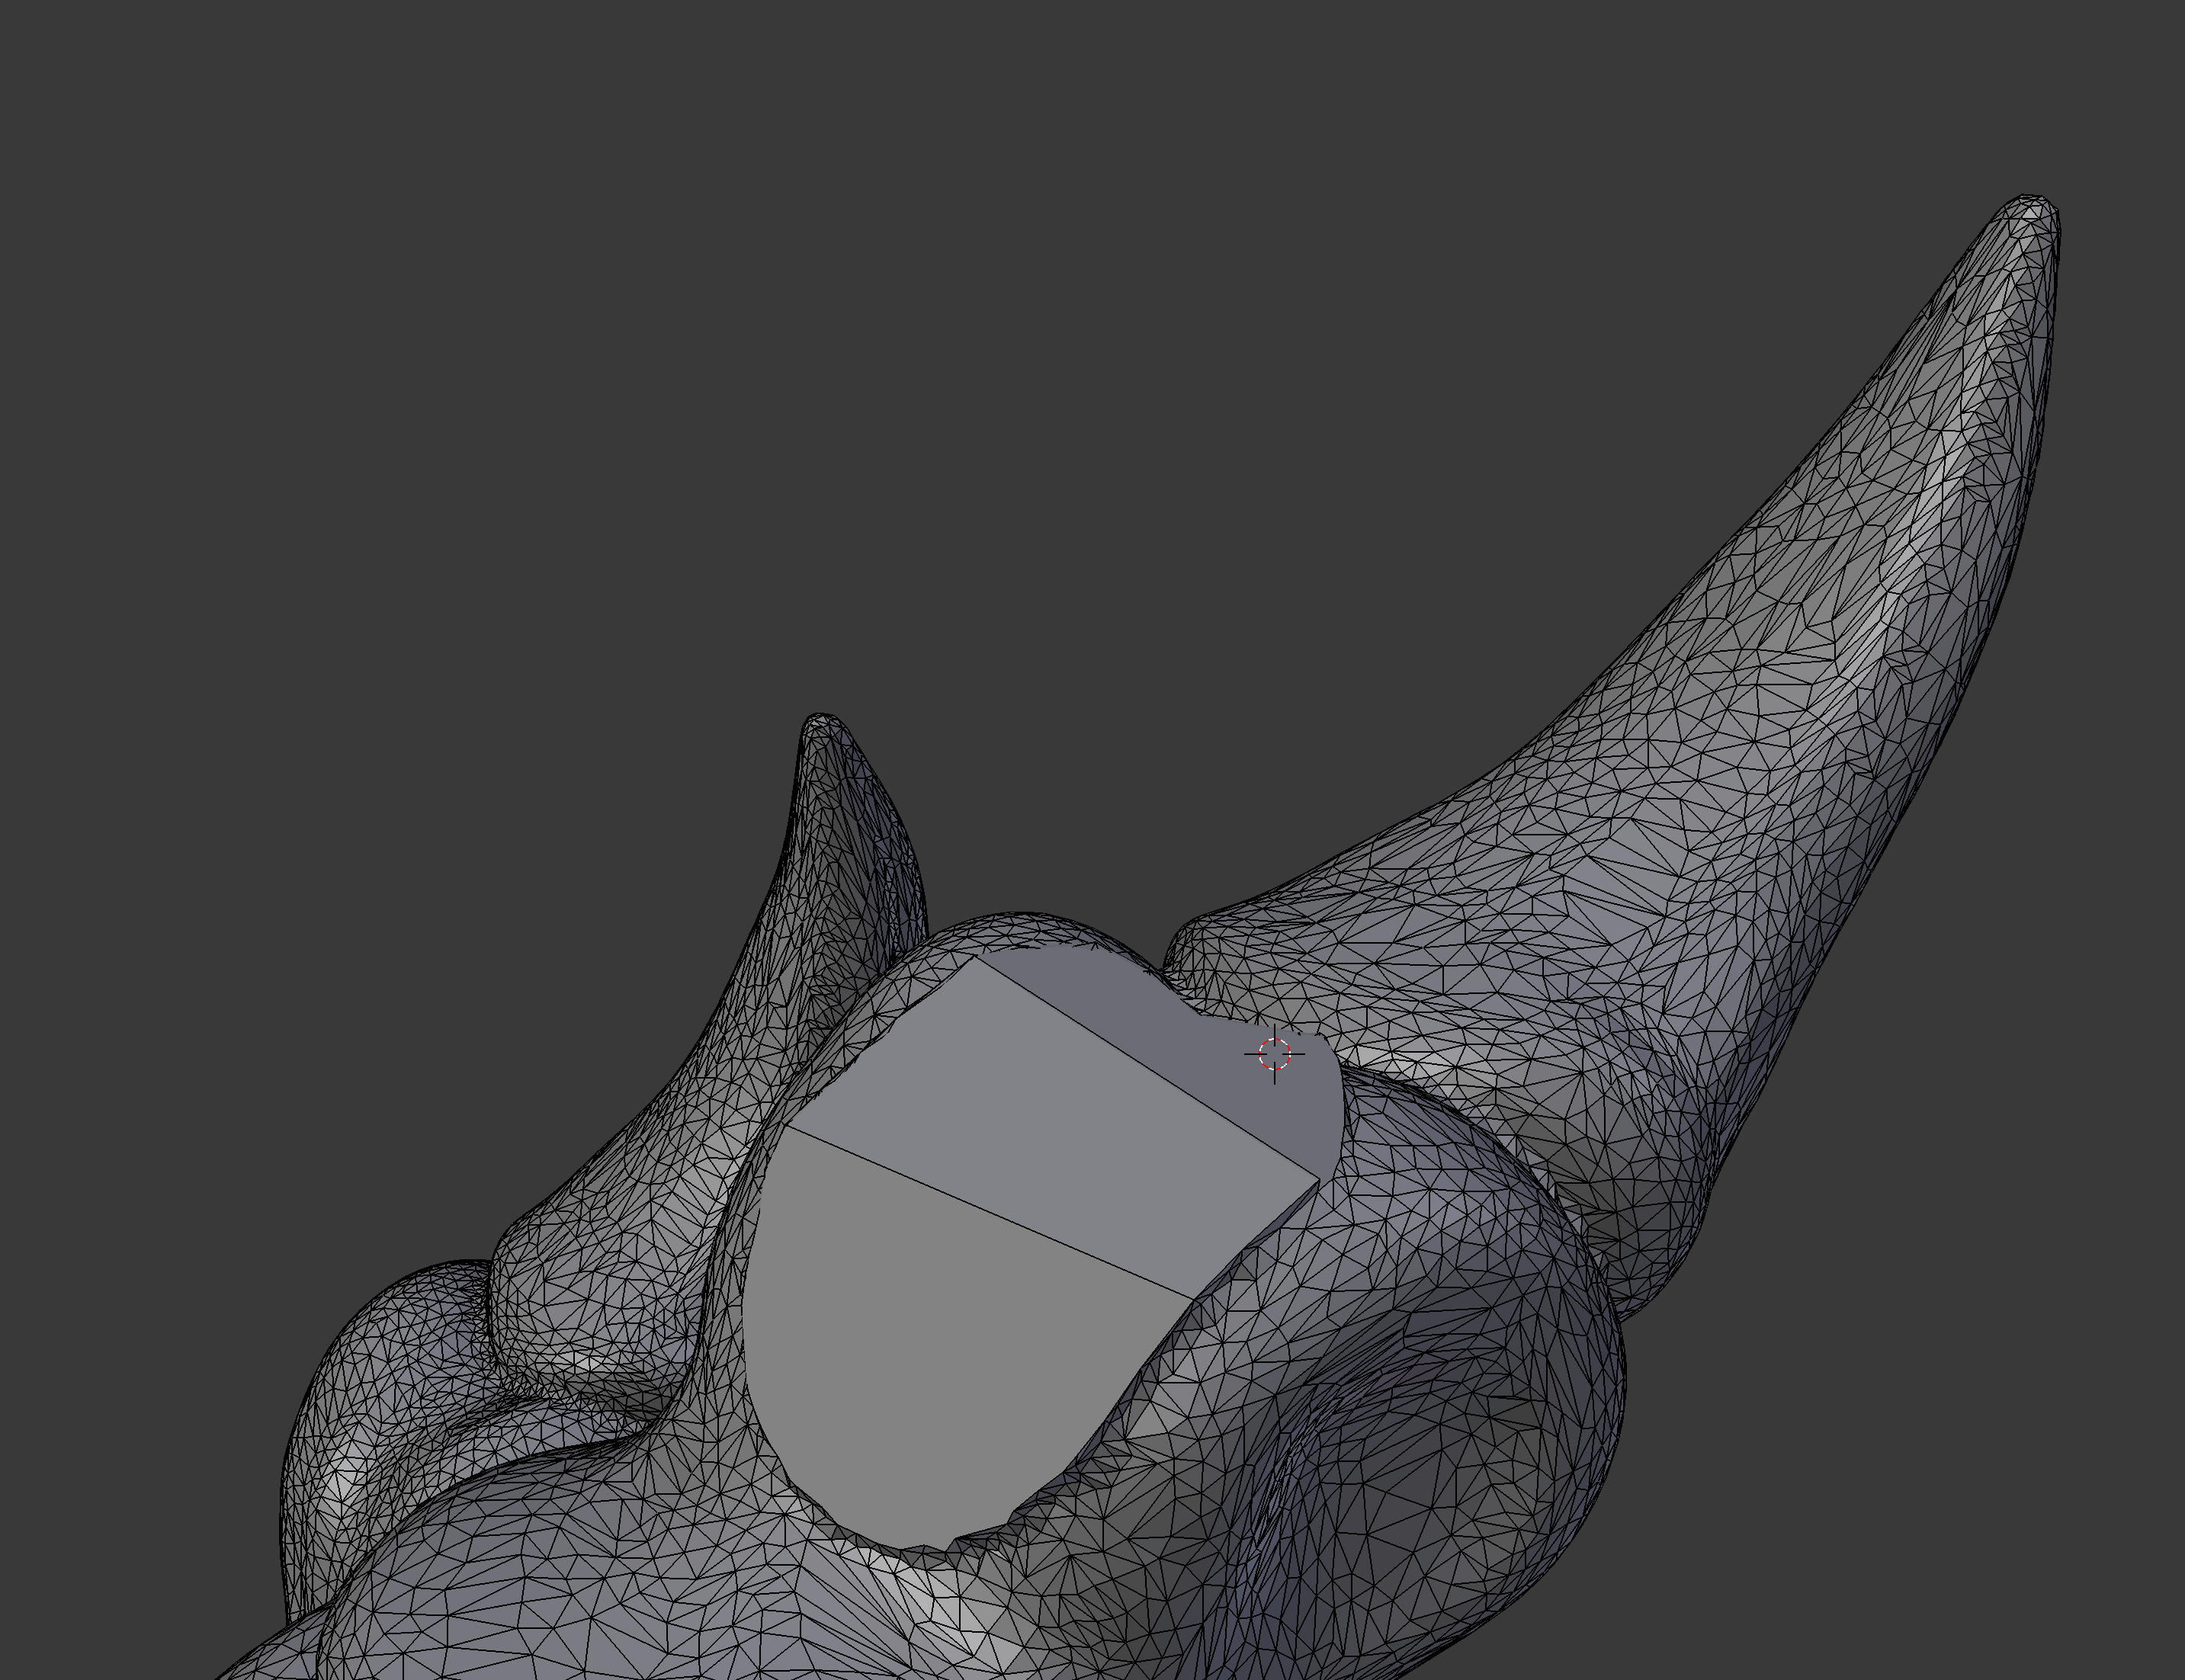
im super new to sculpting and I don’t know how I would even get rid of that clip. I tried deleting all the geometry of the clip which resulted in a hole in the object which I then tried to add faces across. But then I don’t know how to sculpt that face as it does not have any geometry for me to sculpt? See the picture attached.
In sculpt mode with added faces (Space bar Seach Grid Fill helps get rid of selected holes in edit mode) switch on Dyntopo checkbox.
From 2nd dropdown choose Constant Detail; change Resolution above to something 50-ish
Now you have available Detail Flood Fill button little below. Click it.
Choose F-Smooth brush, set Strength to something 0.1 or below and rub a bit around the problematic place. Back in Edit mode observe mesh.
Hope helps.
Ill try this however im afraid its going to be hard to hit the correct placement and angle of the rest of the bone as it’s supposed to be glued together to another printed part which differ somewhat compared to the other foot.
If that’s the case you have to hide the rest of the model faces in edit mode first to save on computing power.
Select the flat ngon and a bit of surrounding faces, hit Ctrl-i which inverts selection and Ctrl-h to hide faces. Now switch to Sculpt mode and flood fill using smaller number. 50 was just my rough estimate.
Back in Edit mode you can see if fill gives aprox the same face size as on the rest of your model.
I’ll check tonight but if the geometry of both feet are close enough together, you could use snapping (by deleting the clip and copying the piece from the other foot after mirroring) or the shrink wrap modifier.
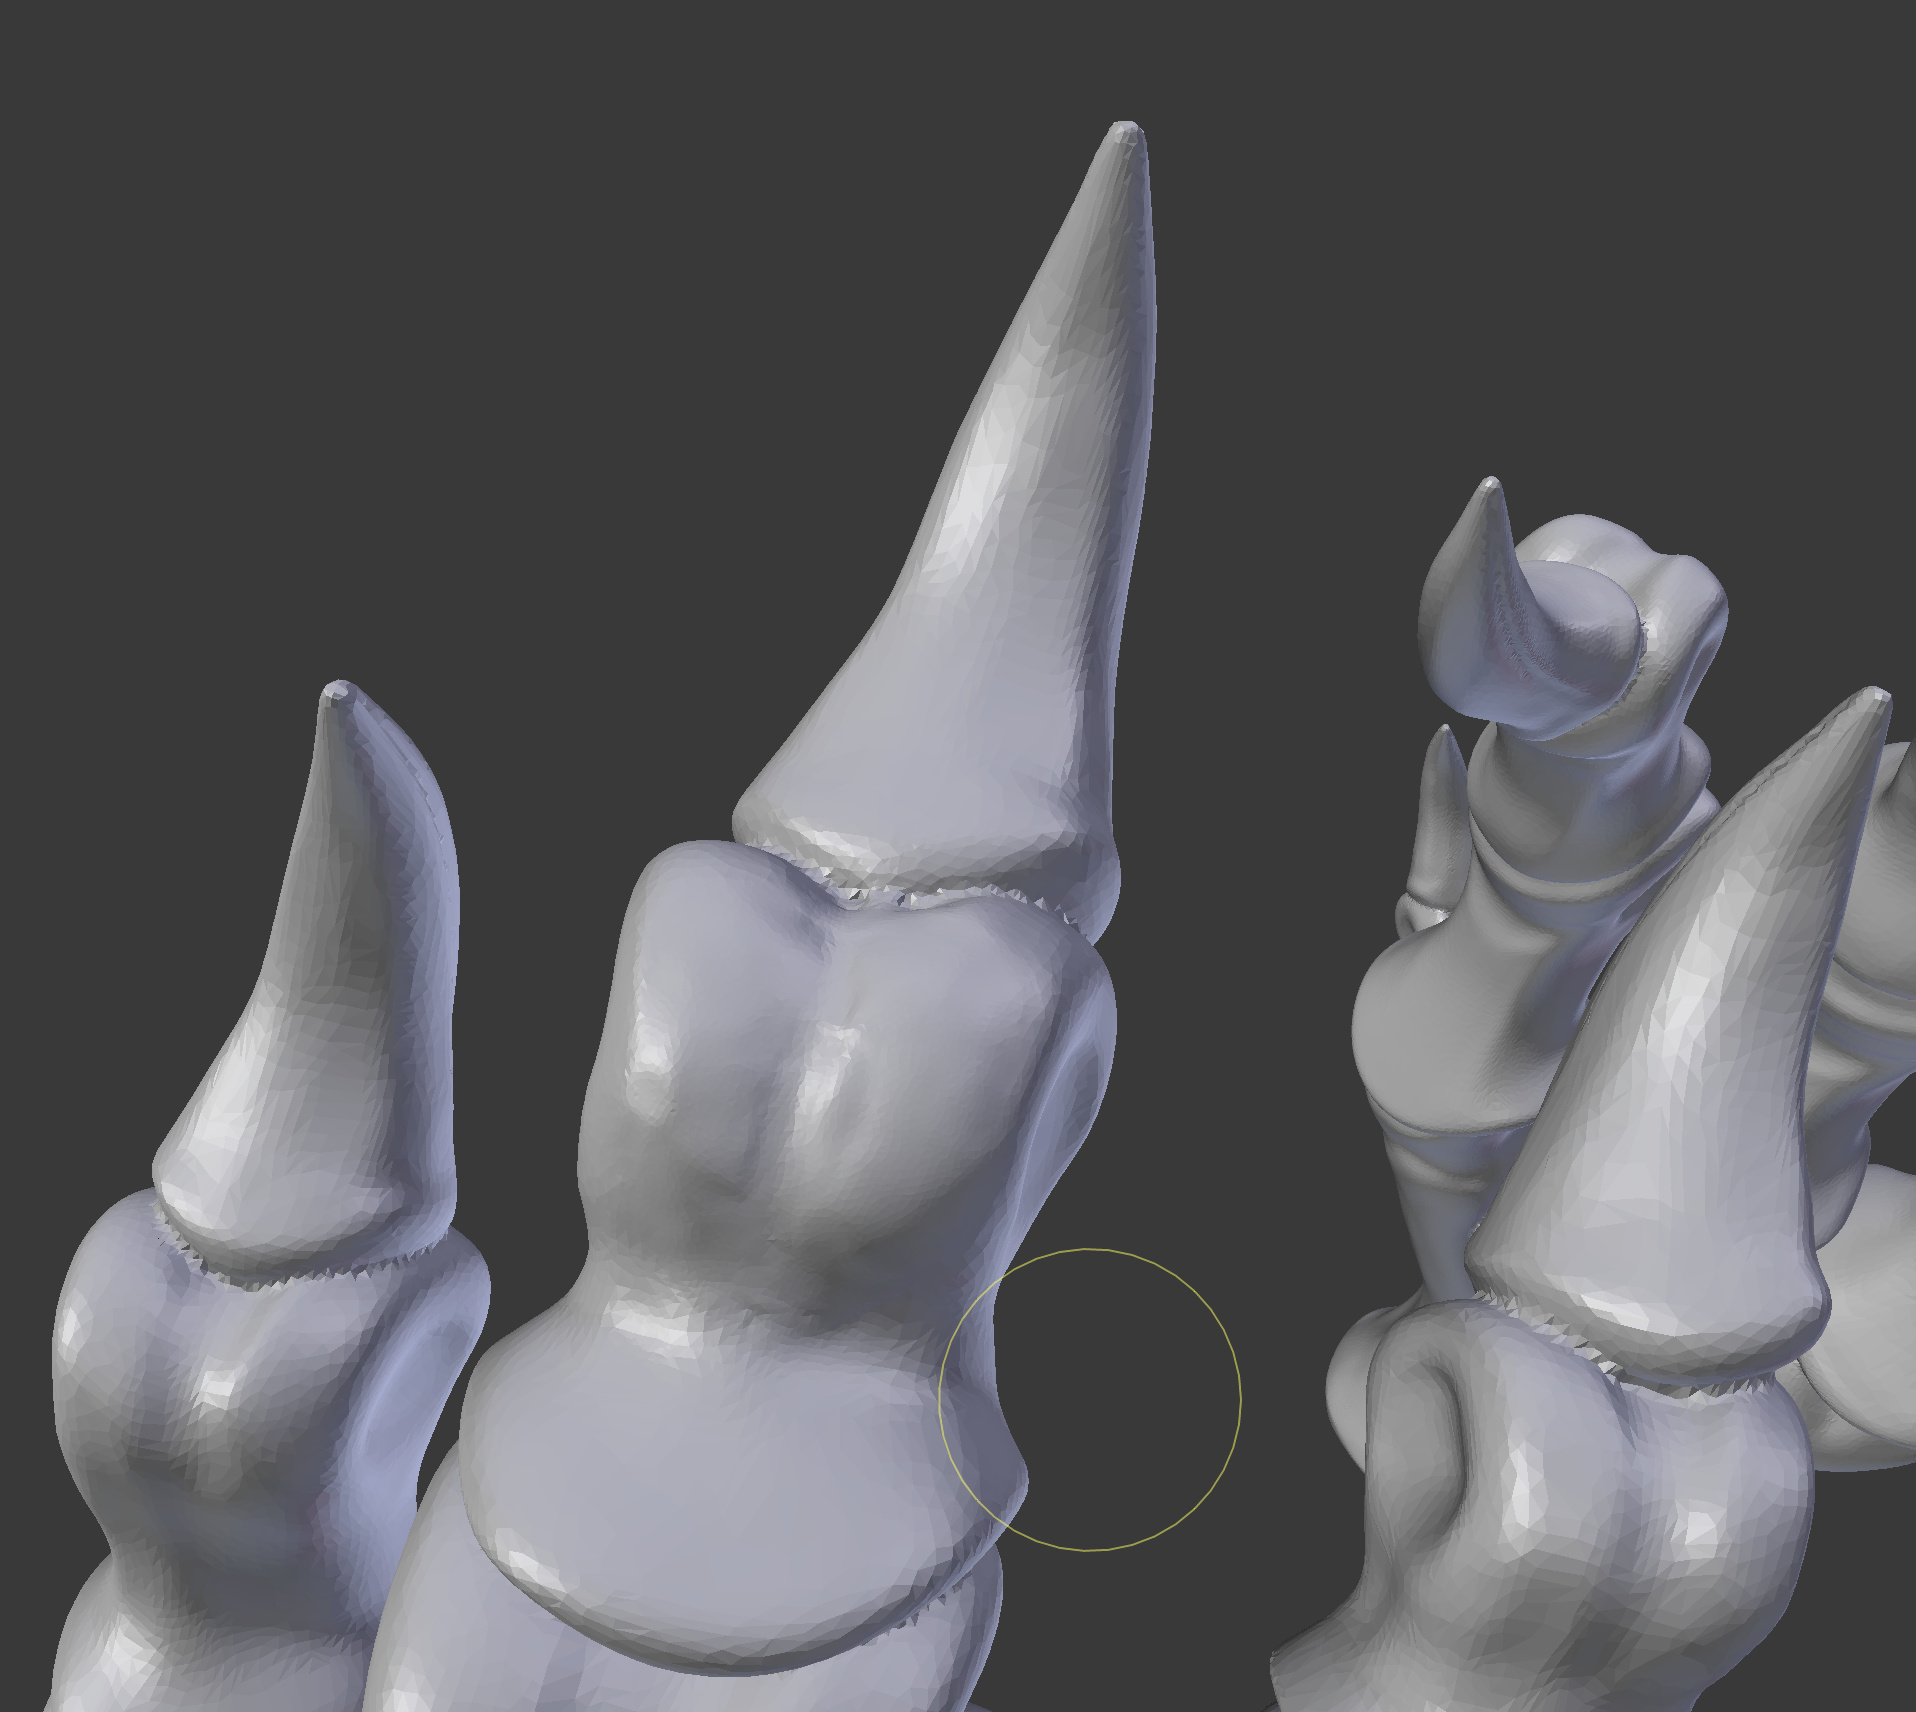
That did the trick - hiding the rest of the model! Thank you! I went with 6 as the flood detail level value and then I took a stab at sculpting it to look like some of the other bones, not great but it will do