Thanks JamellMoore!
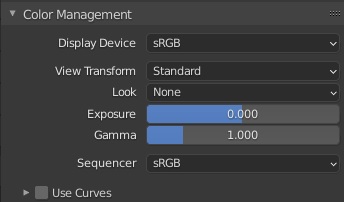
Now with the color management values below, the value I set on the RGB node is actually the same value I get on the background in shading rendered mode.
That’s great!
If you decide you need to adjust the exposure without effecting the background, you should do it in the compositor. Although I have provided you with a solution it’s not that felixible so I would advise you to learn compositing.
Alternatively you can adjust the power of the hdri in the shader editor for now.
1 Like
I would like to leave all the settings standard because the renderings of the model I need as a presentation for the sale of the same. The rendered images should be without retouching in compositing.
With your help (thanks again!) I managed to have a background with the desired color, without shadows and uniform, setting the World Properties as seen above.
Now instead I need to have something a little more realistic, in the sense of having the shadows of the object slight, but still with a uniform background and the same color as before (RGB 27,247,247).
To do this I have inserted an object that acts as a background in order to have slight shadows, setting the Color of the Principled BSDF to RGB 27,247,247 (leaving the properties of the shader editor of the world as seen above).
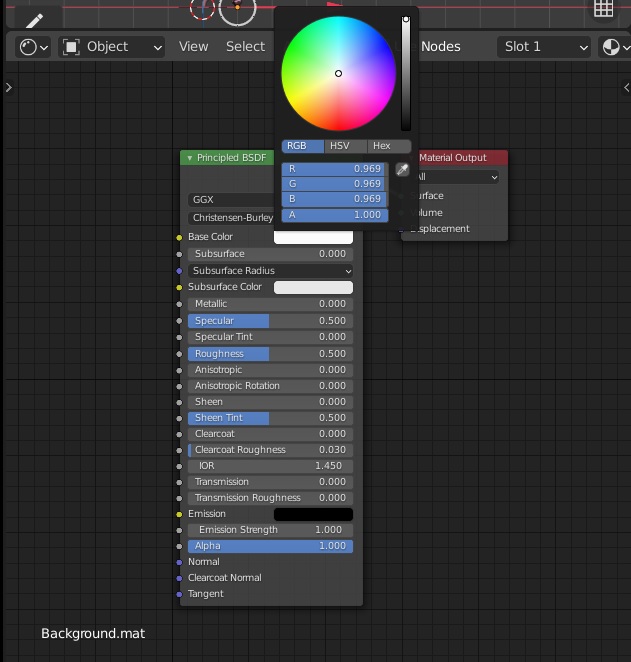
In this case, however, the same problem occurs as before, the color set does not match the color detected on the Viewport Shading Rendered. At least in the areas far from the shadows.
I believe that is because the material has a specular value and with that the color will change depending on the light.
I think the only way you will have something completely flat but with the shadows is if you set the specular to 0 and the roughness to a high value.
But even this way the object is going to variate the color depending on the illumination.
The best you can do is to set this background object as a shadow catcher and let the color of the background work as before.
1 Like
Yes that’s what I was looking for Thank you Rodrigo!
1 Like
If you want an easy way to do it. Go to render settings tab. Click on >Film and search for transparent. This will make the background transparent and you won’t see the hdr. Then go to compostion and add color/alpha over. Use any color you like, this will be the background color. Put the image socket into the second channel and set premull to 1. Now you will only see your object in front of a colored background.
1 Like
Yes the shadow catcher is the way to go. Compositing doesn’t allow you to see the results whilst navigating the viewport.
Although you could have learnt how to comp it in the time spent.
2 Likes
Could you post me an image of the compositing set up as you describe please? I don’t know how to use this work area in Blender yet.
Yes you are right, I should learn how to use it as soon as possible!
I’m on my phone so a quick search brought up this.
There is an image on the page
2 Likes
Thank you!
Hope this helps!

1 Like
Yes! Thank you Ren1!
1 Like