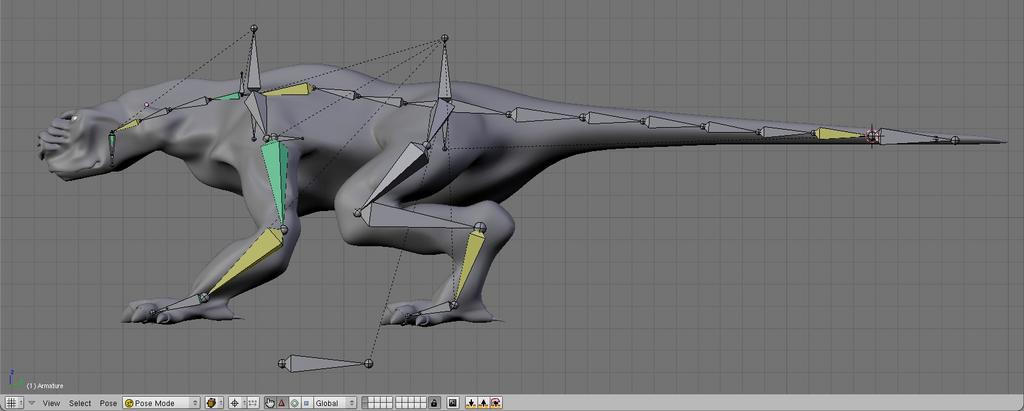
Well, I’ve been trying to rig my latest project for a few days now and I’ve got a rough working rig now based as a stripped down version of the Captain Blender one. What I need to do now is to figure out how to properly apply bone heat to only to bones I need working in there and to leave out the control bones. Is it possible? Or will I have to somehow parent/child another Armature to follow all the bones? Any help is appreciated.
what is bone heat?
do you mean weight painting?
you don’t have to have the control bones set to deform the mesh
Just turn off the “deform” option in the Armature Bones Panel in Pose Mode before you parent the mesh to the armature . This should be done for all control bones/drivers .
I think this option was originally added for the bone envelope deform option but it works just as well with the new dual quaternion skinning (“bone heat”) method .
And just as a side note, the new “bone heat” method is quick and easy (you just have to parent the mesh to the armature and just select from the context menu), but the nice “naturalistic” deformations aren’t because of how the weights are set by the new method, but rather how the mesh deforms in the new dual quaternion space now available . Apparently, even though the armature bone movements were calculated using quaternions, the mesh deform space still used Euler angles to calculate the deformations … I’ve done some tests with “raw” vertex groups (weights set to 1.0) just using the quaternion option in the armature modifier and you can definitely see the difference in how the Euler/quaternion spaces deform … especially when you rotate around the Y axis . You get an almost surreal shrinkage when you use the current/Euler space which you don’t with quaternion space turned on .
Thank you so much, Vertex, that fixed my problem right up! Sorry if I was a bit vague in my description to begin with…