Hello!
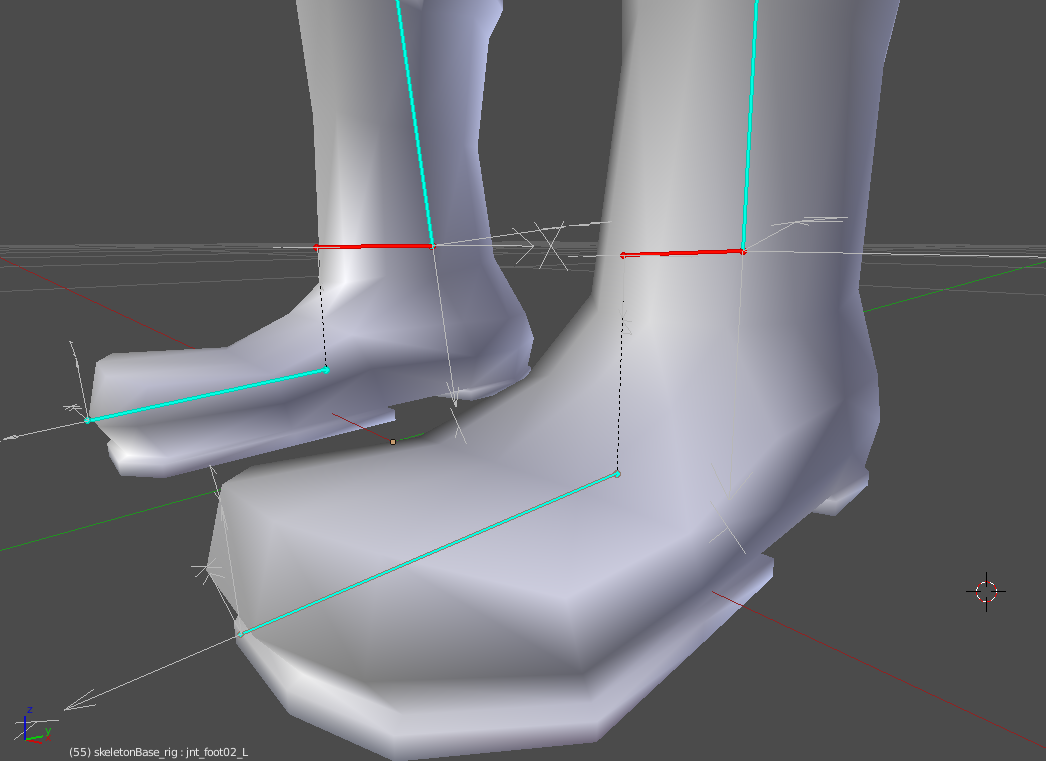
I’ve rigged this IK foot (red bone) to rotate from the ankle, but the issue is that the local translation of Y and Z does not match world Y and Z. Instead it follows the bones direction. This makes it very bothersome to animate with, since the curves aren’t very workfriendly. Here’s a picture of the foot in question:
I don’t really know why you want the feature you are asking for, perhaps you are unaware that you can rotate a bone about its own axes by keying R YY for example to rotate the bone about its Y axis, or enter values in the Transform boxes, then RMB Click to keyframe them. Also, the IK target need not necessarily be a bone - it could be an Empty, although this is not the best since the actions are then spread across more than one object. I don’t really like the position of your IK target, in that it has another bone after it in the chain, but no doubt you have a good reason for this!
More info is really needed as to why you want this - which you cannot have by the way since bones always rotate about their own axes, not Global axes, unless they happen to be coincident. Perhaps we can help you sort the animation within the parameters of Blender’s Armatures structure.
Make a new bone positioned at the ankle and aligned with the world axes for your IK target. Change your IK constraint to follow this new bone instead of the ankle/foot bone.
Hey!
I have no issue with rotating the foot in the viewport, however when you work with animations you need to polish the curves in the graph editor, not only for splines but also to push your arcs as much as you can. This can be very tough if the axes does not logically match your animation. Here’s a test animation I did with this rig:
In this video I noticed during the polish phase that one of the feet had to be further forward to hold his weight. Usually I would just go into the graph editor and move the x axis slightly, but in this case that would move the foot downwards as well (since it follows the bone direction). Another time would be when polishing the arcs of the height. I had to polish two curves when logically you’d only need to polish one axis. So it is VERY important that your bone axis logically matches how you animate the bone!
The reason for the bone after the IK is because that’s how a foot works, you would have a very hard time making interesting poses if your foot was completely stiff. You can see in the test video as well that when the foot stays in it’s spot it tries to keep the tip on the ground for as long as possible, so this bone is very important for animation.
Thank you!! This was the answer, now I feel really dumb haha. Here’s how the setup looks now: