The little story
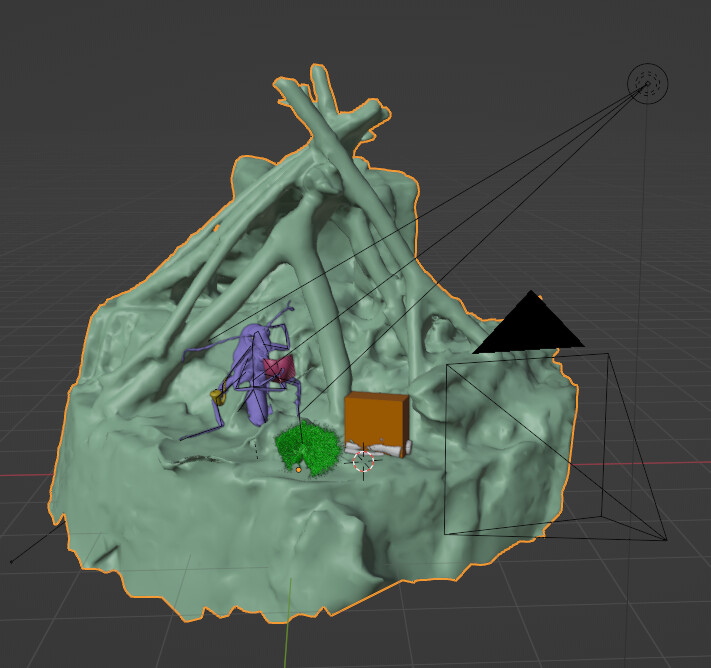
During a photogrammetry walk, I found out that inspired people did little sculptures on top of cut trees. I had to scan these! When processing it, it felt really cozy, so I rigged a bug and tada! I like to think it’s like that at night out there, let me dream
Consistency?
I am trying to isolate a few themes in my work, otherwise I noticed I’m doing everything and nothing. This one goes into the “fever dreams” series. If interested, feel free to check my ArtStation profile where these are clearly shown. Denis Gauder ArtStation
Side note on photogrammetry
After a few years of photogrammetry using Meshroom and Blender, i think I got to an efficient workflow, especially for texturing and making the assets “game-ready”. Let me know if you want more details on the process.
Behind the scenes
Well, that’s a very simple scene. I try to keep my projects short nowadays to practice with composition and understand what works and what does not. It is frustrating when you spend days and days on a piece that has little reception.
The background and pipe smoke have been added in post-processing.
I almost always apply a layer of post-processing in Topaz Studio to get a slight painty feeling, but I have been making it softer and softer with time.
Done, thanks for reminding me, the exact requirements of CC licenses can be quite confusing (at least to me).
By the way, I am struggling keeping track of all necessary credits for the assets I’m using. The new Blender asset library helps, but it’s clear that it does not go all the way (no meta data for links, no possibility of extracting credits from a scene, etc.). Do you guys have a suggestion for that?
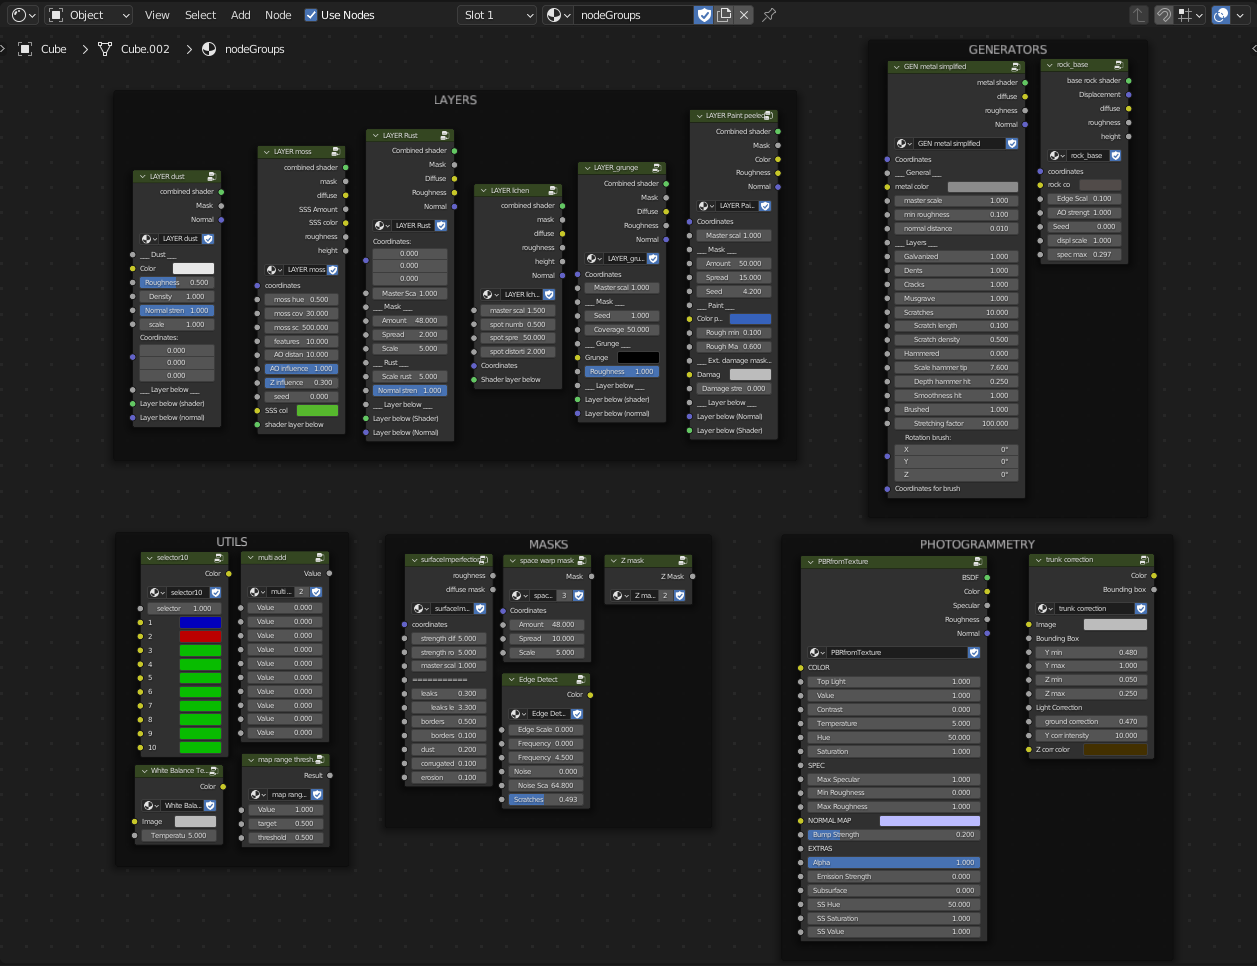
That colour correction for the scan images is really impressive, would you mind sharing how it works / a screenshot of the nodes?
Also, the whole scene looks amazing, it has a lot of character, well done!
Sure - yeah, the little PBR node there is really handy
I attach my startup file which has all my useful nodes in a pre-existing material, hope it helps.
The temperature correction should be properly done, I followed a tutorial on this. It involves separating the HSV channels, etc. There is a Z masks to lower the light intensity from above, and the spec and bump are automatically geenrated. It’s quite a time saver in a photogrammetry workflow. It accepts a normal input, to which it will add a micro normal based on the texture.
The trunk correction node is “younger”. you need first to adjust the bounding box, orient the tree dark face in the direction of the Y axis, and it should allow for automatic lighting correction (2 gradients, along the Y and Z axises)
Oh, wow, thanks! There’s some really useful stuff there! I’ve been using Meshroom for a while now as well, and these could be very useful for speeding up the workflow for making assets. I’ve been building a similar library, but none of the nodes are as advanced as these. Thanks again!