And something more traditional. I wanted to test out the Loops on Loops thing that Michalis started a while ago. I wasn’t feeling very creative so I used his sphere design for the test since it is simple in concept but awesome looking.
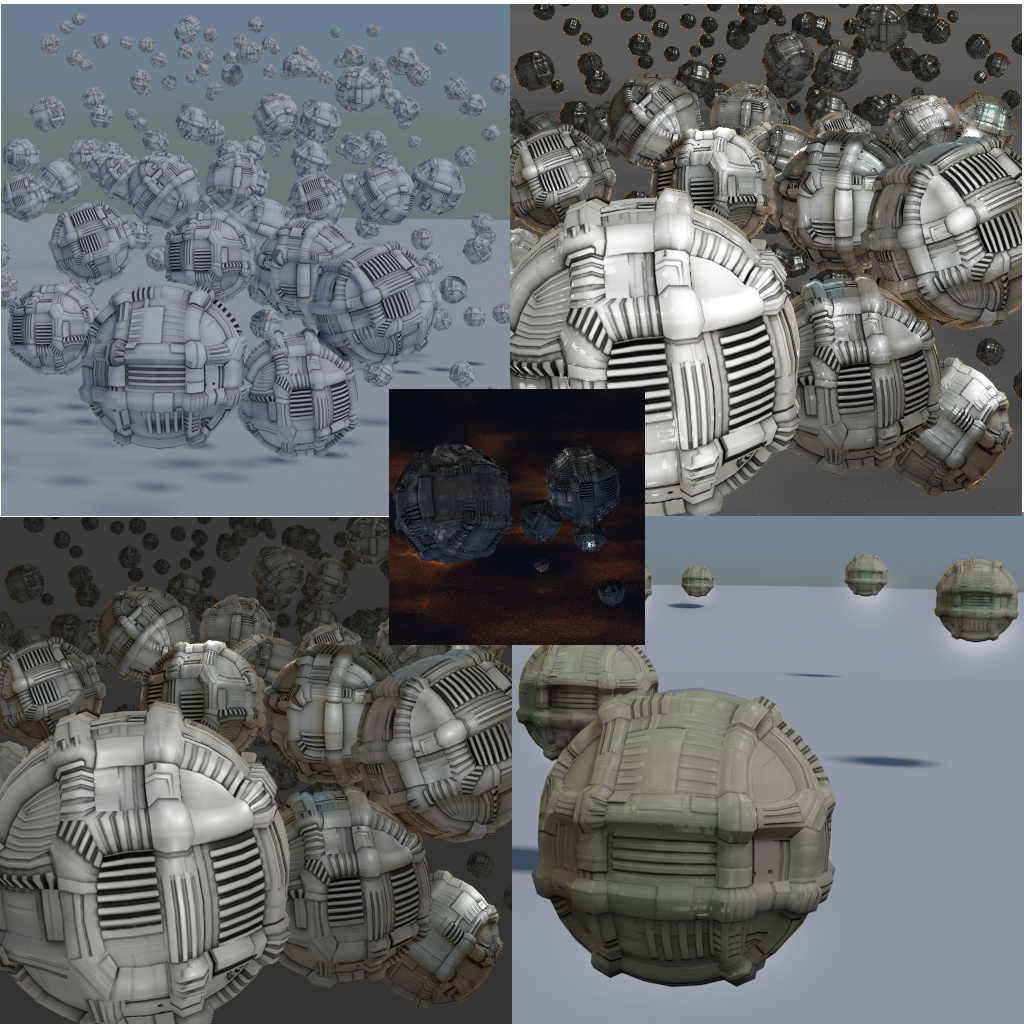
Fun with GLSL shaders.

Very nice posts marc.
Clearly, you have to learn how to use BlenderArtists UI. 
Just use the quick reply options, not the advanced.
The InsertImage button. Wait a second to load the application,
two basic options:
from computer (the default)
from URL, here uncheck retrieve remote… please and just paste your URL
If your image is wider than 700 px, selelct the imported image (inside the text by clicking it), click on the Link button and paste your URL again. This way when someone clicks the image it will shown directly in original dimensions. This way you have bypassed the BA, so, the image doesn’t look fake sharp and it also keeps its colorprofile (sRGB is recommended)
Supposing we all have calibrated monitors and a color management system (in your case marc, colorsync).
Avoid png, jpg is the best and it supports color profiles.
This is true, but I still think displacing with non right-angled geometry causes more issues than it has solutions.
Also wouldn’t it still be easier to actually use an array modifier or linked doubles?
Between creating the displacement map and seeing it’s effect on an object some time is lost.
But then your example might let me think in the wrong directions.
Using displacement to get the desired geometry aligned to the object to me seems like a lot of unnecessary work. Not counting having to subsurface it far more than the effect seems worth it.
On the other hand, if you want a certain piece of geometry on specific faces of a larger object, using displacement is faster and non destructive.
Also I’m completely ignoring that everybody has his or her own style. While I keep trying! to emulate Giger and his works, others want to create other things, so if I sound too biased, I’m sorry.
The balls are nice.
They gave me an idea, but I don’t know how to set that up.
I thought about the Object Info’s Node Random output to change the bump map translation on each generated object.
But then those values have no input.
Is there a way to do this without having to use scripts?
Edit:
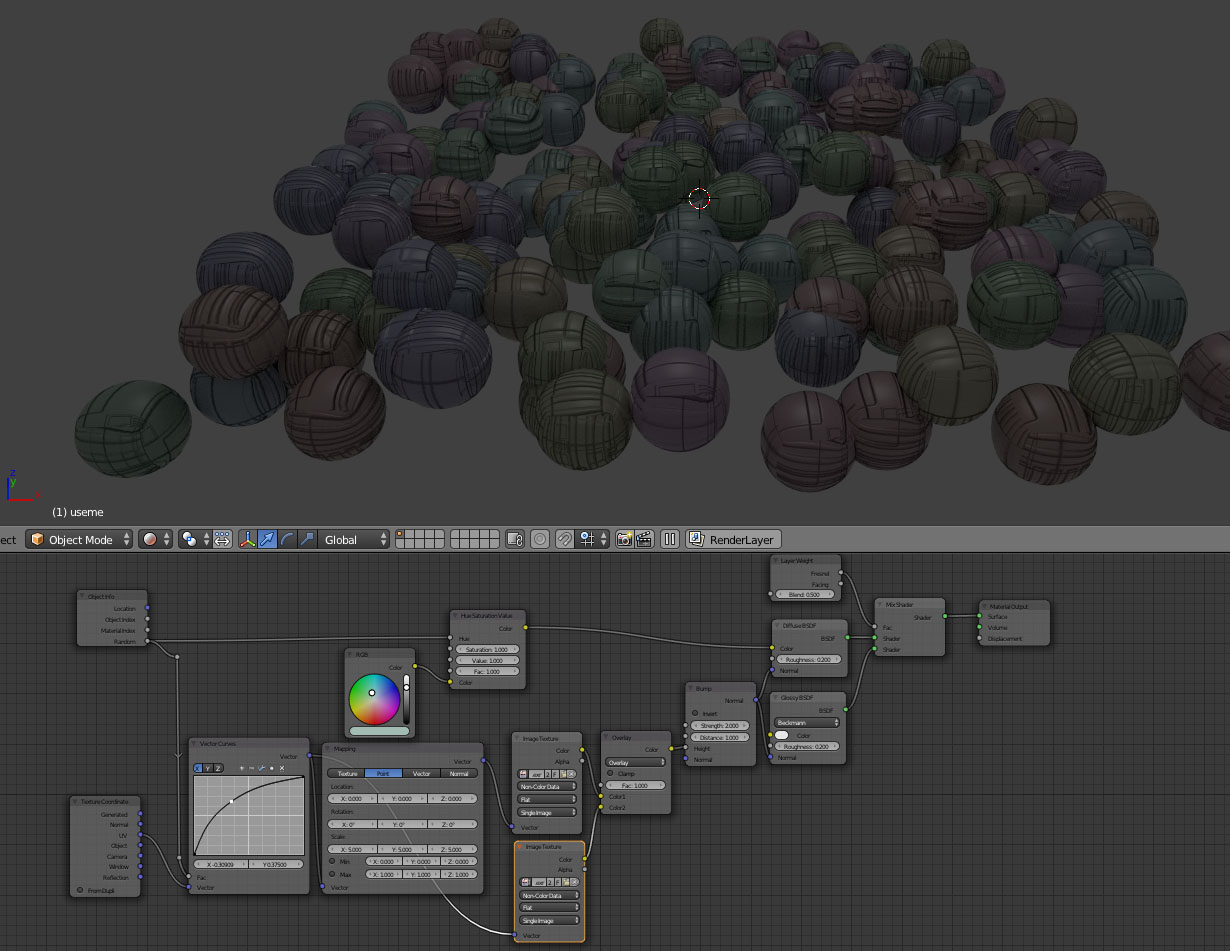
If only I knew what the Vector Curve does…
Wunderbar thanks.
Still plugin away. 
EDIT: Oh crap… Here we go again. Oh cool, following the above image posting advice now gives me the long sought after ability to delete photos from my classic mistaken double posts.
Mark, just asking
Should I rename this thread as “follow active quads tests”? A method to align UV islands to a prebaked map?
Just asking.
Well, this topic came up after an argument on how they worked on the prometheus movie.
Funny, but true.
Funny, I was wondering if I went off topic. Oh well.
Marc, about the stretching.
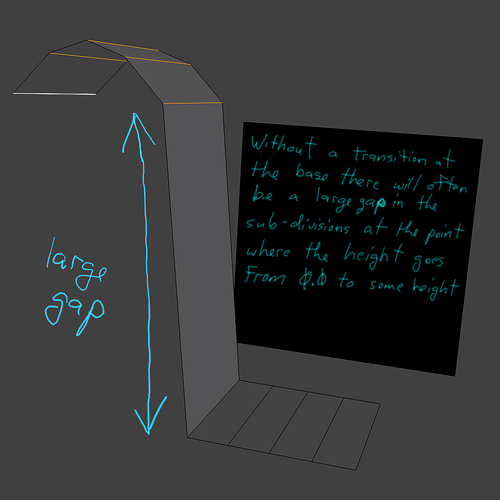
The way I handle that situation is to compensate for mesh flaws by unstretching at the UV level. If you’re not happy with a face or range of faces select them all and hand scale them in the UV editor along a single axis (S-KEY followed by Y to constrain to y axis). This will allow you to “dial-in” the feature size for any given area without having to revise faces or revisit modeling. Which are other solutions, of course, it just depends upon where you want to spend your time. What is so great about this technique is that I find it more enjoyable to tweak UV coordinates and issues renders than to revise the mesh through modeling.

Work in progress.
Needs:
- More details on the pipe
- Some kind of digsite or similar to focus on and give a sense of scale
- a background (Ideas are very welcome)
- a better or at least less blocky foreground
- A camera / compositor setup that makes it look less like a model

I love all the stuff you’re posting Sir Richfield !
Well there’s nothing quite like some tiny guys in spacesuits (with the big Alien style glass helmets) shining their torches up onto the pipework to make it look massive!
When I first looked at this my instinct was that the pillars were man sized, but they could just as easily be 5 stories high! Big off-world engineering!
Man, I feel sorry that I kind of dropped out just when Sir moved into action, I missed so much.
Working on some stuff, will post soon.
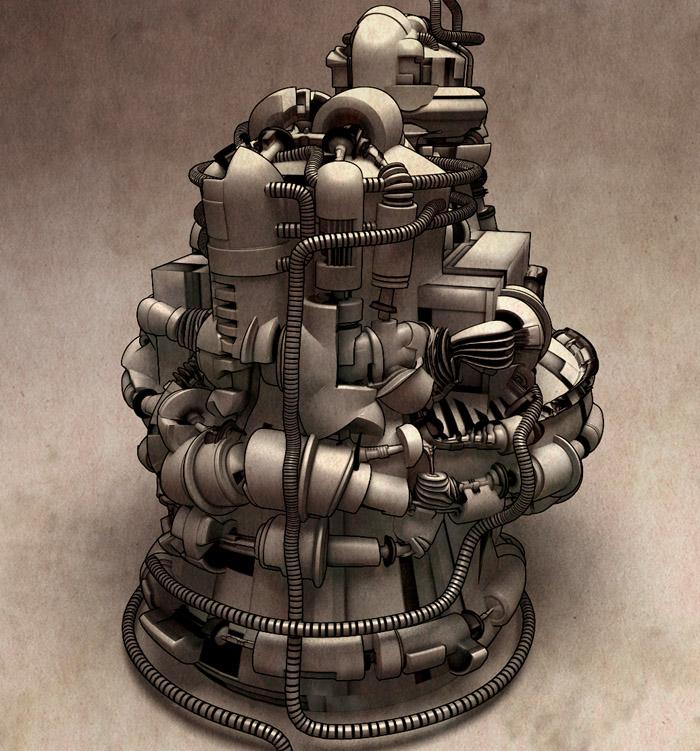
Just had some fun with the edge renderer+cycles+compositor tricks.
It was a test, nothing new. But I like the render.
1 Like
That is a very cool render, michalis, I like the variation there 
Thanks Craig
Such tricks (in compositor) take advantage of the textures too. The AO + displ maps. So, we have an NPR look from textures to compose.
Freestyle won’t work. The mesh is heavily subd. Even the GLSL performs badly. Cycles is much faster for previewing. he he
ooh, that’s a sweet render. Has an M.C. Escher feel to it.
Sorry, we were obviously posting the same time.
My question is, while I can texture different parts of my object with different textures and UVs, why cant I use subd and displace modifiers to different parts / displace with different textures… f**k Im just a driver jejeje
I’m also a zbrush user. But I can’t help on 3DSMax. Though the principles of this method are the same in any 3d app (with a decent UV editor). ZBrush doesn’t offer such a UV editor but it has very cool tools so it works fine.
Read carefully the second post of this thread.
The goal is to align the UV unwrapping to a geometrical (horizontal-vertical patterns) displacement map. The collateral use of prebaked AO maps is a little more advanced.
In Zbrush, use the GUVs (UVs panel). Random effects but it is an aligned unwrapping, so it will work. In fact, it takes a second and you can still edit it in blender or else where.
In any case, only quad topology is supported. Tris will remain as single face islands and you won’t gonna like it.
Any curved pattern comes from curving the topology, re arrangement of loop flows.
- learn the follow active quads UV unwrapping method in blender. You first need to have an active perfectly square unwrapped face (the one that looks differently high lightened in the edit mode). Then select all other faces and follow the active quad. Read the second post here.
- You can use multiple UV sets in blender. But, the displacement modifier uses one at a time. So, you can add a second modifier, assigning the appropriate X uv set there. I don’t thing you really need this. (BTW, you can’t use two UV sets in ZBrush, right?)
@FloridaJo
Thanks,
M.C.E. or H.R.G. in some cases… LOL. What about traditional manuscripts illustrations? Or, what about De Chirico’s works? Or some Picasso’s works?
MC Etcher is a very traditional artist, from a certain point of view, right? I was just had some fun on twisted torus topology in the morning. Maybe because of this… LOL