Weight Paint, Vertex Groups… Should use those, too, right.
But trust me, the real fun begins* with adding/finding loops, using seams, defining certain areas/lines of squads you want to apply a certain geometry to.
And then using the even method to have clean UVs. You’ll also want the displacement/bump being distorted by the scale of the quad, not having blender trying to even that out.
You can then take all thoses “lines” and “fields” of UVs to 100% control which part of the texture goes where.
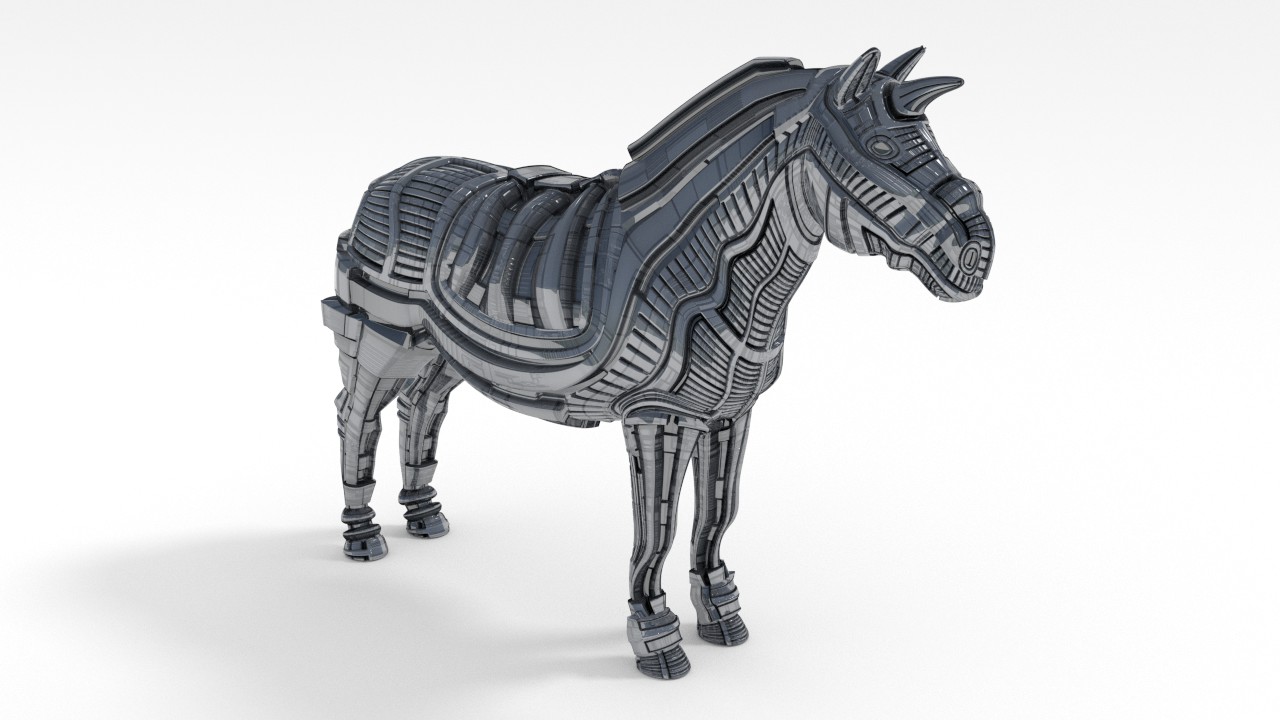
I have a render of that horse where you can see what I’m trying to say, but was too tired to upload. Now I’m on a different PC. I’ll edit this one later.
*But to be honest, the most “fun” part is to build your own displacement textures just trying to find out what works and what not.
Lazy day at the office today, so I made a quick one.
Not quite what I was aiming at but I’ve only a few textures here and the CPU is not the fastest.
Michalis, HOW new?
I was indeed curious, downloaded a master yesterday and…
Do you know Andrew Price’s “Things blender users say” video?
“Aaand blender crashed!”
It’s not that I’m not looking forward to all the new stuff and I’m thinking about what could be done with it, but I’ll still wait until it’s somewhat stable. I’ll leave the testing to you.
I’m curious, you said to disable almost any nodes. So what I’m baking is essentially shadows, diffuse colors, samples grain and caustics?
Or would (will) that work with OSL scripts, too?
If I could bake stuff like that to a texture so I don’t have to make detours like rendering with CPU all the time, using Photoshop or similar, or autodirt (which only works with applied modifiers), that would help making grungy/scratched textures.
We’ll see.
But I’ll keep this post in mind. I will bake stuff with cycles, don’t worry.
Bumps are not supported so far (returns a black image)
Glossy, you better not bake it, looks weird and unnatural on a turntable video by example. You better add fake GLSL glossy.
You may bake AO excellent maps, normal maps, a lot of things.
Well, this thread, the UVs+displacements is coming to an end for me.
Interesting posts, however, excellent posts in Zbrush forum as well. Masterpieces…
Like this new one: http://www.zbrushcentral.com/showthread.php?80531-Landscapes-L51/page35&p=1084816&infinite=1#post1084816
Such impressive work is impossible to be adopted on lower faces meshes, can’t be exported from zbrush… Well, it can but you gonna lose all these details. Or they will start looking not great. Happened in the “Prometheus” movie. Close views on the alien ship were awful. A work of the same artist actually.
This made me think of a little different approach on this subject.
Pre-bake everything, use the UV editor, follow active blah blah.
We also learned how to handle the blender UV editor.
How to handle and/or create interesting loops, topology.
The last part is how to bake all these on lower poly assets. (not game assets)
A little conversion is needed.
Cycles bake is the solution. There isn’t any alternative in blender. BI baker is of mediocre quality.
Let’s not forget, we already used cycles to render/bake displ and AO of these panels.
Bumps are a shame but I think they’ll figure it out.
Glossy. Of course in motion a fixed reflection looks weird.
Close views on the alien ship were awful. A work of the same artist actually.
This made me think of a little different approach on this subject.
Yeah thanks for reminding me how much there is still for me to learn and practice…
Close ups are kind of a pain, indeed. But I think that’s a problem of any rendered object.
Should not happen to Hollywood productions, though. One should think they had the resources to create extra closeup stuff.
The last part is how to bake all these on lower poly assets. (not game assets)
I was thinking if one could turn that into a workflow for game assets. Create a library of displacement textures and use those to apply details to low poly objects instead of creating a high poly version every time.
Not sure how baking compares to baking real geometry.
But if you’re on a budget, it might work. Not that I would know anything about it.
Oh and I think at least I will refuse to let the thread die in the near future. Or I need somebody to motivate me collecting all the information and write a new one, with structured information. Not today, not tomorrow, though.
BaRe, did you just download the file and set the shading to rendered without changing anything?
Then it does not work.
You’ll have to go into the node groups and set the script nodes in there to “internal” and then choose one of the scripts that are in the file.
Sad news, while i wasn’t fan of the sexual part of his work, this artist inspired a lot of people own artworks regarding creatures and designs, may he rest in peace in a better world.
If there is one thread to post the sad news, it is this one.
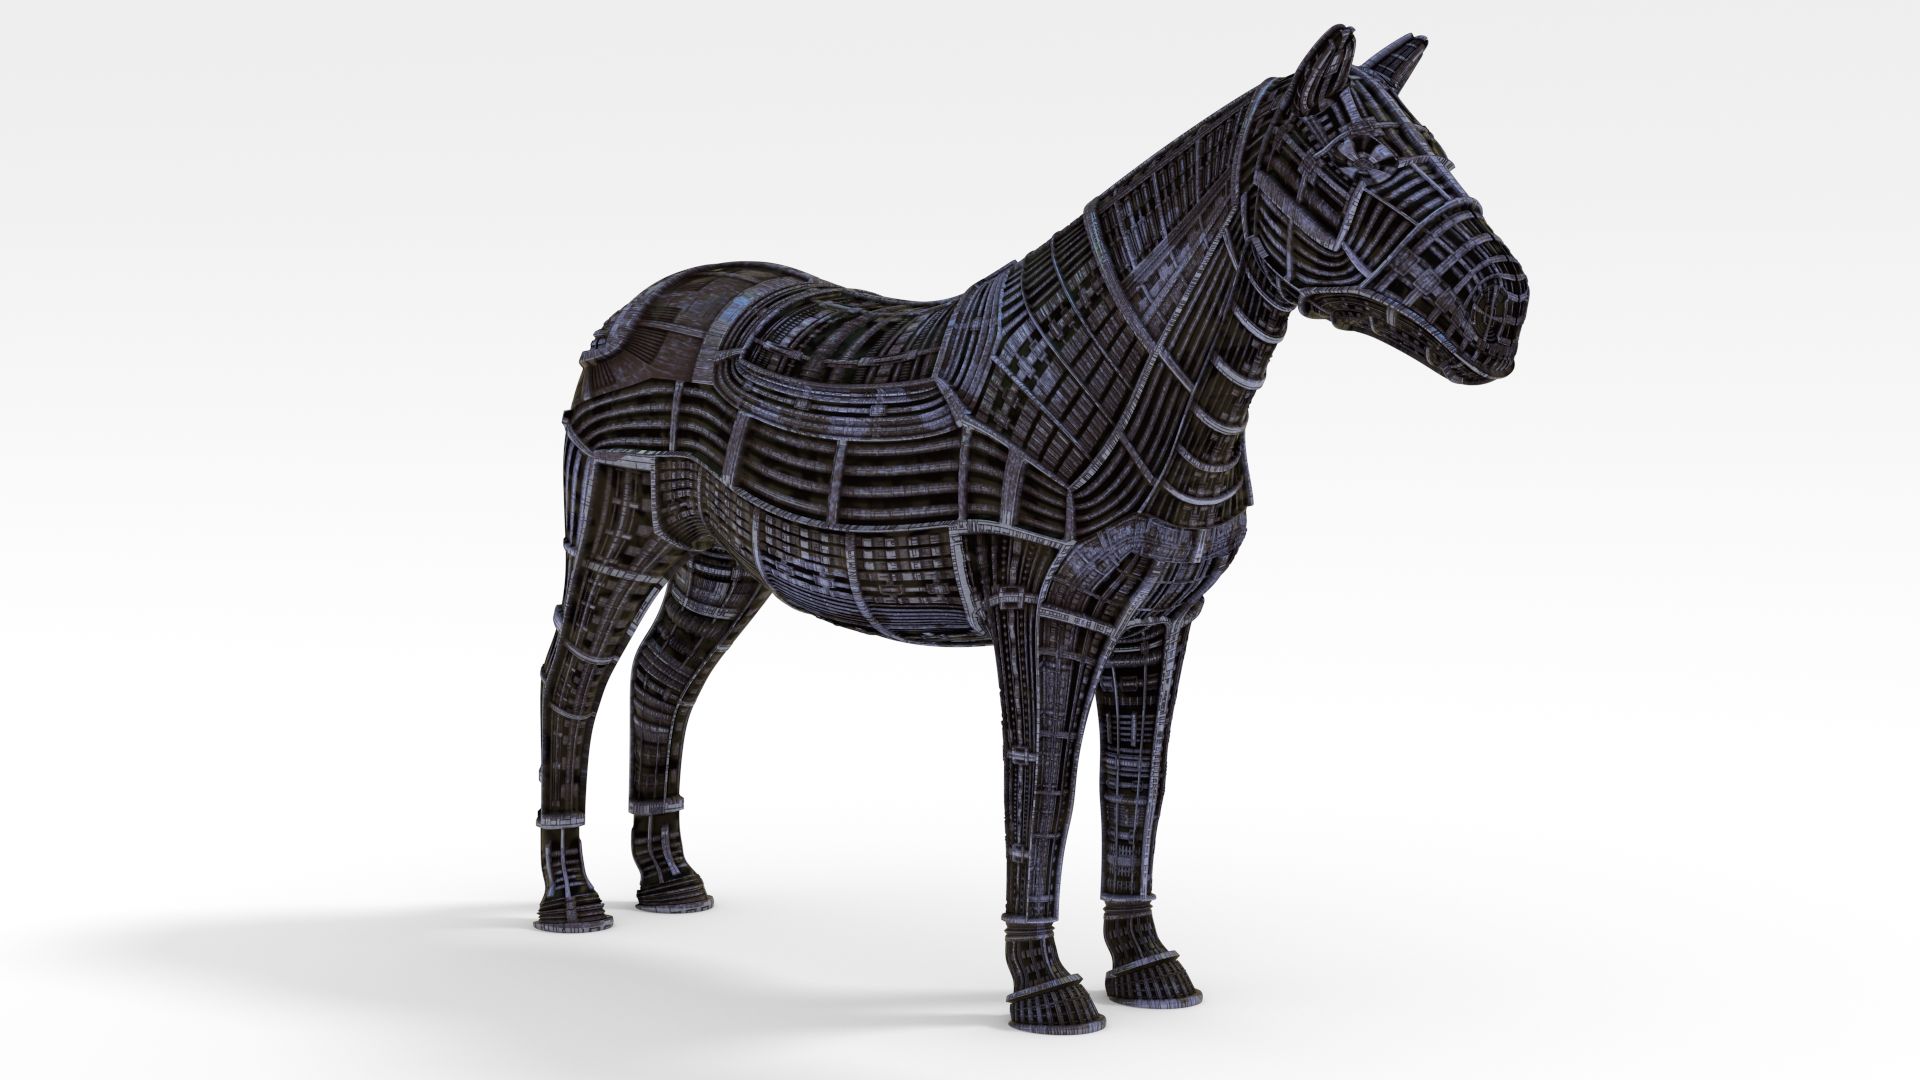
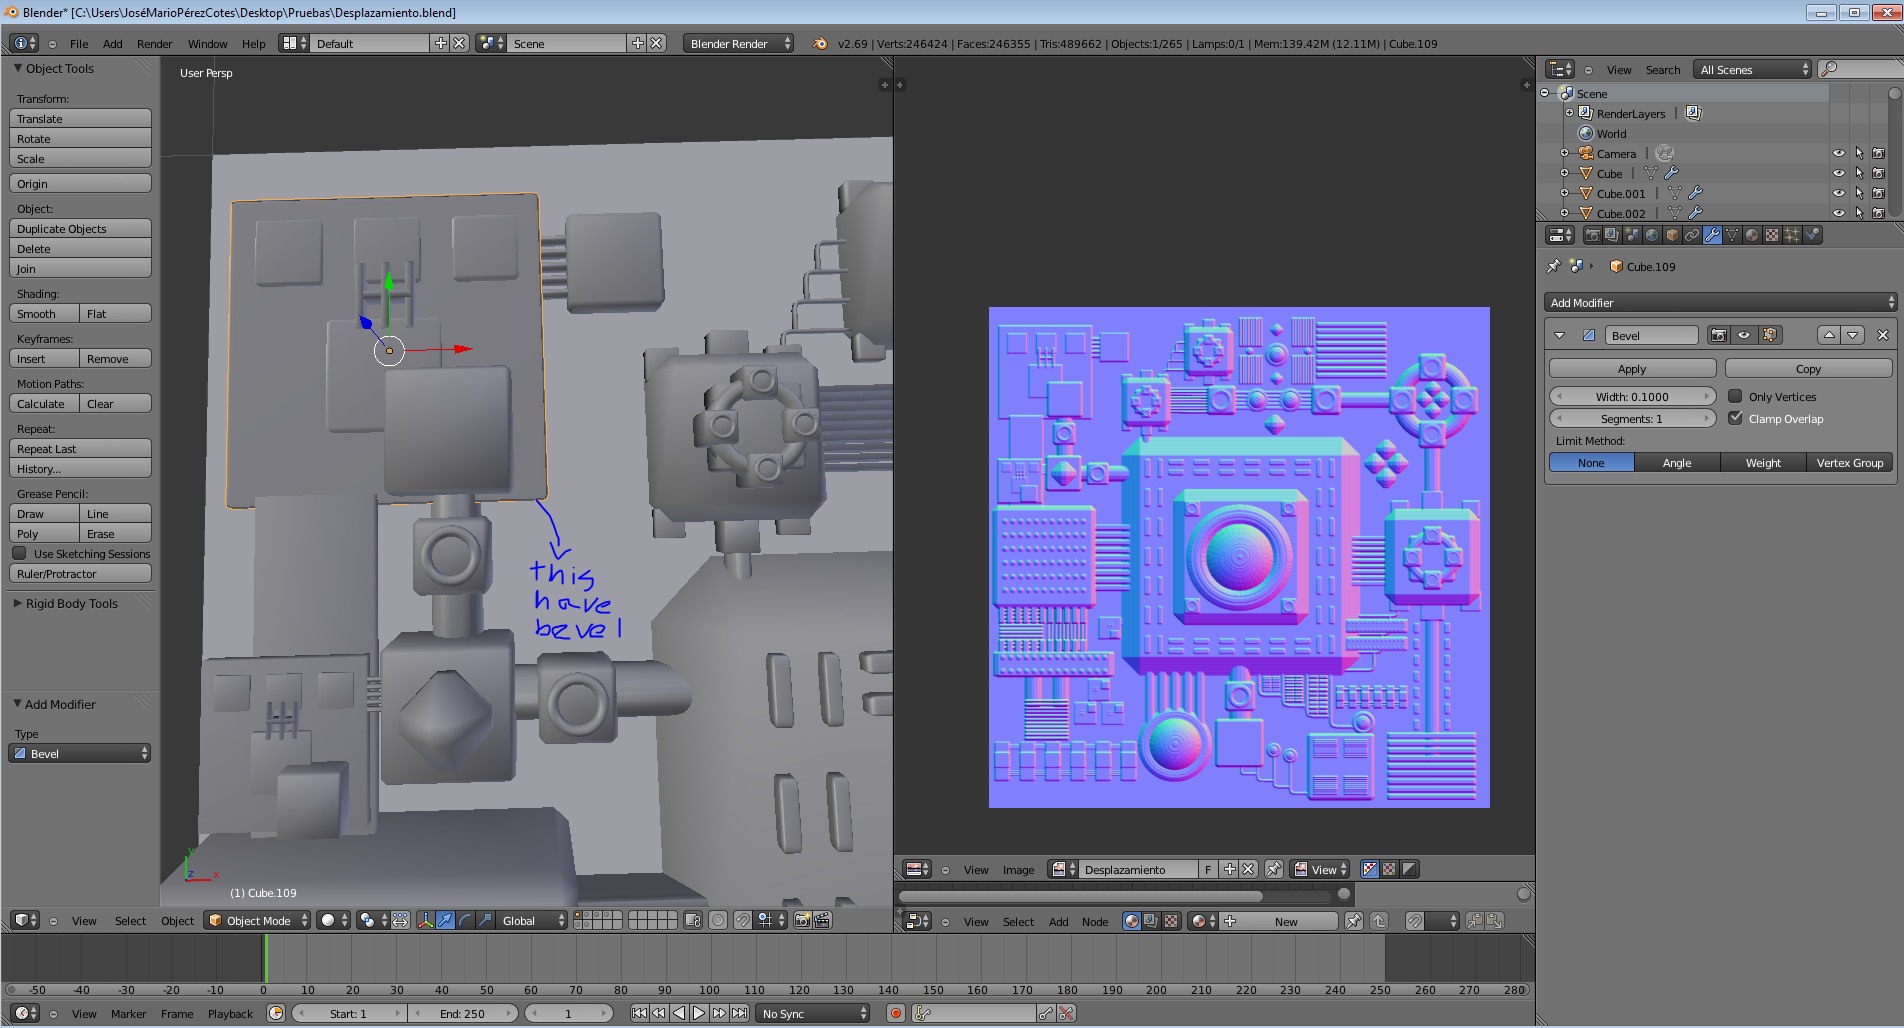
Spend the last days remodelling some of his patterns.
(For displacement. Which kind of narrows it down. Trying to remodel his stuff for bumps might drive me crazy)
I’m working on something, but that will take too long, so in his memory, I’ll just leave this random piece here:
michalis
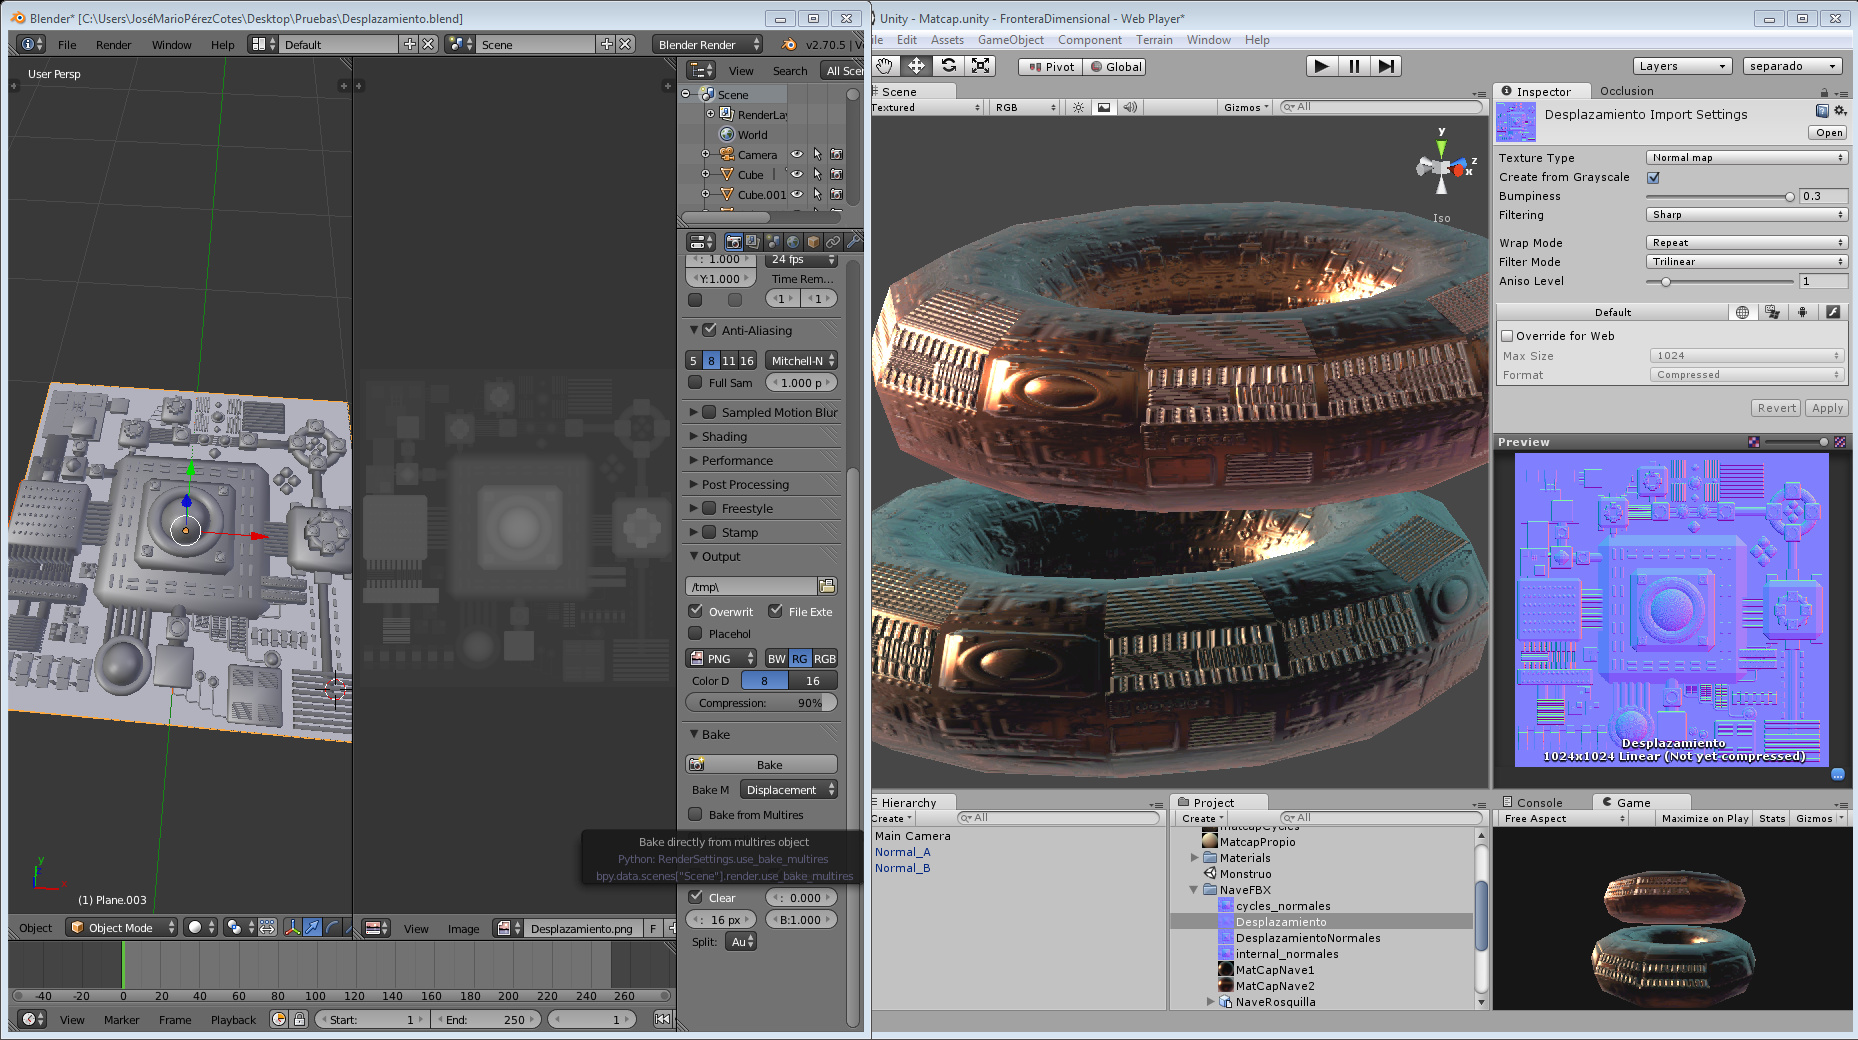
Hi michalis, I made a test baking the normal maps, and load the low poly object in Unity.
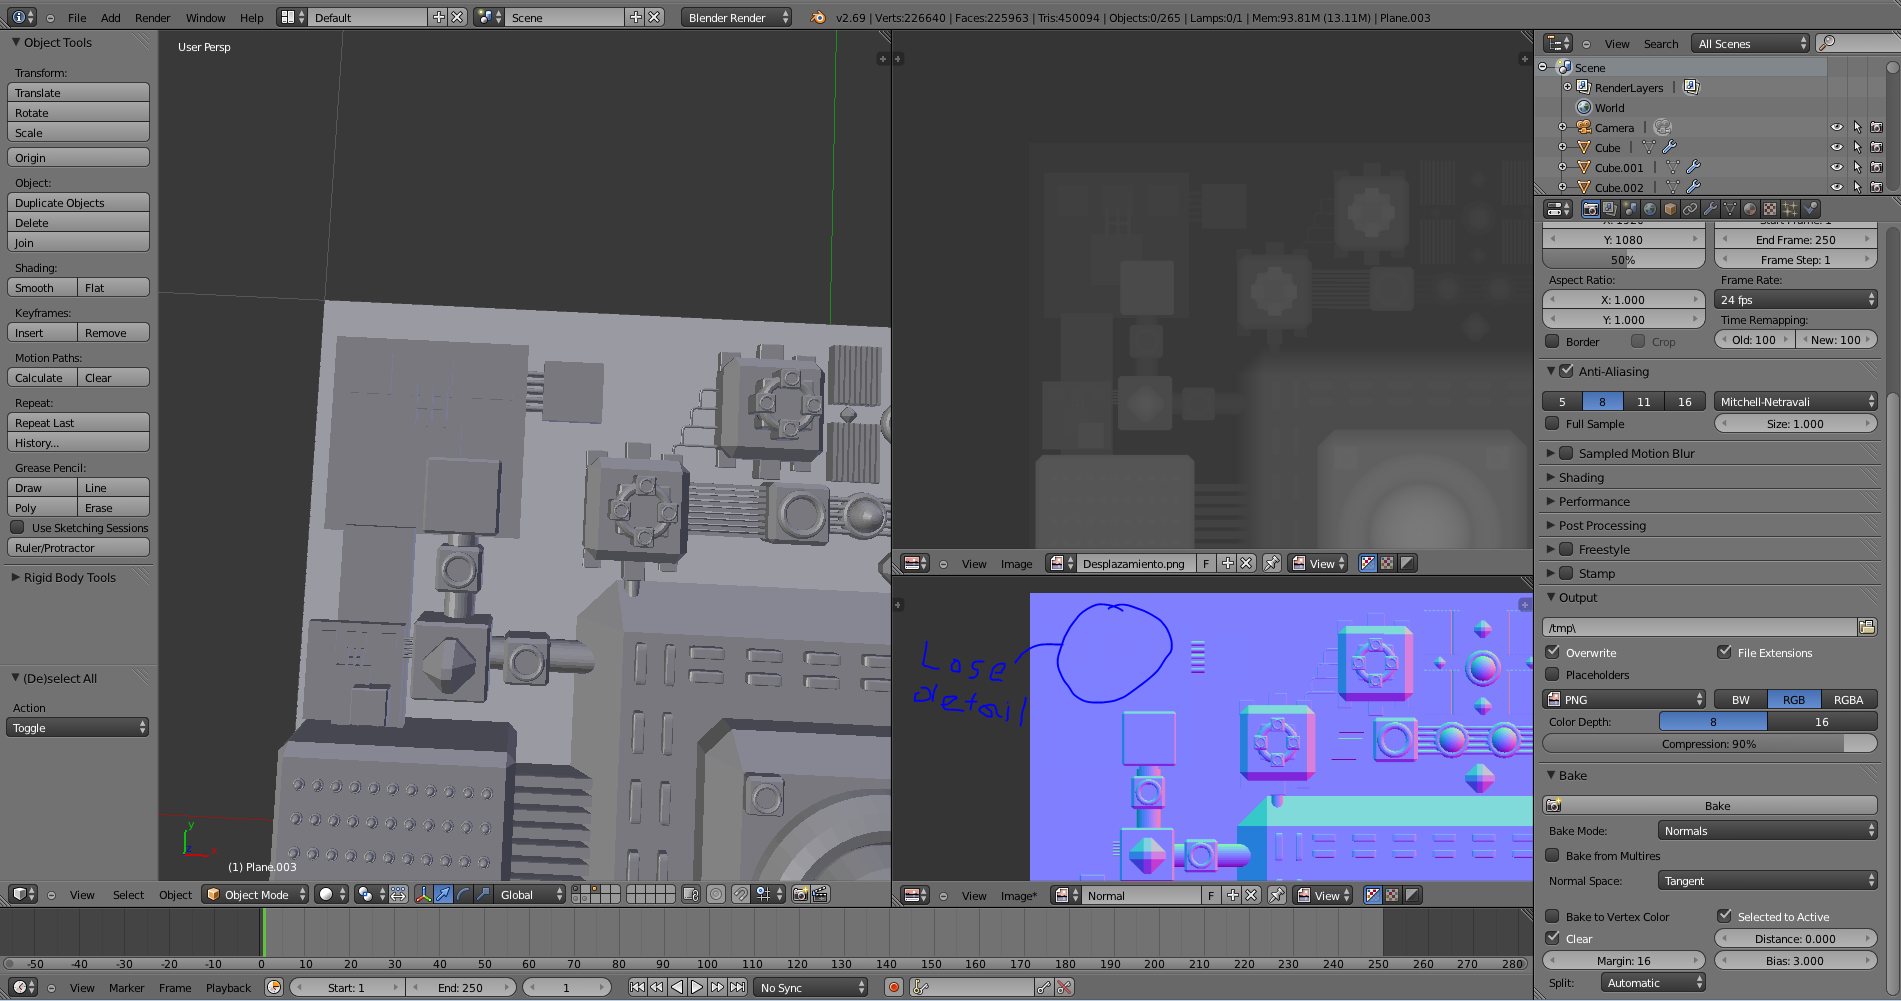
I did not knew you were the pioneer in sharing this methodology, I did see the tutorial Blendertuts (I made the material for matcap for there and pass to Unity), I need learning more how made the normal maps looks more sharp, because I feel this object lose some details.
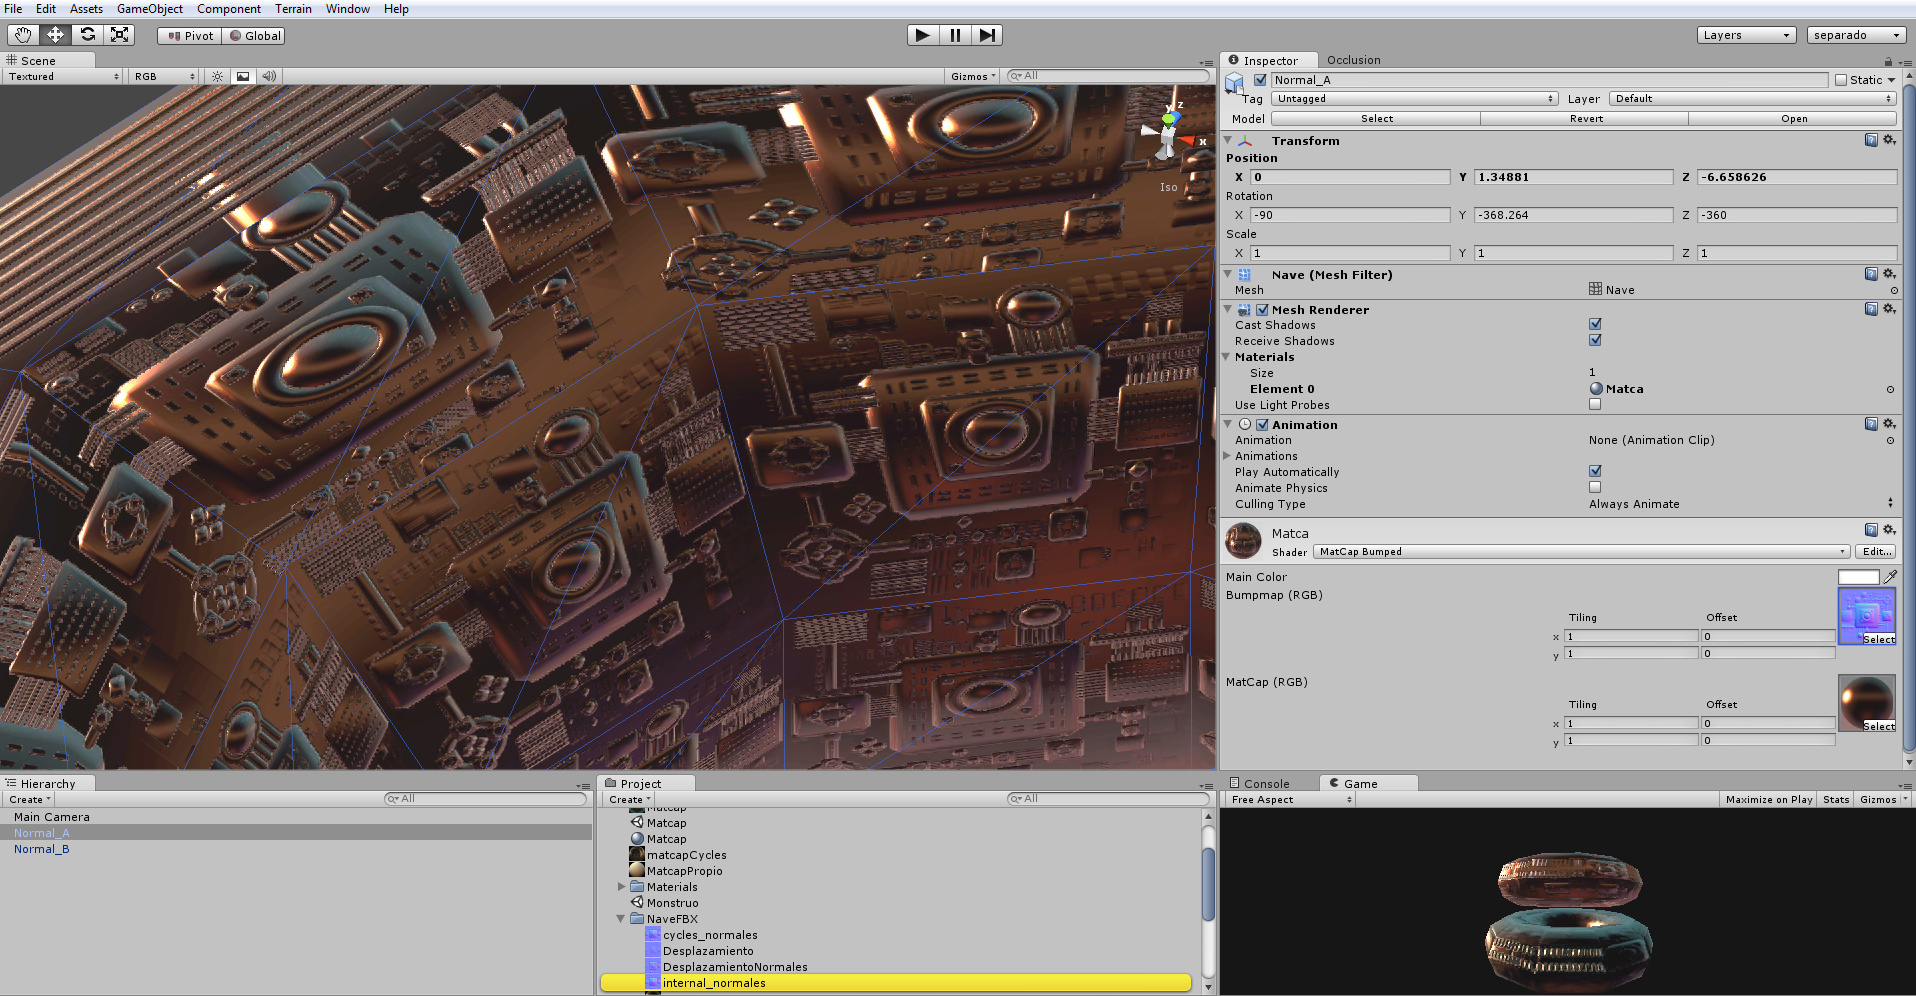
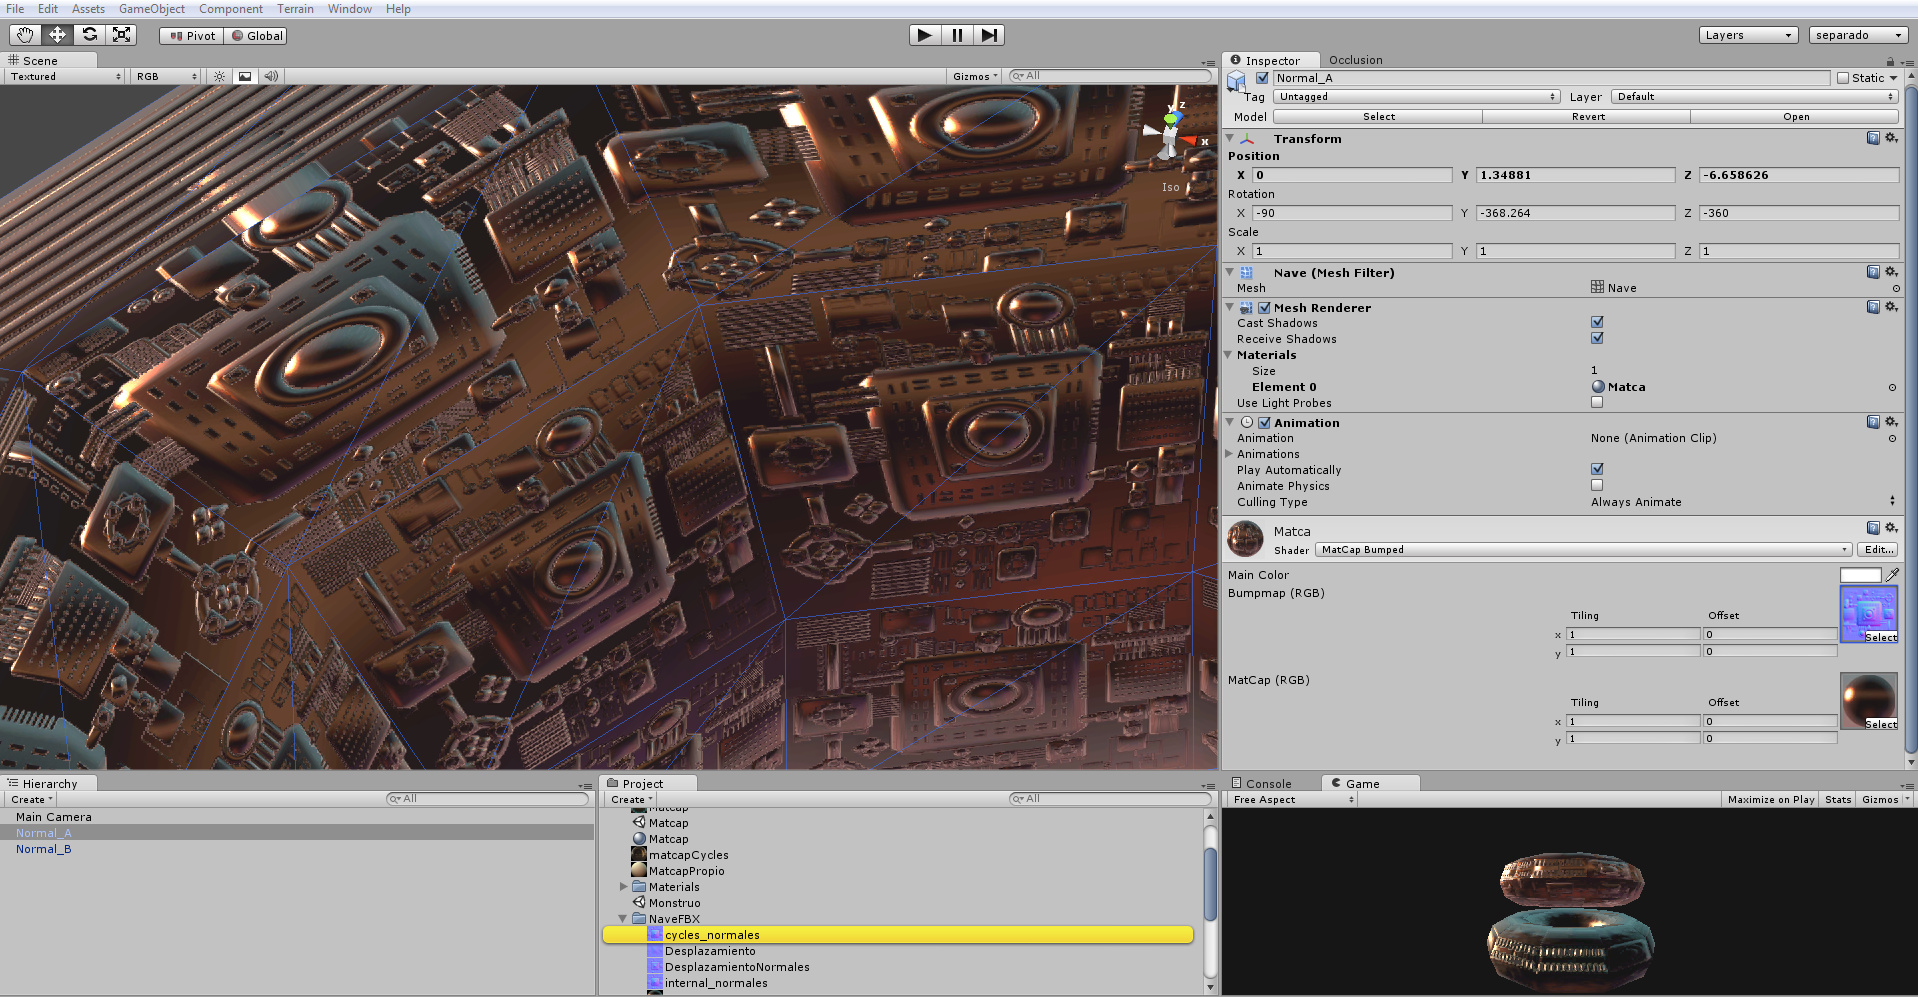
Hi michalis, thanks for tip, I show the result of test, before I show you my mistake and the reason of my mistake:
initially I made this test very months ago, but I check the scene, and now I remember I baked a Displacement map in blender and transform that as normal map in Unity I show the screenshot:
as you say cycles lose less details, mmm… I think internal lose much the details maybe for the distance and bias, maybe I dont use much distance (but Im not sure), thanks for tips sir!
PD. sorry for triple posting, but I cant post more of 3 images for post :(, but I needed show you all test completelly.
PD2. I have another post on previous page, they have another screenshots.
Oh, you baked the normal map (TS) of the panel and wrapped it on the torus.
Well, this may works on a torus and on a cylinder/corridor. But, it won’t work on a cube.
IMO, you have to bake the whole model on another regular UV set. To have correct TS coordinates.
For now, cycles bake is not supporting displacement conversion to normalmaps. On the todo list.
However, you can bake real displacements as normal maps directly (cycles).
For non animating models, like spaceships etc, Objectspace normal maps is the best option.
You can rotate them, move them, in object mode, you can’t apply these rotations though, neither you can rotate in edit mode, armature deformations etc.
IMO, you have to bake the whole model on another regular UV set. To have correct TS coordinates.
sir, if its not too much trouble, you could help me showing a example the correct TangentSpace, and bad TangentSpace, because for my low experience baking normals now, I dont have clear how identify when I have a correct or not :o.
For now, cycles bake is not supporting displacement conversion to normalmaps. On the todo list.
However, you can bake real displacements as normal maps directly (cycles).
For non animating models, like spaceships etc, Objectspace normal maps is the best option.
Yes you right sir! for now I dont worry for displacement sincerely :P, I used that baking method because the cubes not appear, but now I think is necesary apply them bevel for not lose him when we baking normal maps :).
Thanks very much again for methodology, is very cool, I will use for my enemies for my game hahahah :D.