@BaRe
There is one way only to have perfectly aligned horizontal-vertical patterns to topology (important for displacements). The follow active quad workaround.
However, this addon is impressive, I will try it for sure. Great for other cases though. Thank you for the link. Very interesting.
Let’s say, a shirt with a geometrical pattern texture (like tartan). The follow active quad mode is not the best. It will create un natural stretched patterns, following topology. See? This addon might be very helpful.
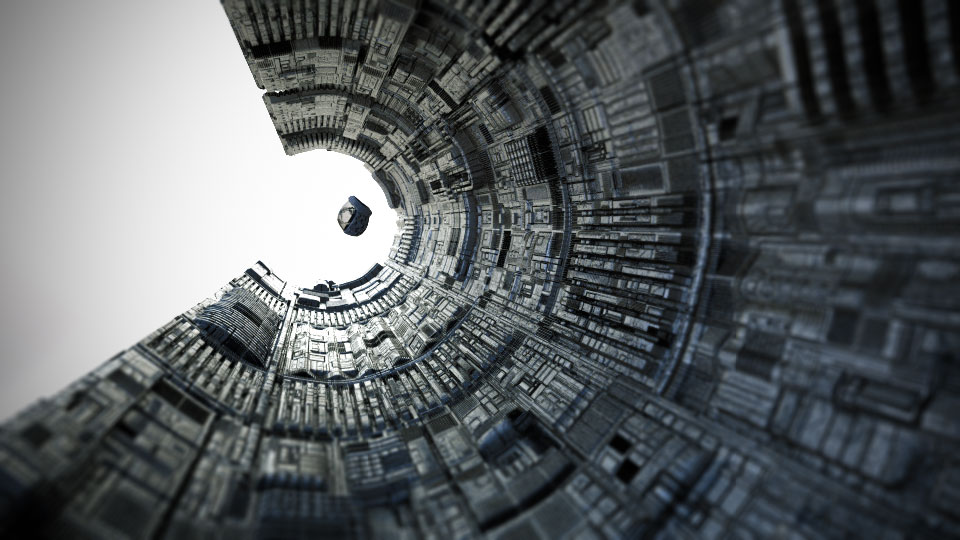
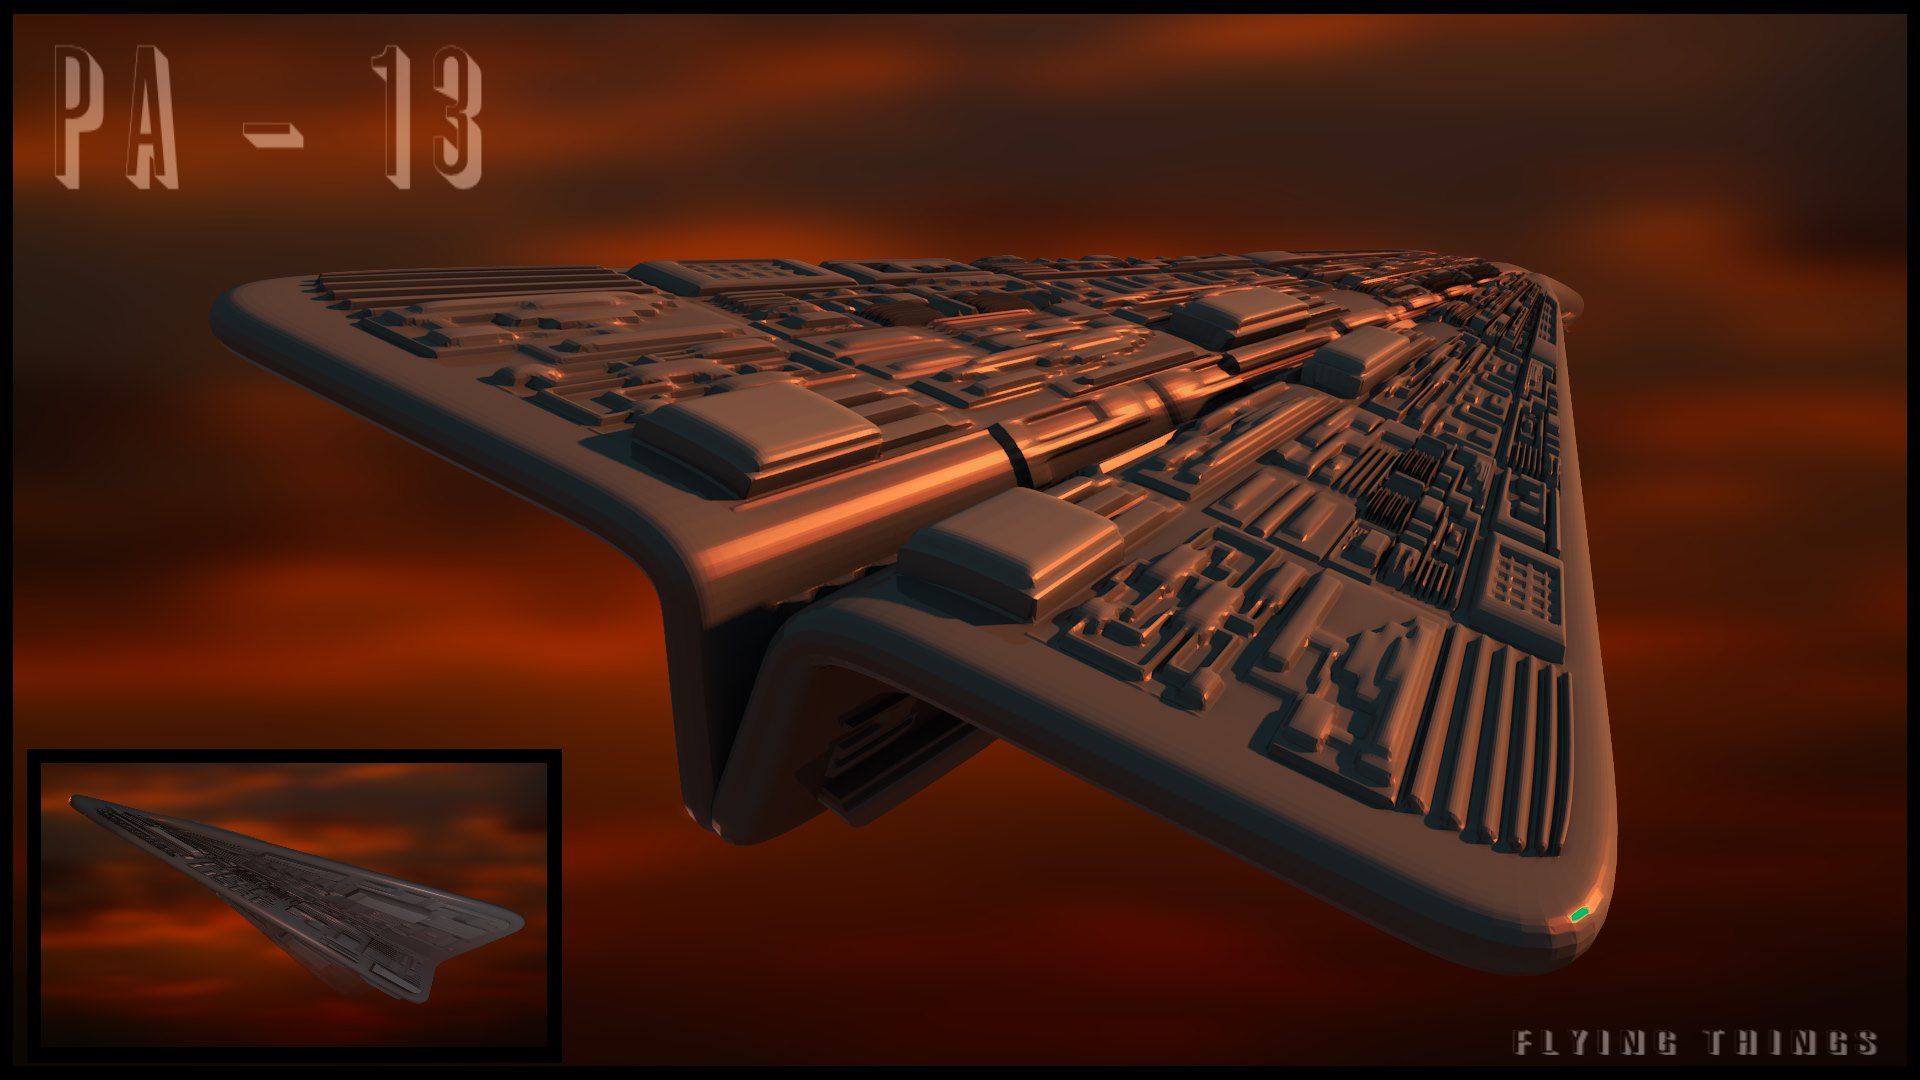
I love your work michalis, this technique saves so much time. Here is a little something I whipped up, it is a drifting helmet in a space corridor.
I posted there for instructions on how to use that addon. Have you used it?
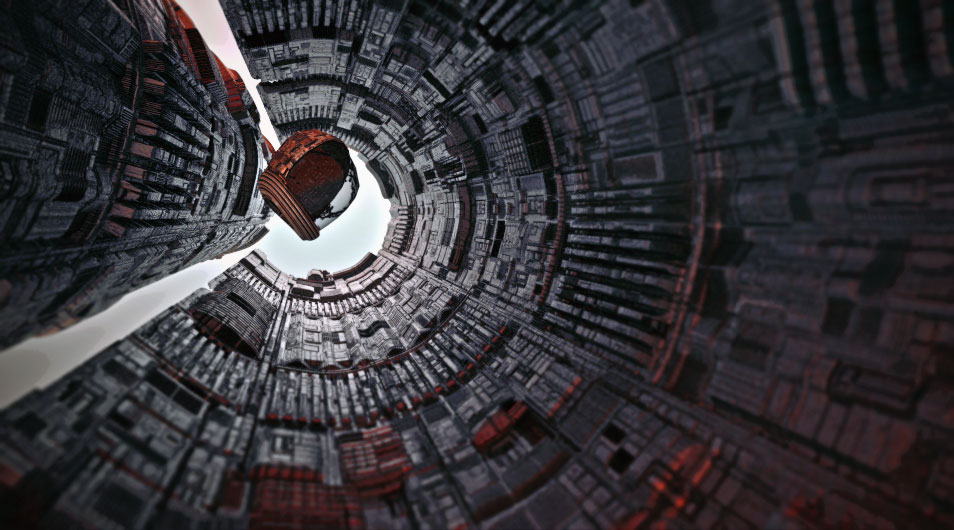
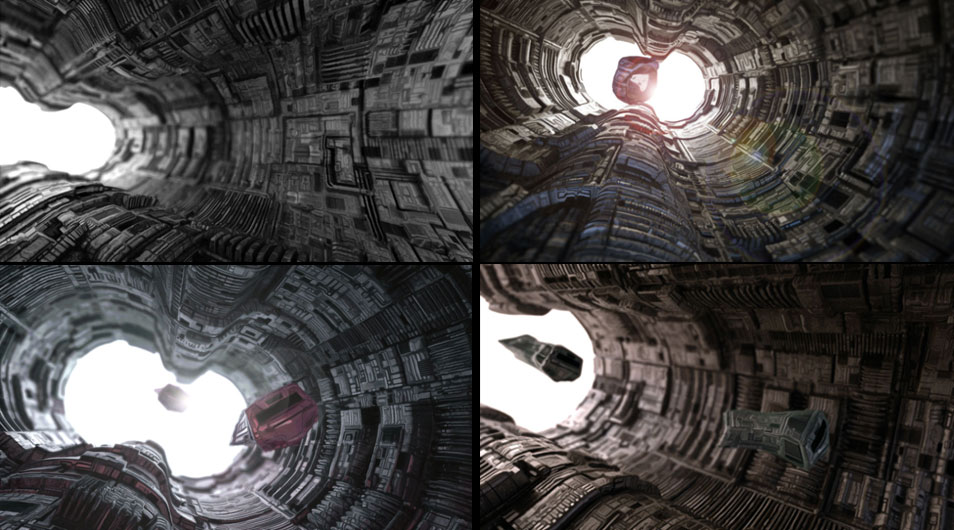
Thank you Derbender, Here is another. I plan to animate this scene, so I wanted to test the bounders of my comp and get a nice mood going prior to beginning. 
Check out this link.
He gives you more information about compositing/color management in 2 min other can`t give you in 20 min.
Nice one DRoss. As an alternative workaround, select loops of faces, separate them, do your UVs, solidify (after UVs, he he , a trick)
Splitting to separate meshes can work very well. More control on compositing.
Yeah, the color management thing.
One way to use it is to pick a film preset (kodak portras my favorite), Then set up the lights. A really flexible tool.
@DRoss: I like the mood of your scene very much!
I played around with it for a short time.
Not sure if I used it wrong, but the problem is that it does not (or cannot) take into consideration if one vertex is used on different UV parts…
Not sure if I worded that correctly, so an example:
You defined two different loops next to each other. You set one UV string on the left side of your disp image and the other one on the right side.
You select a vert between those loops and move the UV. On your UV editor you see that a part of both loops will move.
So you can’t do detailed corrections of loops in edit mode and you should not move UVs away from being rectangular.
Which makes the addon awesome, but of limited to no use… to me at least.
The addon can be very useful.
Not in this case, of the displacements and the follow active quad method.
However, in the case of a shirt, a grid like pattern texture. Seams have to be visible as in a real shirt. The follow active quad method isn’t exactly what we need. Topology, quads won’t be perfectly distributed. Stretching will happen.
The UV sculpt mode (brushes) and the addon will be great.
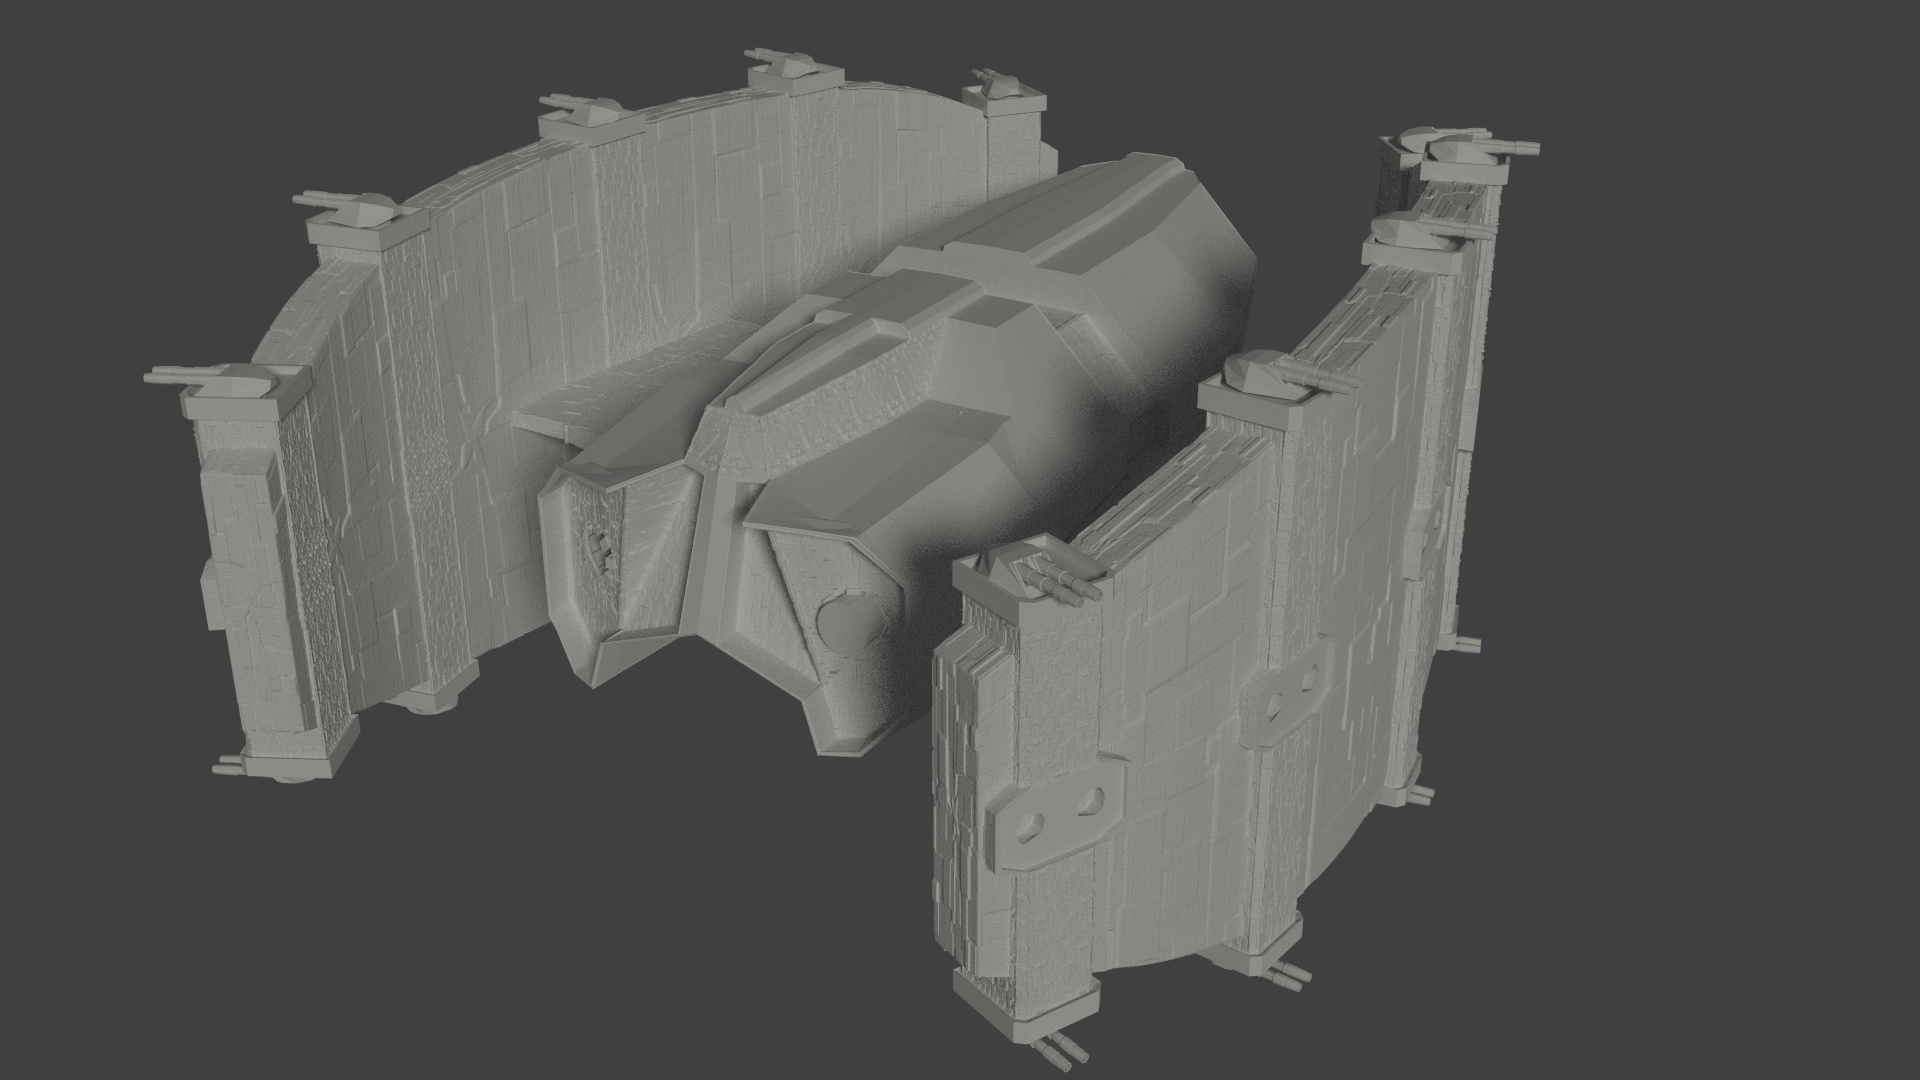
Just recently discovered this thread and instantly fell in love. My issue has always been detailing large objects, but now it’s not a worry ^_^. here’s my current WIP using this technique:
@flavoredpickle: Nice. I like your sense of scale.
Just keep a few things in mind:
- model topology and quads are god.
- Try to have all geometry on the displacement map parallel to the edges. So no curved lines or angles other than 90°.
(I think there might be an exception with those 45° lines you’ll get when you bevel/inset something but I’ll have to do some tests) - Don’t send a displace to do a normal map’s work. Most of your displacement is on large, flat faces. As long as you don’t do any flybys, using the displacement texture as bump mixed with the ao texture should fake the effect sufficiently. Or you could bake the displace into a normal.
Or maybe you have the power for all the subdivisions, then go for it. 
Thanks michalis , but I do not think I understand. Are you saying to select the face detach selection then solidify?
Here is a render I did this morn;

Hi, Michalis!
Can I use your image just to write a tutorial and video in my native language (Portuguese)? My video is ‘monetized’ , but I want to use the image only to my video.
I already did the video and post and I did the citation and my post have a embedded original video in the same page that I added my video. If you want, I can post the link to you verify the content before to authorize me. And sorry my terrible english!
Finally got a chance to try out this technique for this weeks weekend challenge. Made a quick panel, did the bake displace and made the image. Not quite up to the quality of the other stuff here, but a start. I still have a hard time with materials and lights.
Attachments
I think that’s the coolest damned paper airplane I have ever seen in my life!
Hi Michalis,
I want to say a great thank You for this highly inspirational
and informative thread. Though I am a new member
of this forum, i´m following this thread since quite a time.
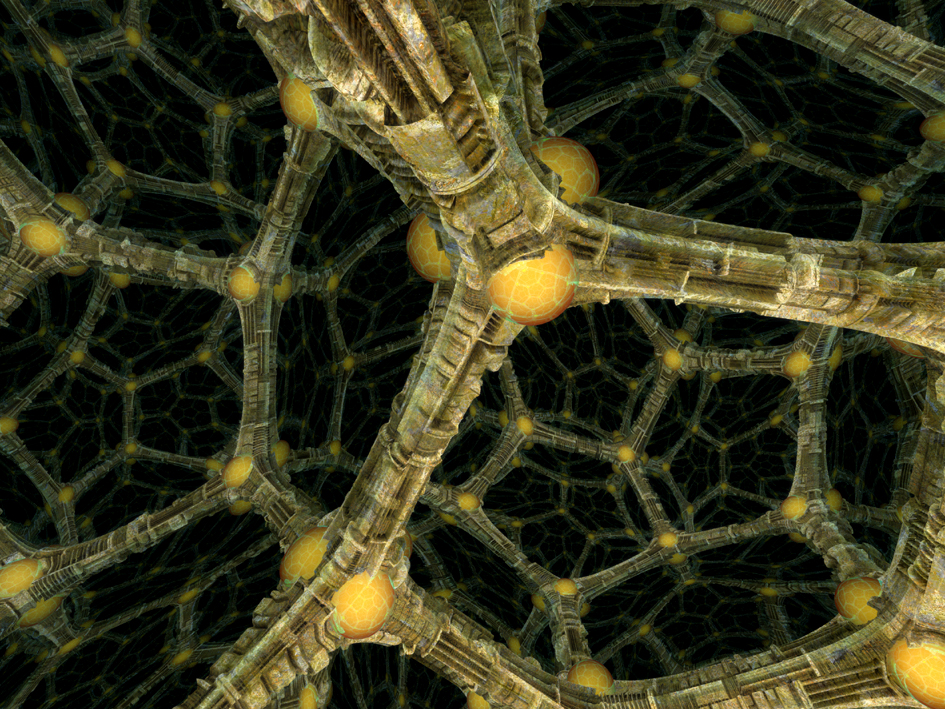
hyperbolic dodecahedron
I hope You don´t mind that I used Your displacement map -
I been still too lazy to create my own.
Nice techno neuron!
Impressive work, martinius !
of course I don’t mind for the displ-AO maps.
I’m new here on the forum and new-ish to Blender. I just happened across this thread on my lunchbreak at work and I really like the images that have been posted detailing the technique, awesome. Thanks to everyone who has taken time to contribute something. I’m looking forward to home time so I can go and try it out…